SUP GUYS. Just dropping in real quick to let you know that we’ve got another Pants Making Intensive at WORKROOM SOCIAL planned for this upcoming November 7-8, 2015! I’ve had a few people email me and ask when the next one would be scheduled – well, here it is! Mark your calendars, get them plane tickets, and let’s have a pants party!

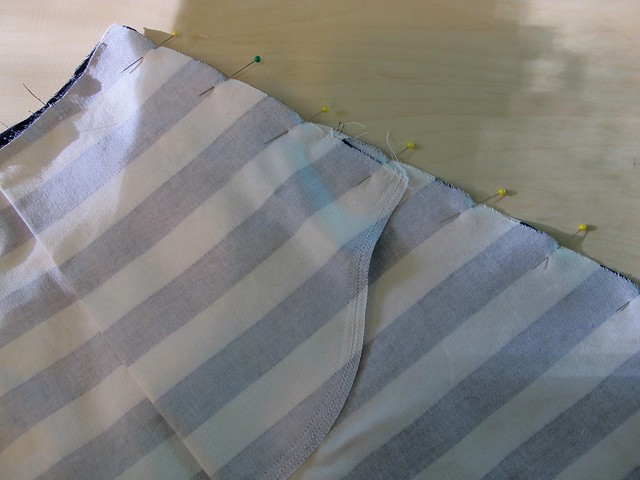
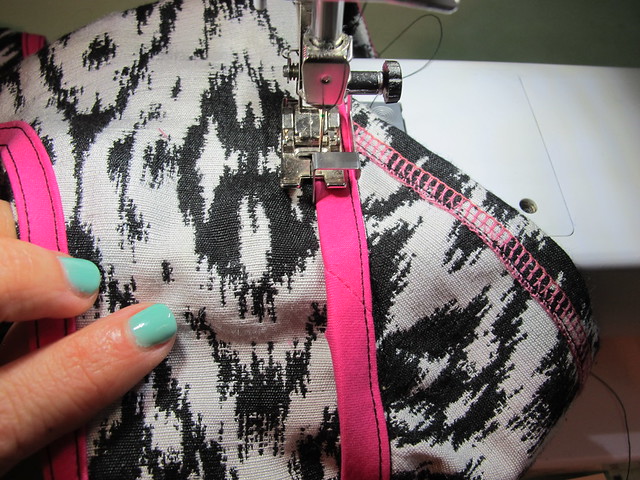
The Weekend Pants Making Intensive is exactly what it sounds like – one full weekend (8 hours each on both Saturday & Sunday) dedicated to the making of pants. We will go over pattern alterations, basic fitting, prepping/cutting, as well as all the techniques needed to complete a pair of pants – the front fly, waistband insertion, pockets, seam finishing, all that good stuff! Making pants is one of those sewing jobs that seems super intimidating until you actually do it – and then it’s actually really fun (and pretty freaking cool, I might add, to be able to make all your own pants!).
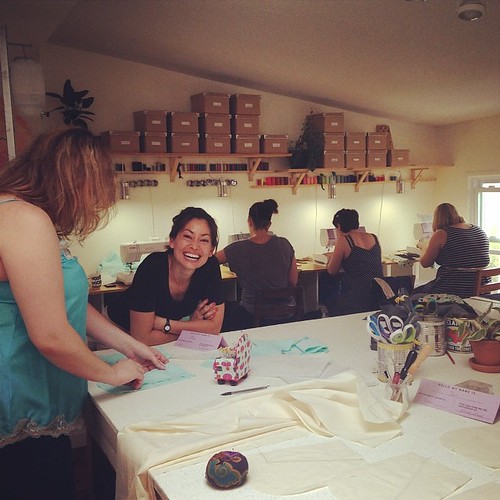 The class is held at WORKROOM SOCIAL, which is located in Bed-Stuy, Brooklyn, NY, in the cutest little sewing studio I’ve probably ever set foot in. The class fee includes all the machines & tools that you need to make your pants – all you’re required to bring is the fabric and necessary notions. The class fee ALSO includes snacks and a catered lunch for both days, as well end-of-day cocktails! Not to mention, it’s LOADS of fun. Don’t live in Brooklyn? Neither do I! Did I mention that this is a great excuse to plan an NYC getaway? Oh yeah!
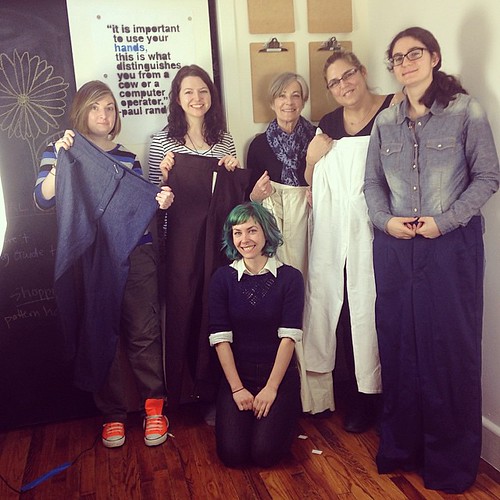
But wait, there’s more! On November 6, the Friday before, Jennifer & I will be leading a shopping trip around the Garment District for a lesson in bottom-weight, pants-appropriate fabrics (which is perfect if you don’t know what fabric to get for your pants, and/or want to be able to buy it while you’re in NYC! Or if you just want a lil’ tour of the Garment District!). This 2 hour trip will take you to all our favorite shops, where you’ll learn about the best fabrics for the best pants-making, and there will be discounts on your purchases as well. Afterwards, we will group at a nearby bar for happy hour! The shopping trip a separate cost from the weekend workshop, but it is open to students as well as non-students (so if you don’t want to take the class but want to join the trip, that is totally ok!). I REALLY love the Garment District and I’m super excited that we’ll be able to offer this in addition to the class! Unfortunately, I’m not able to do any more big meet-ups when I come to the city (mostly due to time restraints, but also because the size can get out of hand when it comes to those tiny little fabric shops), so this is a good compromise. We are going to cap the shopping trip at a manageable number of people, so that we’ll actually have a chance to get to know each other and talk and all that fun stuff 🙂
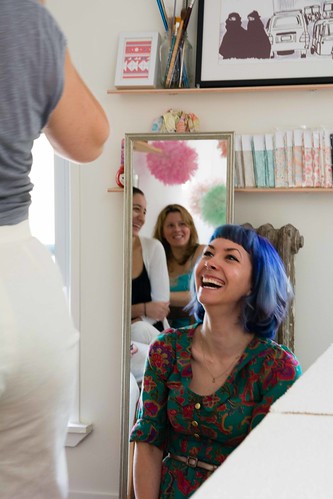
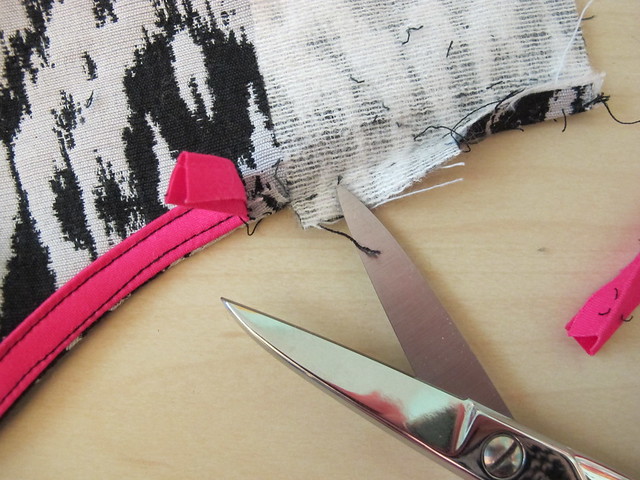
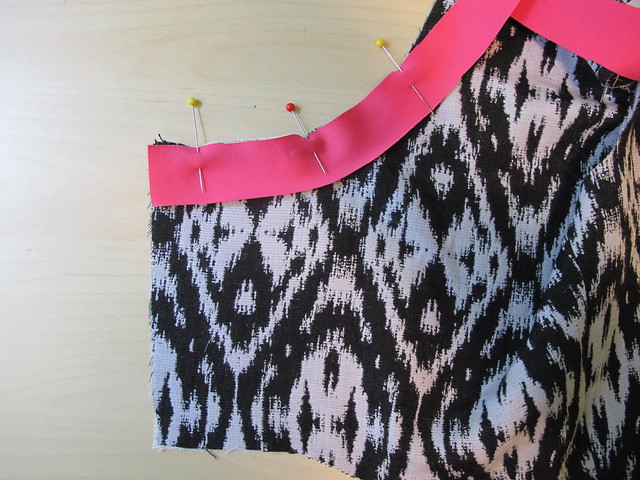
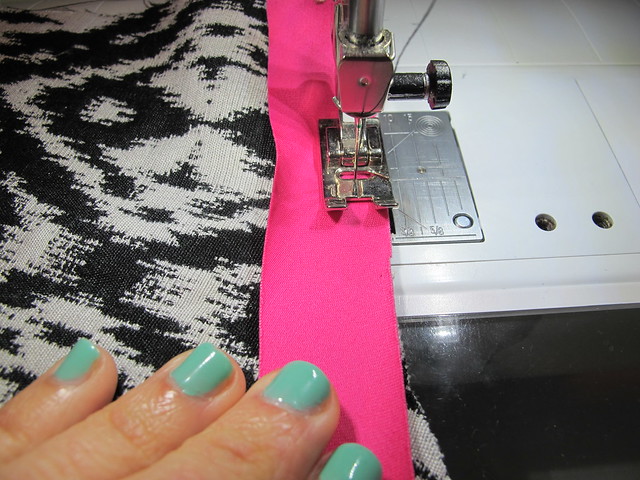
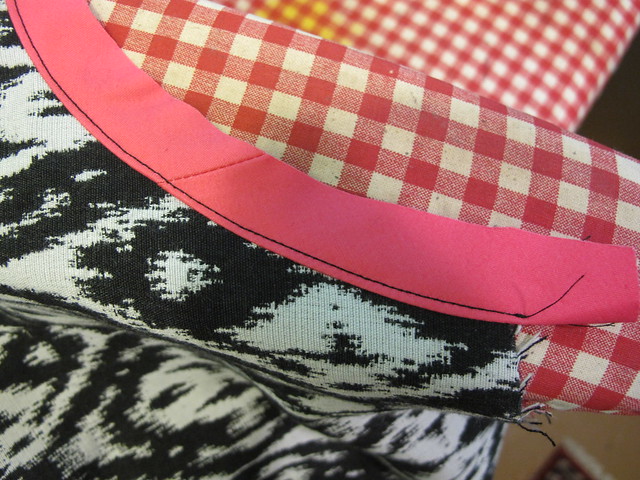
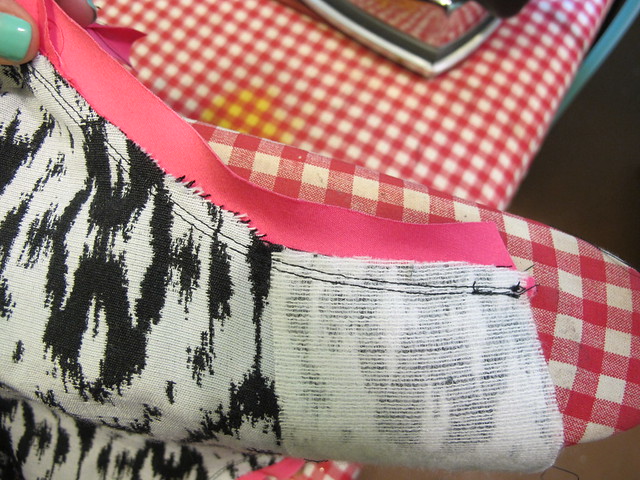
Photo credit: WORKROOM SOCIAL
For more info on the Weekend Pants Making Intensive or the NYC Garment District Shopping trip, check out the WORKROOM SOCIAL website. You can also sign up there as well. Traditionally, this class tends to sell out pretty fast so get it while the gettin’s good 🙂 For a recap of the first pants class I taught, check out this blog post. Seriously, though. It’s gonna be an awesome pants party and I’m already sooo excited (and, um, planning my ~NYC Winter Wardrobe~ in anticipation haha. Nevermind that it’s 95*+ here this week; I have WOOL PLANS to make!). This will be the third time I’ve taught this class, and it’s always been a massive amount of fun for everyone involved. I love making pants, and I want y’all to love it too!

And while we’re on the subject – Camp WORKROOM SOCIAL is nearing the sign-up deadline and very close to selling out! If the idea of a summer camp combined with a sewing retreat sounds like it would be right up your alley, then you’re in luck because there is still room for a few more sign-ups!
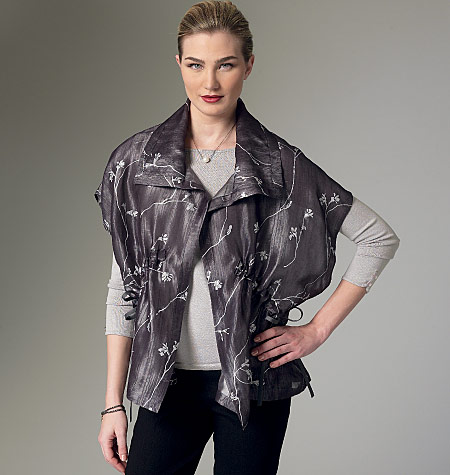
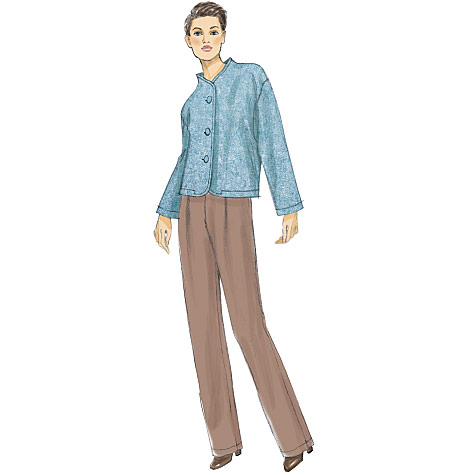
There are still a few spots left in the Dressmaking class as well as the Sewing Fashion for Kids class. In addition, a couple more spots were added to Fit Your Body & Style and Patternmaking, so if you were thinking about signing up but then got bummed out with the seats filled up, here’s the second chance you have been waiting for! Personally, I’d love to take either the fitting or the patternmaking class (or… both…?), but I’ve had an expensive summer this year (all I can say about that is – car a/c work is a necessary evil for me in 2015, wah.) so I’m just gonna have to stay here and live vicariously through someone else. Could that someone else be you?

Photo credit: Jadel Photography
For those who are hovering on the fence, I’m just gonna leave this camp photo here. Ahh!

Finally, my epic sewing weekend retreat at A Gathering of Stitches is just around the corner, coming up September 24-27! There’s still time (and a tiny bit of space) to sign up! The event will take place in Portland, Maine, and it’s a choose-your-own-project sort of deal. Which means you get to work on whateverrrr you want, with no set class curriculum or project. I really love doing these kinds of classes because it’s super fun to see what everyone brings to work on, and I can’t wait to finally check out Portland (and New England, for that matter)! I hear it’s absolutely beautiful and that I’m going to totally fall in love with it 🙂
—
In other news, I had to work an event over the weekend, so I’m taking an impromptu day off today. I plan on spending all of it down here in my sewing room (well, I spent about 15 minutes this morning replacing the broken latch on my truck’s tailgate – so I feel like I’ve done enough “work” for today haha). Yay! Happy Monday, y’all!