
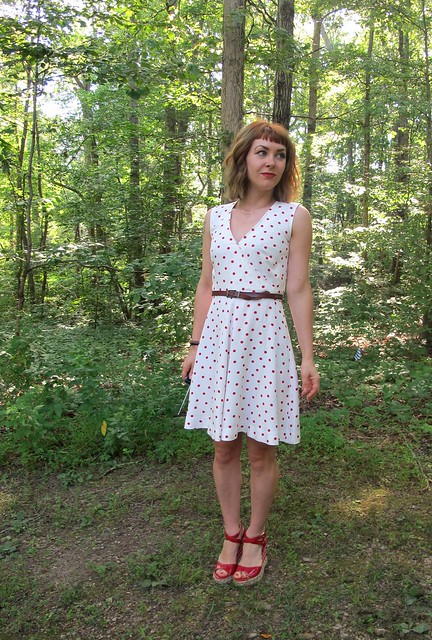
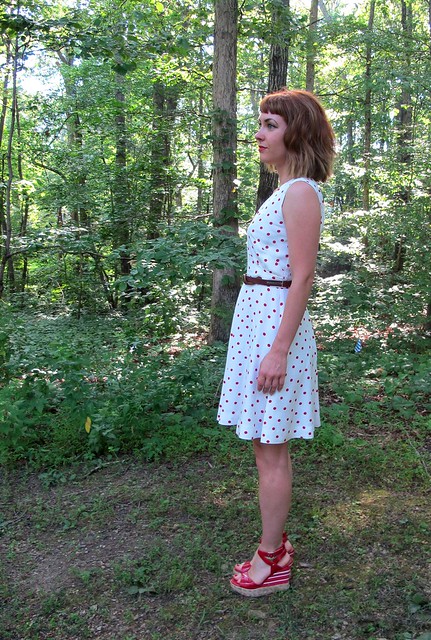
Did I ever tell you guys about how much I love shirtdresses? Hi. I love shirtdresses.

I don’t know what it is that appeals to me so much about this style of garment – but, as you WELL know, I also love me some collared shirts, too (or, rather, maybe just that particular pattern lolz amirite). Something about that collar, dude! It just looks so pulled together and is also so fun to sew! I just love it!!
Sooo… surprise! Another shirtdress 4 u.

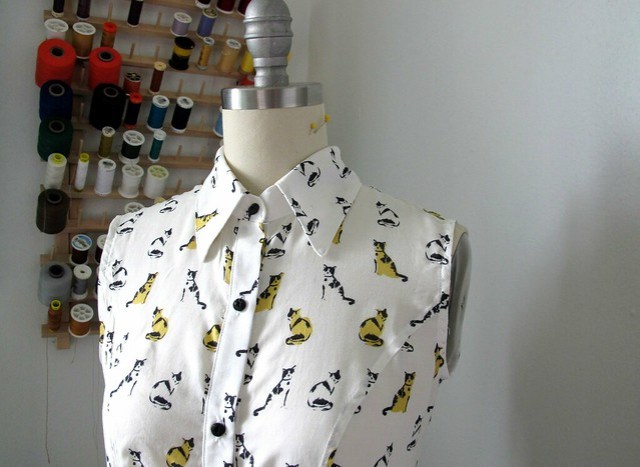
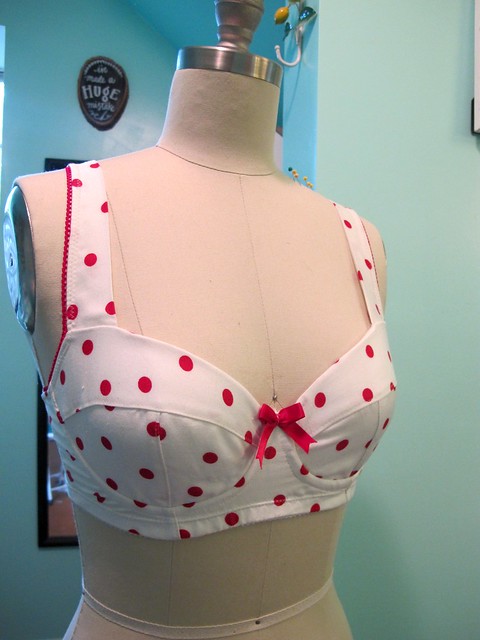
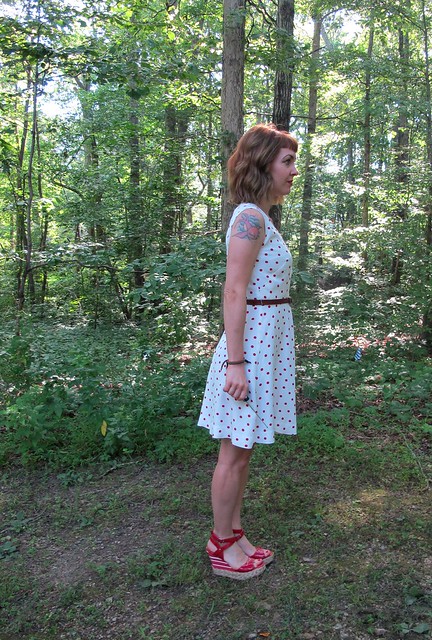
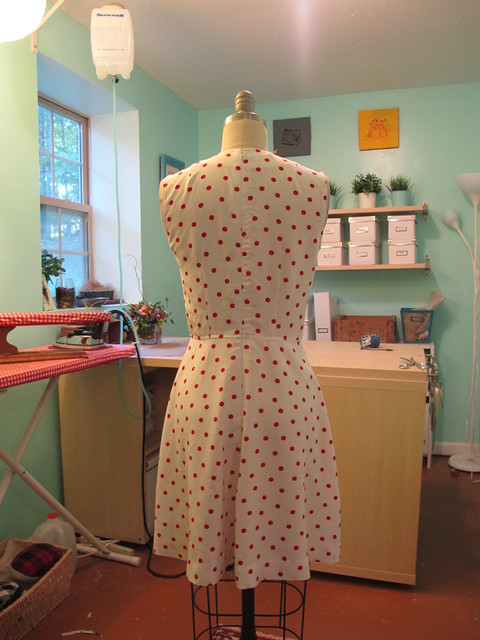
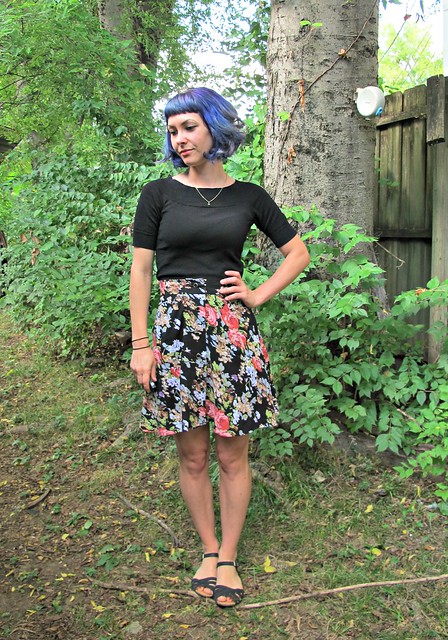
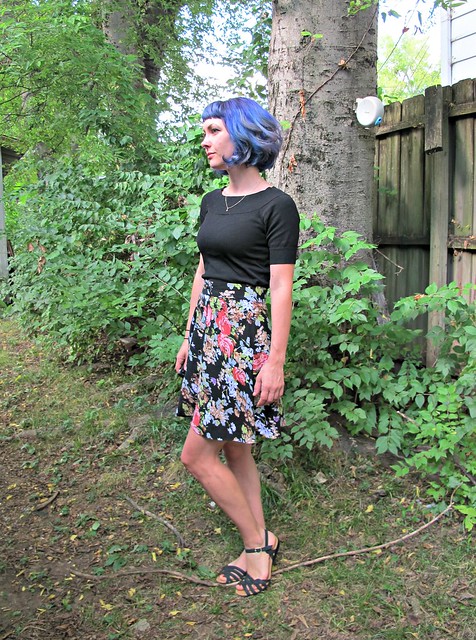
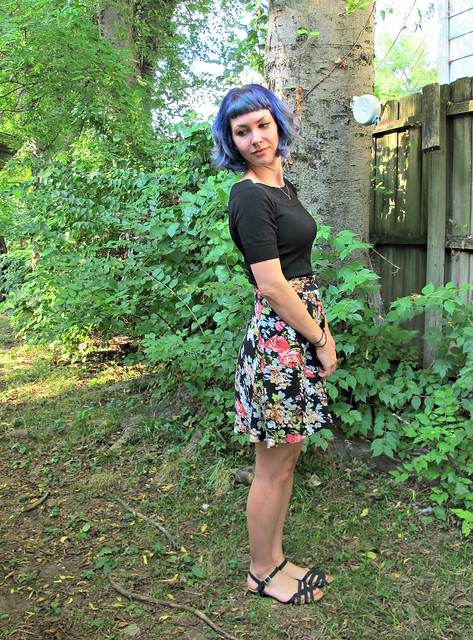
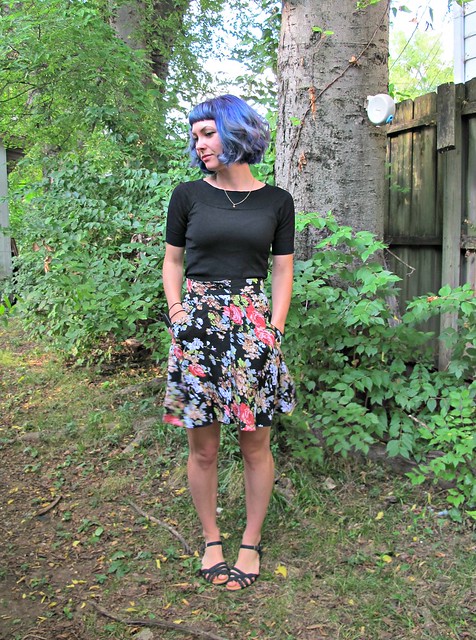
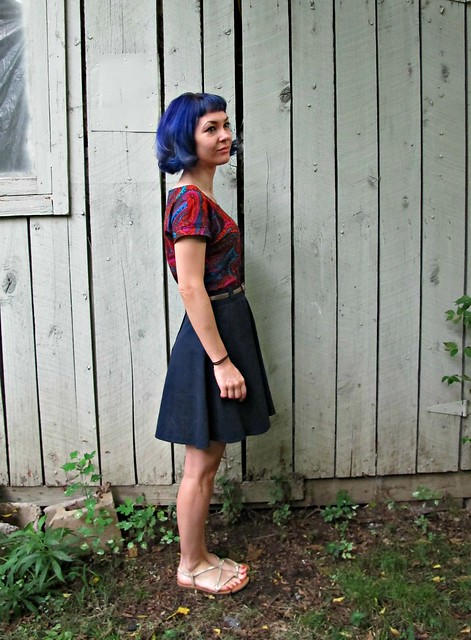
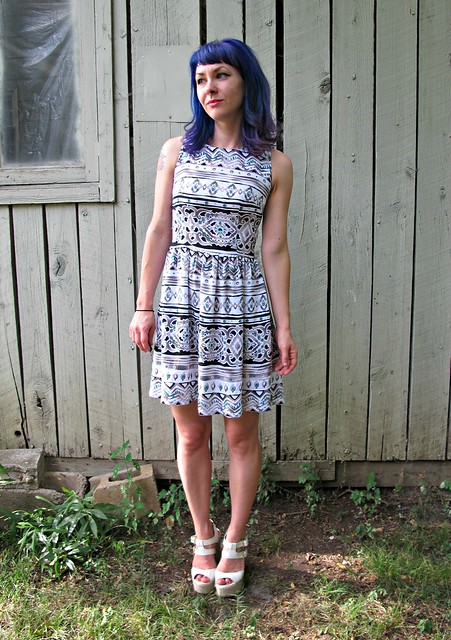
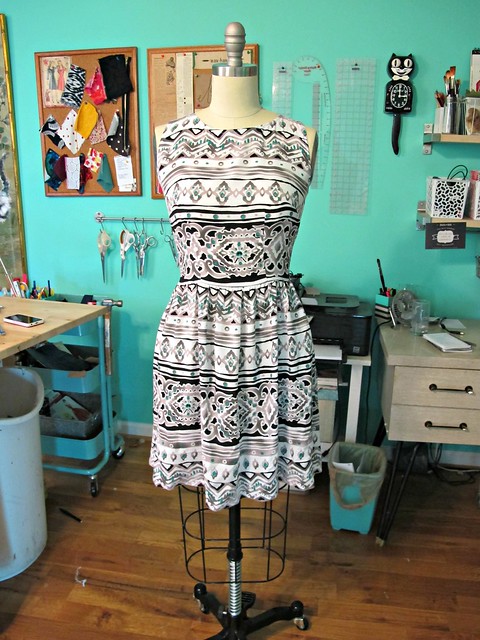
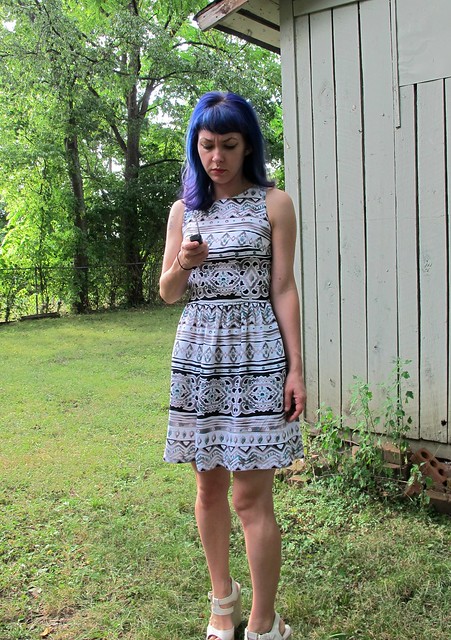
This time, the pattern is McCall’s 7351, in view A. If this dress looks familiar, it’s because I made it last year in a fun cherry rayon print. I really really love wearing that dress – the style looks pulled together, the fabric feels great in the heat, and the print makes me so happy! I am no longer at the point in my life where I like something and feel like I need to own multiples of them in every color, however, I did want to make another one of this dress in another fun rayon fabric.
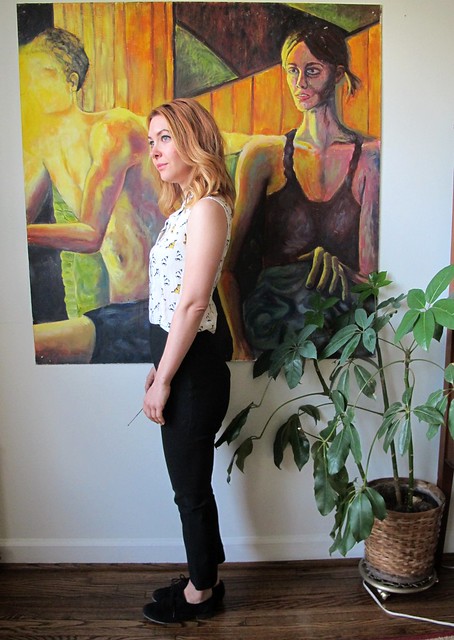
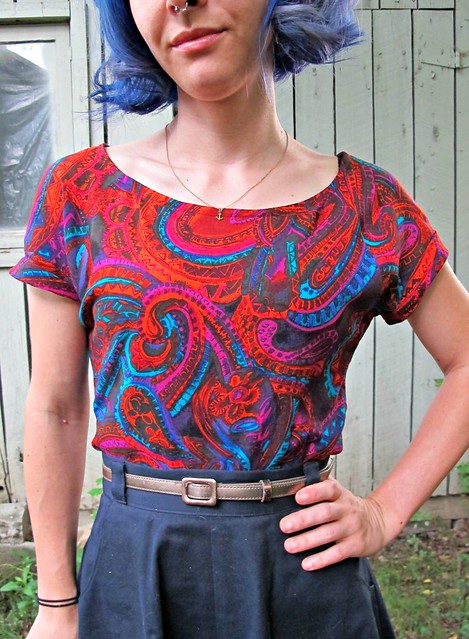
So – this fun rayon fabric! This is another fabric from Workroom Social, also from their Miramar line. The design is Abstract Eyes, and there is still some available for sale! (and also in a green colorway if navy ain’t your jam!). I had just finished my lemon rayon dress when I wore it back to NYC for my most recent Jeans Making Intensive back in August, so I had rayon prints on my mind while looking through the rest of the bolts of fabric at the studio. This eyeball print was SCREAMING at me, so I ended up taking some back home with me! I knew I wanted another shirtdress with this fabric, but I didn’t necessarily want to duplicate the Alder- which is why I landed on McCall’s 7351. It’s very similar, just slightly more fitted with a straight skirt.


Since I’ve already made this pattern before, I don’t have too much more to add to what I’ve already said. I mad the size 6 – same as last time – but only shortened the skirt a couple of inches (I have no idea how much I shortened the skirt before – I just wrote in my post “quite a bit” whatever the hell that means. Usually I’m pretty good about leaving myself notes, but apparently not this time!). The skirt is a little longer than I usually prefer, but I’m not opposed to it.
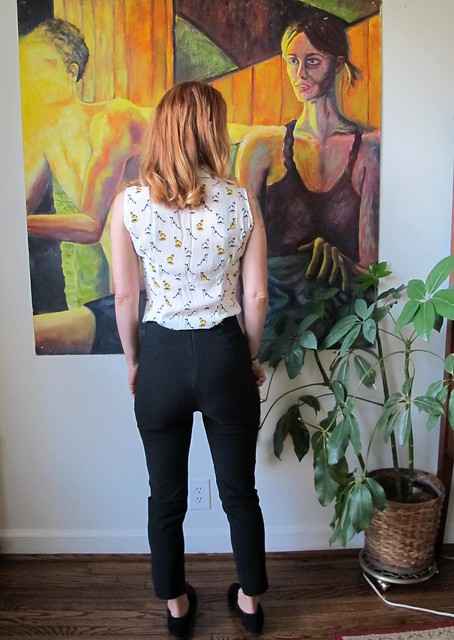
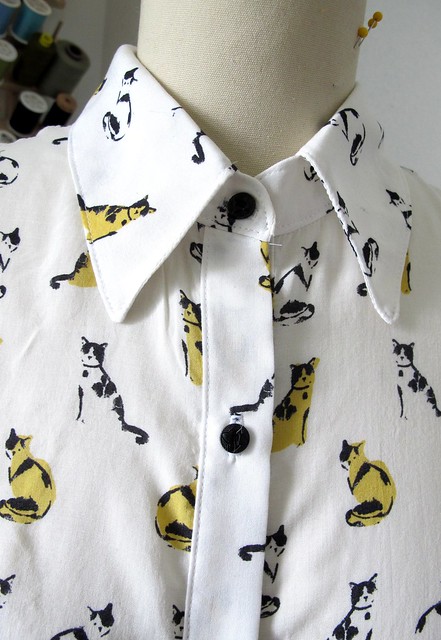
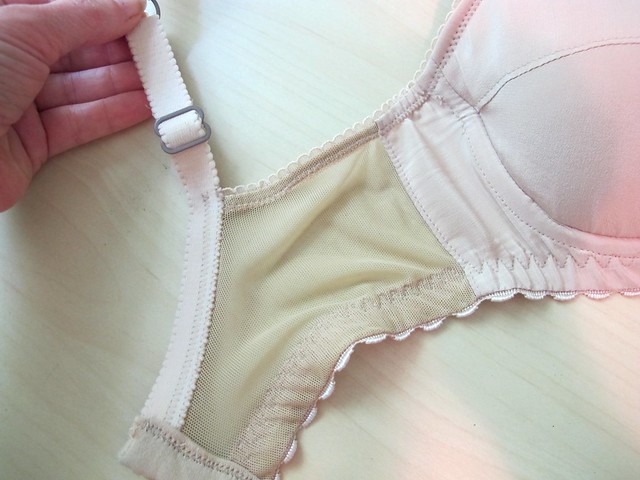
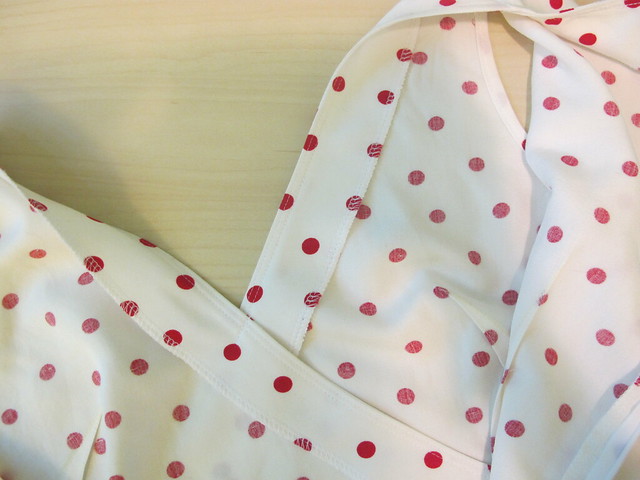
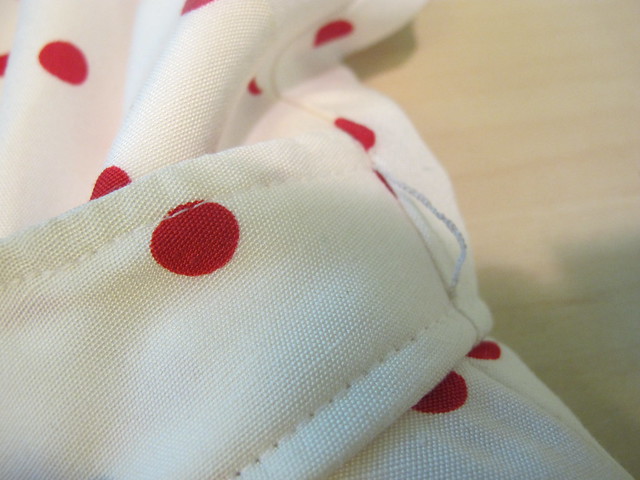
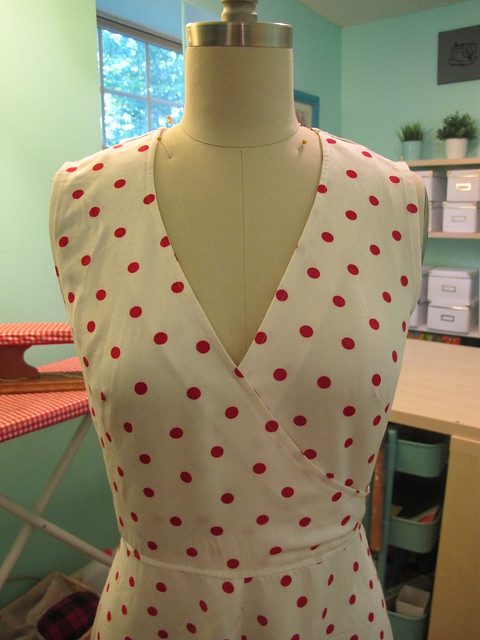
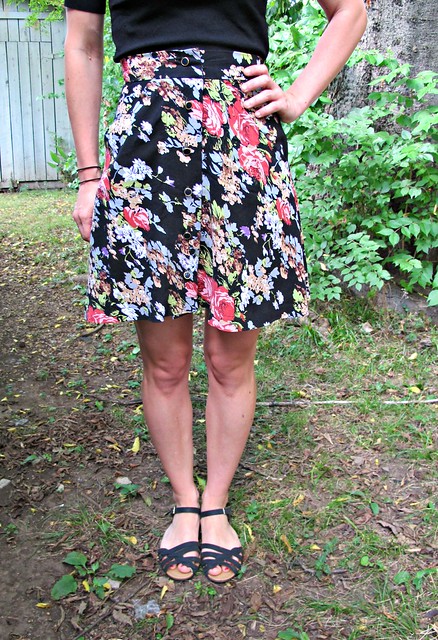
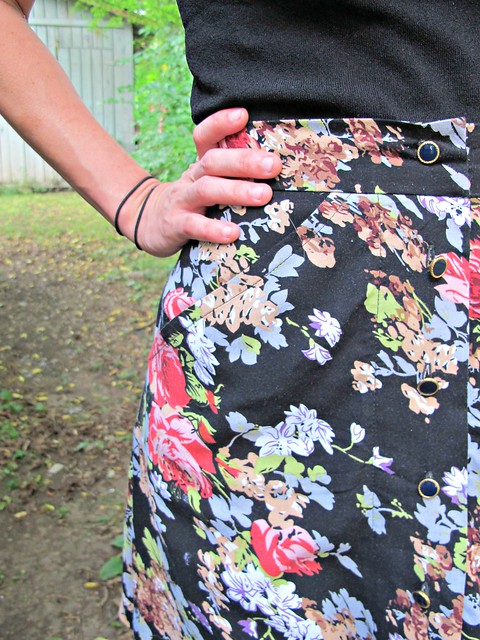
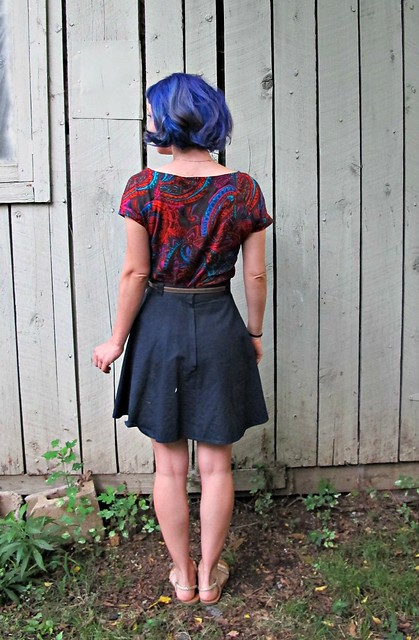
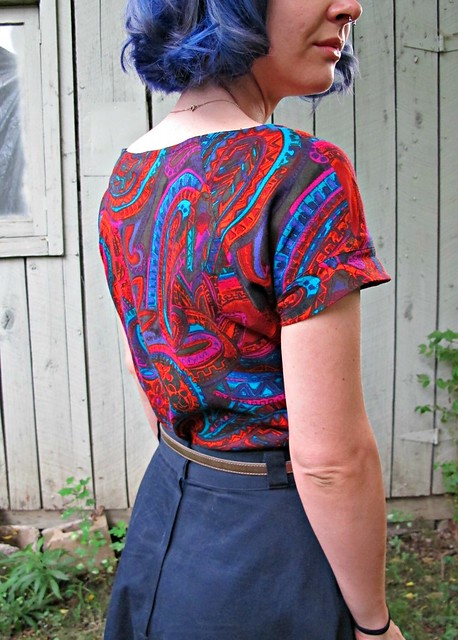
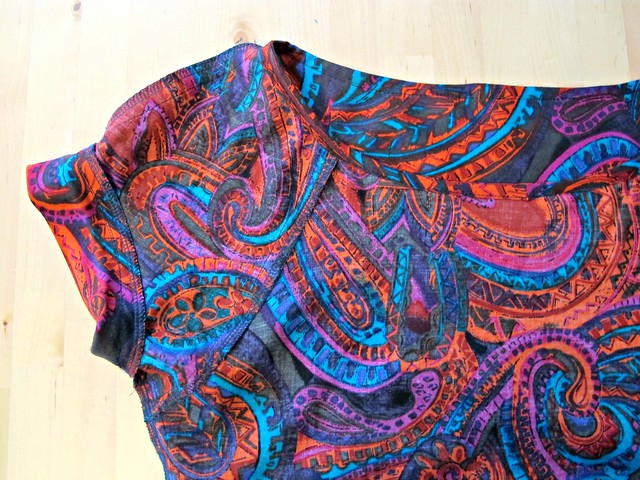
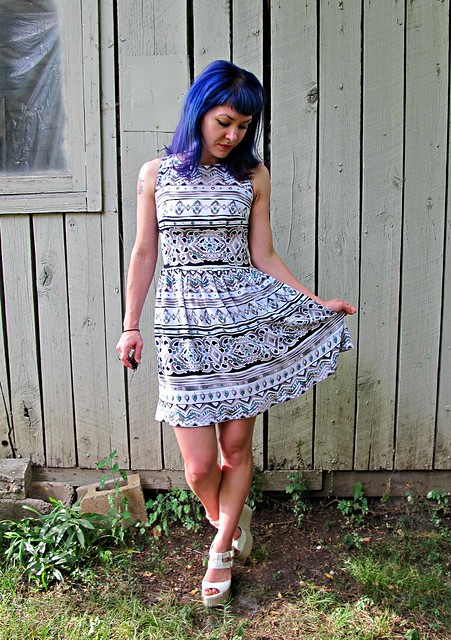
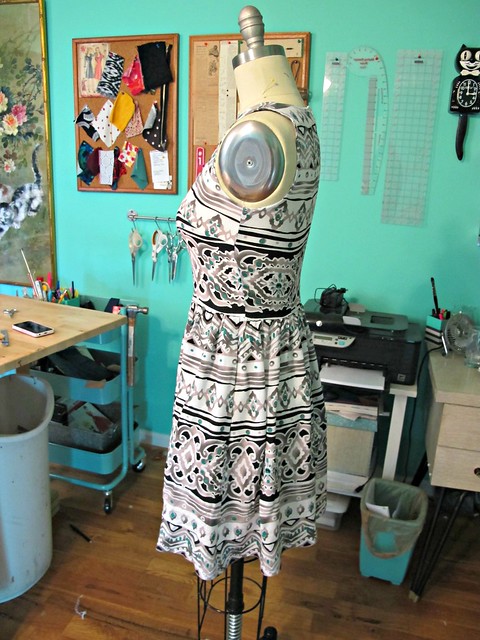
As a flip, I did manage to get the bust point button in the exact right spot this time! (on the cherry dress, it’s slightly high, so the bust gapes unless I pin it closed). It took some practice to find that sweet spot, but it’s pretty really life-changing in terms of being able to wear button-up anything and have it fit properly across the bust without gaping. What I do – I don’t mark my button holes at all, just try on the garment when it’s nearly finished. I mark the bust apex (usually about at nipple point), pin it, and adjust the the position of the pin as needed until all gaping in eliminated. Then I use a buttonhole gauge to reposition the remaining buttonholes, using the bust point mark as an anchor point.


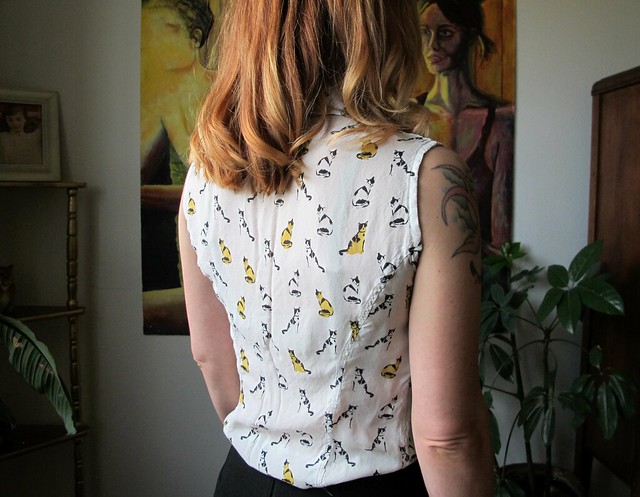
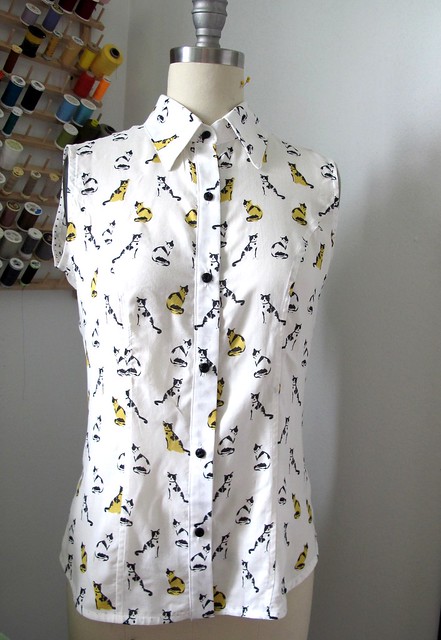
Speaking of buttons – aren’t they a good color match for those eyes? I found those at Textile Fabrics, and thankfully, they were the cheap kind on a card so they were pretty inexpensive 🙂 The topstitching thread was in my stash – again, a surprisingly perfect match. I usually prefer dark contrast when it comes to topstitching thread, but I really love the way the light contrast looks against the dark fabric background. When it comes to this much of a contrast, you want to be *really* certain that your stitching is going to be as close to perfect as you can get it, since it’s so visible. I use my blind hem foot to get an exact 1/8″ measurement from the seamline, and then lengthen the stitch by about a point or two. The bobbin thread is just the same navy I used for seaming; it’s easier to switch between threads if you don’t also have to change the bobbin.
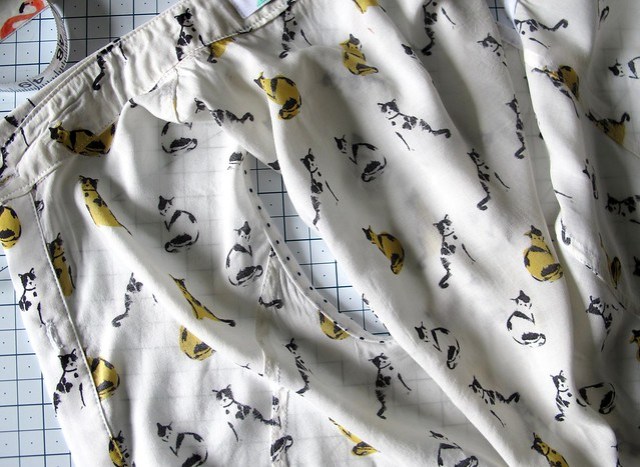
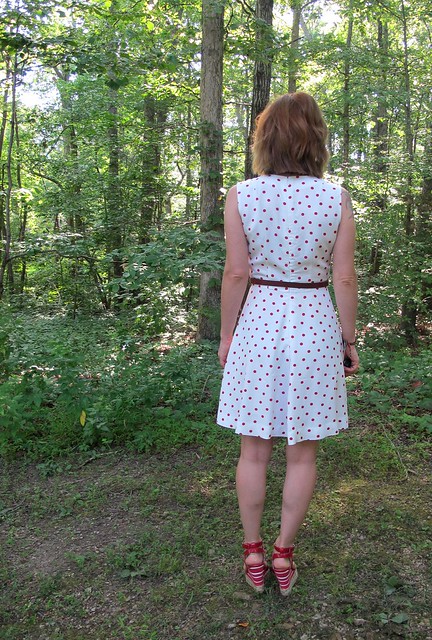
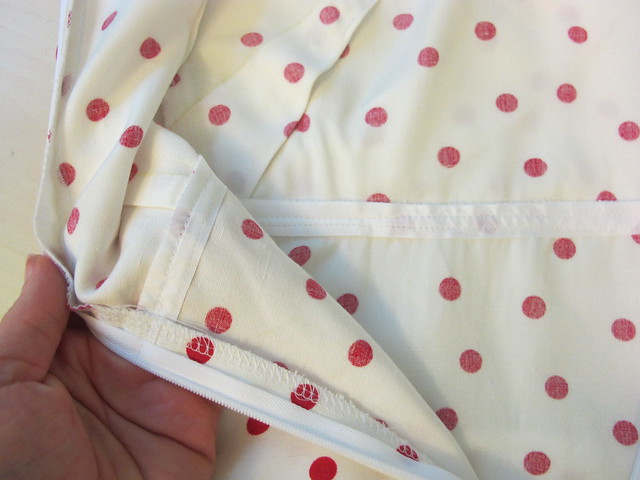
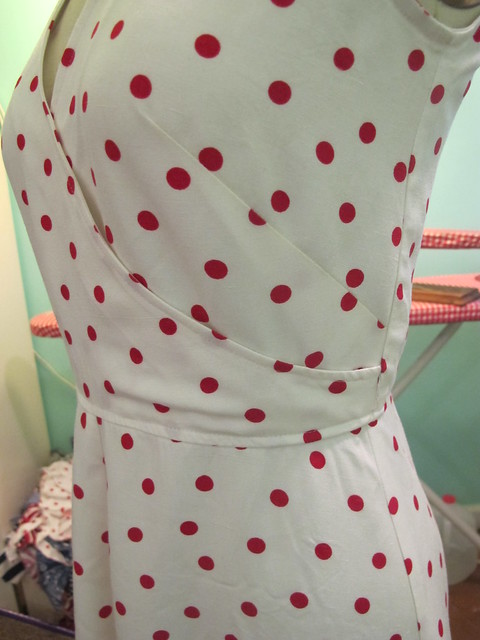
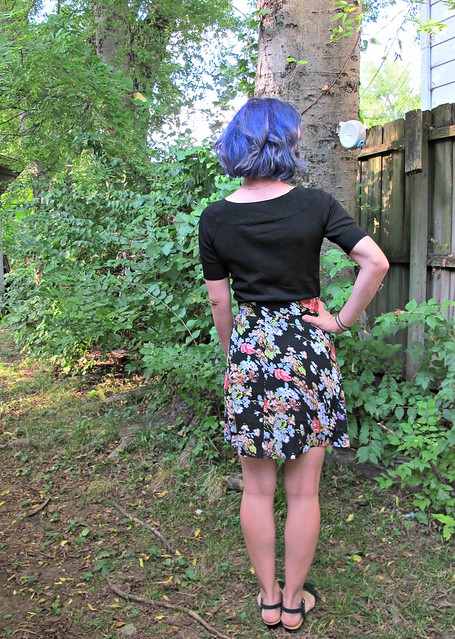
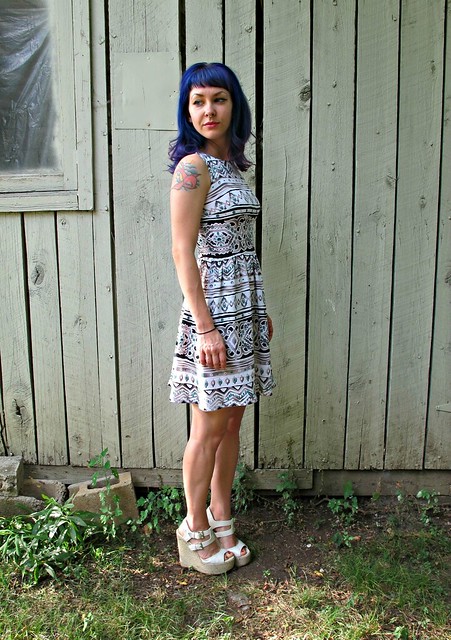
Ummm what else? I used light weight woven fusible interfacing for the collar, collar stand, and button band – this one from Workroom Social. This stuff is AWESOME! It provides the right amount of support, but doesn’t interfere with the rayon’s drape. For finishing, I used French seams throughout the dress, and a bias facing for the hem.


Finally, I sewed a flat hook and eye at the waist seam (I think this looks more polished than putting a button right there, plus, it’s easier to wear a belt with this dress when it’s flat right there), and added chain loops to the side seams (for the aforementioned belt).

I think that’s it for this dress! I’m not sure I’ll get too much more wear out of it before the weather crashes into cold, but that’s fine – it’ll be waiting for me next year 🙂


