
Happy Monday, everyone! Let me help you kick-start your afternoon with some underwear photos 😛
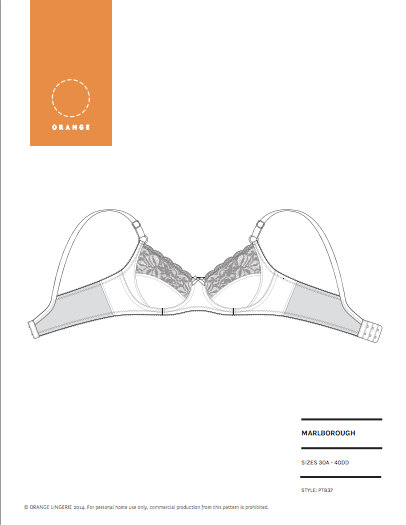
I made these Marlborough bras a couple of months ago. Nope, I haven’t branched out to new bra patterns yet; this particular pattern suits me just fine! I love the way it fits and I’m happy with the shape it gives me under my clothes. I prefer this soft cloth bra over a foam-cup bra (although I do like those, too!), even if it does mean that people can totally tell when I’m cold. Whatever. I’m always cold and we all have nipples and I’ve just learned to deal with it.
Can I just say – I’m so happy that making my own bras has given me the options to choose what sort of underwear I get to wear. Those big non-seamed foam cup bras that everyone is pushing right now – you know, the kind that make your boobs look like half of a grapefruit – just don’t fit me right. I don’t have the breast shape to fill them out properly and it always drove me nuts when I had to wear them. I do much better with a seamed cup – and I’m even happier when I have no foam, or very very thin foam – it just fits better and looks nicer. I am accentuating my own breasts, instead of covering them up to create new ones. Plus, I have the option to make my bras out of anyyyyy fabric I choose – which, if you’re any size that is outside the very small “standard” size range (like, basically 34B / 34C), you know how hard it is to find pretty bras that come in more than 3 colors. My underwear drawer makes me so happy now! 😀 haha!
Since I’ve already made these pattern multiple times (seriously, just look at my Marlborough tag), I’m not going to talk much about sizing and fitting. I’ve definitely already covered that! This is a size 30D with some minor adjustments to the band and upper cup, to fit my body better. I love this pattern and it was the first underwired bra I sewed, so yes, it’s a good pattern for a first-time bra maker. Might as well start big! For more tips on bra making, check out this post I wrote.
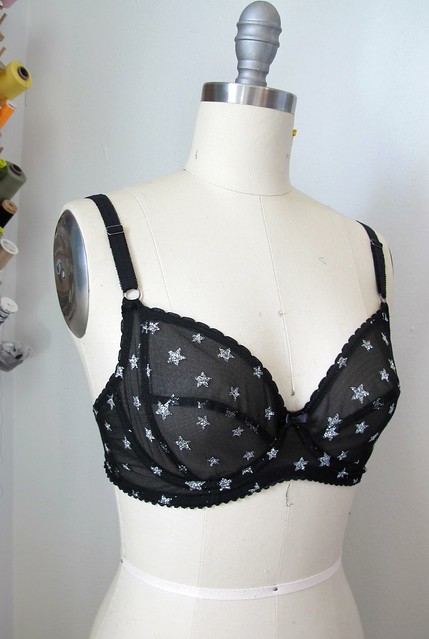
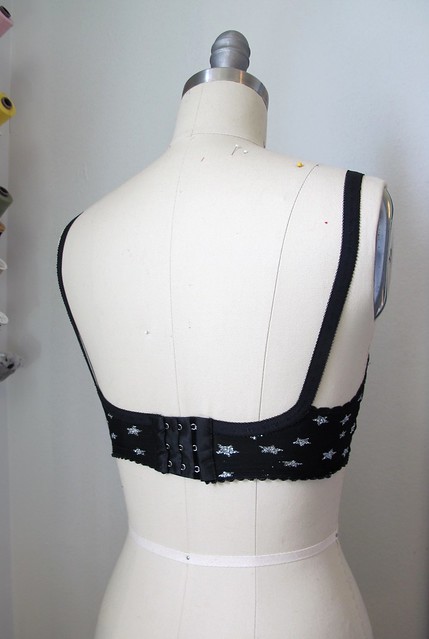
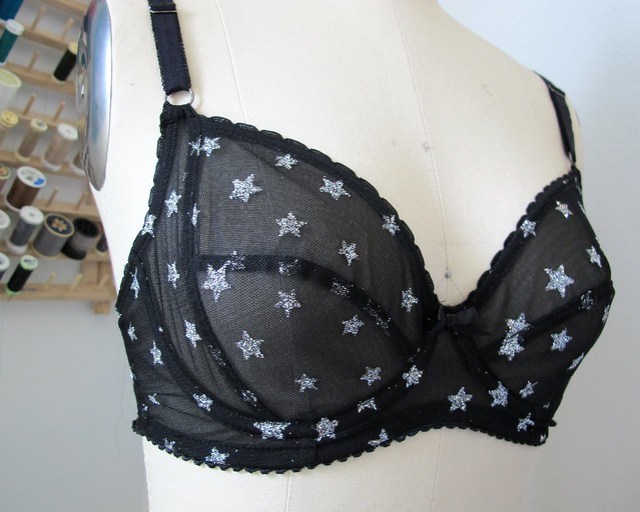
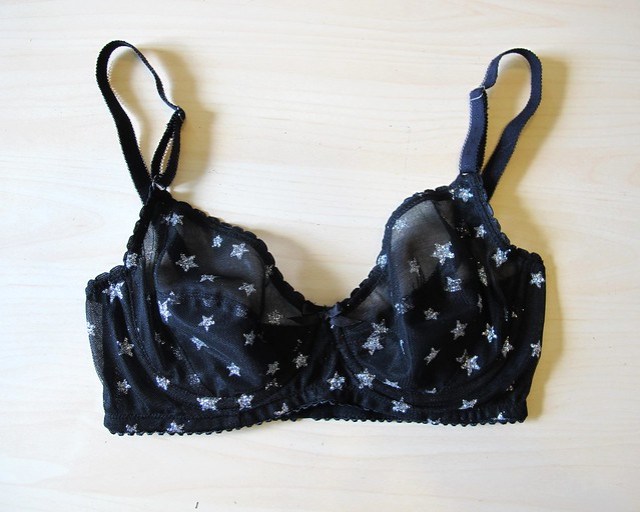
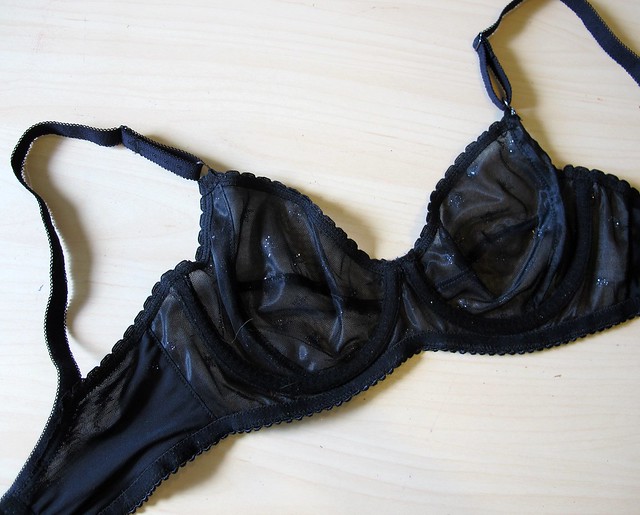
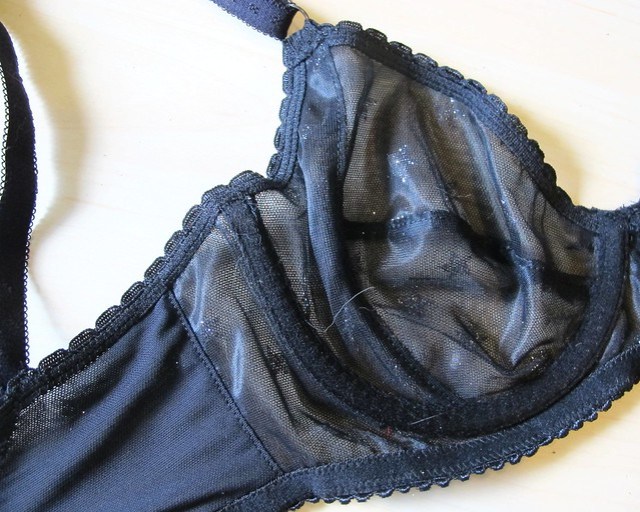
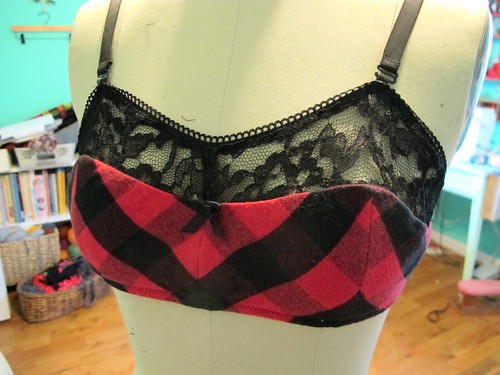
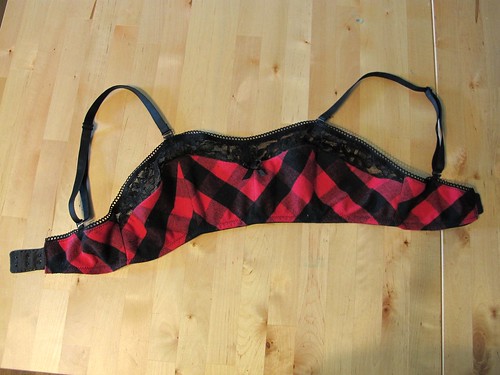
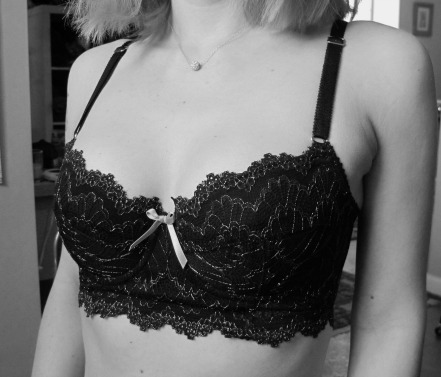
First Marlborough is this one with glittery black stars!! If the fabric looks familiar – it’s cos I’ve already made a bra with it! I loved that little soft bra so much, and I had so much of this sparkly mesh left over, that I figured I’d made an underwired bra with it as well 🙂 The mesh was originally given to me by my friend Carolina, who bought it for me a couple of years ago in the Garment District. It’s a sheer mesh with a 2 way stretch and sparkly glitter stars. Whenever I wear this bra, I end up covered with glitter haha.
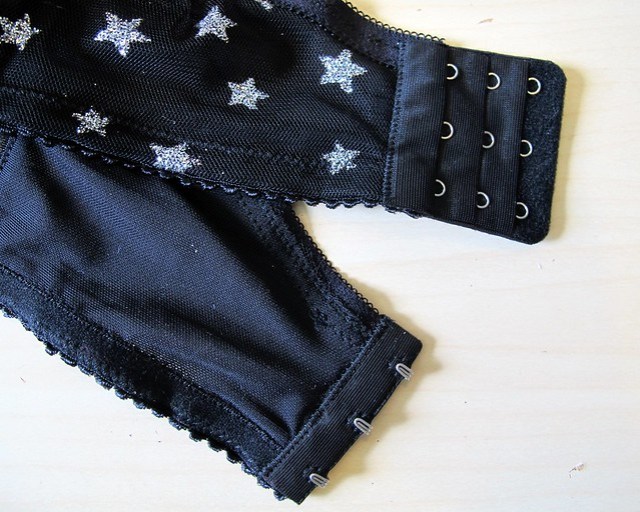
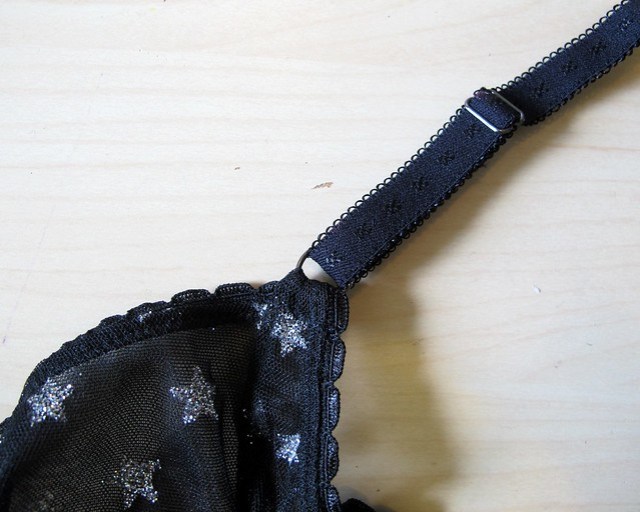
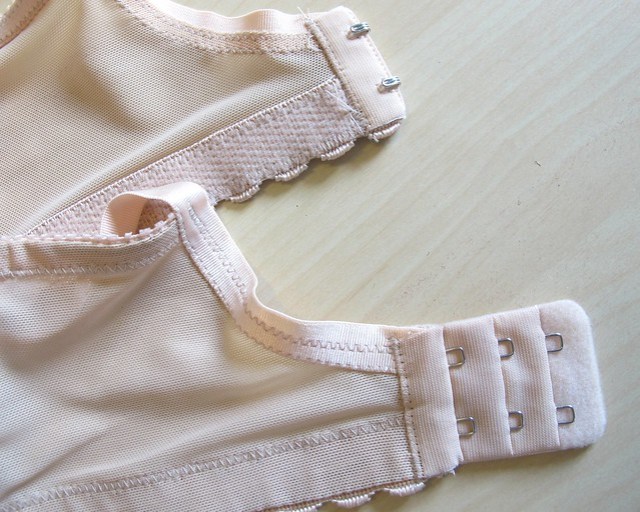
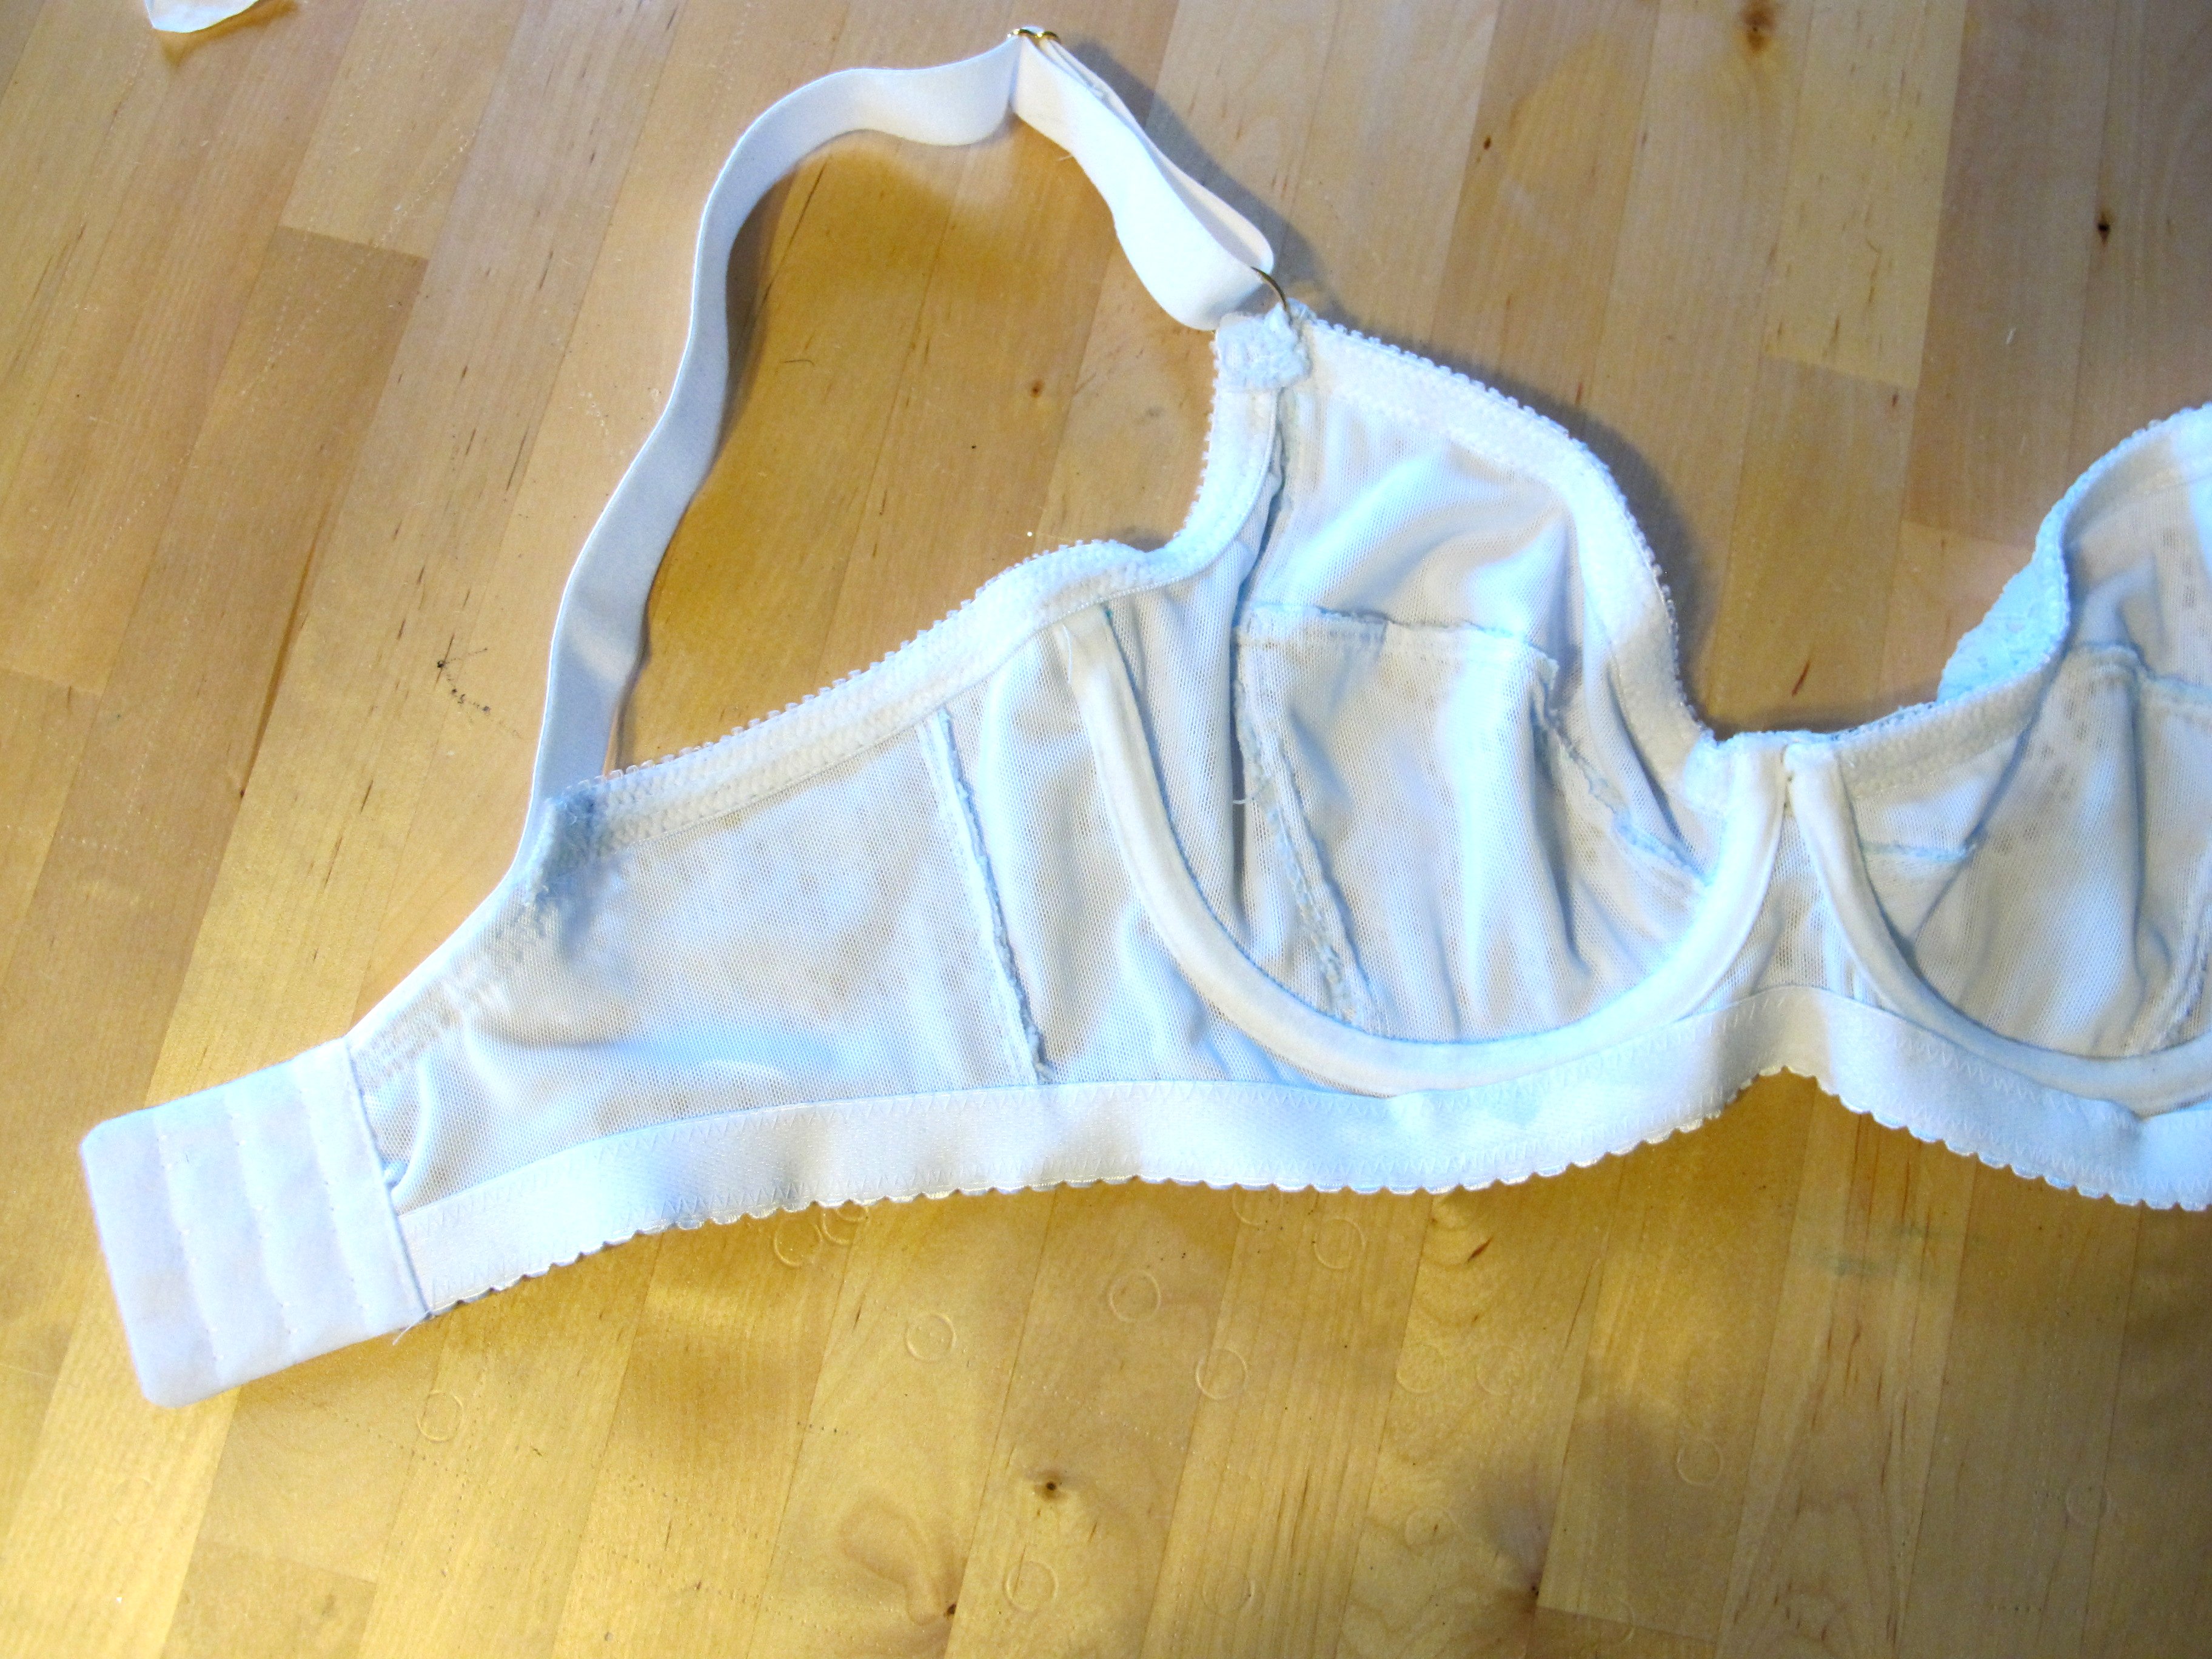
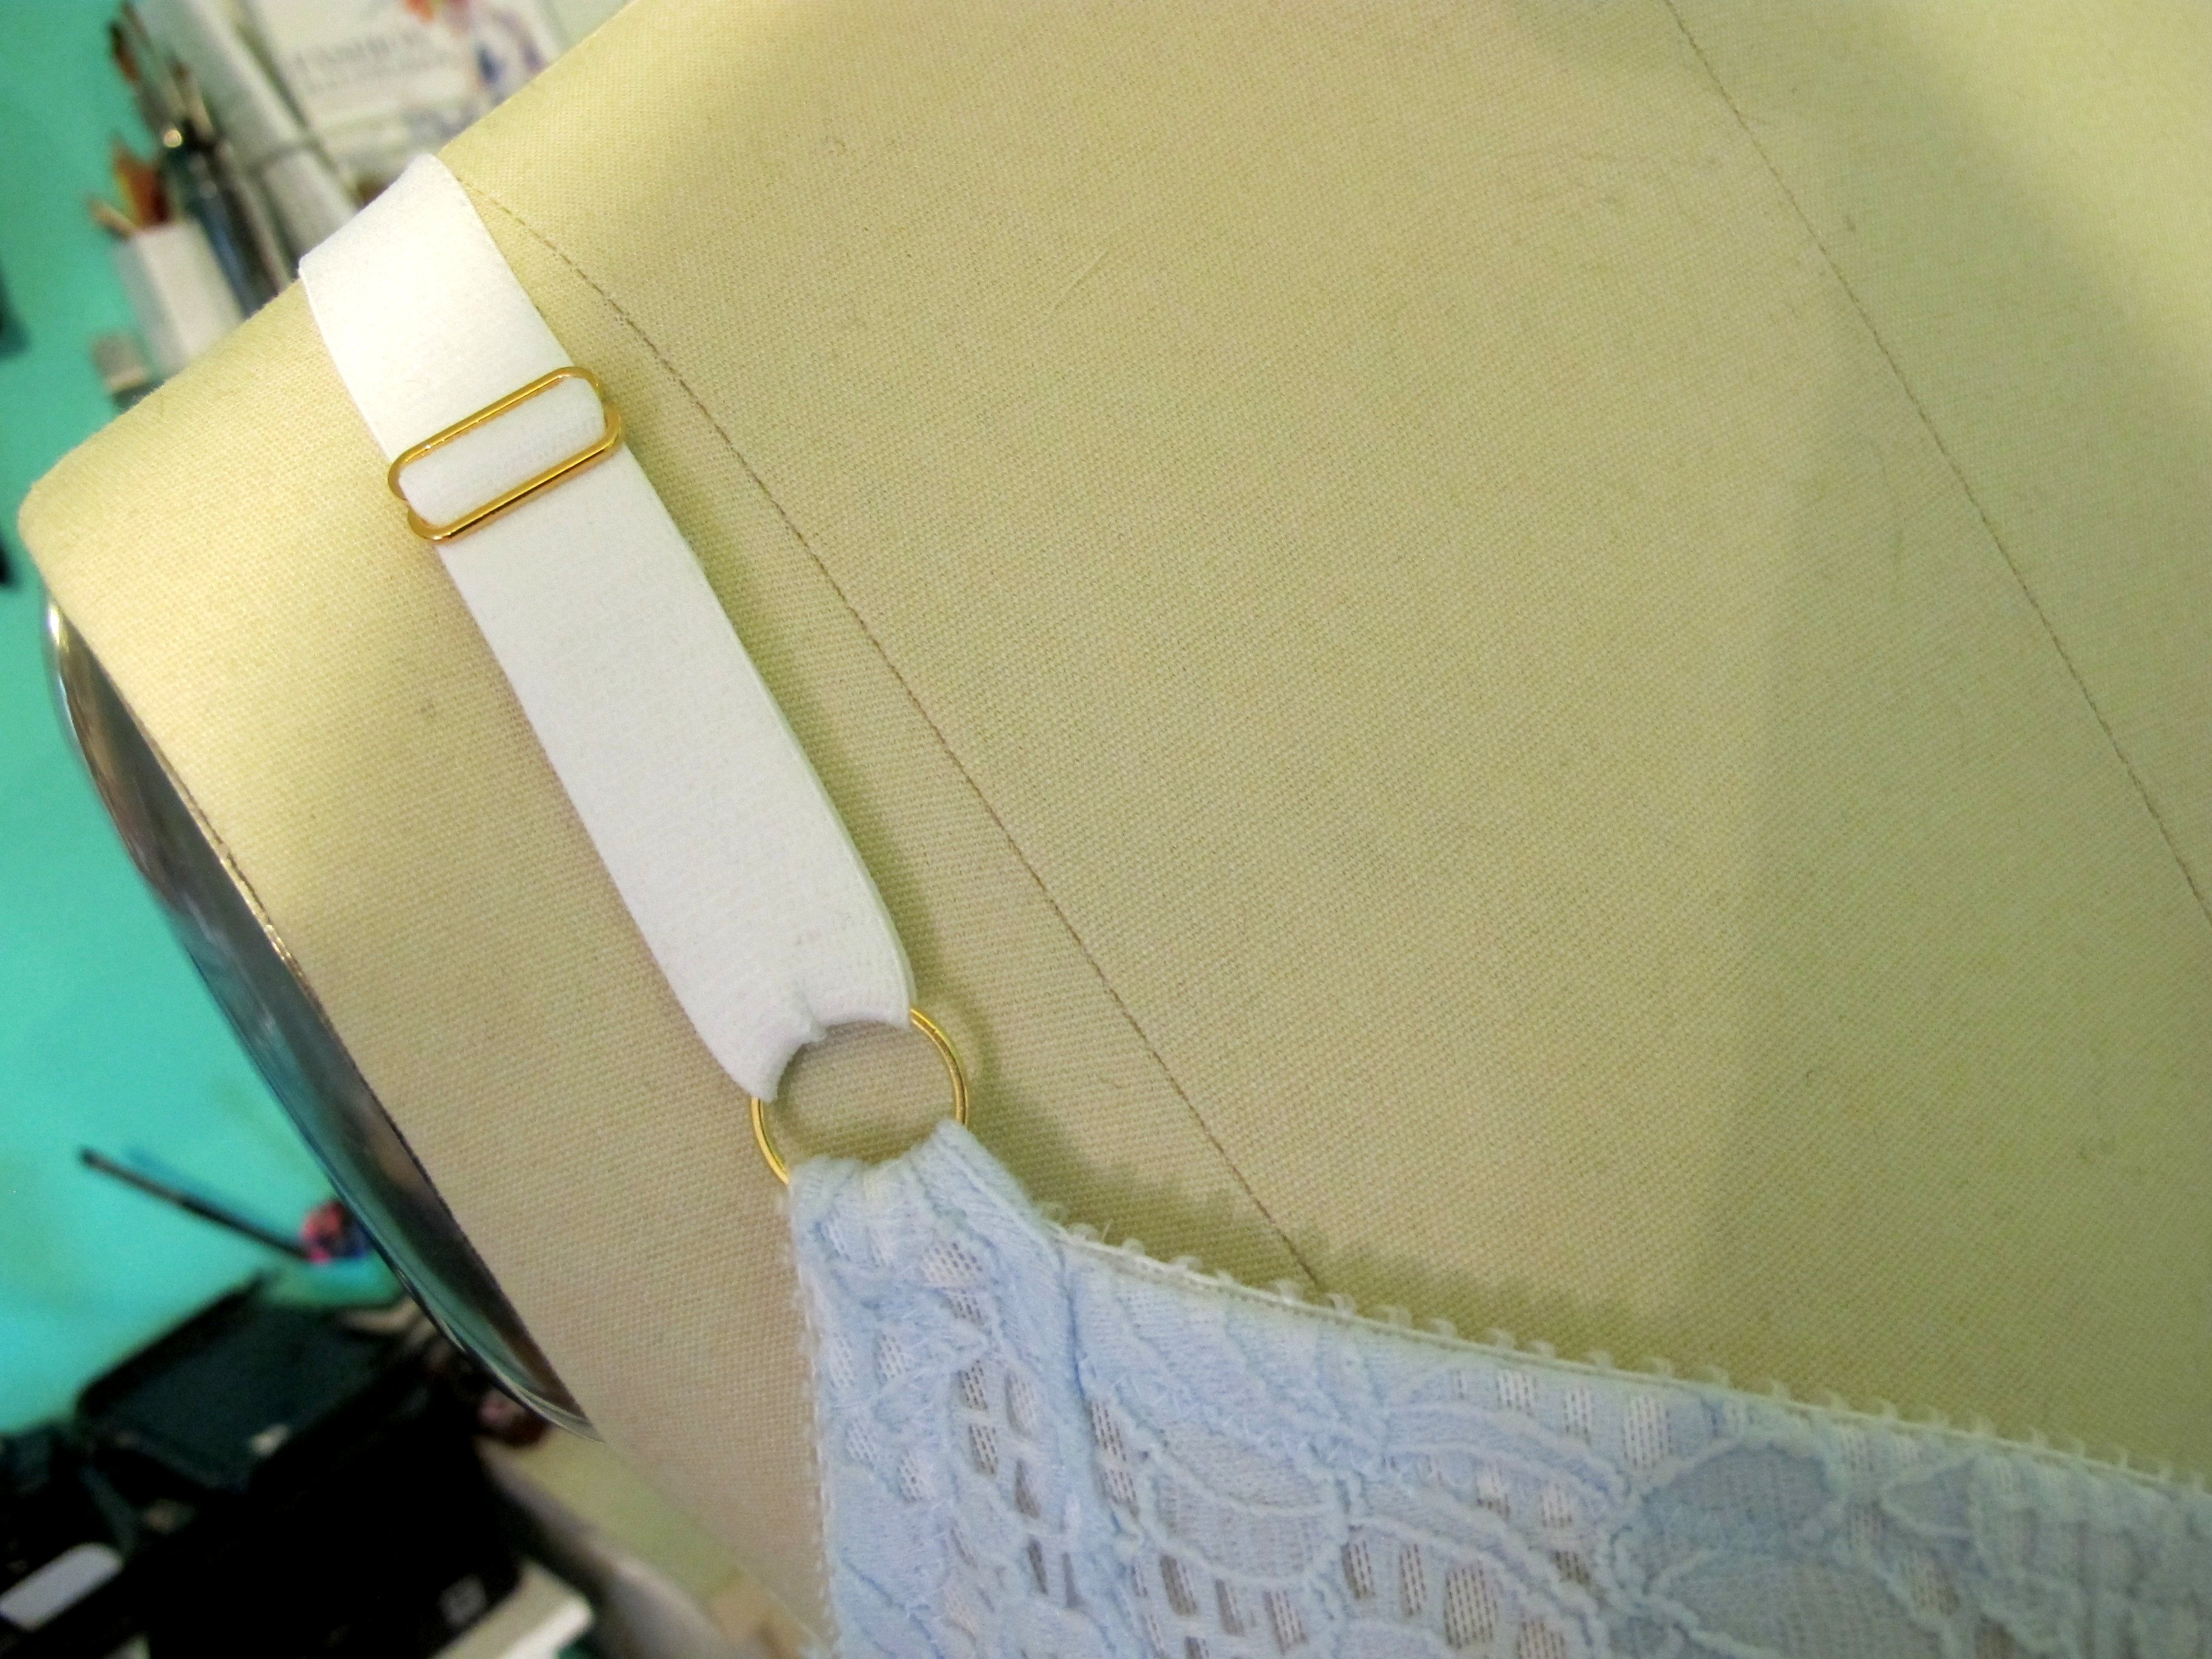
The entire bra (minus the band) is lined with black sheer cup lining, and all the elastics and channeling are from the depths of my stash. The hook and eye, bra straps, and gunmetal rings and sliders are from Tailor Made Shop, which is my favorite online resource for bra making supplies (especially her kits!). I will note that I finally figured out a way to completely encase all the seams with lining so you don’t see any serged seams – if you leave the seam that connects the bridge to the frame (right under the cup) so that it’s not encased, it will eventually be covered with elastic and underwire channeling. That way, you can encase the frame to band seam and not have to serge it (I hope this makes sense). It does require making your sewing steps slightly out of order, but I think it’s worth it!
Sorry in advance for all the photos, as well as the cat hair that is included. I am very proud of how this bra turned out!


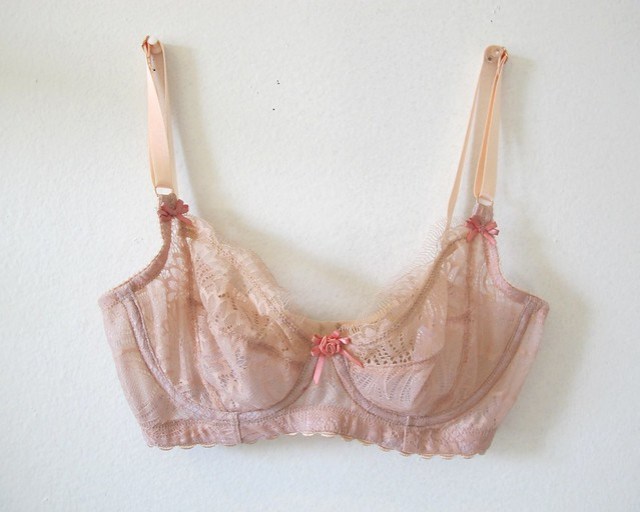
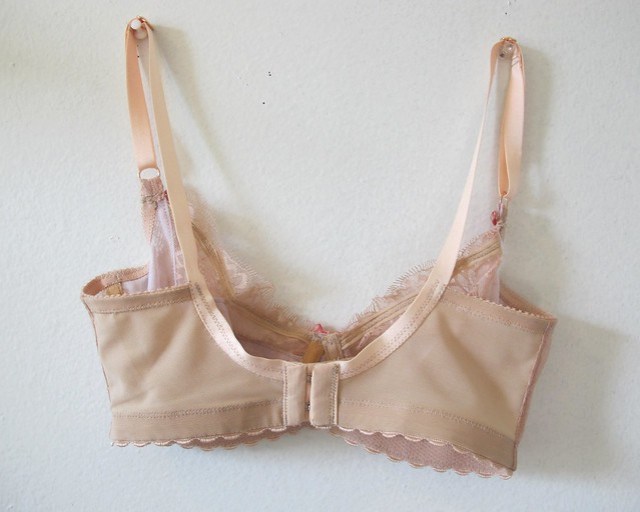
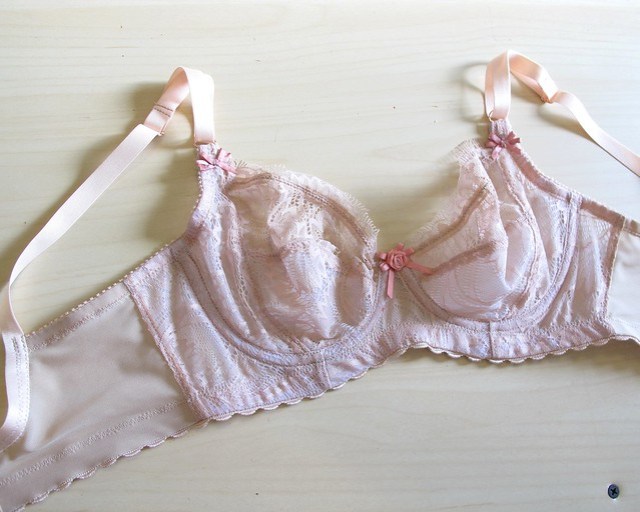
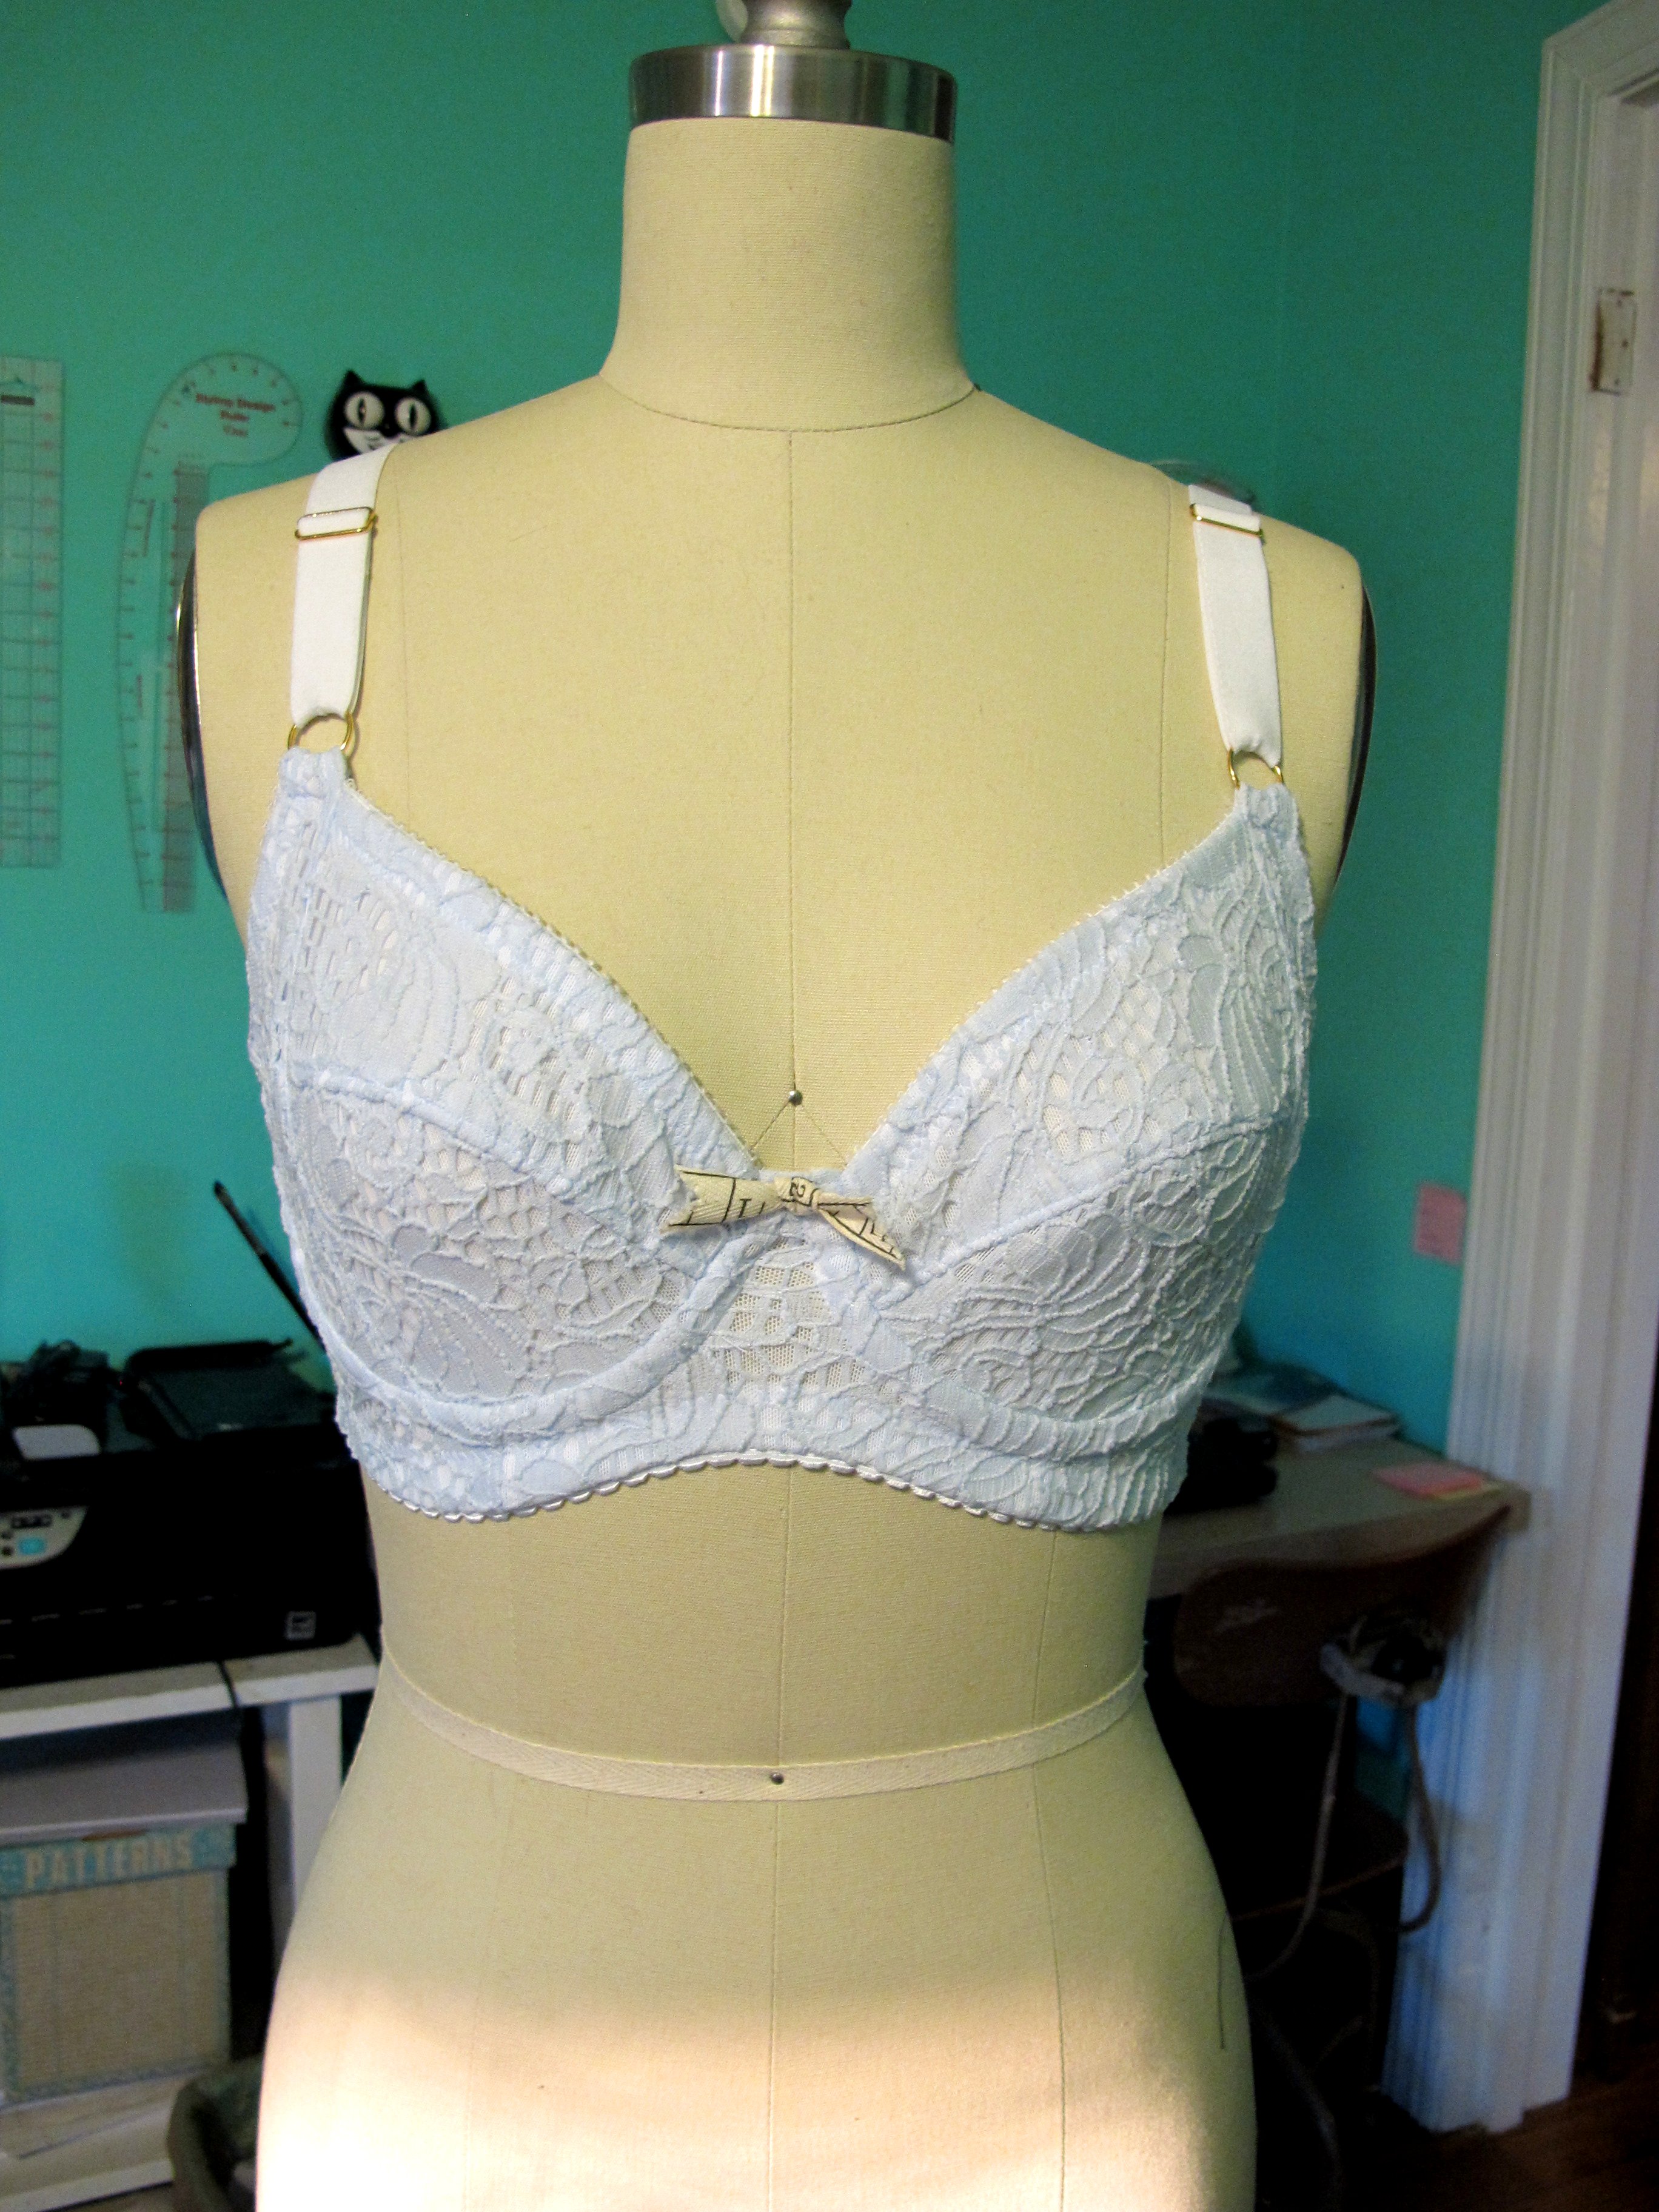
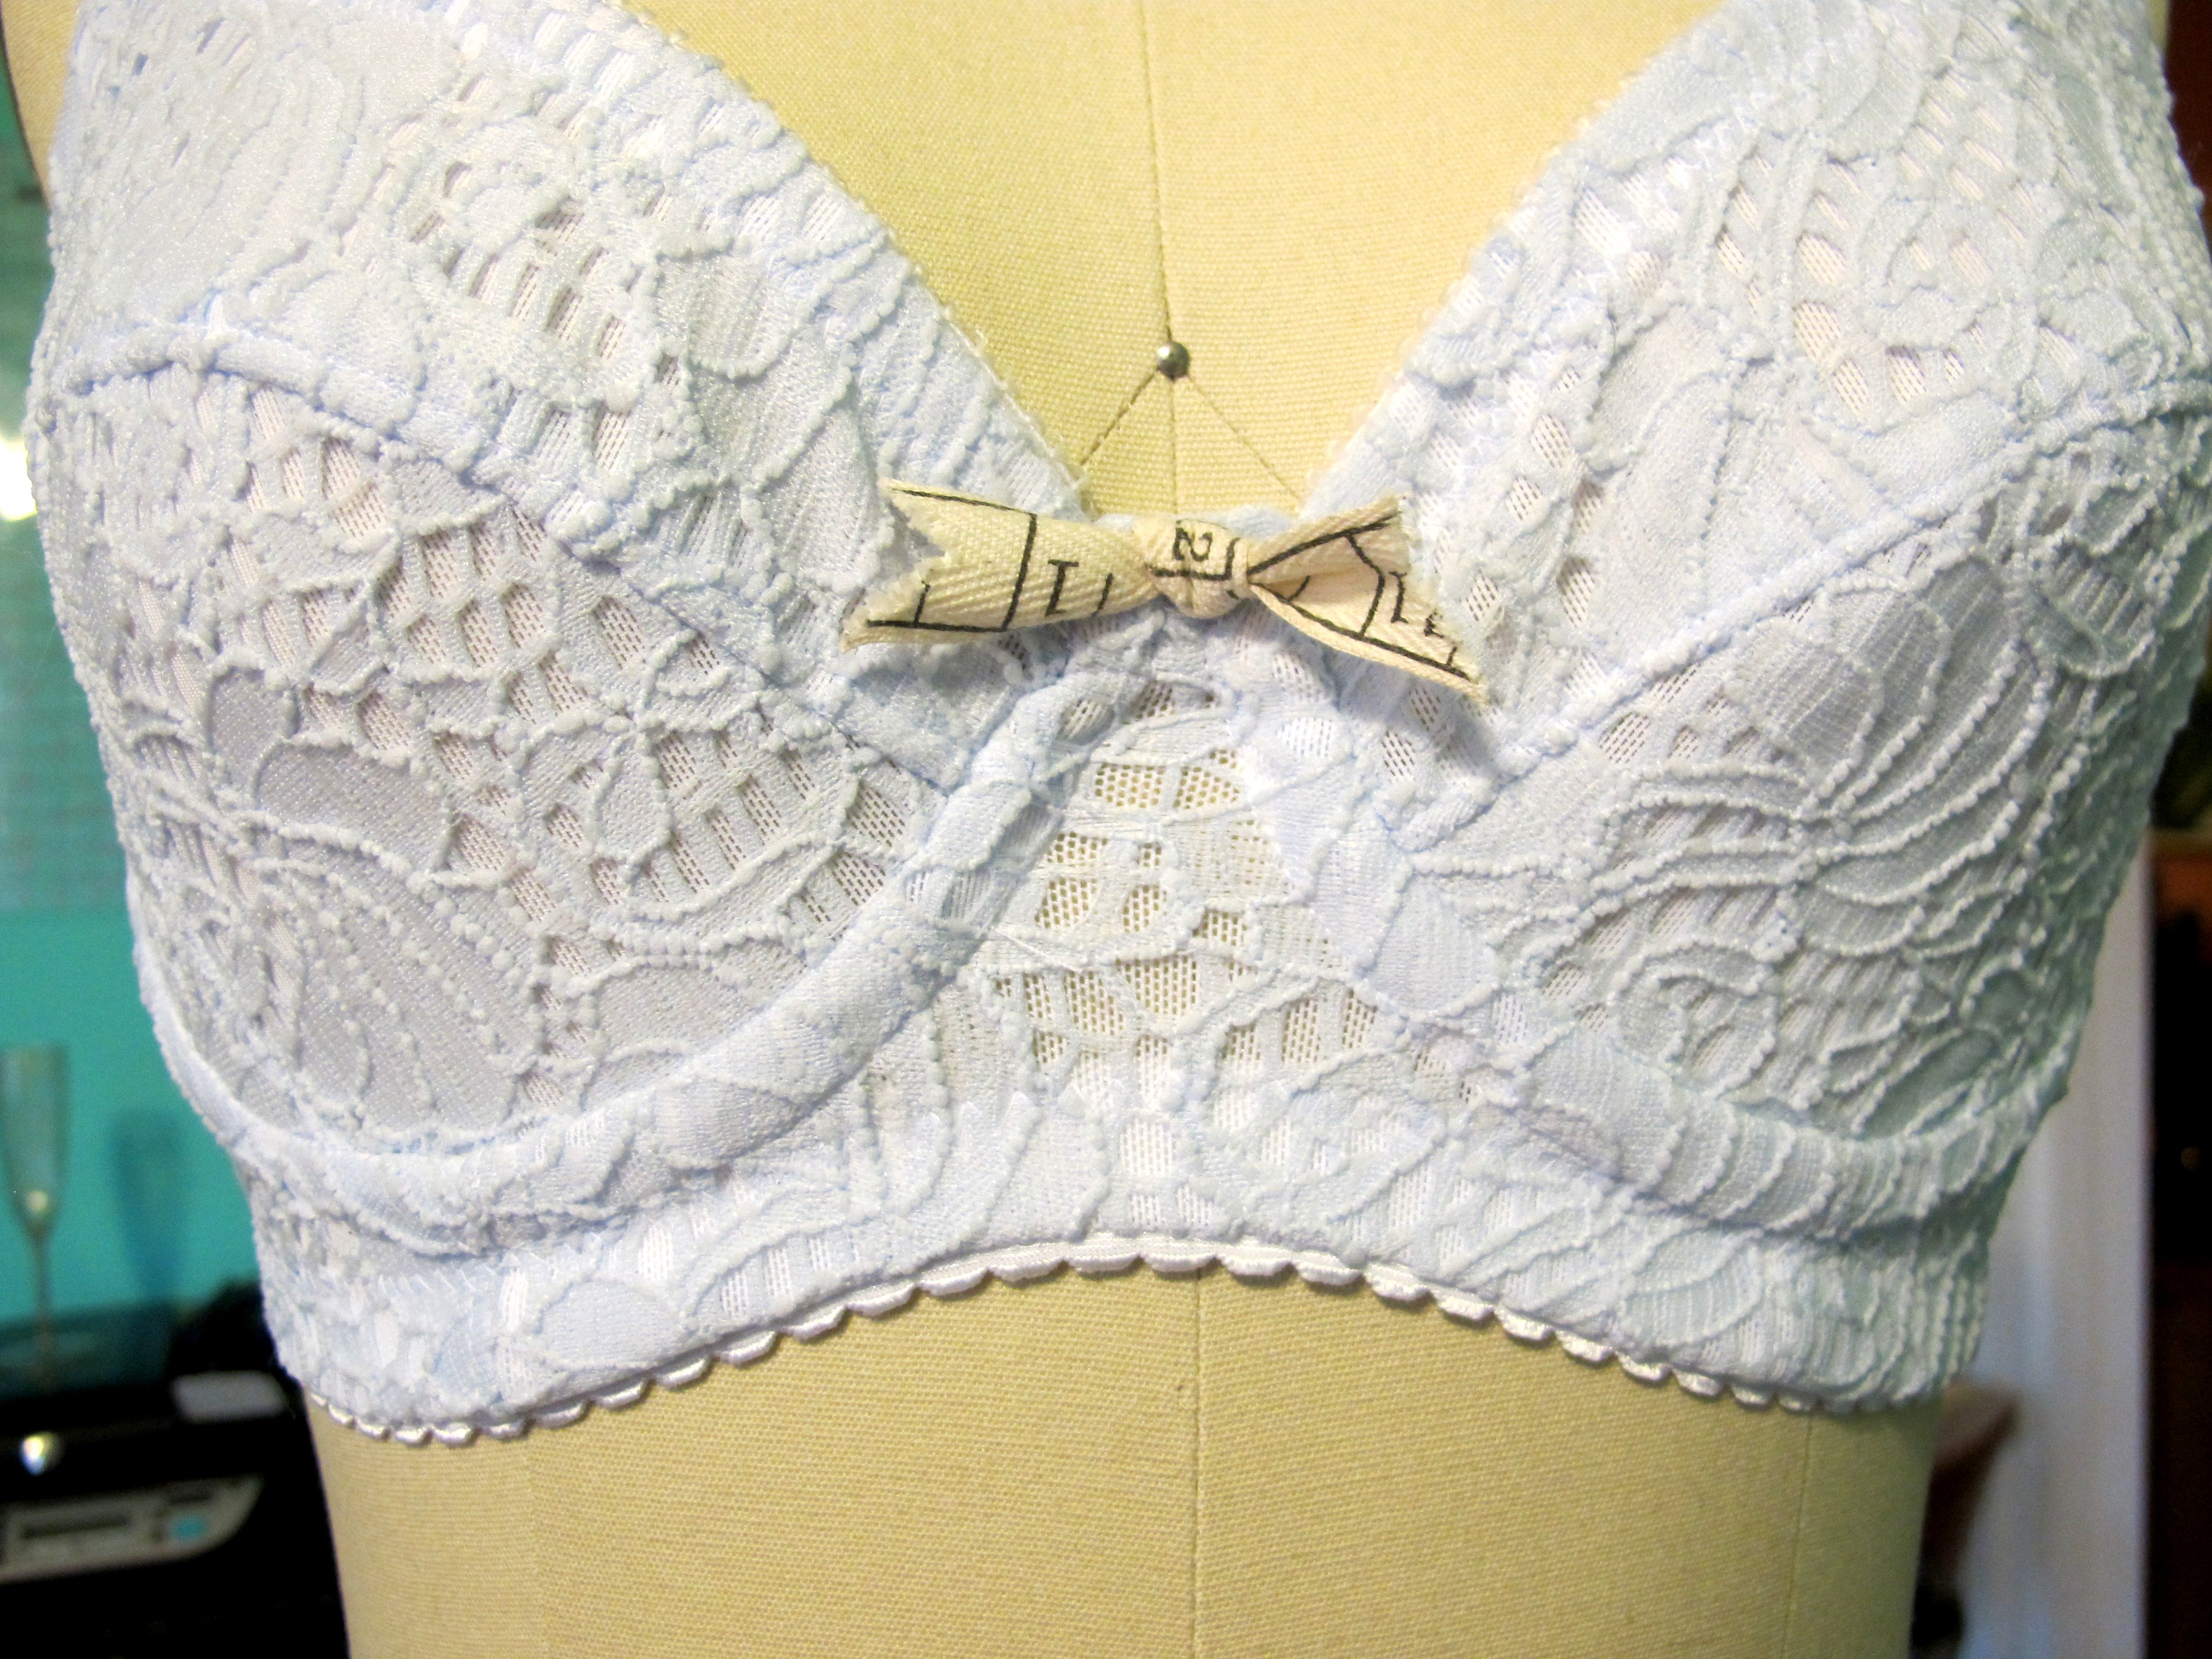
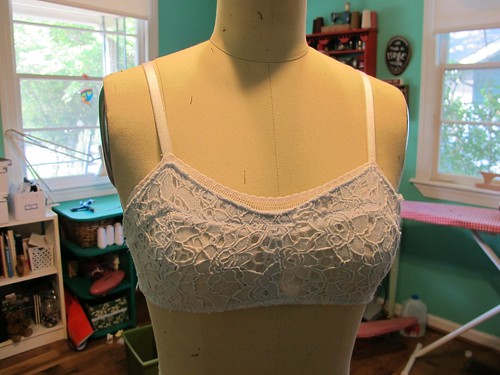
My second Marlborough is a bit more practical – a soft pink that almost exactly matches my skin, which means it works great as a nude bra. I wear a lot of shirts that border on sheer in the summer, so this is a definite need in my wardrobe. Sewing (and wearing) nude bras is so boring, so I’m happy to have one that’s actually really pretty 🙂
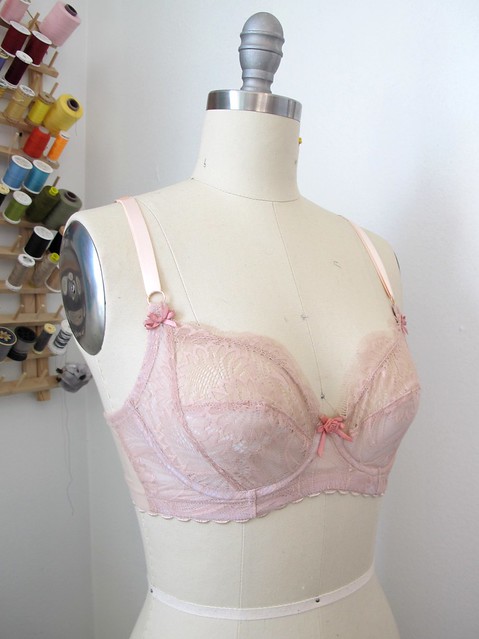
The blush lace is from Mood Fabrics; it is a very soft and sheer lace with pretty scalloped edges that have “eyelashes.” $20 a yard isn’t cheap for lace, but it is when you only need 1/2 a yard to make a bra (honestly, you only need like 1/4 yard… but Mood Fabrics only sells in half yard increments online, wah. At any rate, this is a good nude color for me so I can make more when I wear this one out!). In my experience with this pattern, most any fabric works as long as it has a very small amount (like 10%) mechanical stretch in one direction. Like, the same amount of stretch you’d get from cutting something on the bias. Once I line the fabric with sheer cup lining, it has the perfect amount of stability and stretch and almost guarantees a good fit. I really stressed a lot about finding the right fabric when I first started making bras, but this discovery has made things soooo much easier!
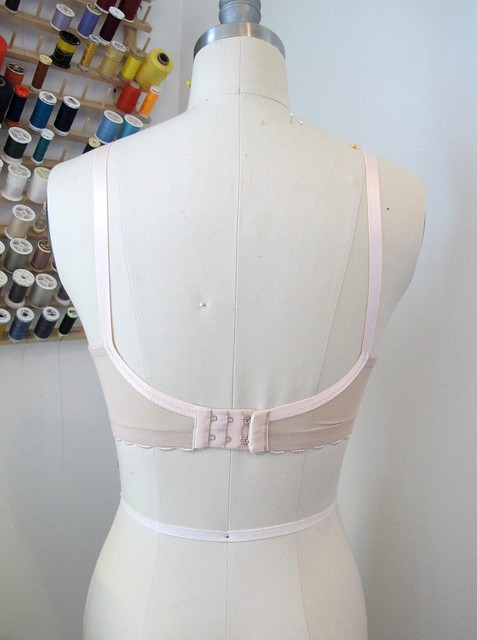
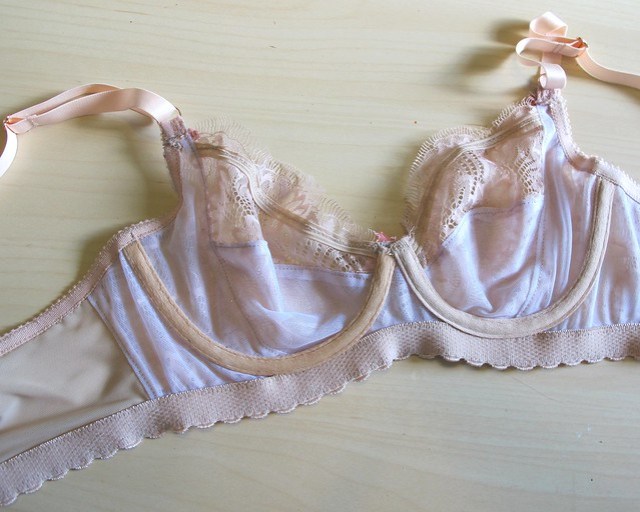
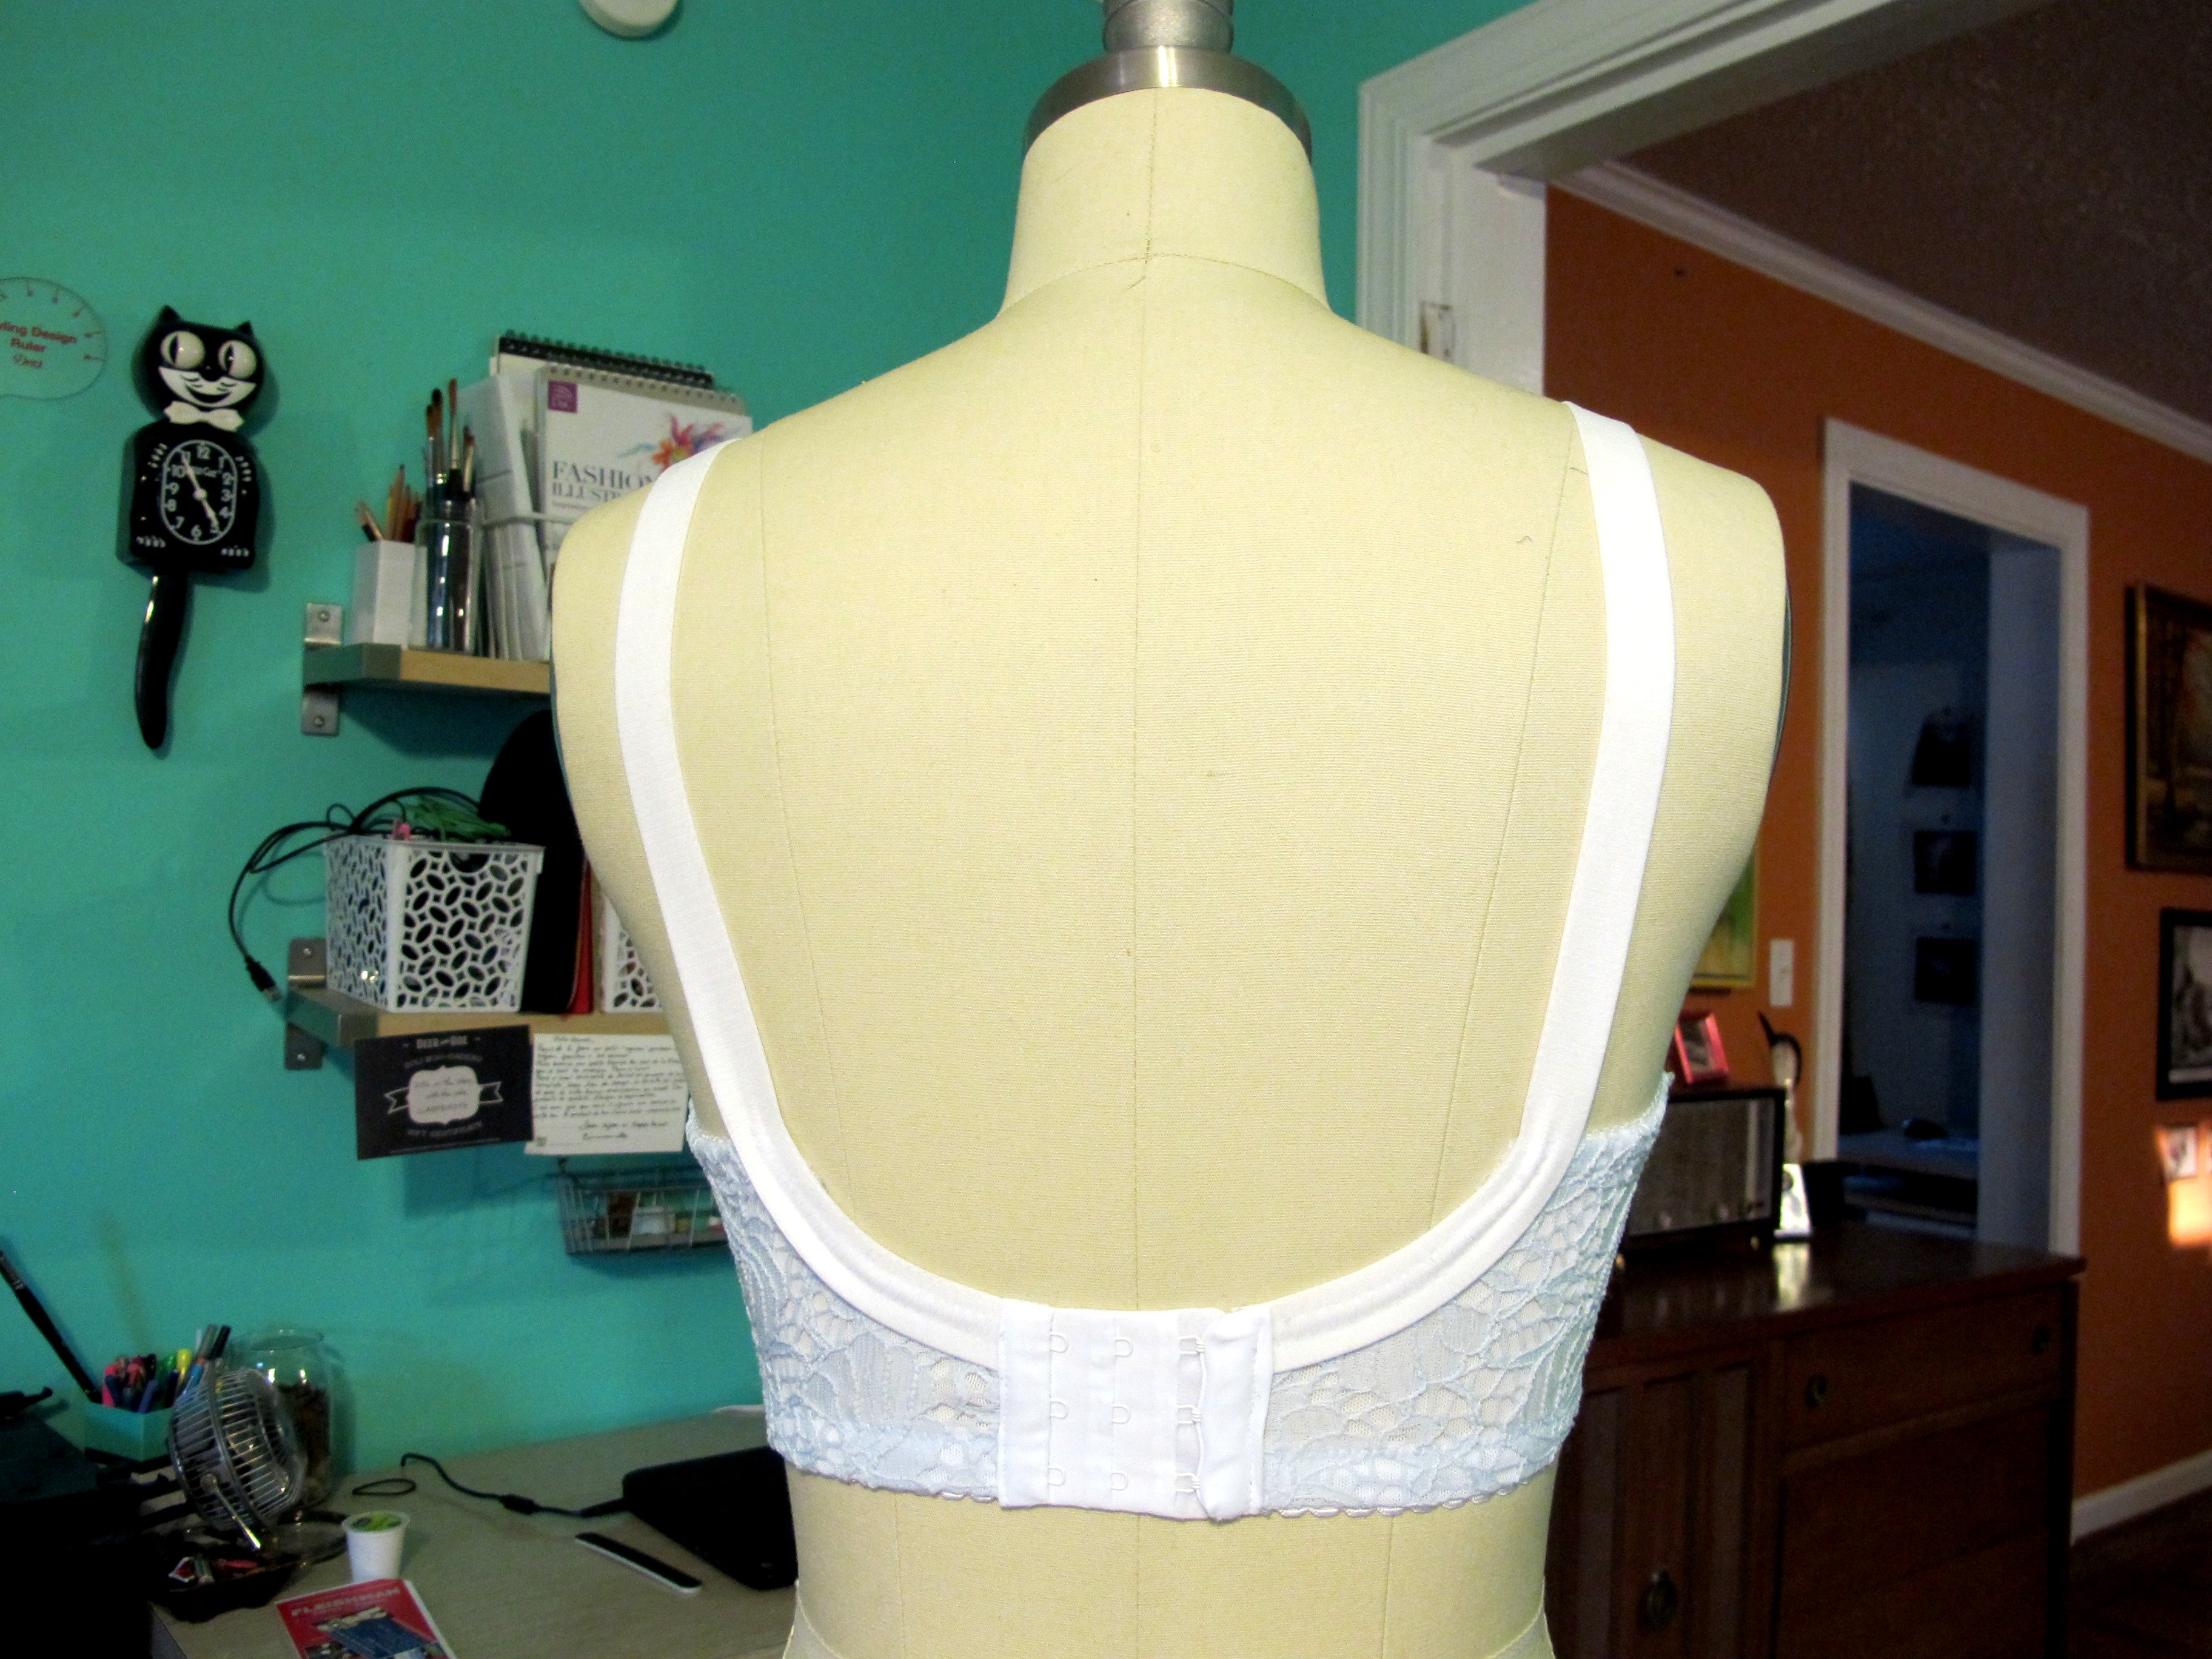
As with the black glitter star bra, this whole bra (minus the band) is lined with sheer cup lining in white. The scalloped edge of the upper cup is stabilized with a strip of selvedge from the Power Mesh, which I’ve learned I like better than using clear elastic. All the elastics are from my stash; I tried to stick with nudes to complement the blush. The hook and eye, strapping, and rose gold rings and sliders are from Tailor Made Shop – the strapping in particular is pretty cool, it’s not like regular elastic strapping… it’s almost like a stretch petersham ribbon. It looks really beautiful and delicate with this bra, and the color match is spot on. Oh, and the bows are actually pulled of an old bra that I wore out and tore up – I think it was originally a Betsey Johnson bra. It makes this one look extra frilly and girly, which I love!
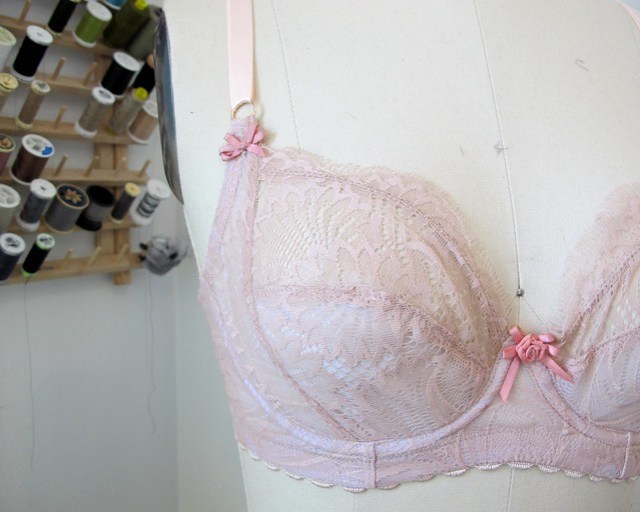
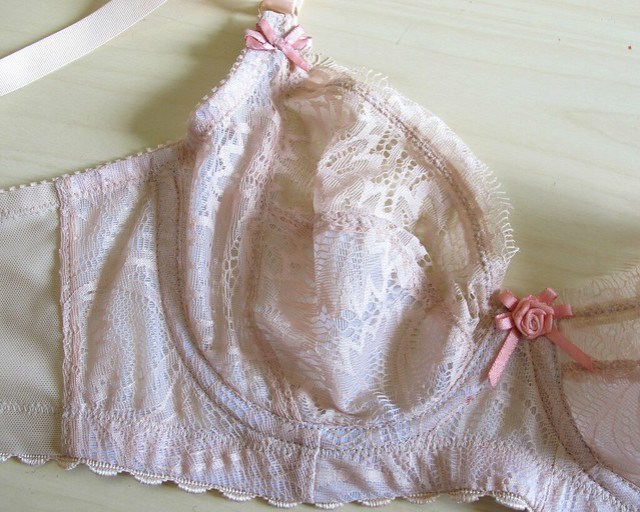
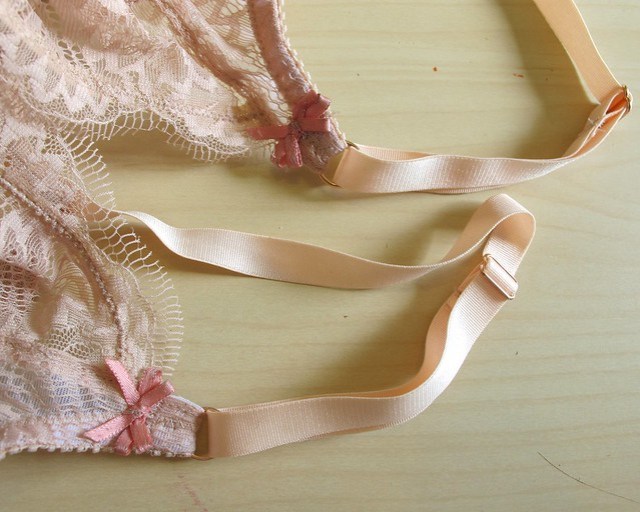

Here, you can see the eyelash edge. It’s very soft and pretty, and makes for a really smooth line under tshirts.
Just a few more things – upcoming workshop and class related!
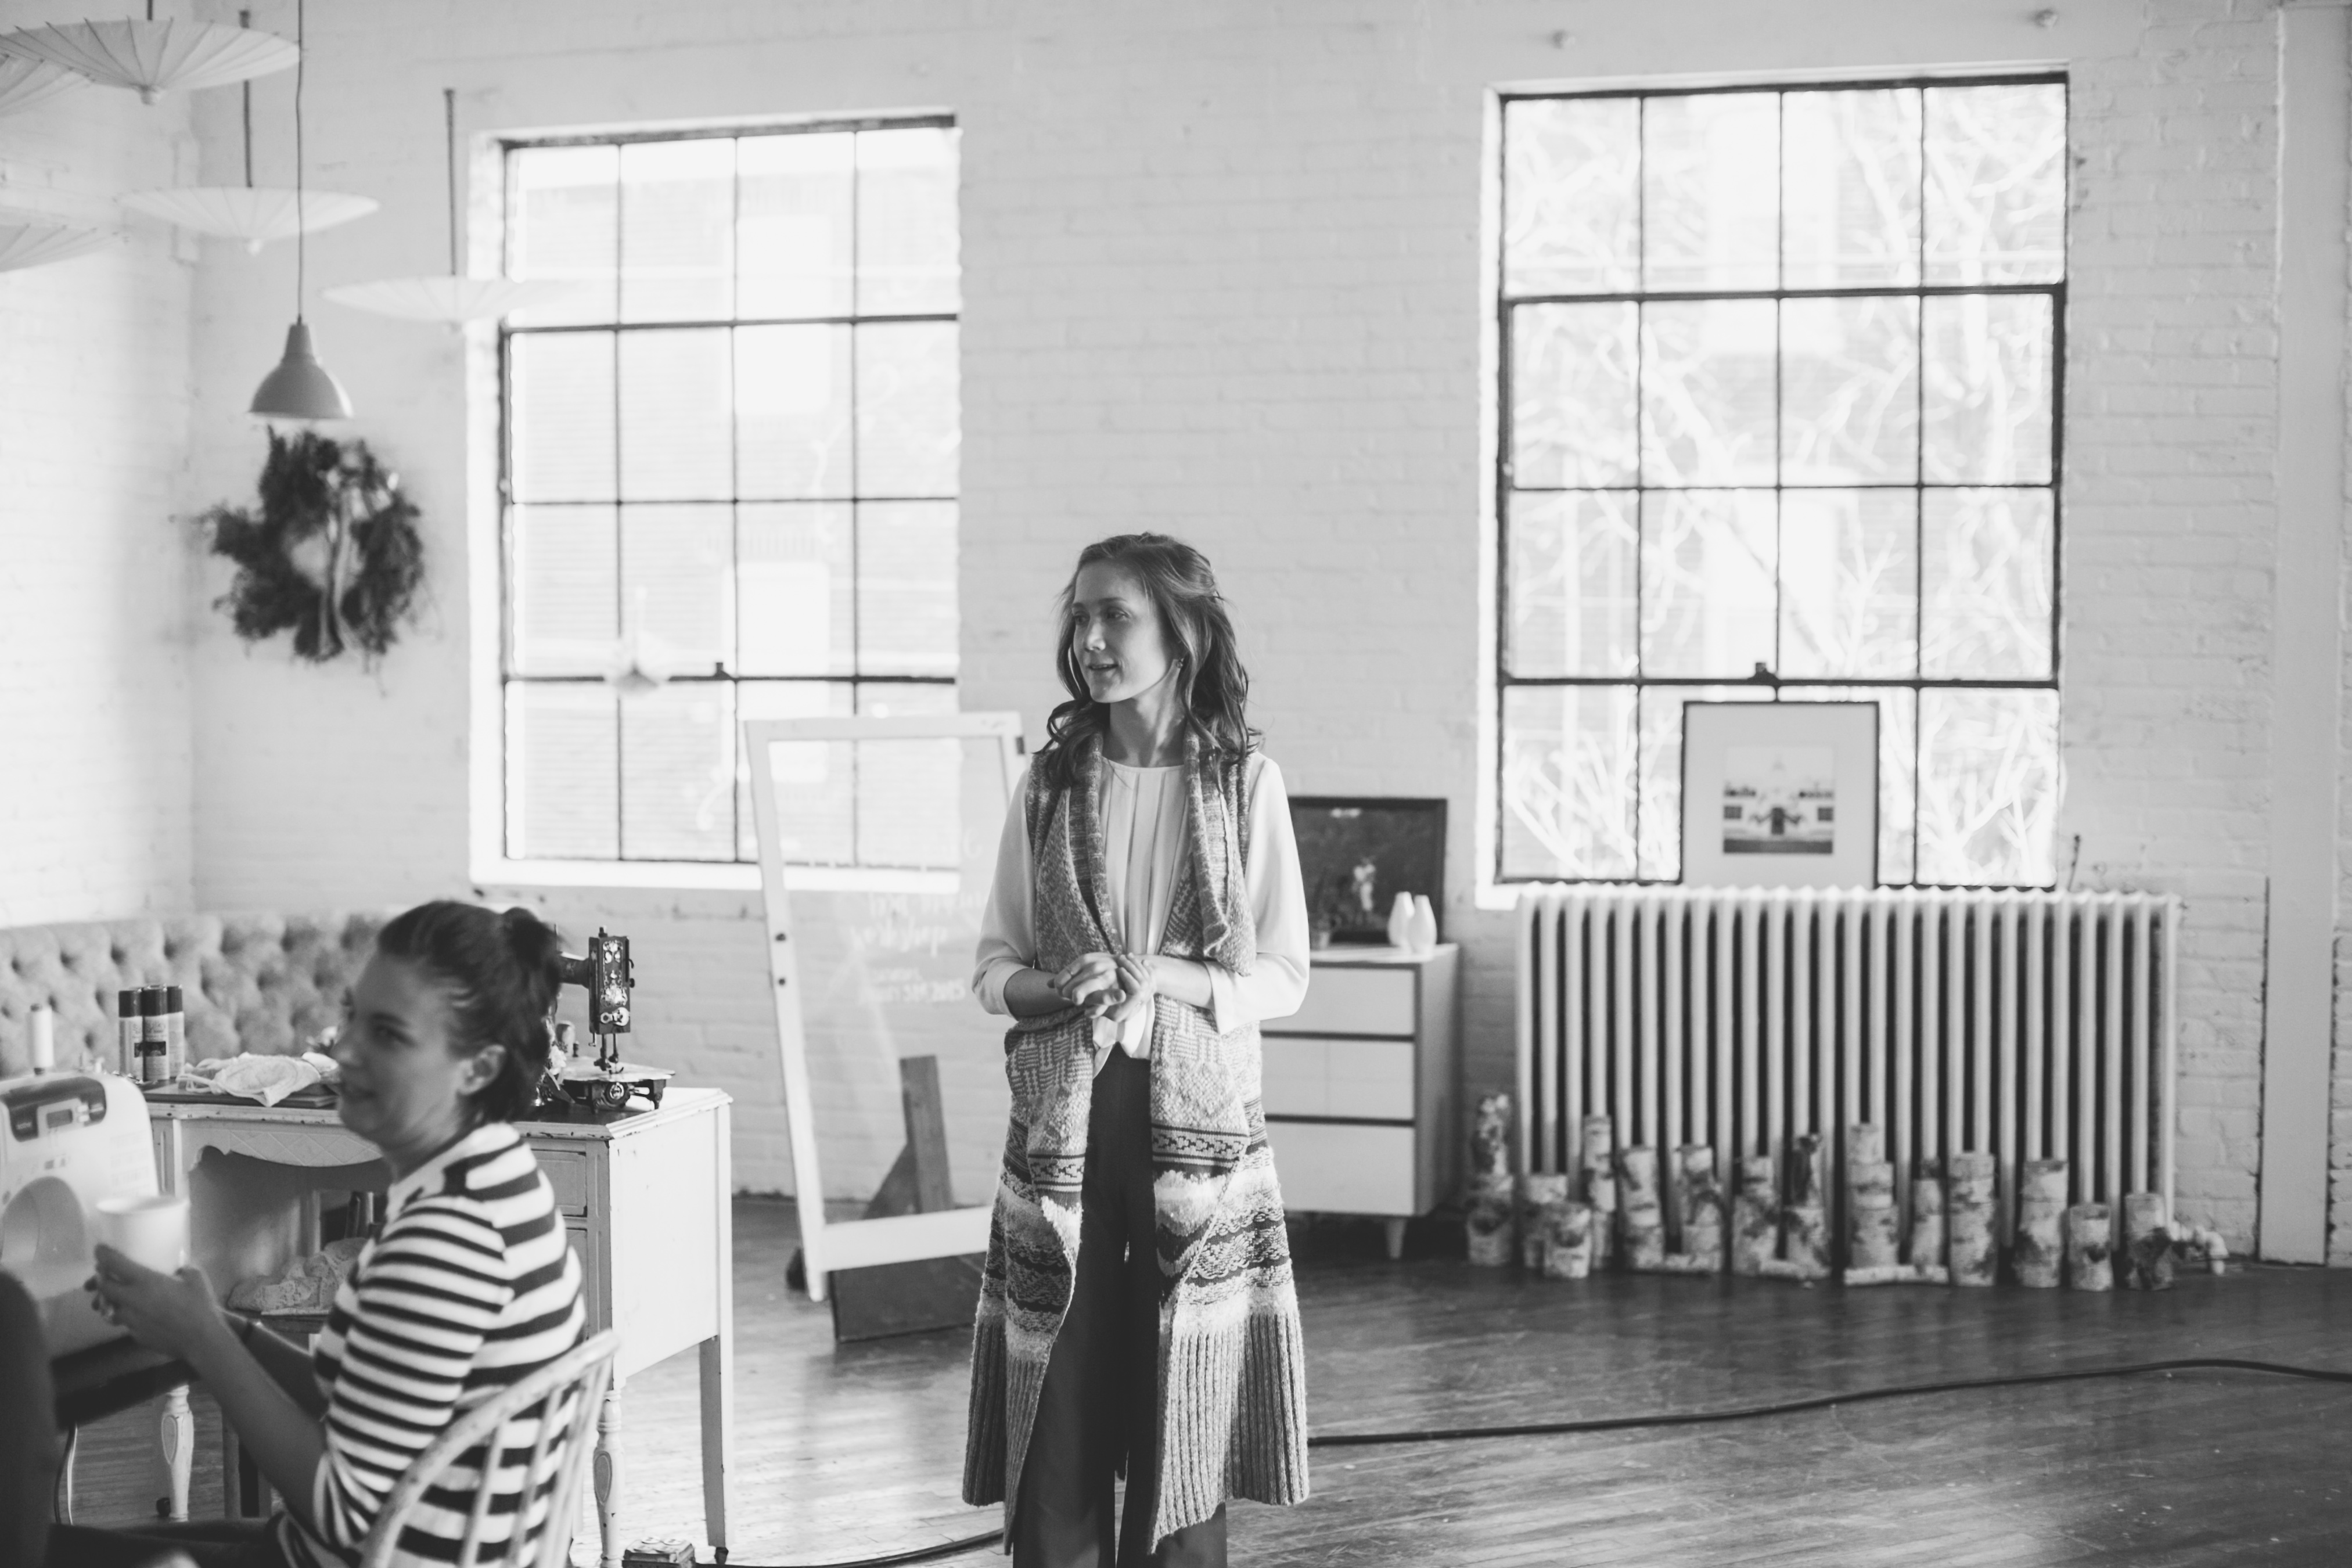
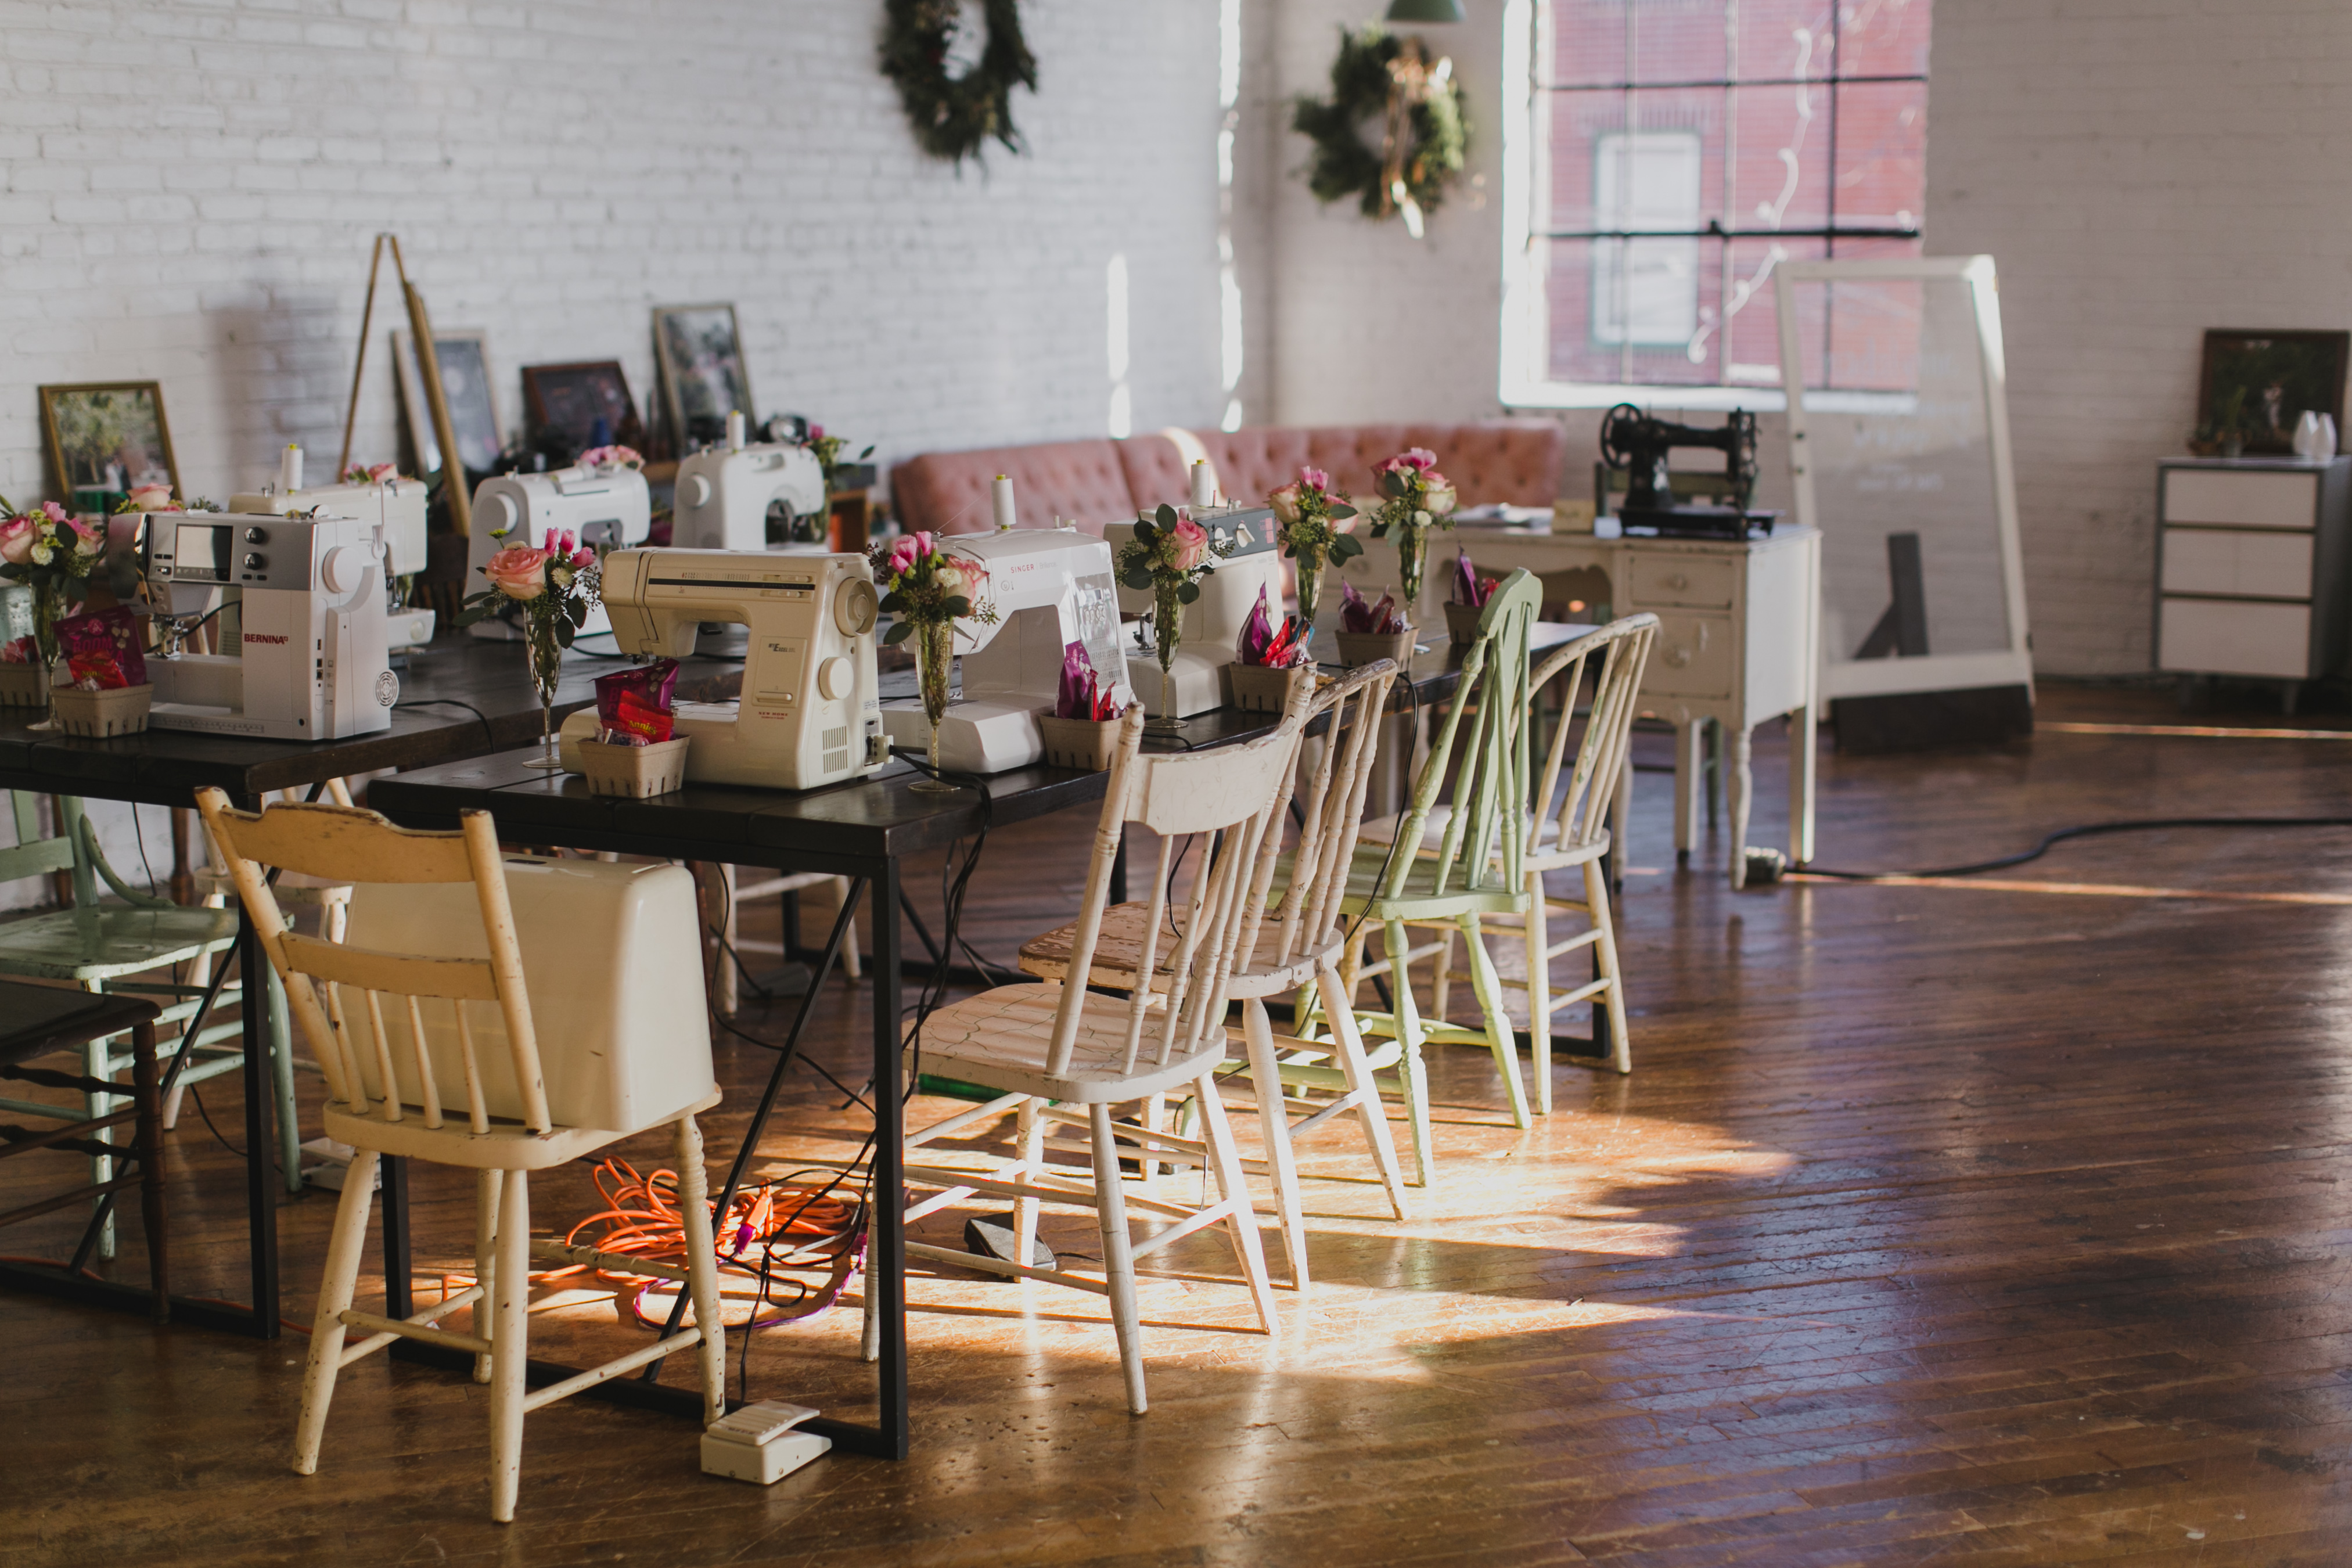
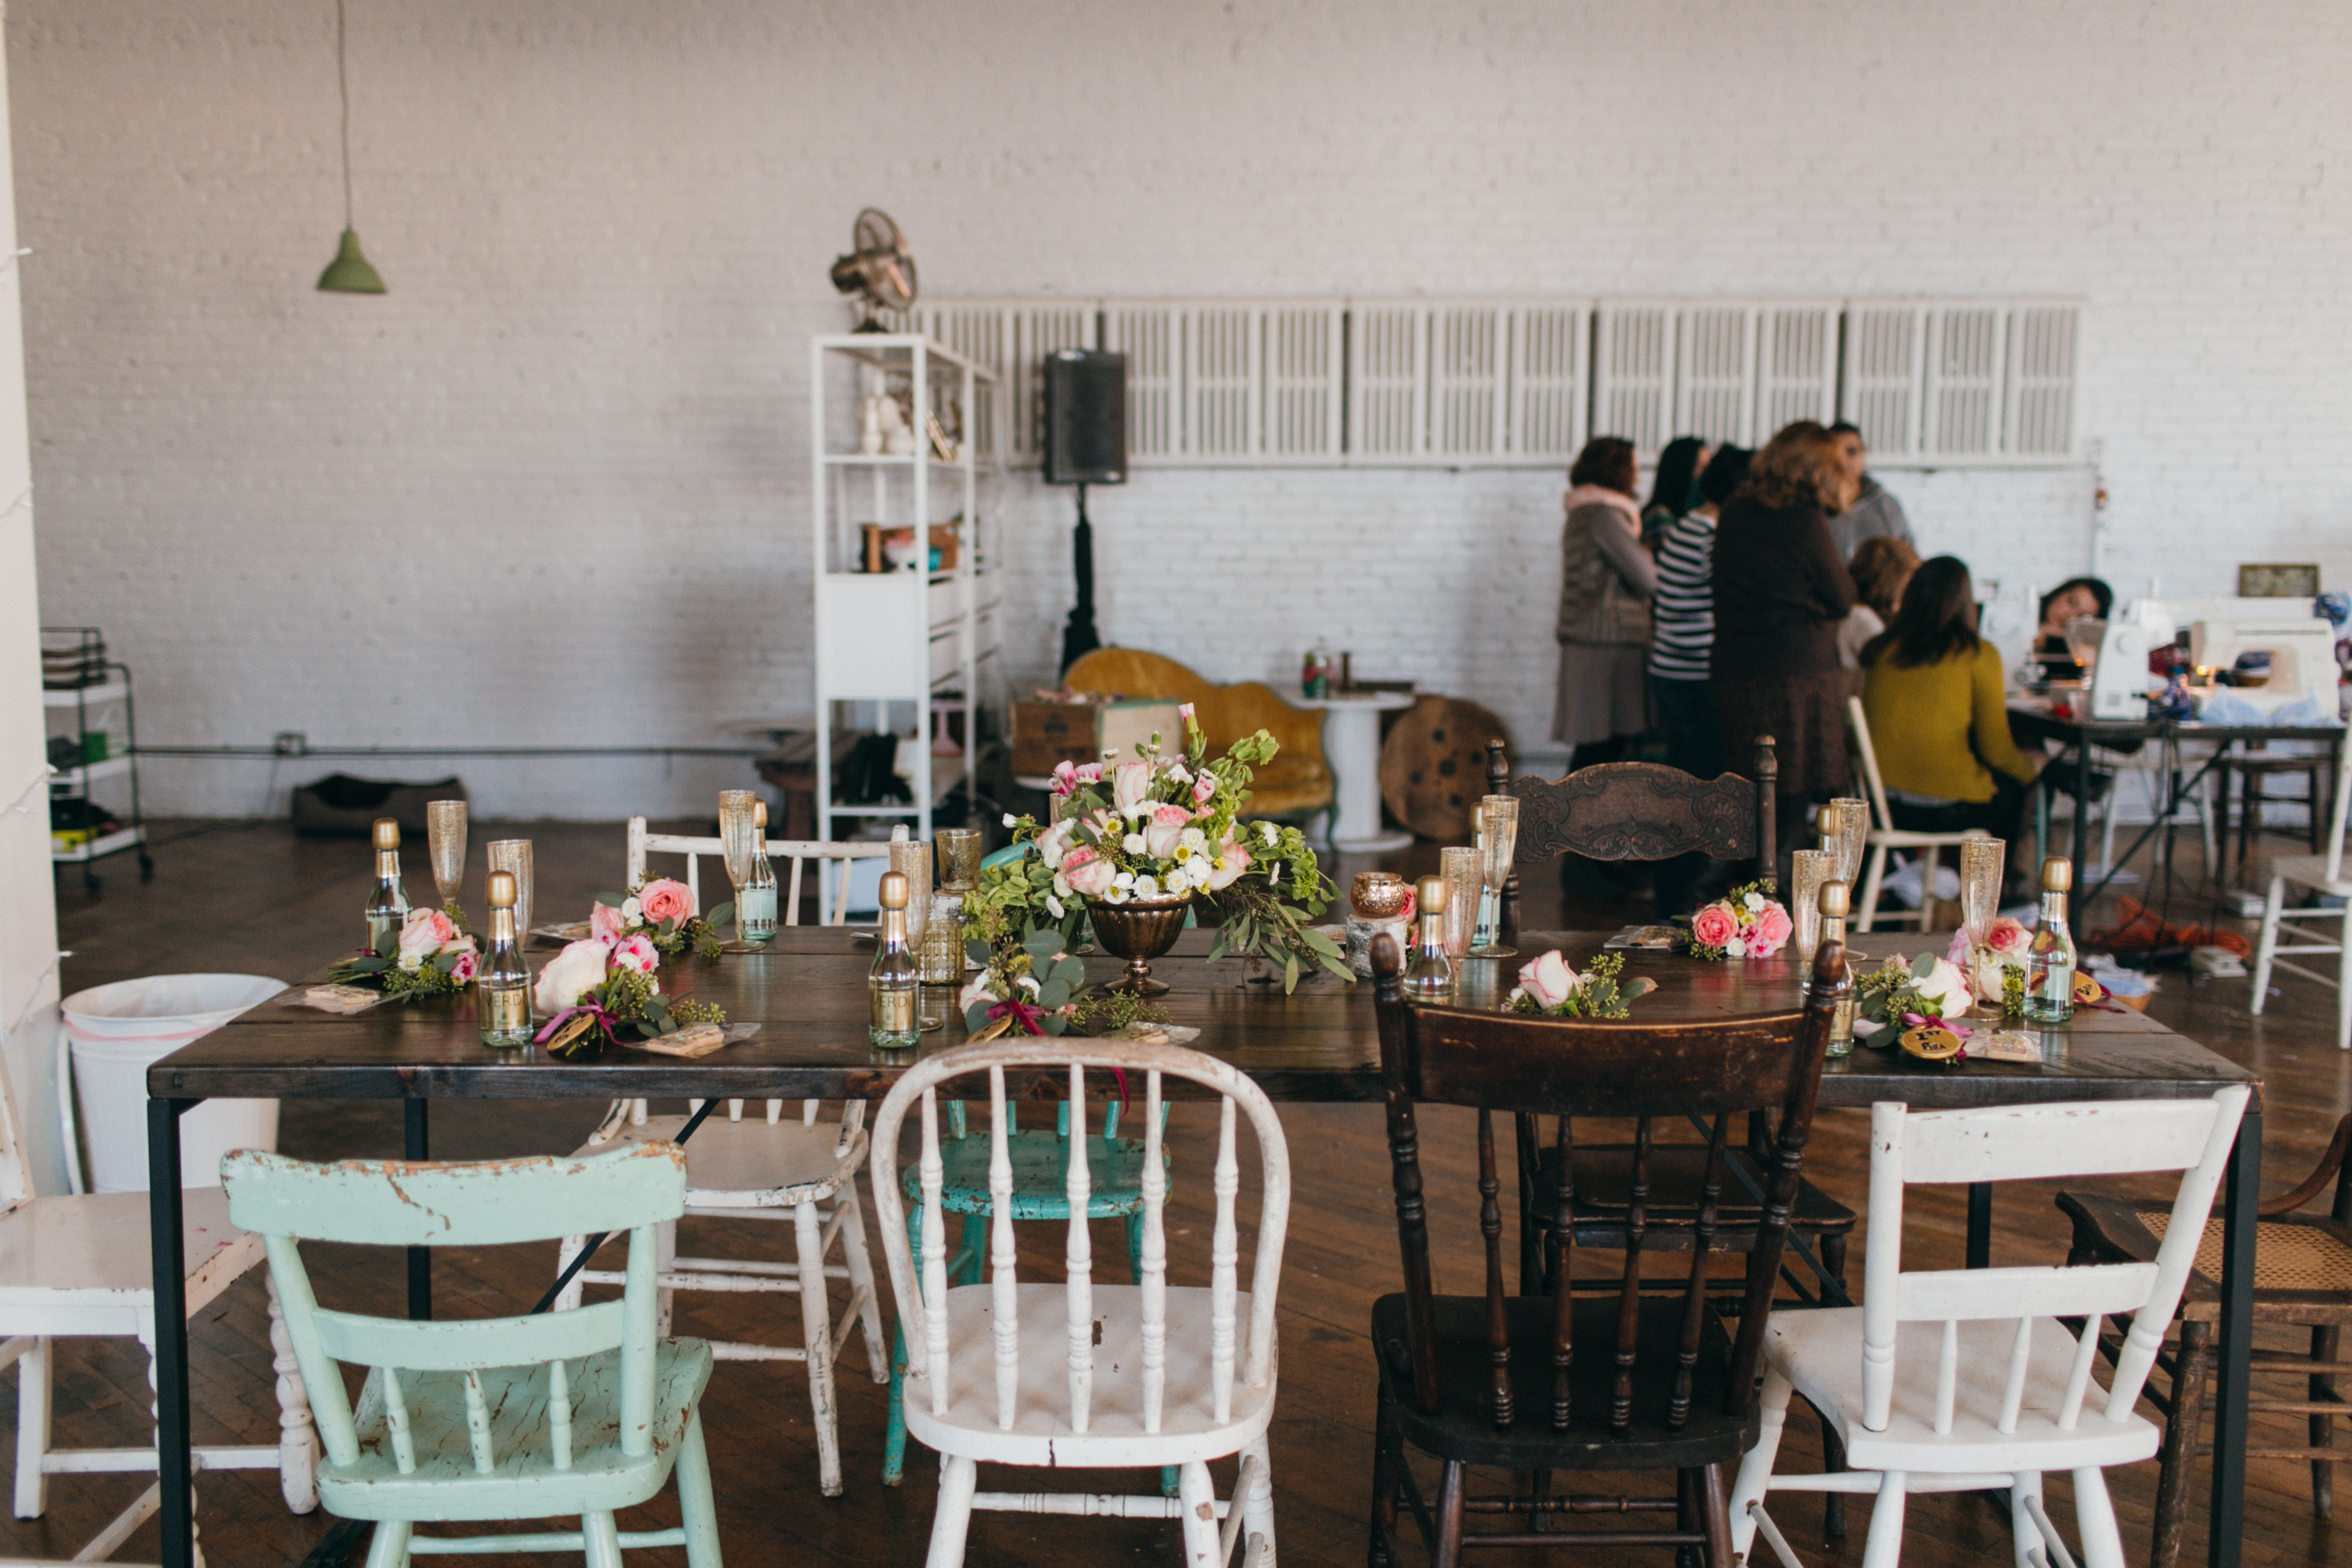
I am getting ready to head up to New England for a sewing retreat next weekend, in Exeter, NH! I will be running a 4 day open sewing workshop at Pintuck & Purl, which I am super excited about! I’ve heard that Exeter is gorgeous (I mean, can you really beat New England in the fall?!) and I am so pumped to spend 4 days sewing with my amazing students – on Bernina sewing machines, no less! There are still a couple of spots left if you’ve been considering and are on the fence – you can sign up here! Seriously, it’s gonna be so much fun! This is an open-sewing concept, which means you get to work on whateveerrrrrr you want! I’ve been emailing my students and they are already all planning some great projects.
Then the following week, I’m heading out to Camp Workroom Social to assist Amy in her bra making class! I just got my hands on the pattern we will be using, and it’s absolutely gorgeous. Camp is already sold out for this year – are you coming? Raise your hands if you’re attending the bra making class!
I’ll be back in NYC the first weekend of November to teach two back-to-back workshops at Workroom Social – the Jeans Making Intensive (which has already sold out!) and the ever-popular Pants Making Intensive (I think there are still a couple spots left for that one, but it also tends to sell out so I’d suggest snapping it up if you’re considering!). It’s been a few months since I’ve been to the city, and I’m excited to go back! I’m actually staying an extra day so I can visit the Science Museum + blow my wad(of ca$h) in the Garment District 😉 YAY.
One last thing – I have a new class series at Craft South! I am bringing the open-sewing workshop to Nashville – Yay! Tailor Night (I can’t take credit for that name, my co-workers suggested it haha) is select Thursday evenings at Craft South from 6-9PM. It is similar to a regular class – except YOU get to pick the project that you want to work on! As you know, I’ve pretty much covered it all when it comes to garments – so I can help you with whatever your little heart desires 🙂 Jeans, coats, tshirts, first-time pattern users, general fitting, seam finishes – I got you! Or you can just use our big cutting tables and awesome Janome sewing machines, and socialize with other people while you sew. There are always snacks and drinks and I definitely encourage some wine to tag along as well 😉 The best part is that you don’t have to commit to a whole weekend – or a big expense. The classes are 3 hours in the evening (which you don’t have to stay for the whole time if you don’t want to – remember, it’s *your* open sewing sesh), and they cost $35 a pop. If you’re visiting Nashville and want to get crafty for a couple of hours, this is a great way to spend a Thursday evening 🙂 And if you’re local – well, this is also a great way to spend a Thursday evening, and get to know other sewists in the area! If you’re interested, you can sign up here on the Craft South website and choose which date you prefer.
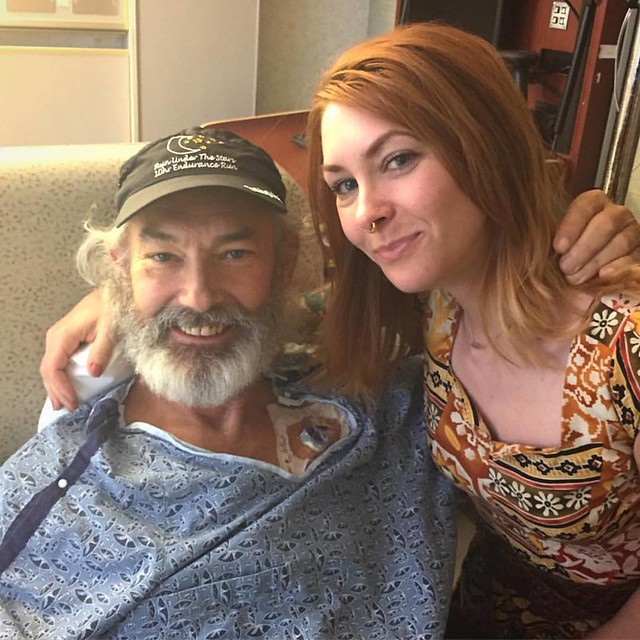
All right, I’m out! Here’s a picture of me and my dad, taken a couple of days ago. As silly as this sounds, I was pretty upset that I didn’t have a recent picture with him – so as soon as he felt up to it, I made him take one with me! Love my daddy so much ♥ He’s doing great and my mom is by his side 24/7! Already getting lots of PT and OT, eating solid foods, and we are hoping he can go home as early as this week!


