I know what you’re thinking – two posts in one day? Is the world really in the process of ending? Is Jesus coming back (no, actually, that was supposed to happen last May, except we all know SOMEONE didn’t bother to show up to his own damn party)? At any rate, I hope y’all love meee because you’re going to have to look at my mug twice today, teehee.
I left off last Friday, so we’ll pick this up starting Saturday!
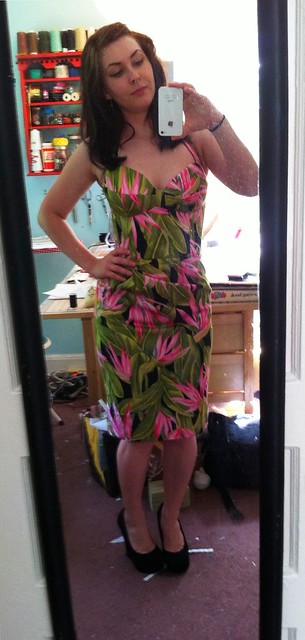
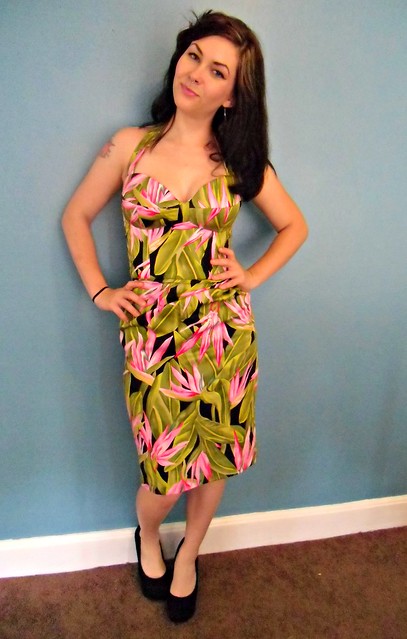
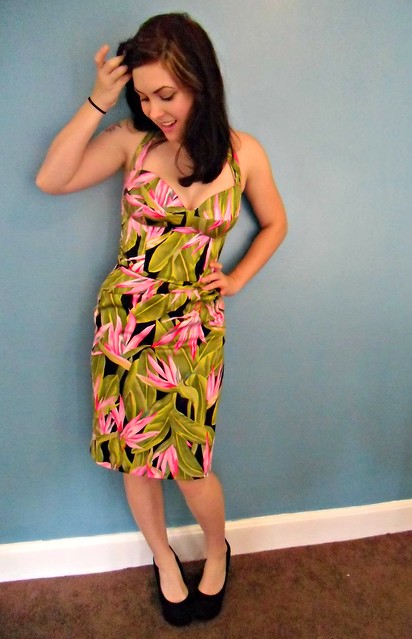
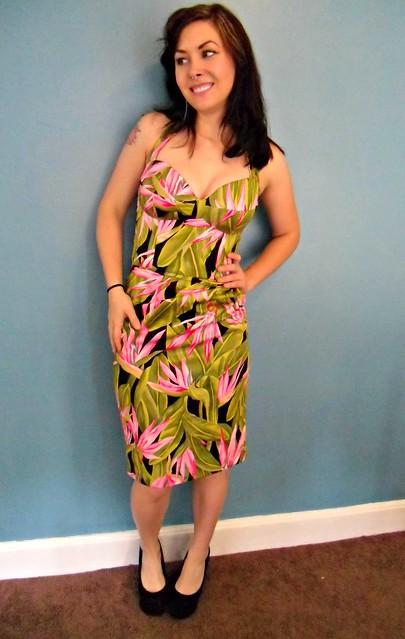
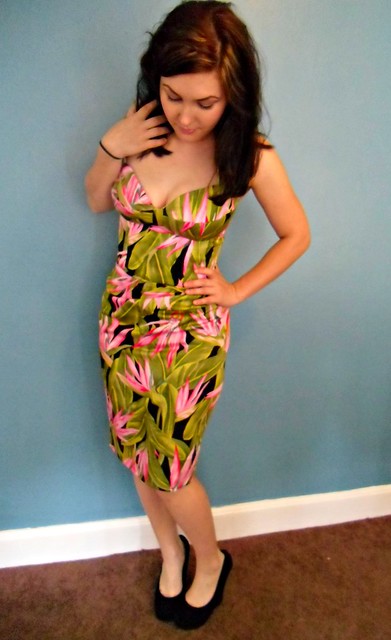
5/5
Dress: BOMBSHELL
Shoes: Steve Madden
Excuse my disgusting sewing room floor, I hate vacuuming!
Ooh, but see my iPhone!? Landon bought me an early birthday present! He is the best 🙂 I’m on Instagram now if you want to follow me 🙂
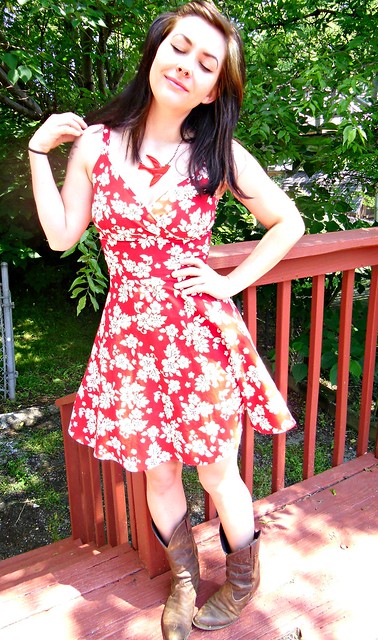
5/6
Dress: Simplicity 4170
Cowboy Boots: courtesy of my mom’s closet 🙂
Necklace: Fire Finch, here in Nashville
This is actually the very first dress I made with a pattern – so it’s super pre-blog (I think I made this in 2006). Don’t get too terribly excited about how good it looks, though – the original bodice was total shit – I didn’t line it, didn’t gather under the bust (lolwut), inserted the zipper rather terribly by hand, etc. The bodice you see now is what happened after I learned some skills 6 months later, ripped it off, and re-made. It’s still kind of amateur looking, but that’s ok!
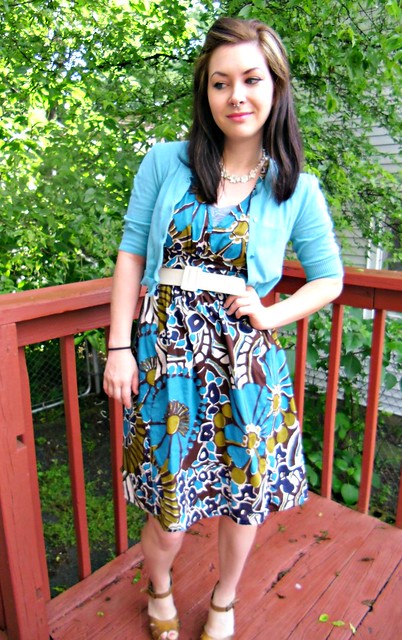
5/7
Dress: Vogue 1086
Cardigan: Thrifted, reconstructed by me
Belt: Handmade
Necklace: Thrifted bracelet, reconstructed into a necklace by me
Shoes: Target
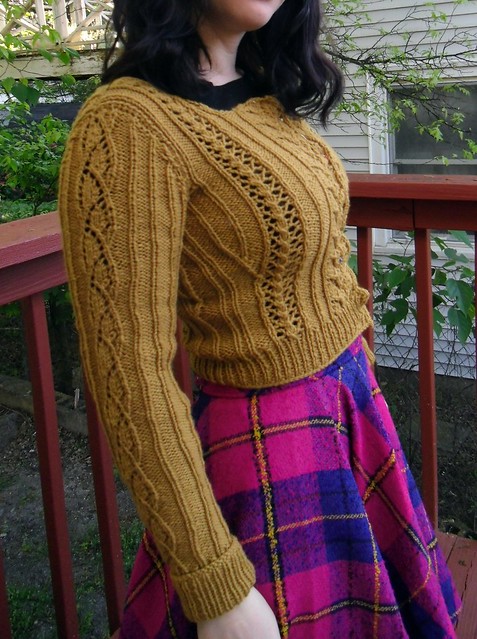
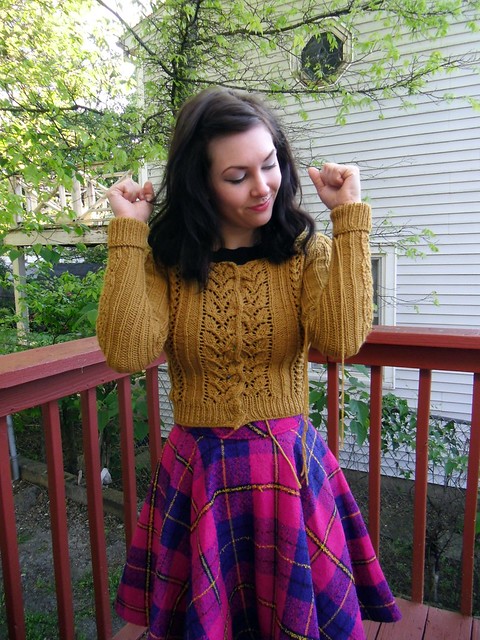
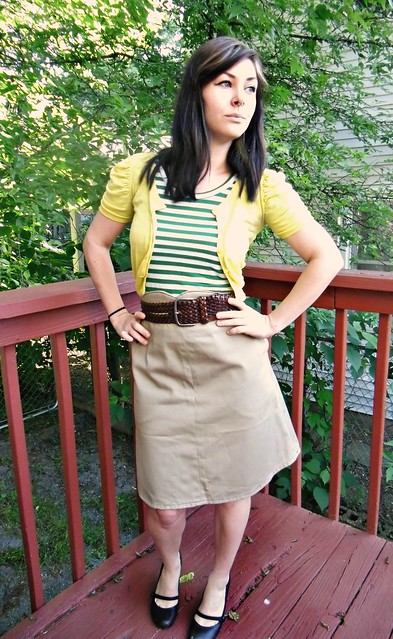
5/8
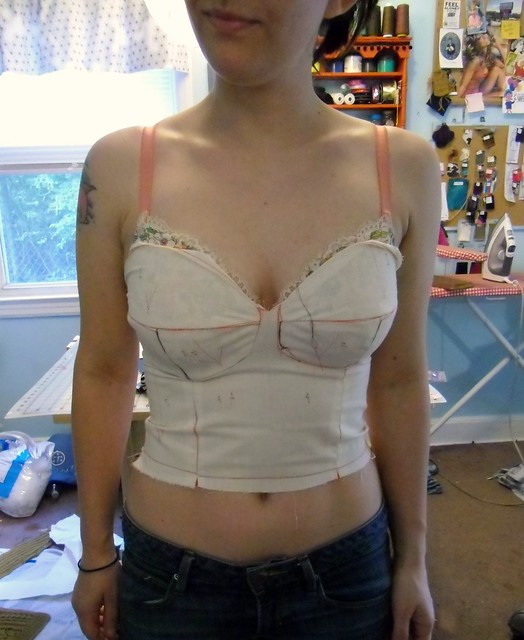
Top: Jalie 2921
Skirt: Express
Sweater: Free People, sized down quite a bit by me (it’s supposed to be loose-fitting)
Shoes: Steve Madden

5/9
Top: Simplicity 4400
Skirt: Thrifted, sized down & repaired (the shirring at the waistband was completely busted so I sewed in new elastic… does this count as Me-Made?)
Belt: Thrifted
Shoes: Jessica Simpson
Earrings: Thrifted
The light was really bad that morning, so here you get to see the side & crawl space of my ugly house!
5/10
Top: Sewaholic Renfrew
Skirt: Colette Ginger
Cardigan: Thrifted
Belt: Thrifted
Feather Earrings: Tennessee Renaissance Festival
Shoes: Giani Bernini
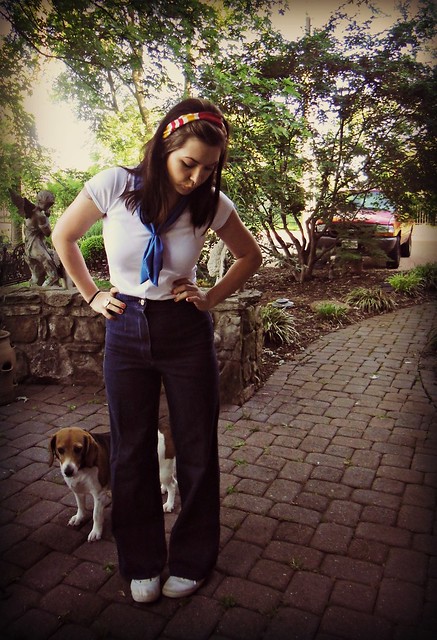
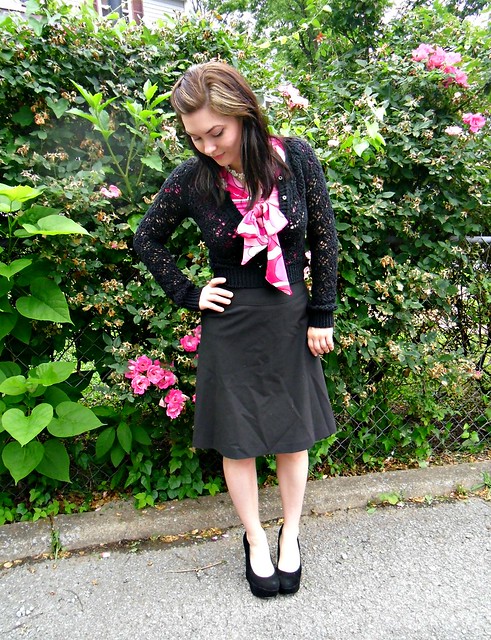
5/11 (today!)
Top: Jalie 2921
Trousers: Vogue 2925
Shoes: Walmart (lol yep)
Scarf: Flea market
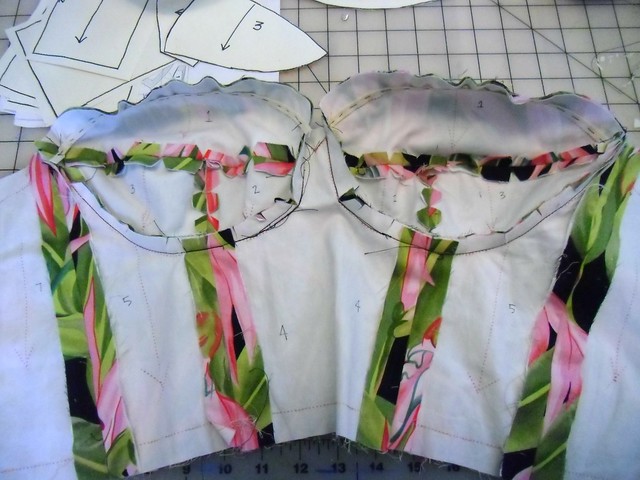
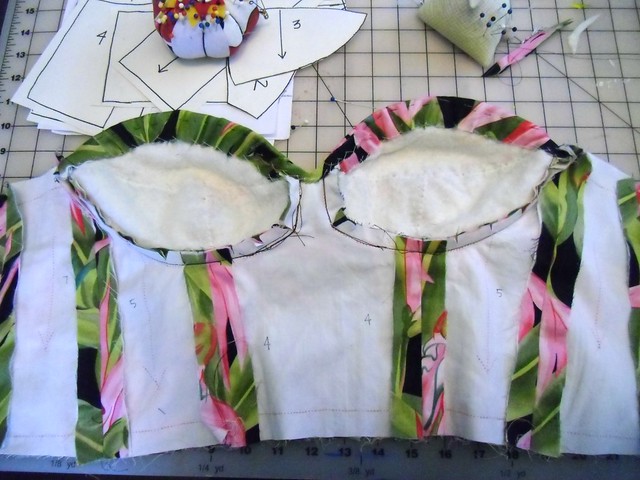
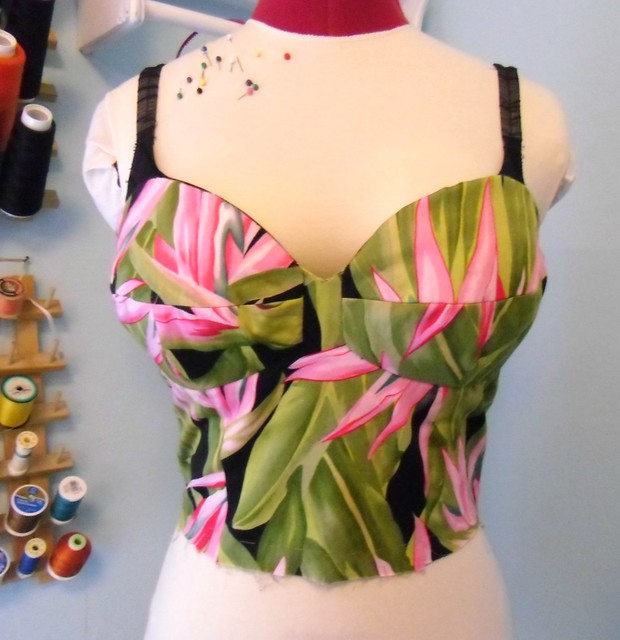
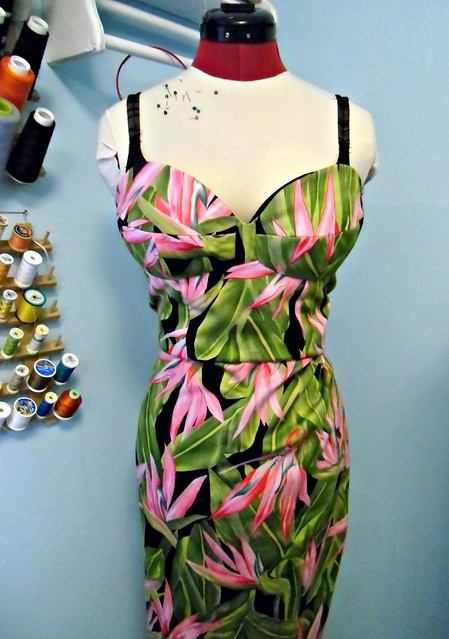
If you don’t recognize my top, that’s because it’s very new & very un-blogged! This top was actually the whole reason why I bought the Jalie pattern – I thought it looked quite similar to Colette’s Jasmine pattern, except in a nice knit instead of bias-cut woven. I’m not going to make a separate post for this top, just because I would basically be repeating my last one, but I will go over the minor pattern changes I made:
– I shortened the neck ties quite drastically. I can’t give you a real measurement – I just put on the pink top, pinned the ties until I liked the length, and copied that to my pattern piece.
– Instead of arranging the ties as suggested by the pattern (through a hole in the front seam, tied, or fastened with a buckle), I wrapped a small piece of matching bias tape around them & sewed it into place by hand.
– Took in a little bit at the side seams to make it more fitted.
– Shortened the sleeves to cap sleeves.
– Top-stitched the hem & sleeve hems with a double needle in matching blue thread.
I am rather pleased with the result! Although, it is quite sailor-y so I definitely run the risk of looking really costume-y… I think I kind of look costume-y in this outfit, actually, but IDGAF.
Oh, I should probably talk about that ADORABLE dog standing behind me… that’s Turtle 🙂 She is the dog of my bestie/life partner, Morgan (the one who moved to Macedonia!). Her mother is keeping Turtle while Morgan is fulfilling her time at the Peace Corps. Anyway, she’s actually out of town visiting Morgan, & the originaly dogsitter had some medical problems so I’m taking care of the dogs for her until then! I just love Turtle, she’s such a little sweetie (and Percy, the other dog, was lounging on the steps directly behind my camera FYI 🙂 I’ll try to get a picture of her at some point). This also explains why I’m suddenly standing in an area with an amazing garden backdrop – it’s her house! And look – you can see my little truck in the background 🙂
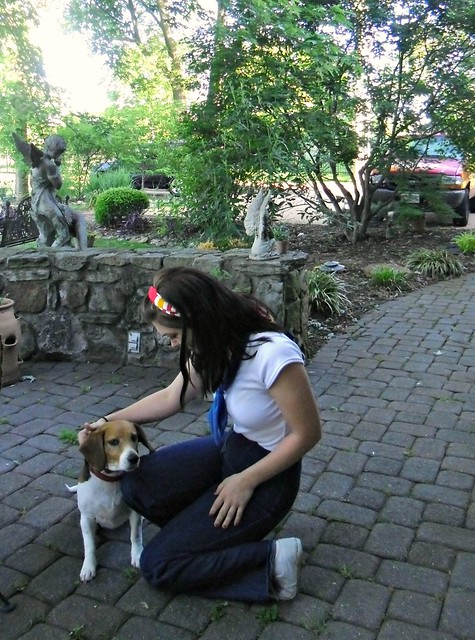
Man, I love this dog. She’s such a ham.