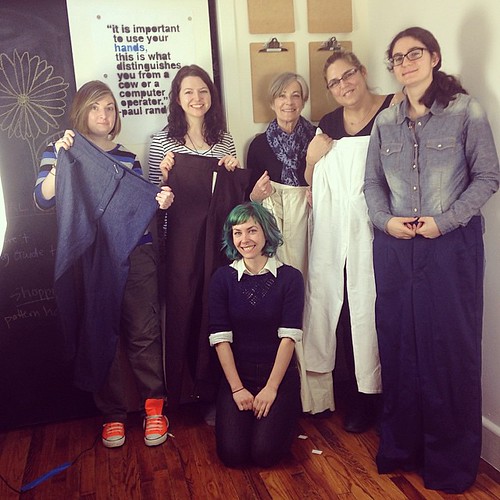
It just occurred to me yesterday that I never shared my Ginger Jeans that I made for my upcoming workshops! Fortunately, we had a weirdly sunny + 70° (look at how cool I am, I figured out the keyboard shortcut for making a degree sign lolz) day yesterday, so I jumped outside to take some photos! These aren’t the best – it was windy as hell, and for some reason I decided to take photos where I’d have to straddle over a fucking hole in the ground – but you know what, it works, and I’m moving on. I say this often, and it often bears repeating – no one comes to this blog for the stunning photography amirite.
Anyway.

These are my new jeans! I’ve made soooo many pairs of these Ginger Jeans that they don’t necessarily warrant their own post at this point (I mean, there are only so many times you can keep repeating the same pattern with no changes and expect people to find the information riveting haha), however, I did want to talk about this particular pair as I finally had a chance to make them in a new-to-me denim!
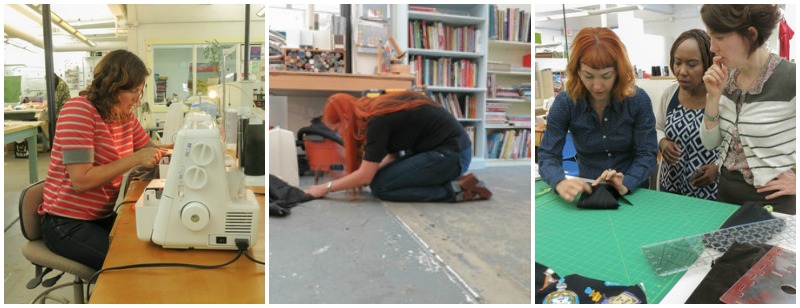
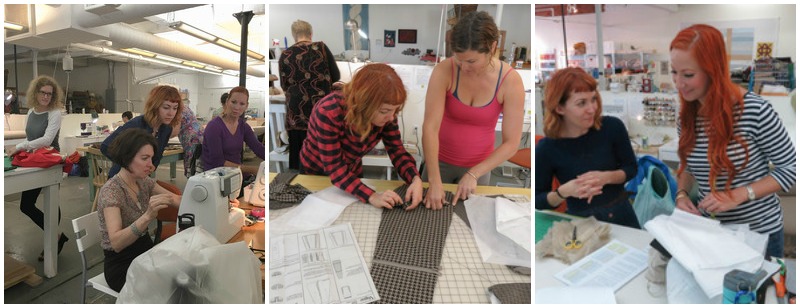
This denim is a super stretch denim from Robert Kaufman (FYI that’s an affiliate link). As I mentioned in my samples post, I chose this denim specifically because it was affordable, easy to source, and is great quality that is comparable to Cone Mills. I made all my workshop samples out of this denim – Robert Kaufman was generous enough to send me a couple bolts of the fabric; enough for 11 samples plus some extra so I could make a pair for myself! It’s an 8.6oz stretch denim, which is a hair lighter than most of the Cone Mills that people buy (I personally prefer the lighter weight, I find it more comfortable!). It’s also suuuuuper stretchy, which I love! Absolutely perfect for this jeans pattern.


Since this denim is indigo dyed, it is imperative that you prewash your fabric multiple times before cutting into it. It will shrink quite a bit, plus it bleeds a LOT! I only washed my samples once in cold water, and we all ended up with blue hands during class (true story; I went on a date immediately after the first night of my Nashville class and he totally called me out on that shit about halfway through haha). For these jeans, I washed + dried the denim three times before I cut it – twice with very hot water, and once with cold. This cut down significantly on the amount of bleed that I got, although they still bleed a tiny bit (not enough to damage, say, the upholstery in my car – but I do still notice a blue tint on my fingernails). Every single indigo-dyed denim I’ve used (especiallyyyy Cone Mills, oh god) does this, btw, but just be aware of it. Don’t carry a white purse, save your white undies for a different pair of pants, and for the love of god do not wash these in a load with anything but black fabric.
That being said, cutting down on the bleed does not actually fade the color. These are still super dark, even with all that hot washing.
Anyway, I made these a little over a month ago, and wore them on that first day of class so my students could see the ~jeans in action~. I’m happy to report that this fabric holds its shape really well – I’ve only washed these once since I made them (and even then it was mostly to try to bleed out more indigo, ha), and in these photos you are seeing them after about 4 days of wearing. No baggy knees or baggy butt! I still have a little bit of tightness at the calf, however, I have noticed with my more frequently-worn Gingers (i.e., the older ones) that over time the fabric will stretch and settle. I’m going to wear these a bit more and see if that happens with this fabric, before I slice up the calf and add more room on future pairs.


I also made the top I’m wearing, by the way! It’s a Grainline Studio Hemlock Tee (which is free if you join their newsletter). I used a beautiful striped rayon knit from Finch, which I bought when I was there last year for a workshop.

For these particular jeans, I used the same notions that we offer students in my workshops (copper topstiching thread, matching rivets and buttons). Combined with the fabric and pattern, you can literally see what your finished jeans will look like.
BTW, I still hate setting rivets. I’m getting better at it, but I still hate it. I considered getting a special die for my snap setter, but then I realized I couldn’t drag it along to workshops (that thing is cast iron and it weighs a LOT), so what’s the point? I generally prefer the look of bartacks over rivets, anyway.
I won’t go into detail about fitting these; but you can read my Ginger Jeans tag to see previous posts about what fitting changes I have made to these jeans over time. Spoiler: It took many, many pairs with lots of tiny changes (and I’m still making changes!). Fitting is a journey, and a lot of things just aren’t clear until you’ve worn your garment around for a few days.


Flat-felled seams on the inside, quilting cotton pockets (1-2 fat quarters is all you need!), and of course a shitty little thread nest in there #honestsewing


In other news – I just had some more classes listed! You can see all my upcoming classes here on my class page, but for those who are just browsing – here are the new ones added:
- March 24-25 / Jeans Making Intensive / Workroom Social, Brooklyn, NY (head’s up – we will be making a Workroom Social exclusive jeans pattern for this class! I am so excited about this one!)
- May 1-3 / Ginger Jeans Workshop / Stitch Sew Shop, Alexandria, VA
- July 13-15 / Ginger Jeans Workshop / Darrell Thomas Textiles, Ottawa, Ontario Canada
- July 18-20 / Ginger Jeans Workshop / Darrell Thomas Textiles, Ottawa, Ontario Canada
- August 3-5 / Master Class: Make Your Own Jeans Workshop / Pintuck & Purl, North Hampton, NH
- August 18-19 / Jeans Making Intensive / Workroom Social, Brooklyn, NY (again, this one is using a Workroom Social pattern 😀 )
- September 26-30 / Jeans & Wardrobe Basics Retreat / A Gathering of Stitches, Biddeford, ME (this one is a littttle different as we are focusing on wardrobe basics! There will be jeans-making, but there are also a couple extra days to make additional basics! Or, if you’ve already tackled jeans and wanted to try something else – such as a tshirt or button-up – bring it on!)
I have a few more classes in the works that haven’t been confirmed/listed yet (West Coast, I’m looking at you!), but I will share those as soon as I can! Other than that, pretty booked up for 2018! If you are a local shop who would like to discuss dates for 2019, please get in touch with me via email. If you are a person who wants me to come teach in your city, I encourage you to reach out to your local shop and tell them you’d like to see them host my jeans workshop 🙂

Ok, that’s all for this post! Happy Friday, y’all!