
Good morning, everyone! My apologies that this post is a day late – I spent one full day of my weekend throwing a 4th of July shindig (complete with a slip-in-slide, food decorated to look like flags, and fireworks at the end of the night. I passed out before the fireworks happened, though, hahahahaha!! I heard they were lovely, anyway!), and then the second full day was much-needed RNR (laying on the couch, coloring and eating leftover party food. I surprisingly was not hungover for this, but I treated it like a hangover day regardless). It was an AWESOME weekend, but I didn’t make the time to write up this post – so you get it on Tuesday! Yay!
ANYWAAAAAY, time to get down to business!
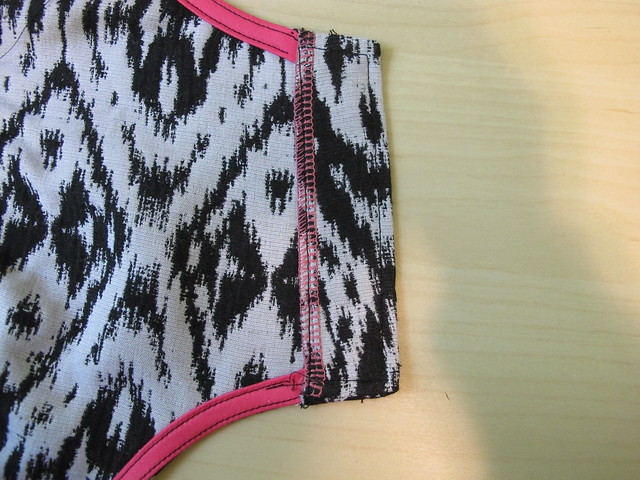
Today we are going to attach the skirt to our bodices, as well as finish that back cut-out. The end is so close!!
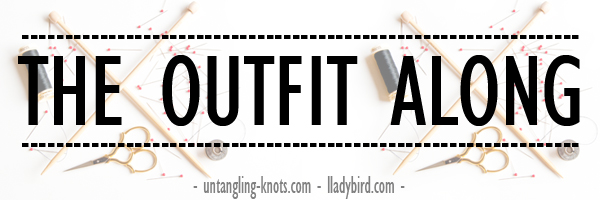
First thing you are going to want to do is finish the edge of the back cut-out, using bias facing and the same method we used for the neckline (here’s a refresher on that tutorial if you need it!). Once you get to the back where the interfacing has been applied, you have two options – you can either leave that part unsewn, or attach the bias facing and then unpick it. I prefer to sew+unpick because I like the guidance of the creased seamline, as well as having the seam allowances already trimmed down, but it’s up to you!
Once you’ve finished that, unpick the facing where the interfacing is, plus a little extra (or pat yourself on the back for saving yourself a little extra work!). You’ll do this at both the top and bottom of the interfaced section.
Go ahead and clip off the excess bias facing, leaving at least an inch or so that overlaps where the interfacing starts. Err on the side of longer here – you can always trim off more later if you need to.
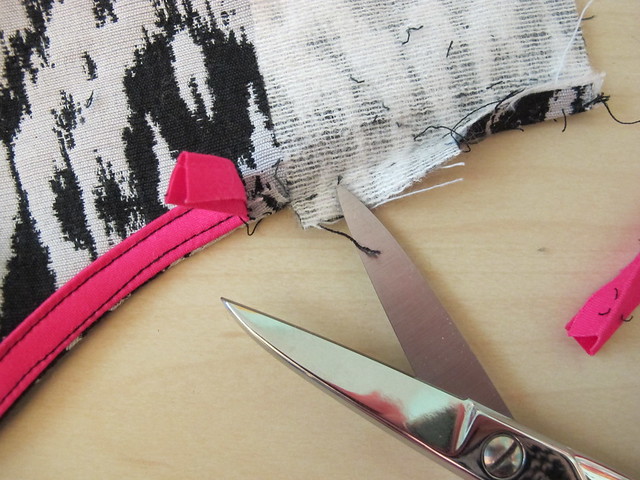
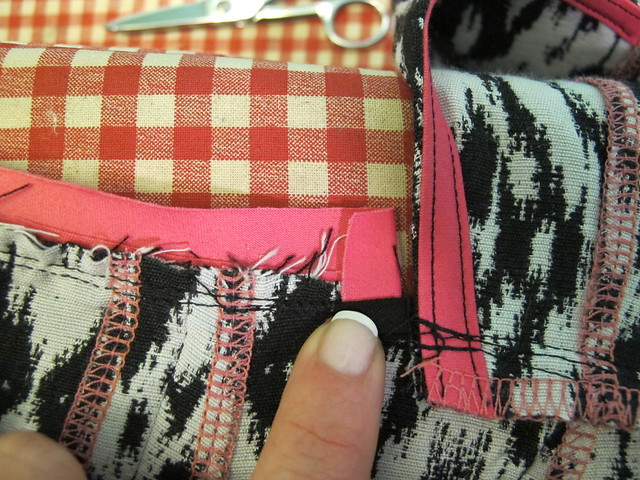
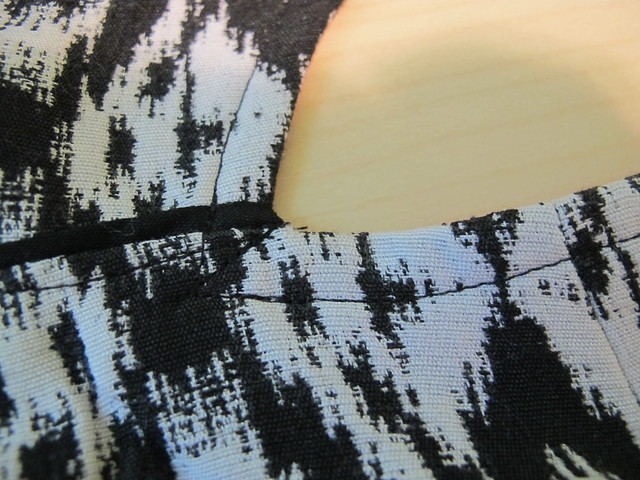
Notch the fabric right where the interfacing starts, going about 1/4″ in, or the depth of your seam allowance.
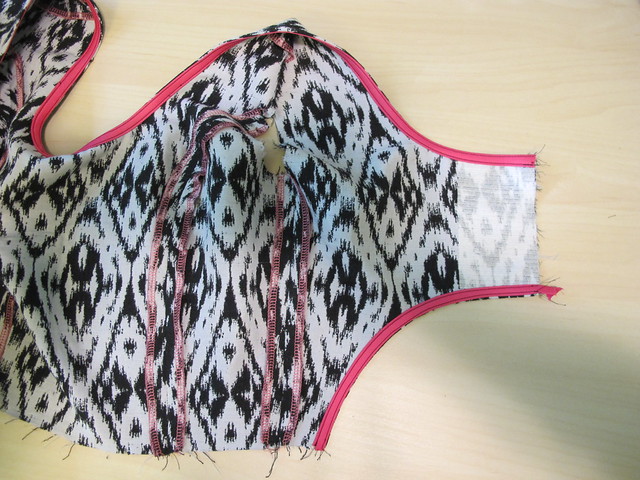
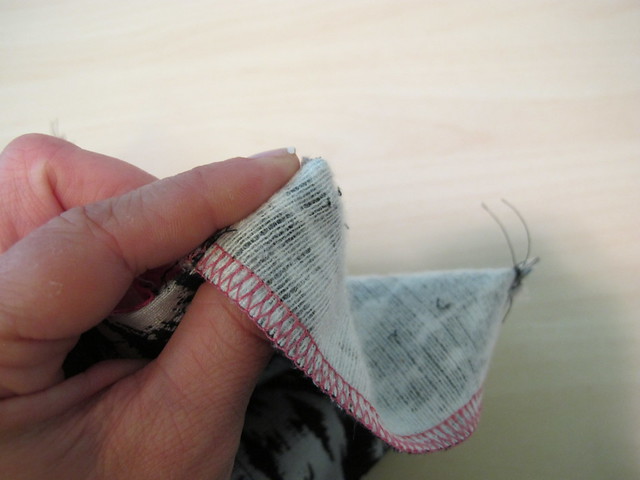
Finish the edge of the interfaced section howeverrrr you want. I just serged mine.
Now fold the interfaced section back on itself, right sides together, along the center. The edge that you just finished should meet right against the edge where you clipped that notch.
Sew along both short ends, following your seam allowance (this is where the guidance of an unpicked edge comes in handy). Be careful not to catch the ends of the bias facing just yet.
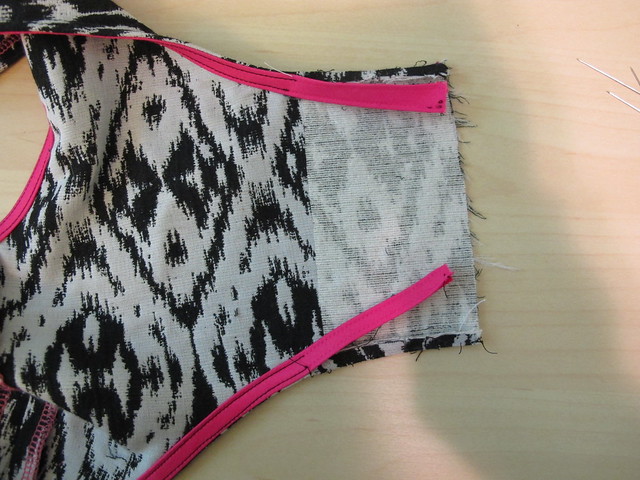
Ooh, look! New manicure! Haha!
Turn the interfaced section right side out. To get a nice, sharp corner: first off, don’t clip that corner or trim your seam allowances unless they’re bigger than 1/4″. Use your fingers to push the seam allowance in one direction all the way to the point (I’ve found this is easiest when I hold it the way you see in the photo)…
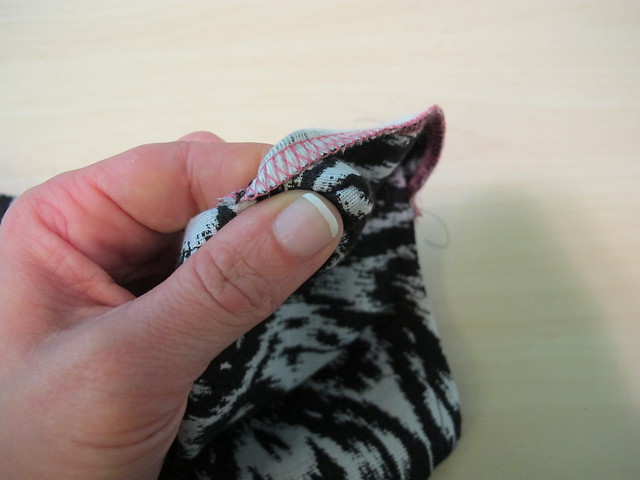
Keep your fingers holding that seam allowance in place and start turning everything right side out…
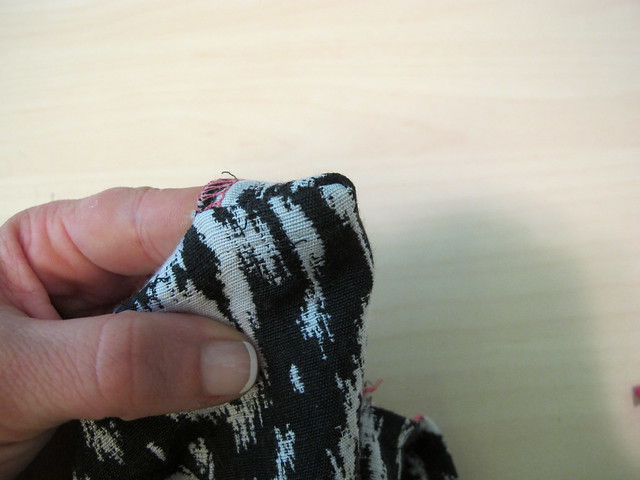
Use your pointer finger for the final little push.
You should have a pretty good-looking corner at this point, but you can also use a point turner (or a knitting needle, or a chopstick, or a pencil, or whatever you have on hand) to gently coax that corner out a little more. Don’t mash it around, just manipulate the seam allowance over until everything looks good. Repeat for the other corner.
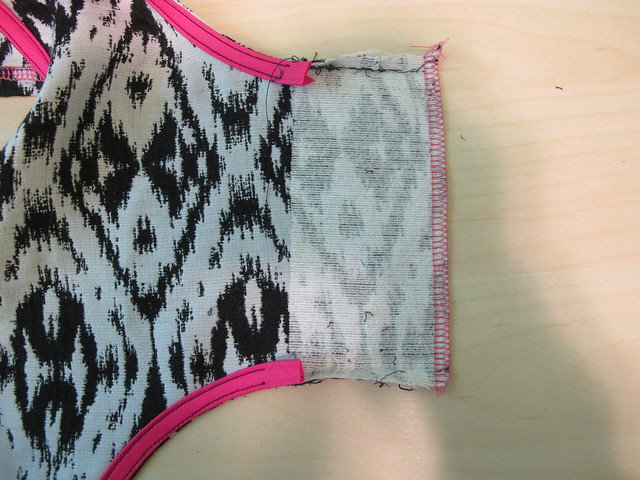
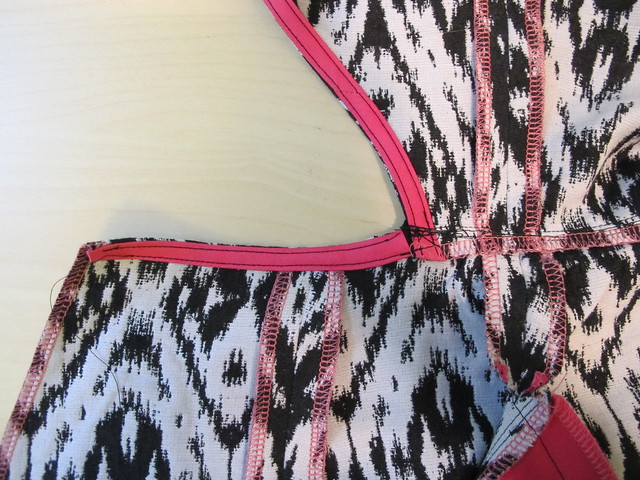
Here’s where we are so far!
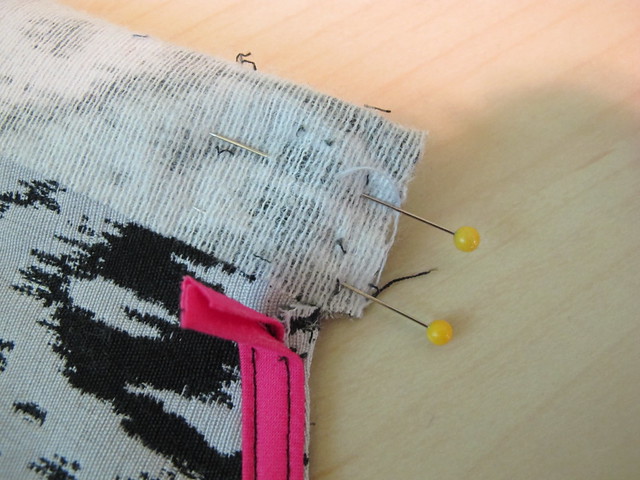
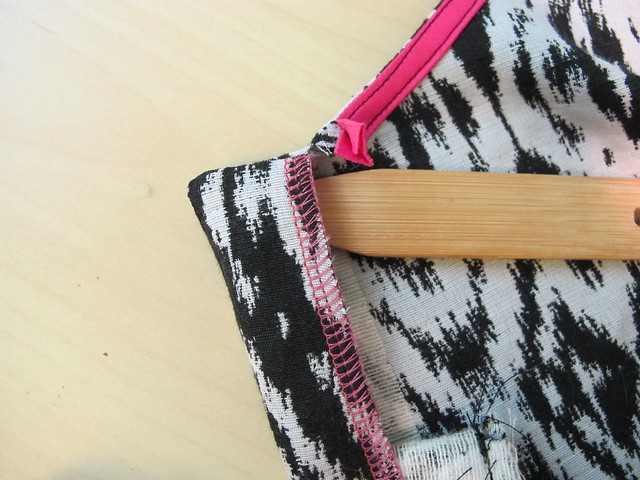
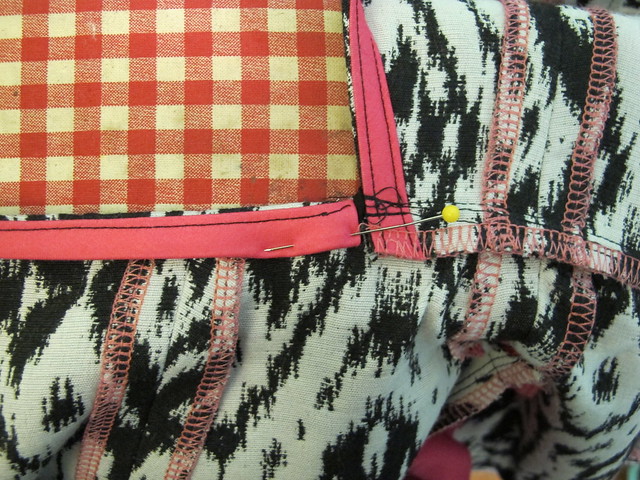
Now take those floppy ends of the bias facing and tuck them into the little pocket you just created.
Pin the finished edge into place and sew everything down. I also topstitch 1/4″ around the outside edges, to match the rest of the topstitching on the dress.
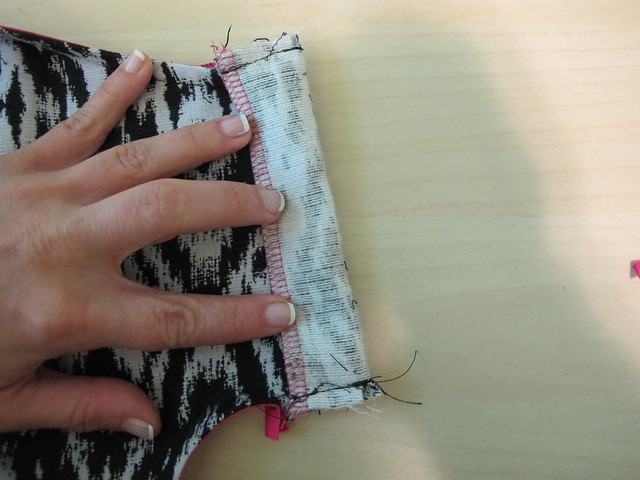
Done! Now do the other side 😛 haha!
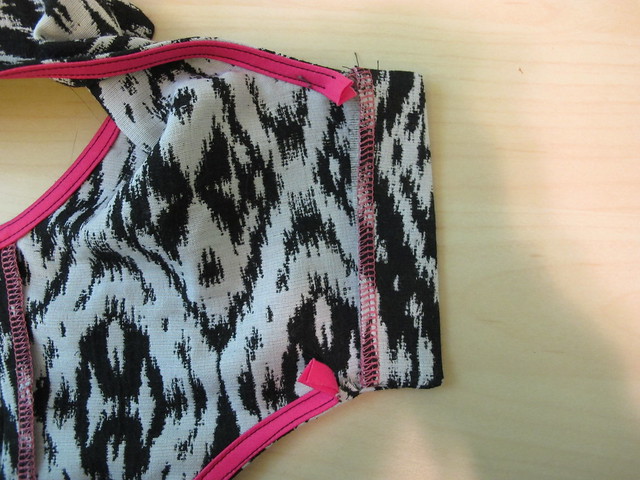
Ok, now for attaching the skirt!
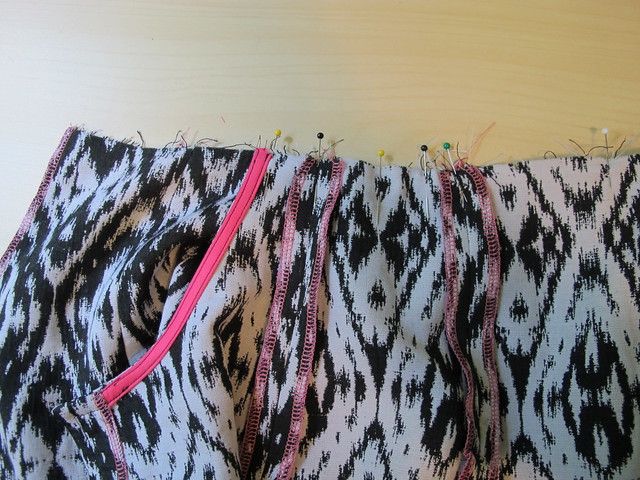
Pin and sew the skirt to the bodice, matching notches and seamlines, and using your normal 5/8″ seam allowance. The bodice will be quite a bit shorter than the skirt – that’s the back cut-out, and we’re gonna deal with that next. If you want to add piping to your waistline seam, now is the time to do it (well, I did it, anyway! ha! It’s easier if the piping does not extend all the way around the waist – end it right where the bodice ends).
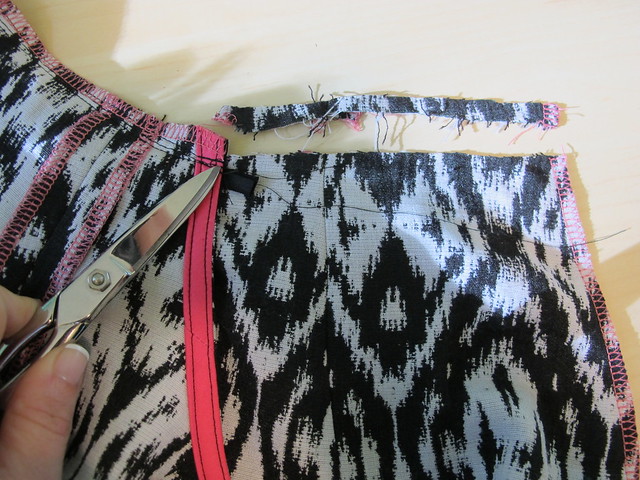
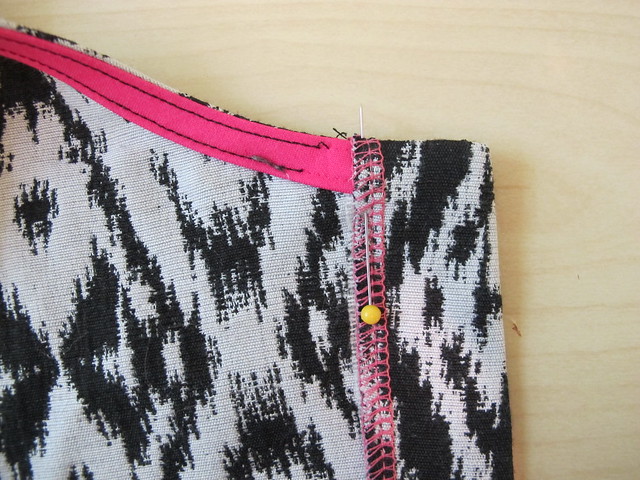
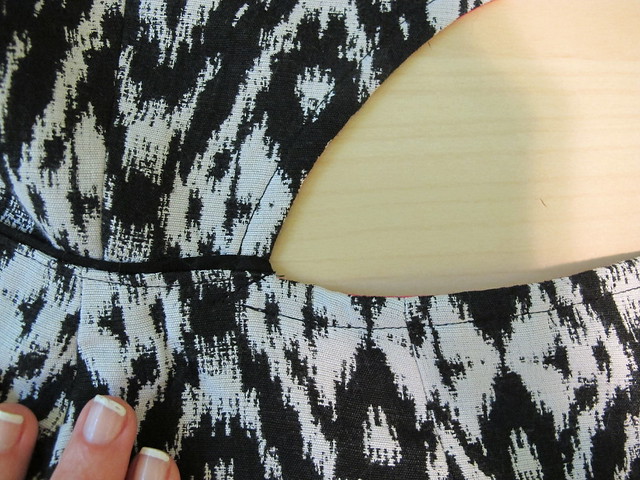
Trim the seam allowance down along the top of the skirt that isn’t attached to the bodice, leaving yourself 1/4″ seam allowance for dealing with the bias facing. Then clip a notch where the bodice stops – this was hard to photograph, so right where my scissors are pointing! You can also see where my piping ends; it’s the little black rectangle below. Don’t clip your notice any deeper than the seam allowance.
Attach the bias facing along the top edge of the skirt, stopping at the notch you just clipped. Allow about 1/4″ or so of bias excess so you can tuck it under itself.
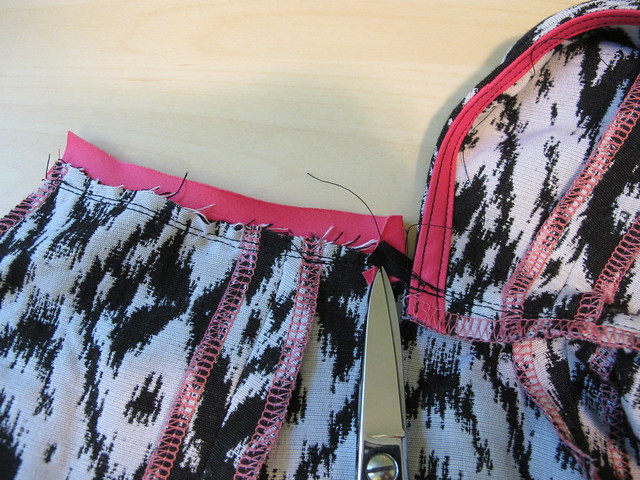
Here’s a closer picture. Once you’ve sewn the first swipe of bias facing (and understitched, if you’re doing that), take everything over to the ironing board and press the seam allowances up, and then the excess over to the wrong side (at the end that’s next to the bodice). If you added piping, the tail end of your piping should also be in this equation.
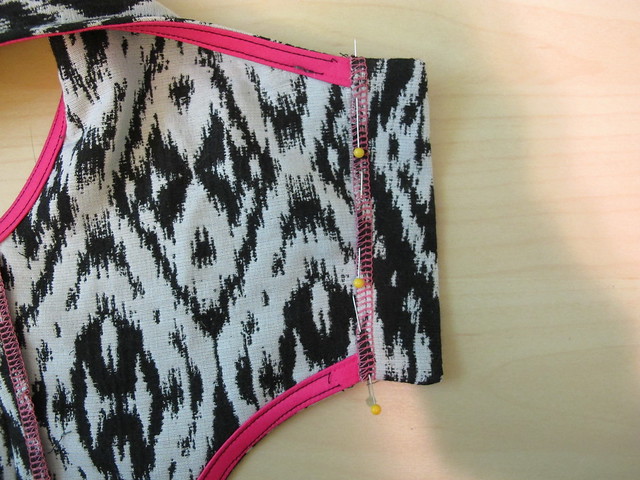
Now fold the bias facing to the wrong side, as normal, and pin in place. All your raw edges should be encased and the corners of the bias facing should be pretty close to one another (if not butted up against each other).
Finally, just stitch the bias facing down. Once you get to the corner where the other section of bias facing is, lower your needle and pivot, stitch along the existing stitching line just a little bit, then backtack. This will reinforce that corner and secure everything.
Here it is from the right side. If you want to be extra secure, you can also sew a diagonal line to the point of the intersecting facings.
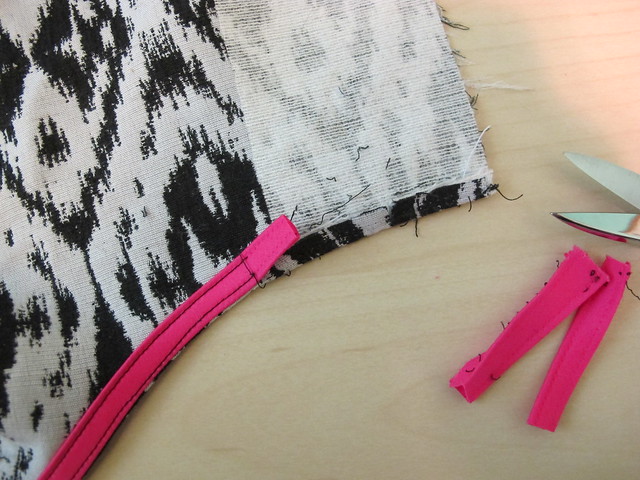
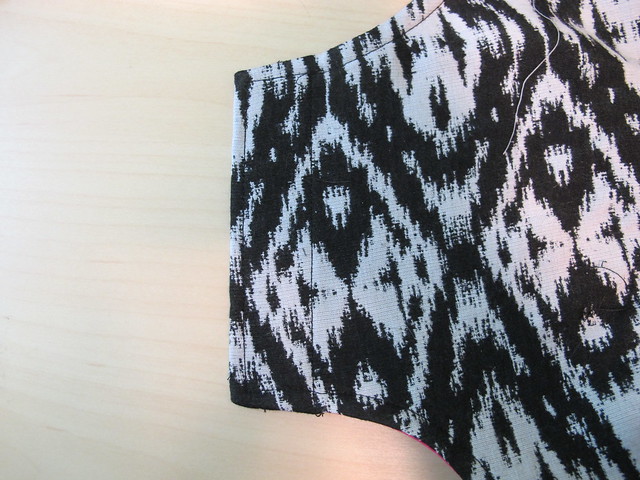
I’m not really sure why I took a second picture of this, but here you go.
Ok, that’s all for today! Let me know if any of this needs clarification or if you have any questions 🙂


I was wondering how you were going to do the interfaced section! I was too excited to wait so I did mine last week. I ended up folding it over before doing the bias binding but I like your way. It seems to add less bulk to that area.
Good for you for running ahead! You can always try the technique on the next dress, I reckon 🙂 And yeah, this way is a little less bulky – although I’m sure the way you did it is fine too!
This is just what I needed! Thanks lladybird!!
Am I the only one who had trouble attaching the skirt? My side panels were way too big. I had to take 1″ off each side of all 4 side panels to get the seams to line up. The front was fine, just the sides were too big.
That is weird! Not sure if there was a discrepancy in the grading for the size you sewed? Mine matched up perfectly with the size 8. Glad you got it to all work out, though!