
What’s up everyone! I’m bringing it back a little old school today with a lingerie project – yes! I haven’t shared one of these in ages, since I feel like they can get a little redundant to talk about (I mean for me specifically, as the writer. How many times can you discuss the same pattern repeatedly before you get bored as hell? Yeahhh I’m not doing that!). But this project in particular is a little different and I think warrants its own blog discussion. So here we are!
Also, side note – I’m in the airport lounge as I write this and despite trying to find a sneaky little place where no one could see behind me, I think I failed and undoubtedly there is someone who is watching me upload photos of my underwear to the internet. So, there’s that too.

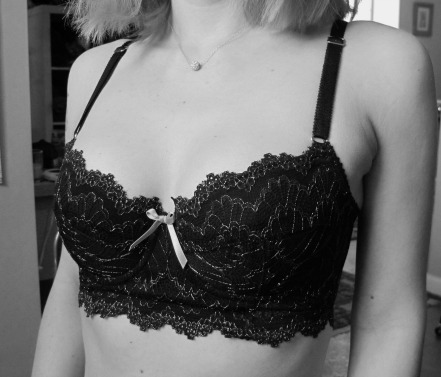
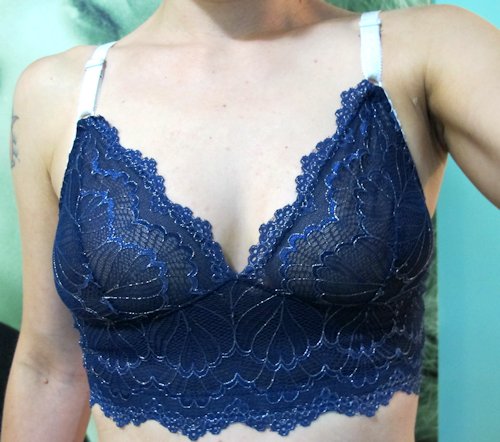
Anyway, about the bra in question! This is the Boylston pattern from Orange Lingerie. I’ve made this pattern a few times in the past, but it has admittedly been a minute since I whipped one up. My cup size has changed in the past couple of years, and while I wasn’t entirely sure what the new size was, I knew it wasn’t whatever I had been previously sewing. This is a balconette-style pattern, but it was, um, VERY balconette on me haha. I know one of the biggest hesitations that people have with starting to sew lingerie is the understanding that your first project(s) may not fit! And while I totally believe that it’s not an absolute waste if you were able to learn from the process, it still really sucks to make something that doesn’t fit the way you intended! This is where I stood with Boylston (and honestly, most bra patterns) until I finally sucked it up and just tried out a cup size bigger to see what would happen. And guess what?? EVERYTHING WAS FINE.


So that’s where this bra comes into play! I made the size 30DD, which is exactly the right amount of cup coverage (finally!). For fabric, this bra is made with… wait for it… jersey knit! Yes! Ever since this pattern was released, I have been DYING to try it in a jersey, which I believe was originally suggested by Norma in the big reveal. Since this pattern relies on foam cups, you can use pretty much any fabric as that area is already stabilized. I fell in love with the idea, but honestly, it took me almost this long to find a fabric that I felt deserved to be made into a bra.
My jersey knit is from Mood Fabrics and it was one of those last-minute purchases that grabbed my attention when I was filling up my cart and I just couldn’t say no. Y’all know I love a good cherry print – however, I don’t wear light blue. But it was on saleeee and it was cherriessss and I just… well it arrived at my house and I had to do something with it. This print was a great contender for turning into a bra as it is reasonably stable (not super flimsy and lightweight, like the knits I like to wear as garments) and the print is small so it’s not totally cut up by the pattern pieces. This specific fabric is unfortunately sold out, but Mood Fabrics has tons of other fun prints available on their website. The Cotton Jersey Prints specifically is the line that I pulled this one from, FYI!

After I pre-washed my fabric, I cut a small yardage off and block fused the entire thing with lightweight fusible weft interfacing. I wanted the knit fabric to be stable so that it would be easy to handle, and also work for a bra pattern (this pattern does not call for stretch fabrics, except at the very back band, so you want to stabilize your fabric in order for the garment to fit properly). Once the fabric was fused, I then cut all my pieces except for the back band (which, again, needs to remain stretchy). I also cut the cups out of foam, the bridge and frame pieces with sheer cup lining, and the back band pieces with medium weight powermesh. I like my bras to be lined (hence the sheer cup lining) and the powermesh was needed to keep the uninterfaced knit back pieces from stretching out over time.

Once all that was cut, this project sat in a WIP box for about a month. Ha! (not for lack of wanting to sew – but for traveling + moving house!) But once I was back in Sew Mode, this came together in a couple of hours! I raided my stash for notions and was pretty pleased with how well everything matches! I’m actually trying not to stash lingerie notions anymore (it can be really obnoxious to have everything you need for a project except some weird width of elastic in a particular color, or whatever) and in the future will just buy on a per-project basis. But in the meantime – I need to work through my stash. Other than the cherry fabric, this was 100% a stash-busting project! Yeah!
One question I get pretty frequently whenever I post a lingerie project is whether the pattern (whatever pattern I’m sewing) is good for a first-time bra sewer. While I do generally recommend Orange Lingerie as a good resource for first bra patterns (my first bra was a Marlborough!), I honestly would not recommend the Boylston for your *very* first. Making and inserting the foam cups can be a little confusing, and if you’re already embarking on a new adventure in lingerie then you probably don’t want to add any more stress than necessary! Once you’ve sewn up a bra or two and understand the general idea of how they are put together, though, I think this is a great next project!
After I finished the bra, I had enough fabric left over to make some matching undies!

I used the knit fabric (uninterfaced, to retain the stretch), and finished the edges with red fold over elastic. The pattern is the Acacia Underwear from Megan Nielsen patterns. These were super fast to sew and look really cute with my new bra!


I actually have tons of this fabric leftover (I think I bought 2 yards and lingerie sewing just barely sips on fabric yardage), so I may make some matching knit PJs. It’s a little too thick for what I like to wear as a tshirt, and the color isn’t something I’d reach for in the every day – but who knows, maybe wearing this set will change my mind 😉

Anyway, I think I’ve waxed poetic enough about this pattern *and* I’m pretty sure they just swapped out breakfast for lunch at the buffet which I desperately need to investigate so consider this blog post officially done!
Have you tried this pattern before in a knit fabric?
** Note: The fabrics used in this post were provided to me by Mood Fabrics in exchange for my participation in the Mood Sewing Network. All opinions are my own!


