
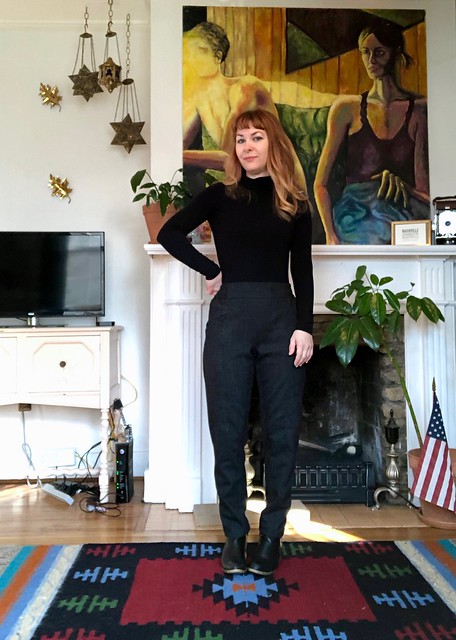
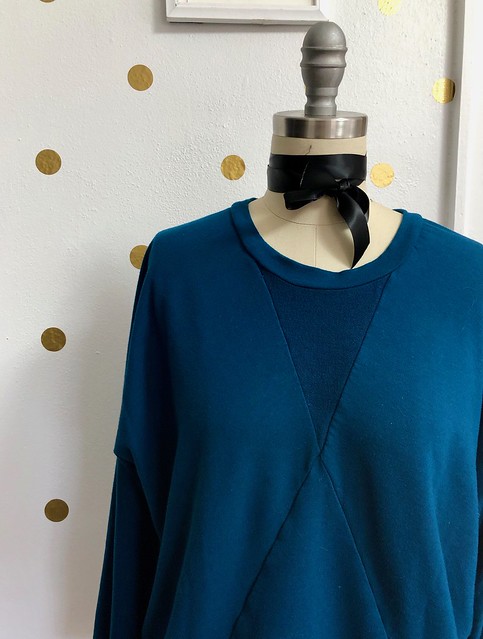
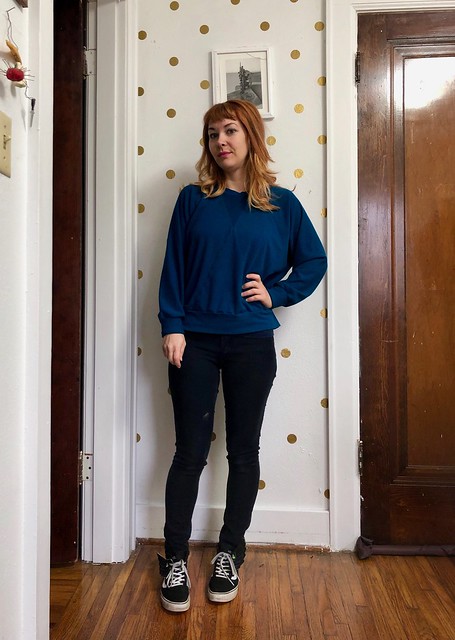
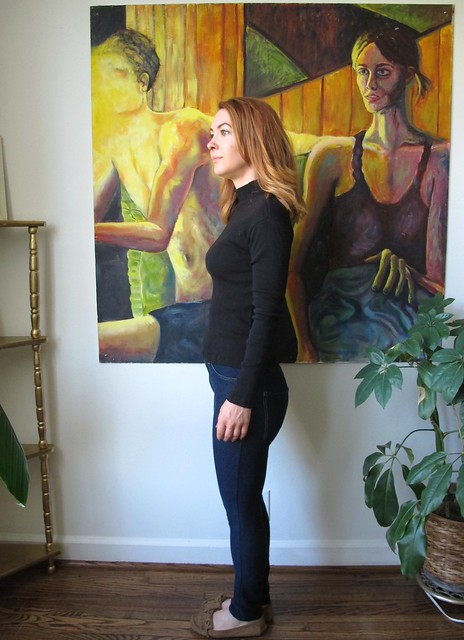
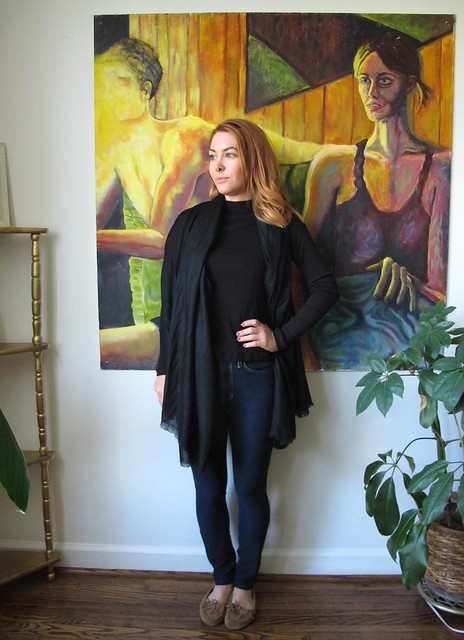
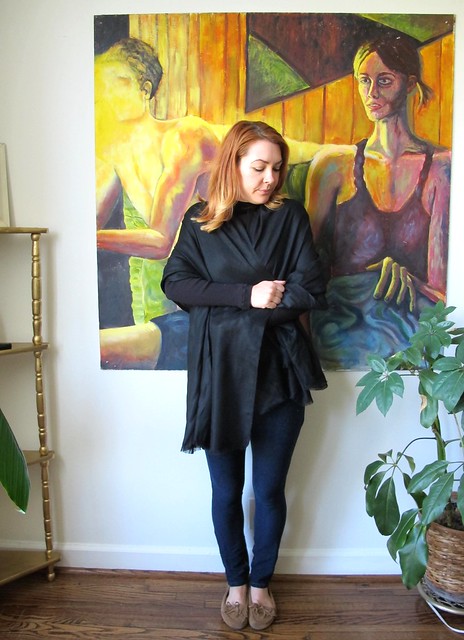
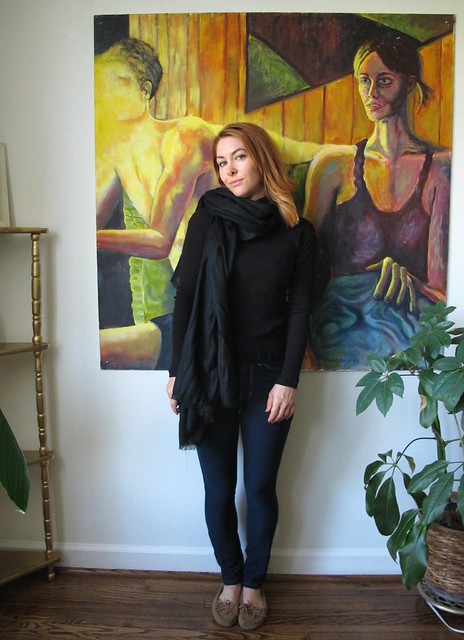
I think I told y’all last year how much I love the new Geo Collection from Papercut Patterns. In case you missed it – I LOVE THE NEW GEO COLLECTION FROM PAPERCUT PATTERNS! As a shameless Papercut Fangirl, I am of course extremely biased regardless, but it is honestly a great collection. I’ve made the Pinnacle Top (twice, actually!), and the Fjord Cardigan (unblogged!), and now I’ve got some fresh new Palisade Pants to add to the mix!
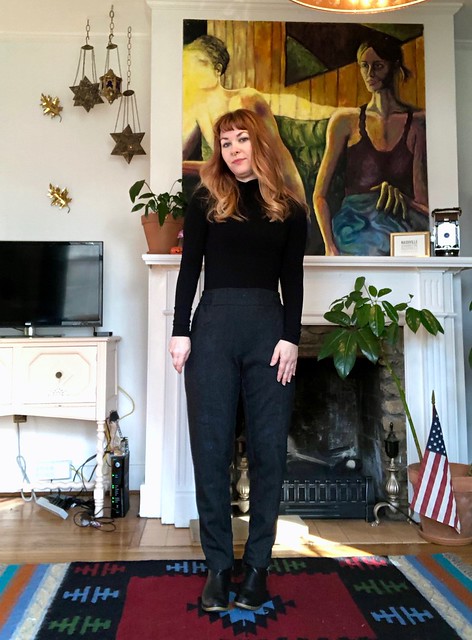
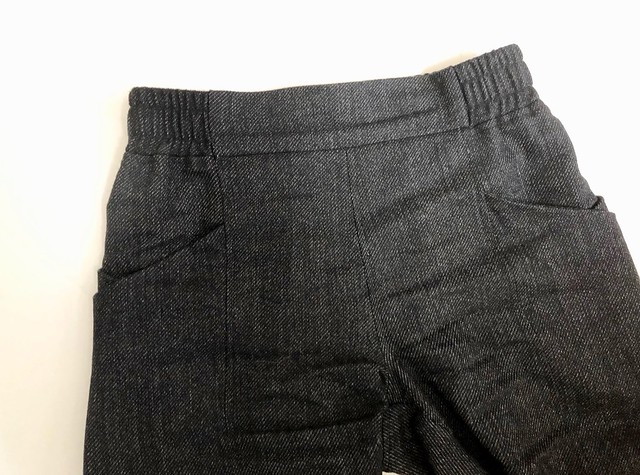
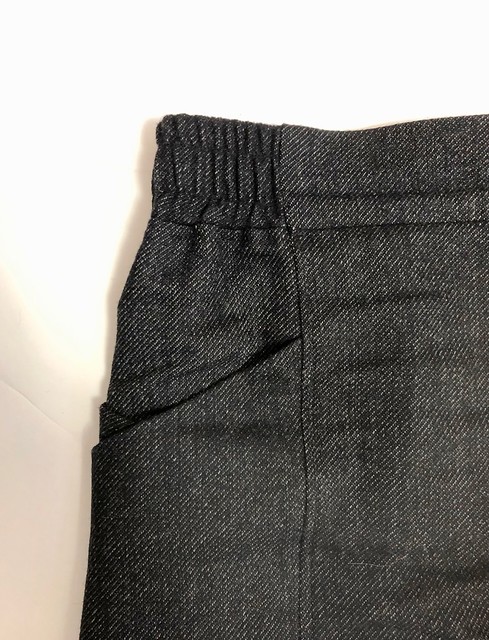
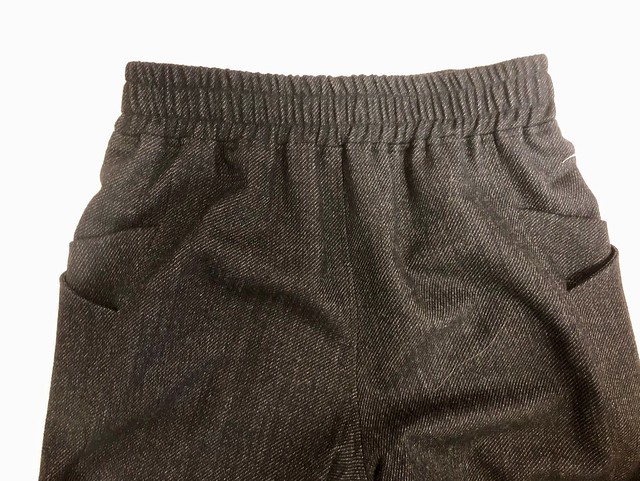
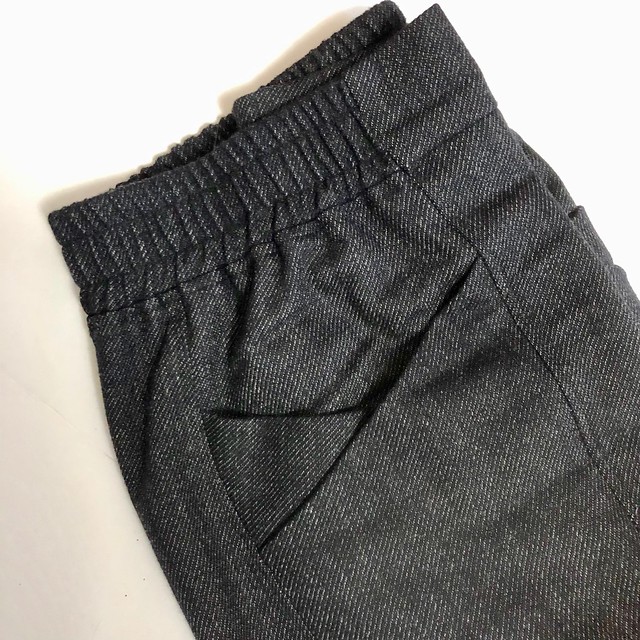
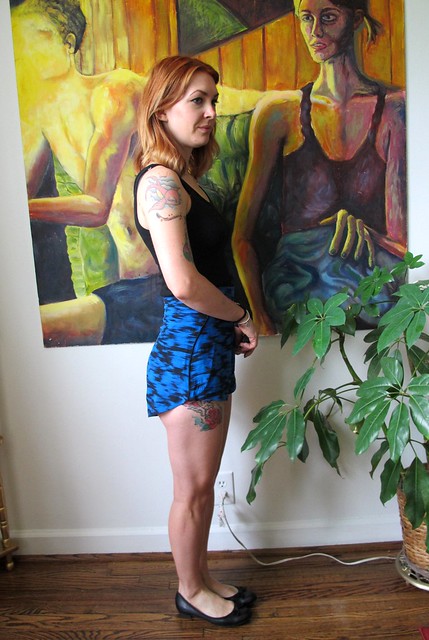
I just think this pattern is so cool! I love the relaxed (but not oversized) shape, with the interesting pocket detail and elastic waist that doesn’t go all the way around (personally, I find a flat front to be more… well, flattering). These are very similar to the Elizabeth Suzann Clyde pants, with a different pocket shape and, again, a flat front with no elastic. Both pants have the same high waist and seams running down the front and back leg.
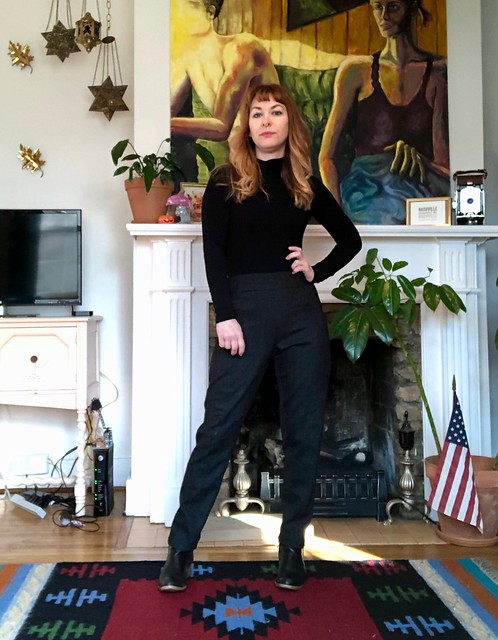
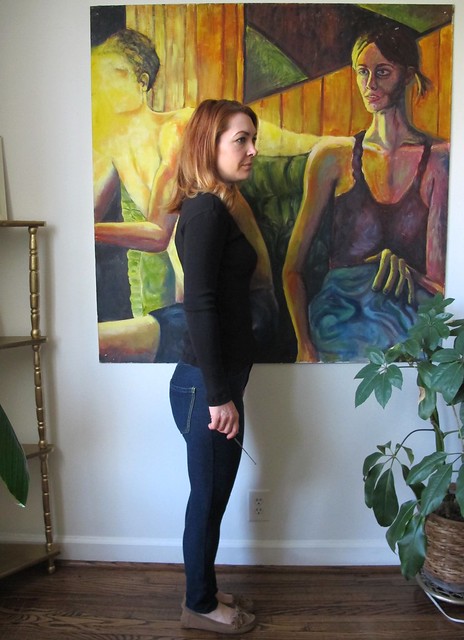
As much as I love a fitted pant, I didn’t want these to be too tight in the hip so I went with a size XS (based on my measurements). I ended up taking an additional 1/4″ out of the inseam to tighten up the legs ever so slightly (I don’t generally mess with the inseam, however, these pants do not have side seams), but I am very happy with how the hip and waist fits. FWIW, I did use the suggested elastic measurement and it fits perfectly without being too tight.
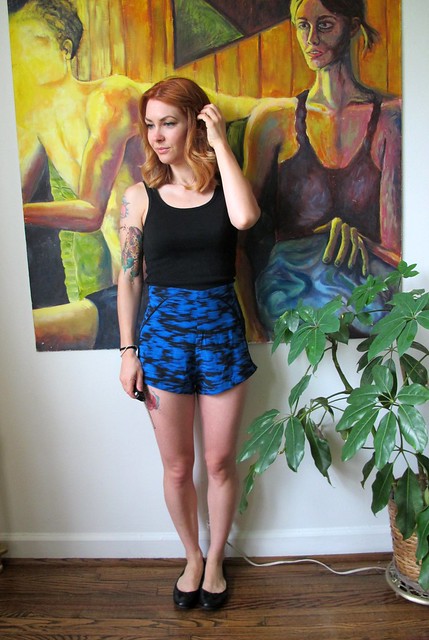
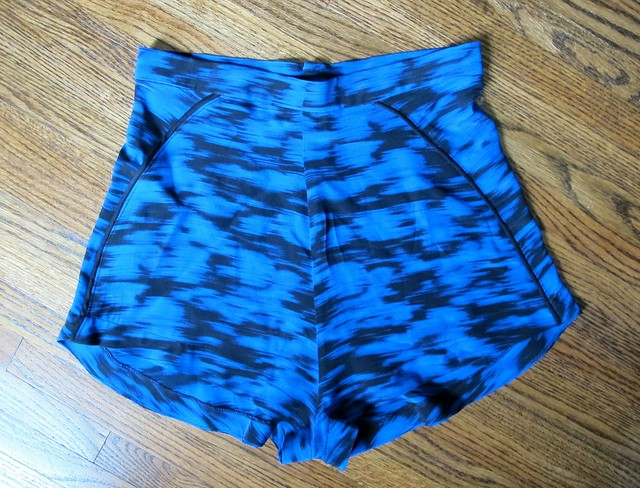
I made a muslin of the shorts before cutting into my fabric, because I wasn’t sure how these would fit on my body. I actually do own a pair of Clyde pants (from way back when I still worked at ES), and I always felt like the crotch was a little too long on me, so I went ahead and sewed up a test pair before committing. My test pair is actually a fully-finished wearable muslin – I used cotton bottomweight fabric, as well as the suggested interfacing, elastic, and topstitching details. So I also basically have a new pair of shorts when summer comes around haha. My sample showed that I did need to take some of the crotch length out – a full 1.5″ (crotch length refers to the measurement from front waist to back waist spanning the crotchal area, NOT the length from crotch to waist when you sit down, which is considered crotch depth. See this image for a visual) (also, every time I type crotch I accidentally type crochet instead what is wrong with me). Before you start wringing your hands on the mysteries of pants-fitting, please be aware that this is not an adjustment I see a lot of people make (and I touched a LOT of crotches last year during all my workshops). If you do need it, the explanation and process of how to fix are best outlined in Pants For Real People, which I recommend checking out for further questions!
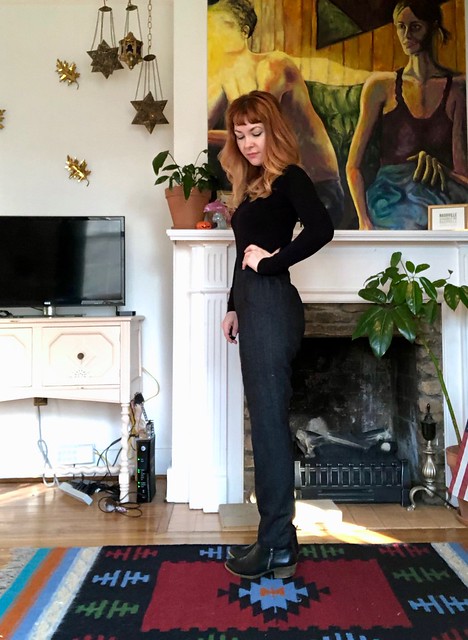
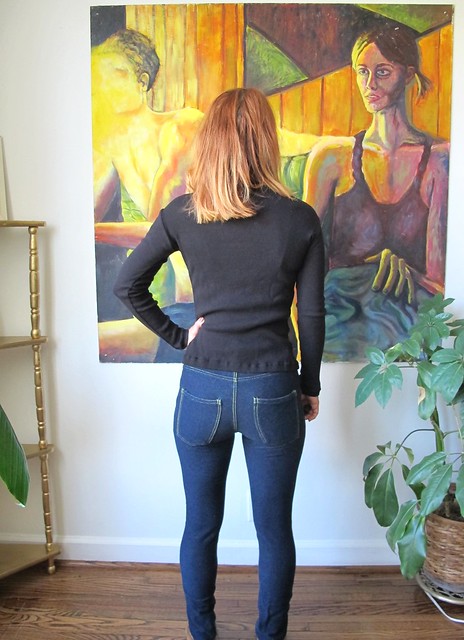
ANYWAY, the amount that I took off the length was easily adjusted (albeit in a very hacky way) to my shorts, so yes, those are still wearable! One more adjustment I made to the pants was to change the crotch curve, as it was a little flat for my body (this is indicated by vertical folds in the fabric in a very unflattering spot). This was not necessary in my sample, but did show more prominently in my finished pants – probably because the fabric has more drape. The front still isn’t completely flat if I stand a certain way, but I think that’s pretty unavoidable with this soft fabric + pants shape combination.
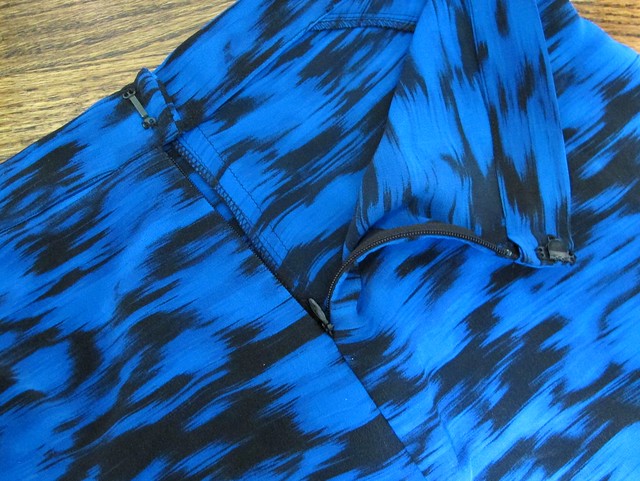
Construction changes were minor. I wanted to keep the fabric soft, so I omitted about half of the interfacing (anywhere that there would be double layers of interfacing). This included the pockets and the center front waistband. In retrospect, I probably should have left the double layer of interfacing on the waistband as it does get a crease with wear, but, whatever. I used a lightweight fusible weft interfacing, which is pretty much my go-to for most fabrics.
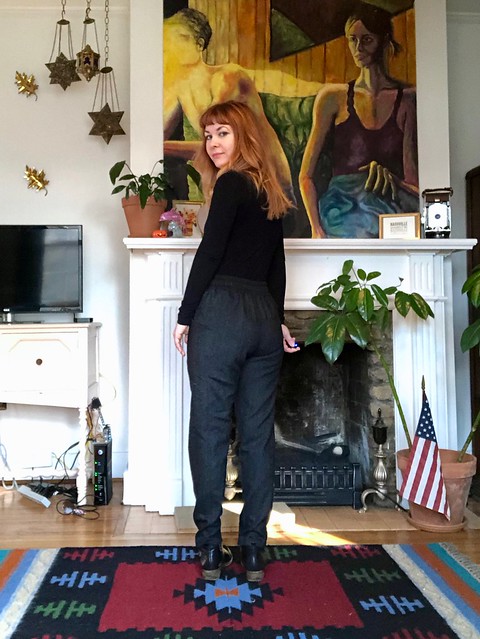
I left off the mock fly (for aesthetic reasons), and just topstitched the center front and center back seams. I also added some topstitching to the back elastic, to keep it from twisting. And I also unintentionally shortened the pants when I shortened the crotch depth, so they are about 1.5″ shorter than the pattern – which thankfully is the perfect length for me haha.
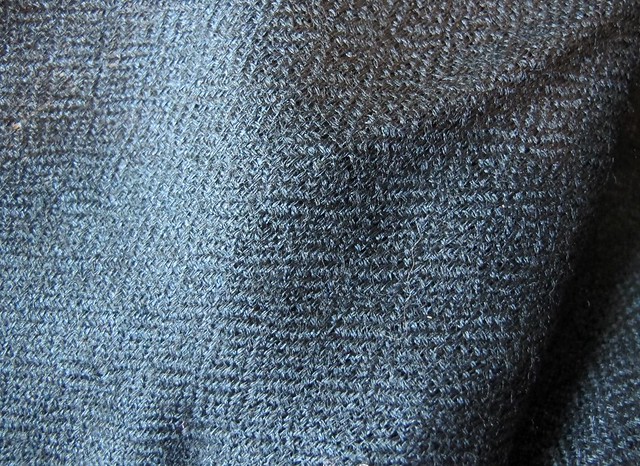
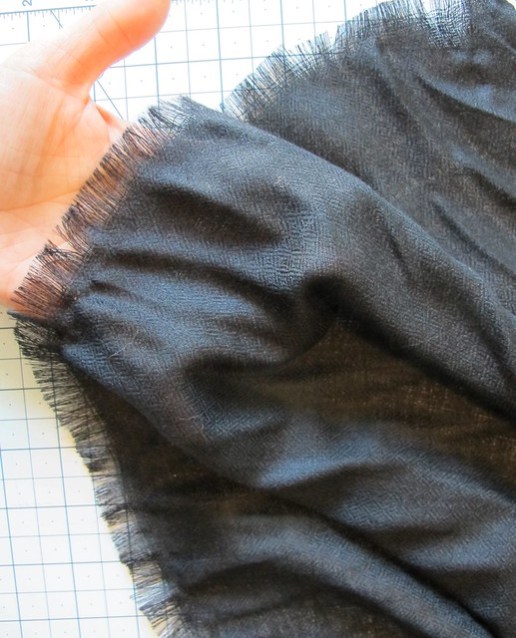
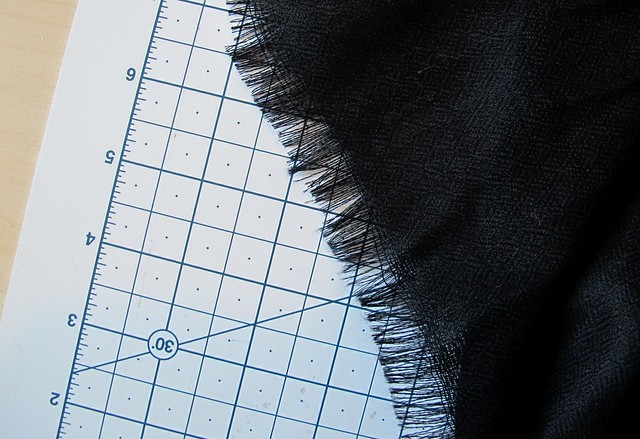
My fabric is a gorgeous wool suiting that I bought from Mood Fabrics when I was in NY last month for Christmas. I only had one day in Manhattan, and my mom agreed to go with me while I did a quick little shop around the Garment District. Mood has tons of great wool suitings on their website, but I wanted to see the goods in person so I could get a nice feel for drape, weight, itchiness, and color. I knew I wanted something soft, lightweight, non-itchy (as I would not be lining these) and with a little bit of dimension and texture that didn’t look too suit-like. This stuff hit all those boxes, and only cost around $20/yard. It was wide, too, so the 2 yards I bought were more than enough for these pants – meaning I have leftovers to whip up something else if the mood strikes.
I actually pre-washed my wool – like, in the washing machine – because I wanted to see what would happen. Generally, wool felts due to heat combined with agitation, so I used cold water and low heat in the dryer. I didn’t measure before/after to see if anything shrunk, but this definitely isn’t felted so it worked out ok! When I wash the actual pants, I will use cold water in the washer and hang them to dry (how I treat most of my wool garments, except for handknit sweaters obviously).
The wool was really easy to sew, as wool tends to be. I suspect there is some poly blended in here, though, since it didn’t press as well as most wools do (this would also explain why the fabric was fine in the dryer when I pre-washed). I used high heat and a clapper to hold the seams down while they cooled, then for extra credit I topstitched as much as possible to keep the seams nice and flat. To sew, I used a universal 80/12 needle and finished all seams with my serger.
I think that about covers it! This was a fun project to make, and I really like how the pants turned out. I’m still undecided if these are really “me,” but I’ve worn them for the past 2 days while we’ve had a cold snap in Nashville and they are warm and comfortable. I do want to try this pattern with a fabric better suited for warmer weather – such as linen or tencel – and perhaps in a cropped length or even the shorts. The pocket detail just makes me so happy.
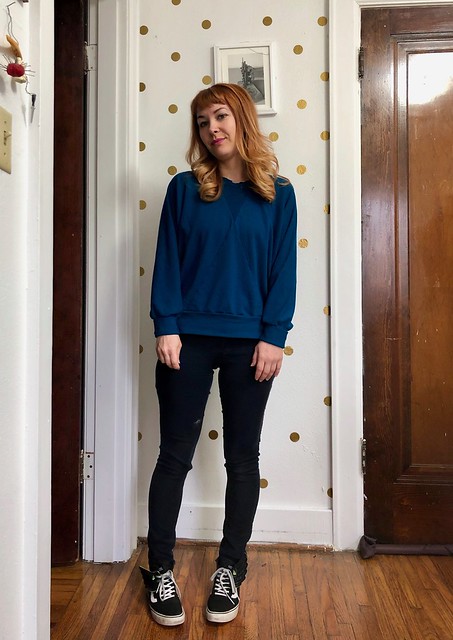
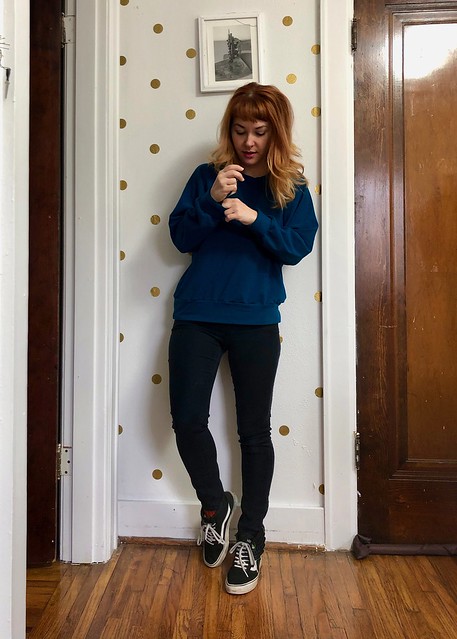
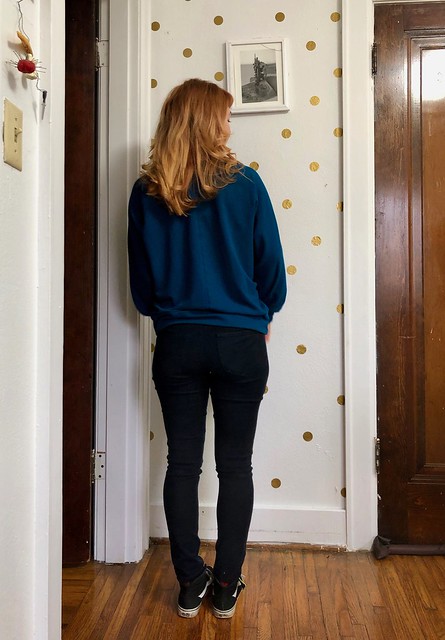
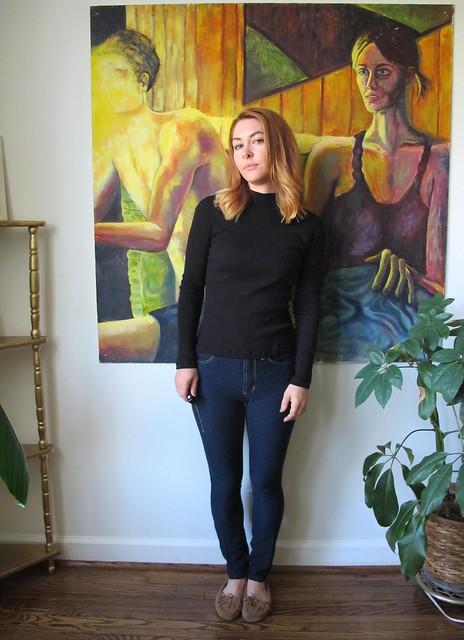
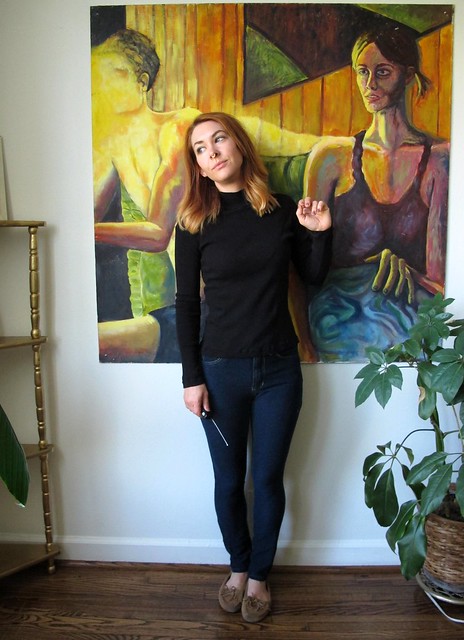
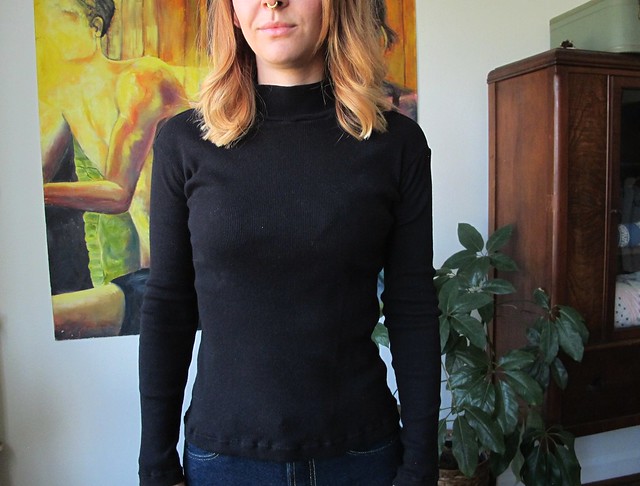
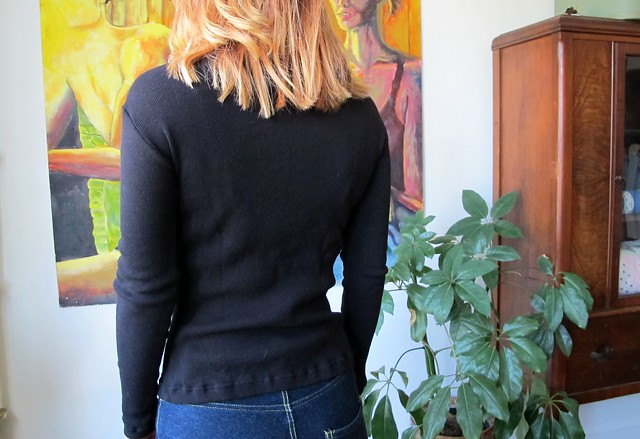
Oh! And in case you were curious – the shirt I am wearing is a mash-up of the Nikko Top and the Nettie Bodysuit. I basically just combined the bottom edge of the shirt with the lower half of the body suit, to make a Nikko Bodysuit. This piece has been really useful in my wardrobe – it looks great with high-waisted skirts and pants, and stays tucked in no matter which way I move. I made it with lightweight merino wool fabric, also from Mood Fabrics, and I love it so much!
**Note: The fabrics used in this post were provided to me by Mood Fabrics, in exchange for my participation in the Mood Sewing Network. All opinions are my own!


