Well, Me-Made-May is finally over – 5 weeks/31 days of handmade with daily photographs. I’m not even going to pretend I wasn’t relived to NOT take a photo of myself this morning 🙂
Since I was on vacation pretty much the entire week, I tried to be creative with my photos (mostly because I didn’t want to drag the tripod, camera *and* laptop with me to Florida lol). It was a bit of a struggle on a couple of the days, mostly because I spent lots and lots of time in my bathing suit… but I managed!
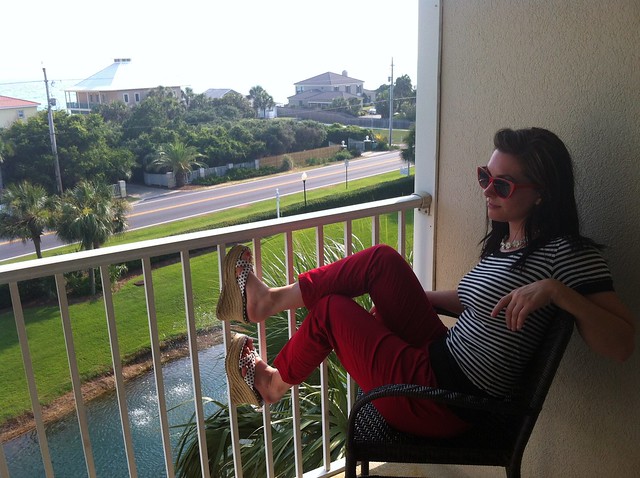
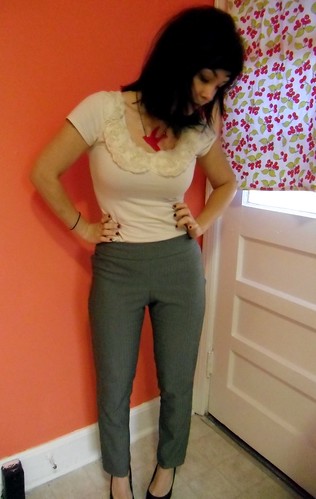
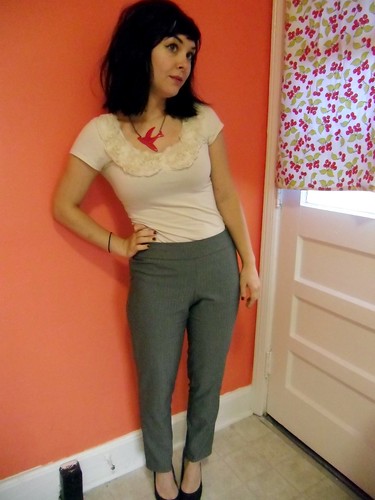
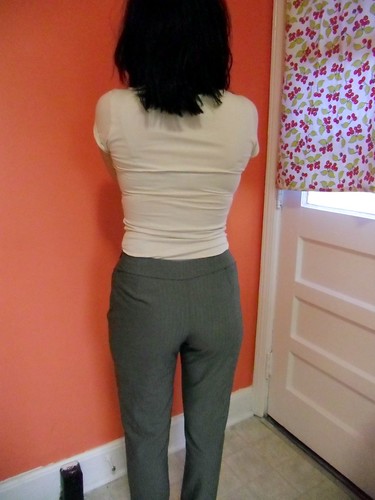
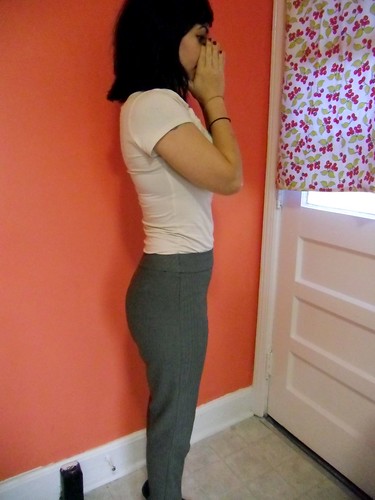
5-26
Shirt: Sewaholic Renfrew – modified some more since it’s original inception; you can’t see it too well but I cut the ribbing off the bottom & replaced it with wide lace (just like my Taffy blouse)
Pants: Colette Clovers
Necklace: Vintage bracelet I turned into a necklace
Shoes: Rugged Warehouse
Shades: Pangea
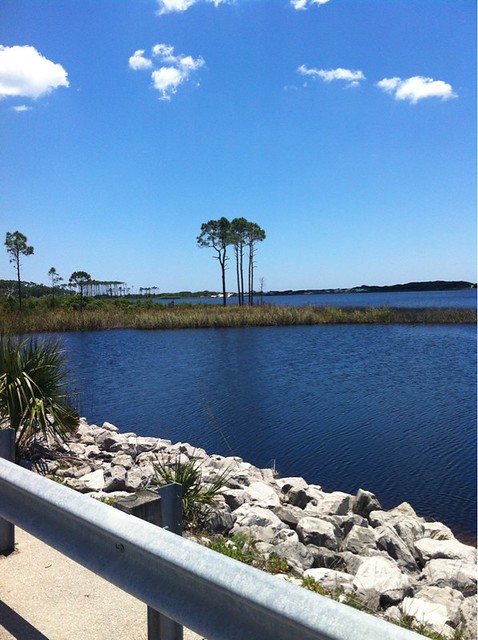
After a long day of driving (nearly 8 hours in the car! Plus 2 hours at some rando gas station after a belt in Landon’s car snapped & we had to wait for my dad to fix it. Which was preferable to towing it to some shop & paying them assloads of money to fix it, by the way!), we made it to Santa Rosa Beach! This is the view/balcony via our condo.
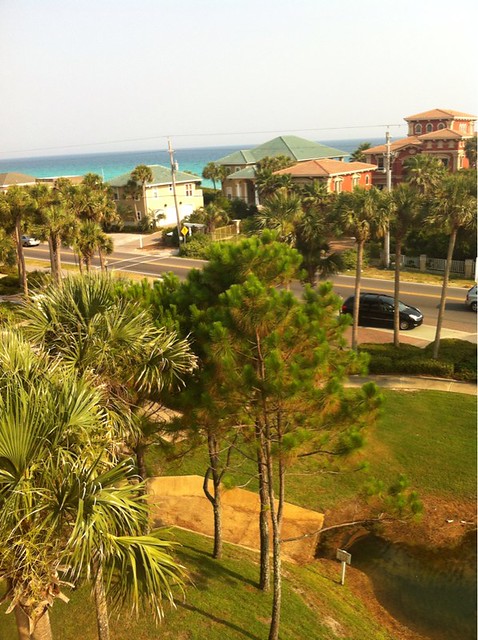
Uh huh.
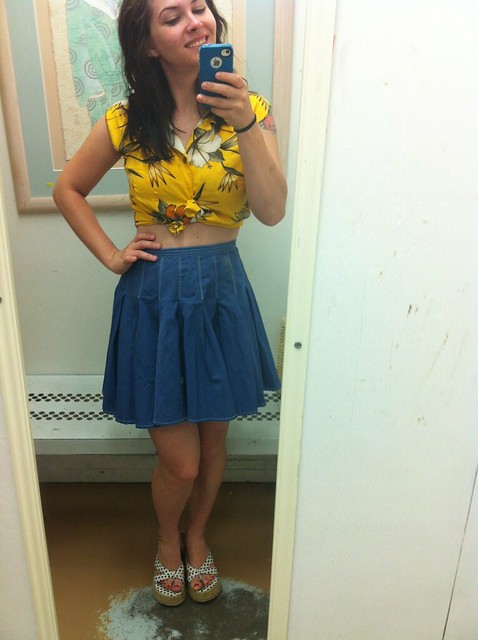
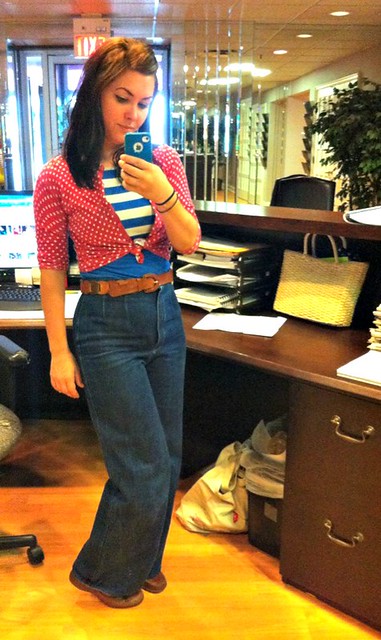
5-27
Top: Giant men’s Hawaiian shirt resized by me
Skirt: Vintage, dyed by me
Shoes: Rugged Warehouse
Couldn’t get anyone to take a picture of me, so I settled for one of those awful mirror shots in the fitting room at Goodwill haha.
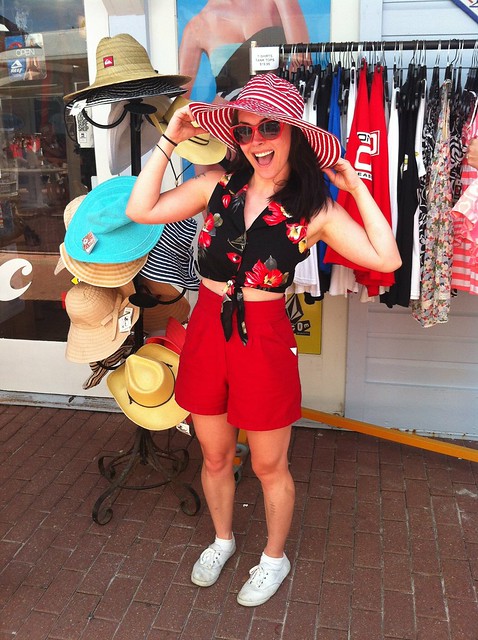
5-28
Top: thrifted – from the aforementioned Goodwill, no less!
Shorts: Simplicity 5110
Shoes: Walmart
Hat: Not mine, just trying on the goods
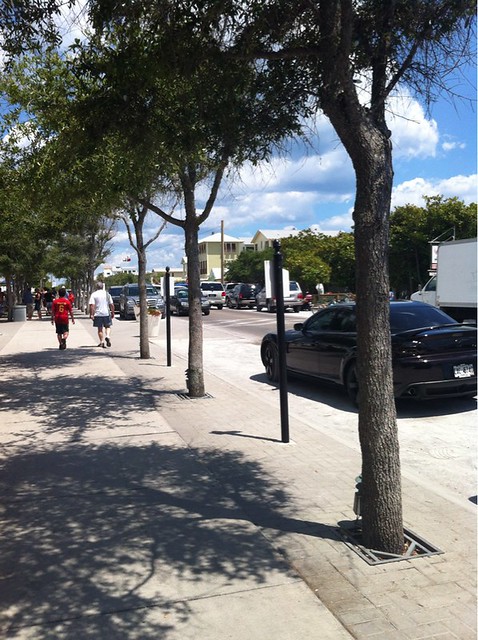
This was taken in a cute little town called Seaside, just a few miles from Santa Rosa Beach. We rode our bikes there, and I spent the entire time dying over the bike paths-
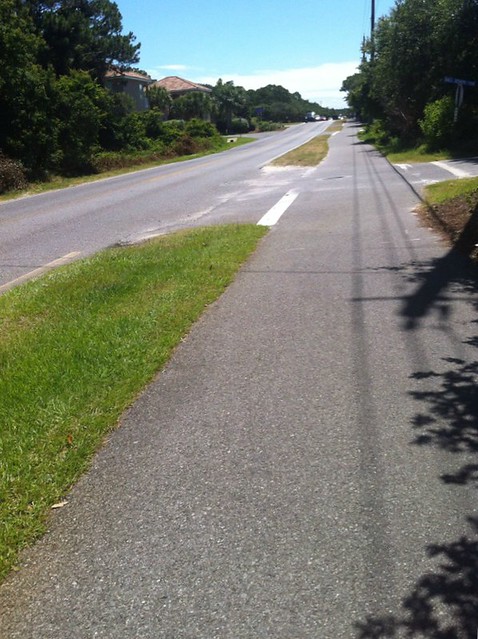
Totally flat, totally separate from the main road (which is on the left). It was SO NICE! I wish we had commuter/non-greenway bike paths like this in Nashville.
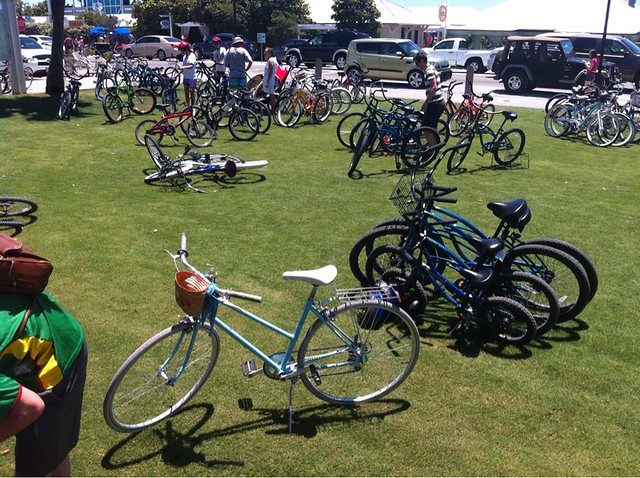
Seaside was really cute – there were tons of bikes
And shopping
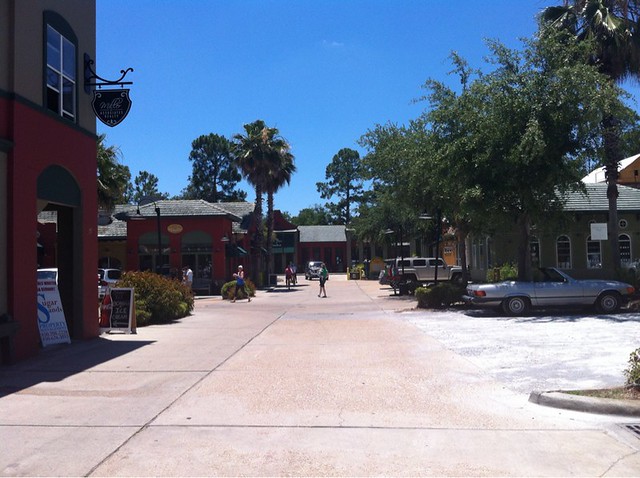
And food trucks
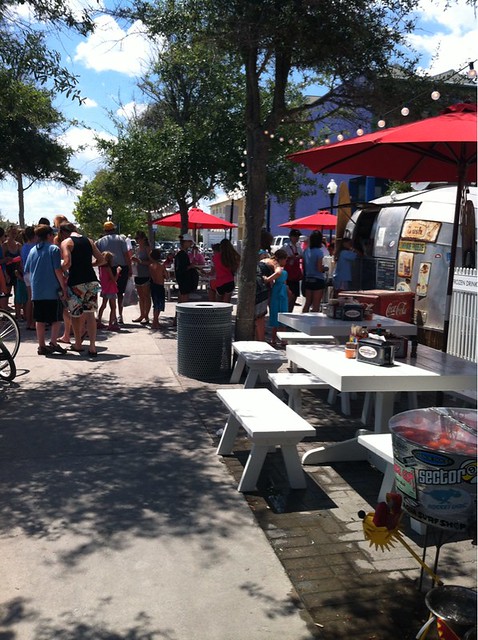
And pretty things to look at
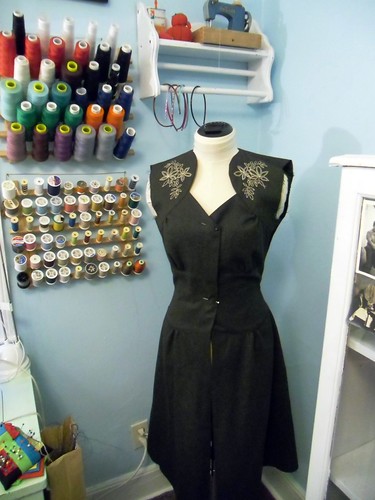
And a bonus outfit shot from Monday, 5/28:
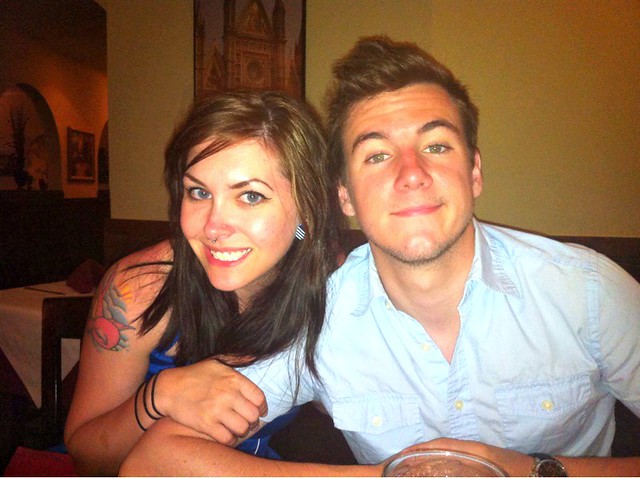
Birthday dinner with Landon (and the rest of the family). I wore Vogue 1174. I knowwww I should have worn my birthday dress (I even brought it!) but everyone else was pretty casual so I decided on the blue dress at the last minute. SORRY.

5-29
Dress (worn as a swimsuit coverup): Hawaiian Sundress
Hell yeah I spent the whole day at a waterpark. And then Fudpuckers (where my little brother lost his debit card & the kind man at the bank verified the last transaction was from “pudfuckers” lol), and then some chintzy tourist shop called Alvin’s.
From left to right – Maddie (Matt’s girlfriend), my mom, Caroline (my niece), Matt (little brother!), me, my dad, & Landon.
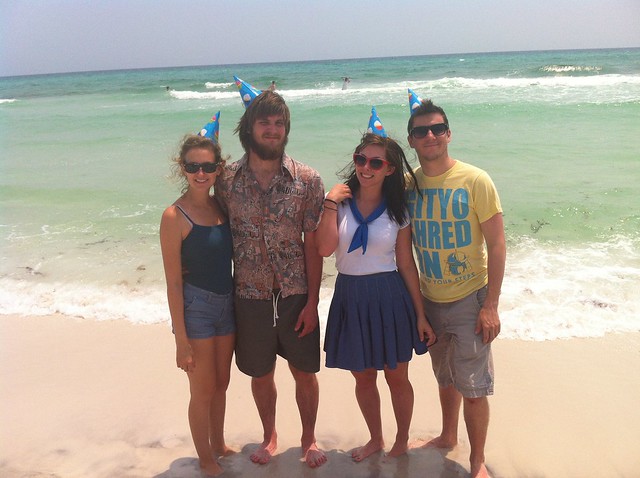
5-30
Top: Jalie 2921
Skirt: Vintage, dyed by me
Party Hat: YEP
Last time at the beach! I gave up on trying to wear cute outfits & just put on something comfortable for the drive home 🙂
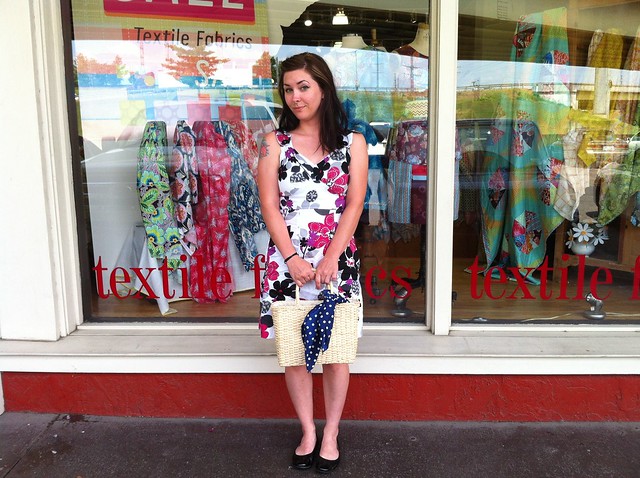
5-31
Dress: Colette Parfait
Shoes: Target
Purse: Thrifted
Scarf (tied on purse): Flea Market
Last day of Me-Made-May! I celebrated by going to my favorite fabric store for their 50% off sale 🙂
So yeah! I consider this may a total success – albeit not nearly long enough, as I still have masses of handmade clothing yet to be worn. Oh well! Since wearing my stuff wasn’t really much of a challenge, I tried to mix up how I wore it, and I think I did pretty good! I can’t think of anything this challenge made me realize I had gaping, except maybe some summer jeans – which I bought fabric for yesterday, btw! I also used this challenge as a kick the butt to get me into my mending/fit-fixin’ pile, for certain things I never wanted to wear (I’m looking at you, Swiss Dot Violet!)
The only thing that I didn’t like was the daily photos… it got old pretty fast, and felt pretty narcissistic the entire time. I did find myself getting more comfortable in front of the camera, until I got to the point where I didn’t feel like I needed to take 40+ pictures to get that ~one perfect shot~.
Here are the rest of MMM’12 posts, if you missed them the first go-round!
Me Made May, Week 1
Me Made May, Week 2
Me Made May, Week 3
Me Made May, Week 4
And a big big BIG thanks to Zoe for pulling the whole thing together! Apparently, this was the biggest Me-Made-Month yet; I hope we made you proud 😀
So today is June 1st, and here I am wearing all handmade anyway hahaha
Top: Leotard reconstructed by me into a tank top
Trousers: Vogue 2925
Cardigan: Thrifted
Belt: Thrifted
Shoes: Thrifted