Hey everyone!! Just dropping in to share my 2025 workshop dates 🙂
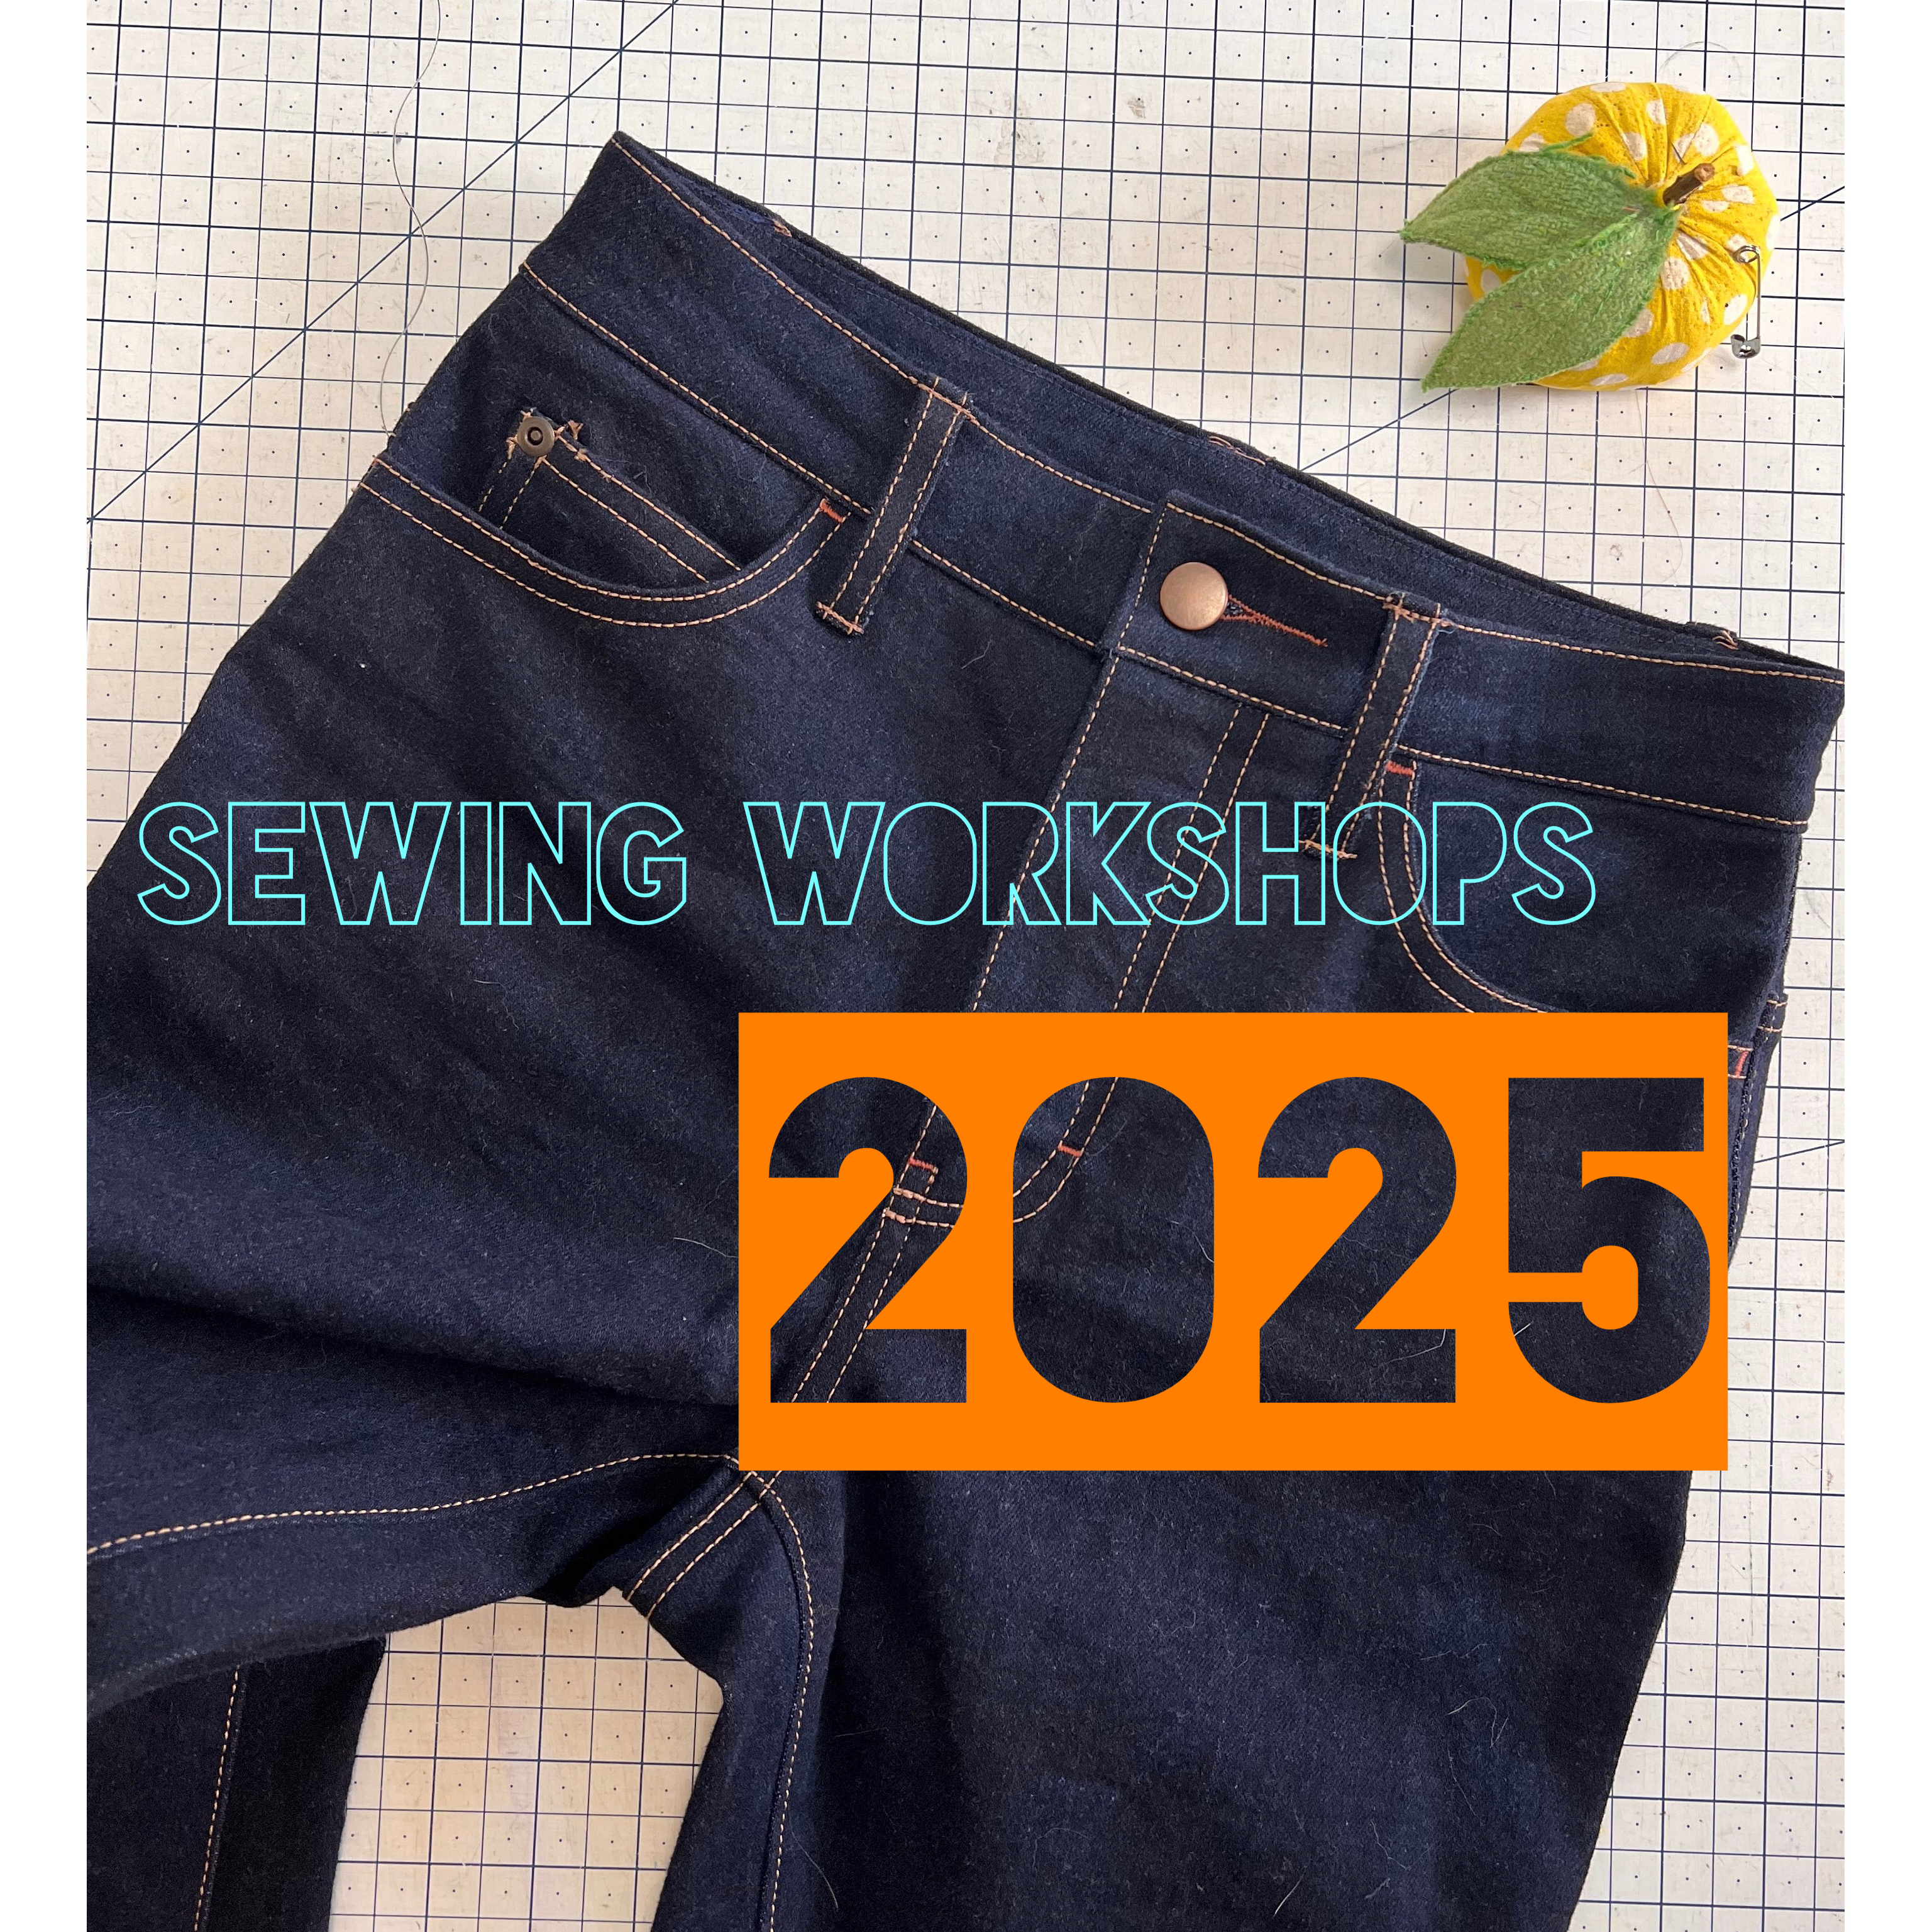
🗓️ 2025 WORKSHOP DATES 🗓️
Alter + Repair Your Garments
Friday, March 21, 2025
Pintuck & Purl / North Hampton, NH
Alter + Repair Your Garments
Saturday, March 22, 2025
Pintuck & Purl / North Hampton, NH
Alter + Repair Your Garments
Sunday, March 23, 2025
Pintuck & Purl / North Hampton, NH
Sew Your Own Jeans Weekend Workshop SOLD OUT
April 25 – 27, 2025
StyleMaker Fabrics / Stanwood, WA
Alter + Repair Your Garments
Monday, April 28, 2025
StyleMaker Fabrics / Stanwood, WA
Alter + Repair Your Garments SOLD OUT
Thursday, May 15, 2025
Sew On Central / Evanston, IL
Sew Your Own Jeans Weekend Workshop
May 16 – 18, 2025
Sew On Central / Evanston, IL
Alter + Repair Your Garments 4 SEATS REMAINING
June 12, 2025
Pins and Needles NY / Mt Kisco, NY
Sew Your Own Jeans Weekend Workshop SOLD OUT
June 13 – 15, 2025
Pins and Needles NY / Mt Kisco, NY
Alter + Repair Your Garments
July 10, 2025
KC Maker Studio / Mission, KS
Sew Your Own Jeans Weekend Workshop
July 11 – 13, 2025
KC Maker Studio / Mission, KS
Alter + Repair Your Garments
August 7 2025
Former + Latter Fabrics / Edmonton, AB, Canada
Sew Your Own Jeans Weekend Workshop
August 8 – 13, 2025
Former + Latter Fabrics / Edmonton, AB, Canada
Alter + Repair Your Garments
September 11, 2025
Stitch Sew Shop / Alexandria, VA
Sew Your Own Jeans Weekend Workshop
September 12 – 14, 2025
Stitch Sew Shop / Alexandria, VA
Alter + Repair Your Garments
October 9, 2025
Pintuck & Purl / North Hampton, NH
Sew Your Own Jeans Weekend Workshop
October 10 – 12, 2025
Pintuck & Purl / North Hampton, NH
Alter + Repair Your Garments
November 13, 2025
Domesticity / Baltimore, MD
Sew Your Own Jeans Weekend Workshop
November 14 – 16, 2025
Domesticity / Baltimore, MD
Alter + Repair Your Garments
December 4, 2025
Fringe Fabrics / San Diego, CA
Sew Your Own Jeans Weekend Workshop
December 5 – 7, 2025
Fringe Fabrics / San Diego, CA
A few things to note:
- Workshop dates are selling QUICK – some are already sold out! I would encourage you to sign up as soon as possible so that you are able to attend 🙂
- Miss the cut and looking at a sold out class? Please sign up for the waitlist! Occasionally I am able to offer additional classes if there is enough interest in the form of a waitlist.
- These are all the Sew Your Own Jeans weekend workshops I will be offering in 2025!
- I am not sure if I will be offering any Alterations workshops in my home town of Nashville, TN. I was able to host several last year, however, the space I was using is in the process of closing and I have not yet secured a new space. Future dates are TBD, if they happen at all, and will only be for my Alterations workshop (not Jeans).
More information is available on my WORKSHOPS page. Please note that while dates are confirmed, not all workshops are listed yet! I have included links where the listings are active and currently accepting registration. For all other workshops, you will want to visit the website of the hosting shop for information on when the class will be active, and how to sign up.
Now, let’s talk about the workshops themselves!
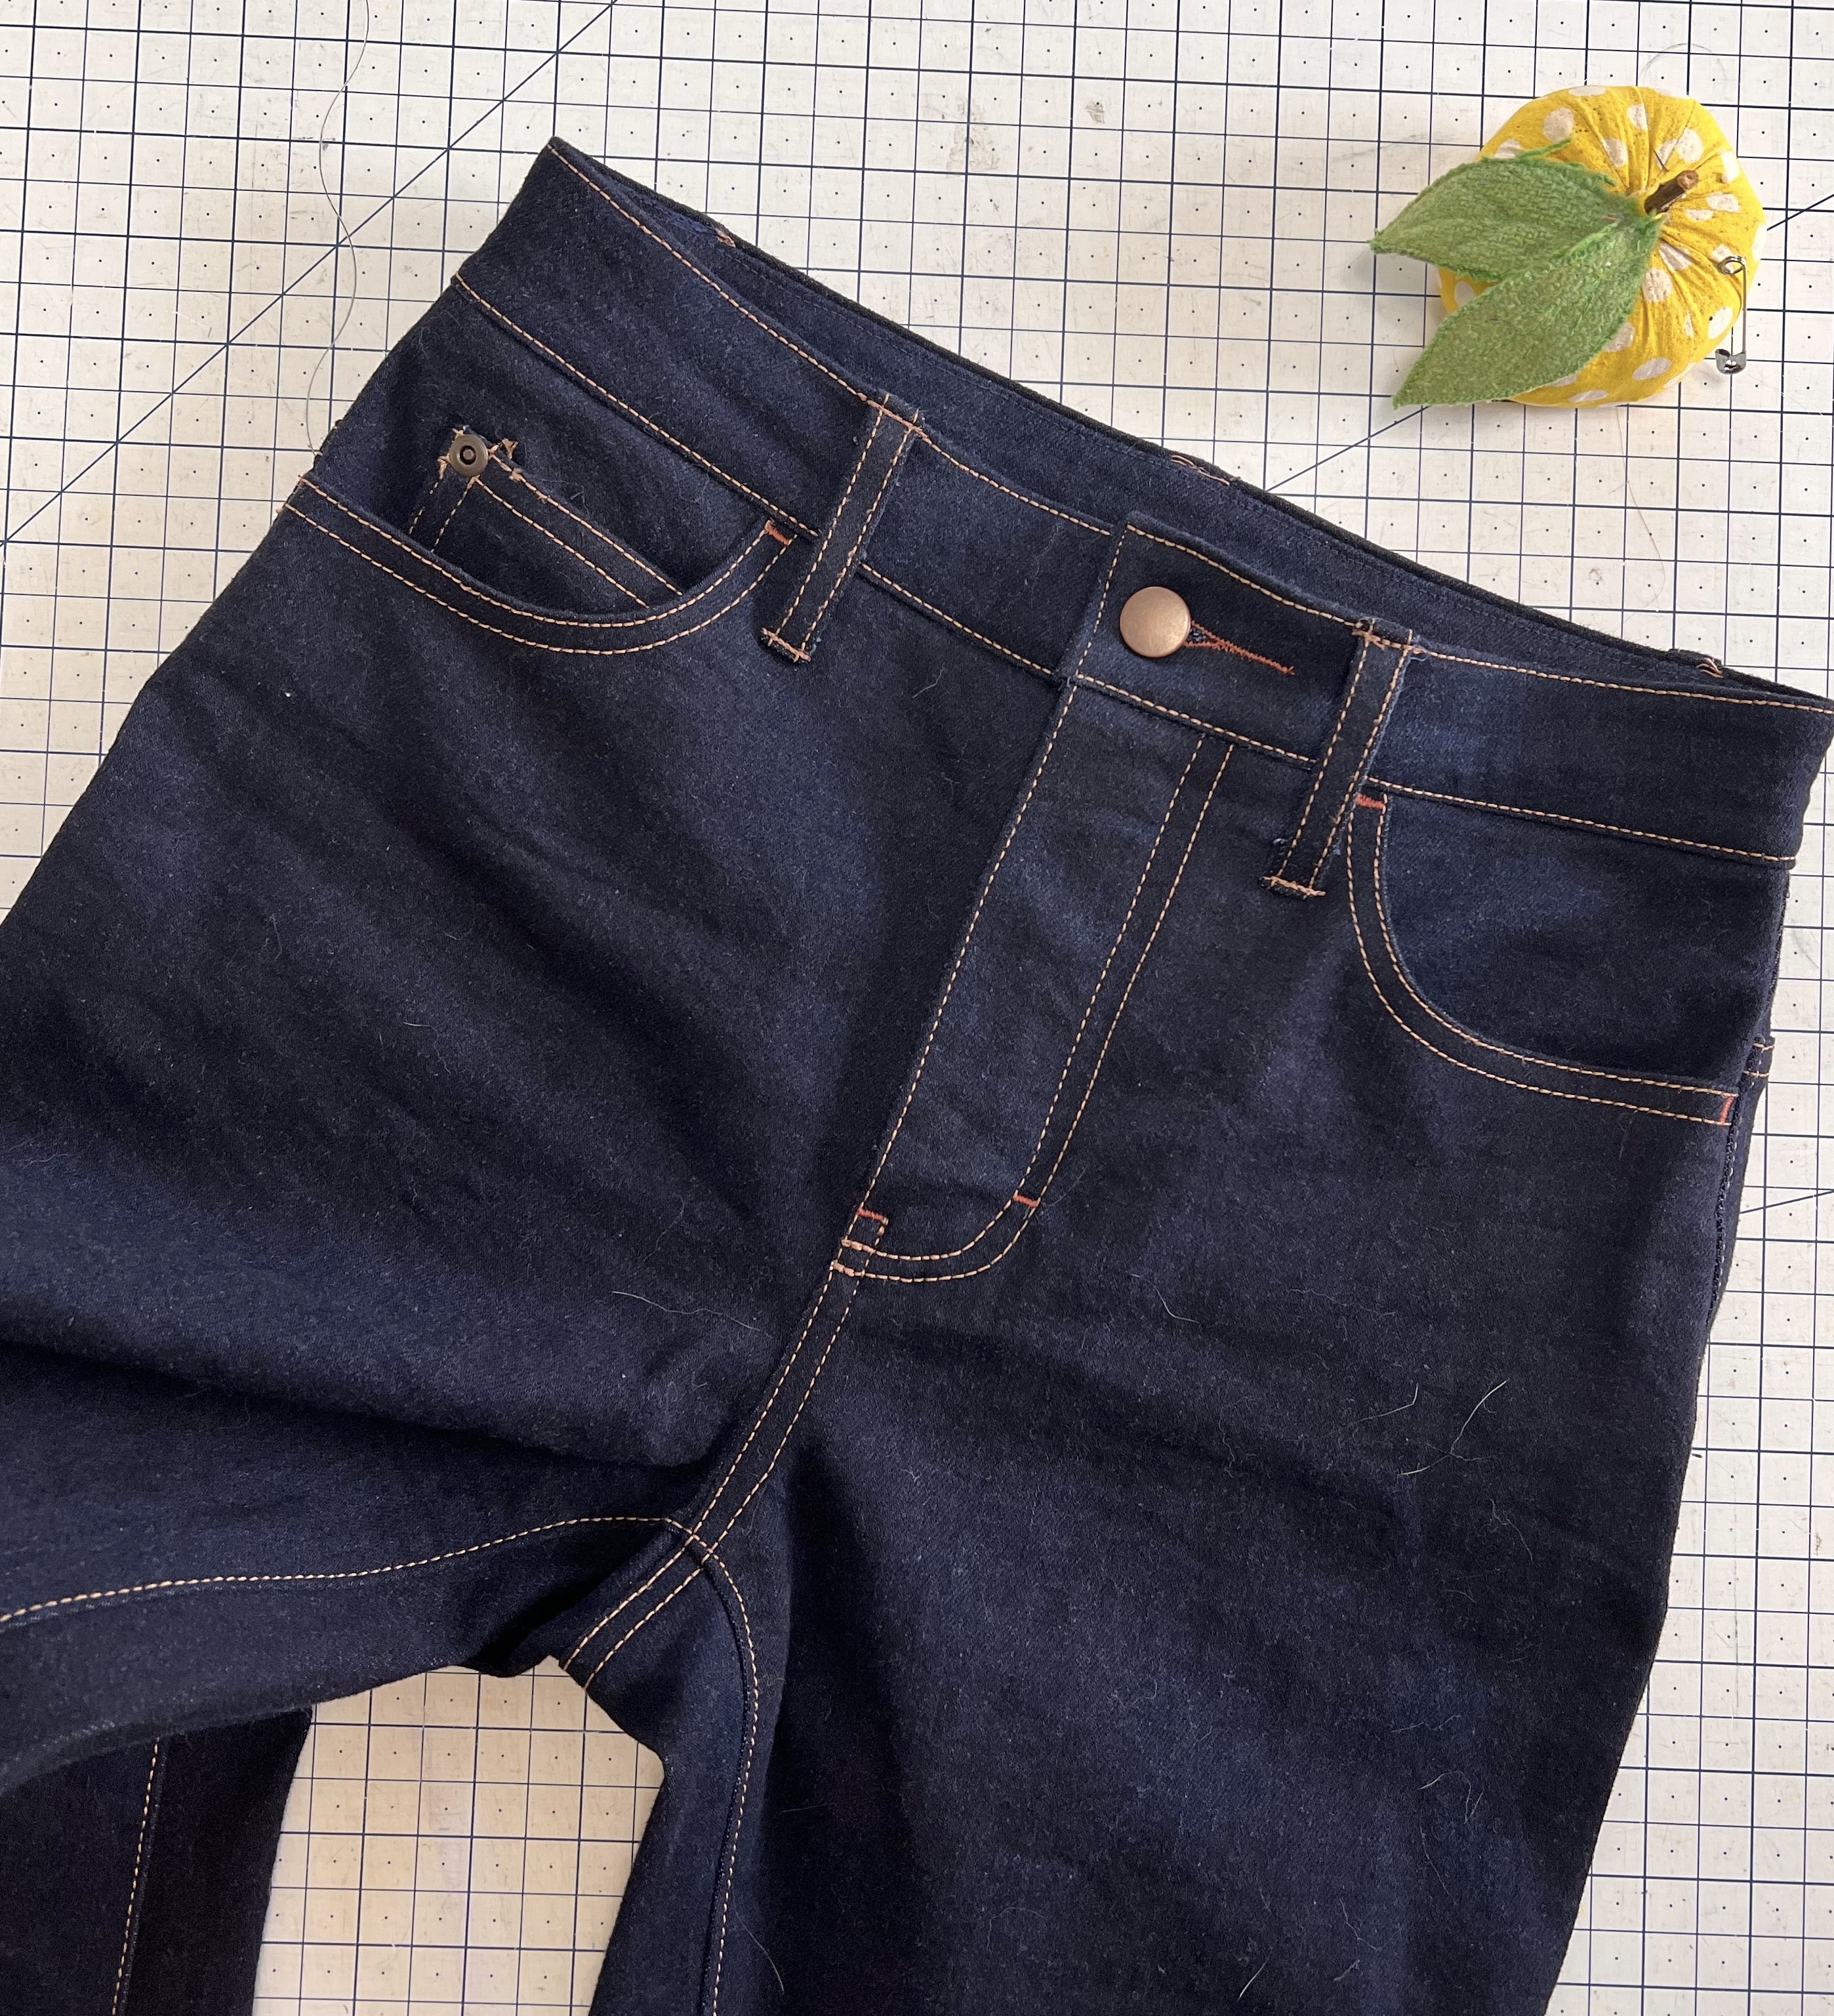
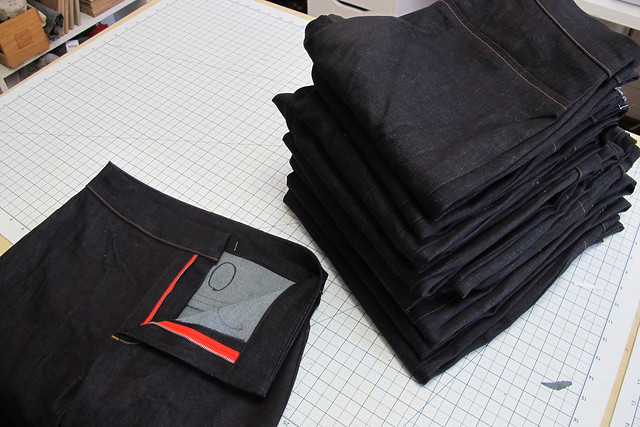
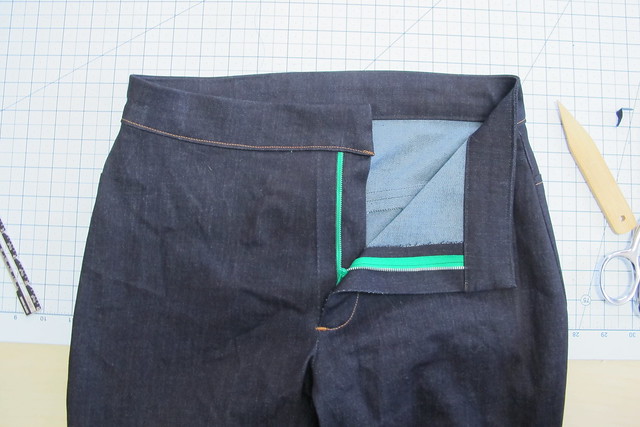
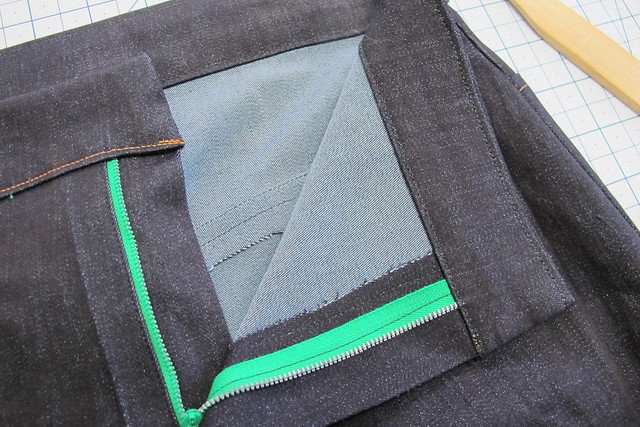
👖SEW YOUR OWN JEANS WEEKEND WORKSHOP👖
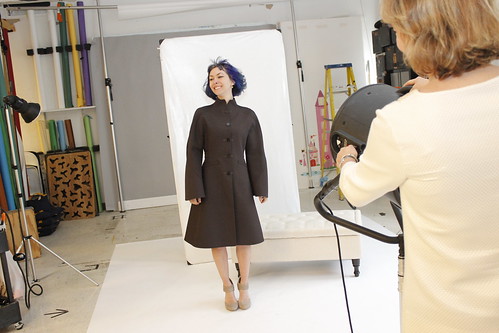
Ready to be your own personal denim designer? Join me for a 2 1/2 day workshop and I’ll show you all the secrets to sew up the jeans of your dreams! We will kick off the weekend with a half day to fit and cut – there will be samples you can try on to determine your size and any fit adjustments. Saturday and Sunday will be dedicated to sewing, and we will go over aaaaaall the details – front pockets, zip fly, killer topstitching, secure bartacks, serged seam finishes, creating and attaching a waistband, hardware installation, and stress-free buttonholes (yep, those exist and imma blow your mind with them!). Students can expect a fun, energetic, and fast-paced environment that focuses on learning and creating. You will leave with not only a new pair of jeans, but also the knowledge and empowerment to make more on your own!
✨JEANS WORKSHOP FAQS✨
What can I expect to learn in this workshop?
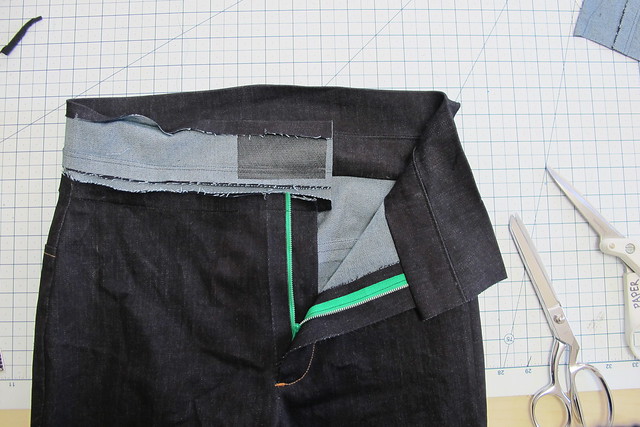
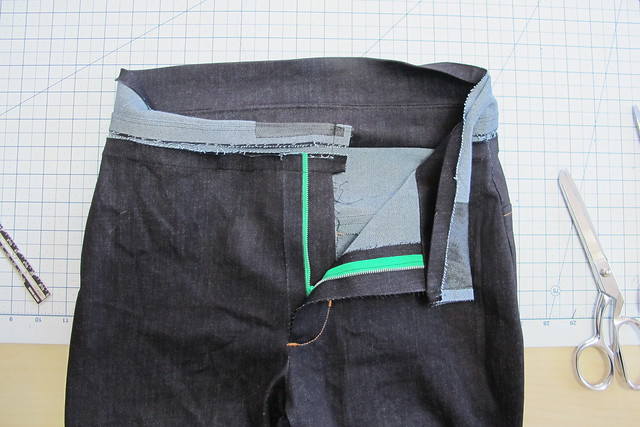
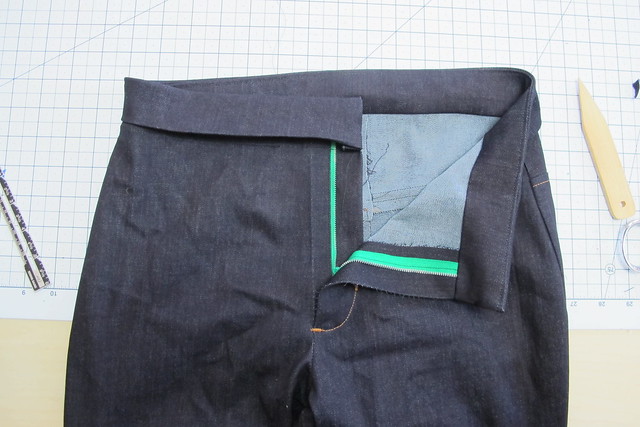
My Sew Your Own Jeans Weekend workshop primarily focuses on construction – you will learn all the details that go into making a pair of jeans, including order of construction, seam finishes, topstitching, inserting a fly zipper, attaching a waistband, and loads and loads (and loads) of little tips, tricks and best practices sprinkled throughout the weekend (seriously, so many little tips!). The knowledge you obtain isn’t just jeans-specific – you can use what you learned to apply toward all sorts of future sewing adventures (Denim jackets!! Rad pants! Skirts! Dresses! Bags! Your possibilities are endless!). You will leave with a great pair of jeans, plus the confidence to go home and make more!
Does this workshop cover fit?
We will go over fit, although this is not a fit-focused workshop. The first half day is devoted to choosing our size (including trying on samples!), adjusting our preferred fit, and preparing our fabric for sewing (cutting, marking, etc). We *will* go over minor fitting adjustments as needed for each individual body. We will *not* spend a long time fussing over fit, nor can I guarantee that your first pair will be ~the most perfectly fitting pair of pants you’ve ever worn~. There simply is not enough time in class to allow for us to make multiple muslins for a perfect fit – and to be completely honest, this is hard to obtain without wearing the pants around for a few days to really get an idea of what needs to be adjusted. I don’t say this to discourage you, but rather, to set the expectation of what you will get out of your weekend. We will tweak the fuck outta your pants throughout the weekend (if it needs it – most students find they get a great fit right out of the envelope! #magicpants) and you will leave with something lovely and wearable that I promise you’ll be proud of. Should you need future adjustments, you will be armed with the knowledge to make it happen!
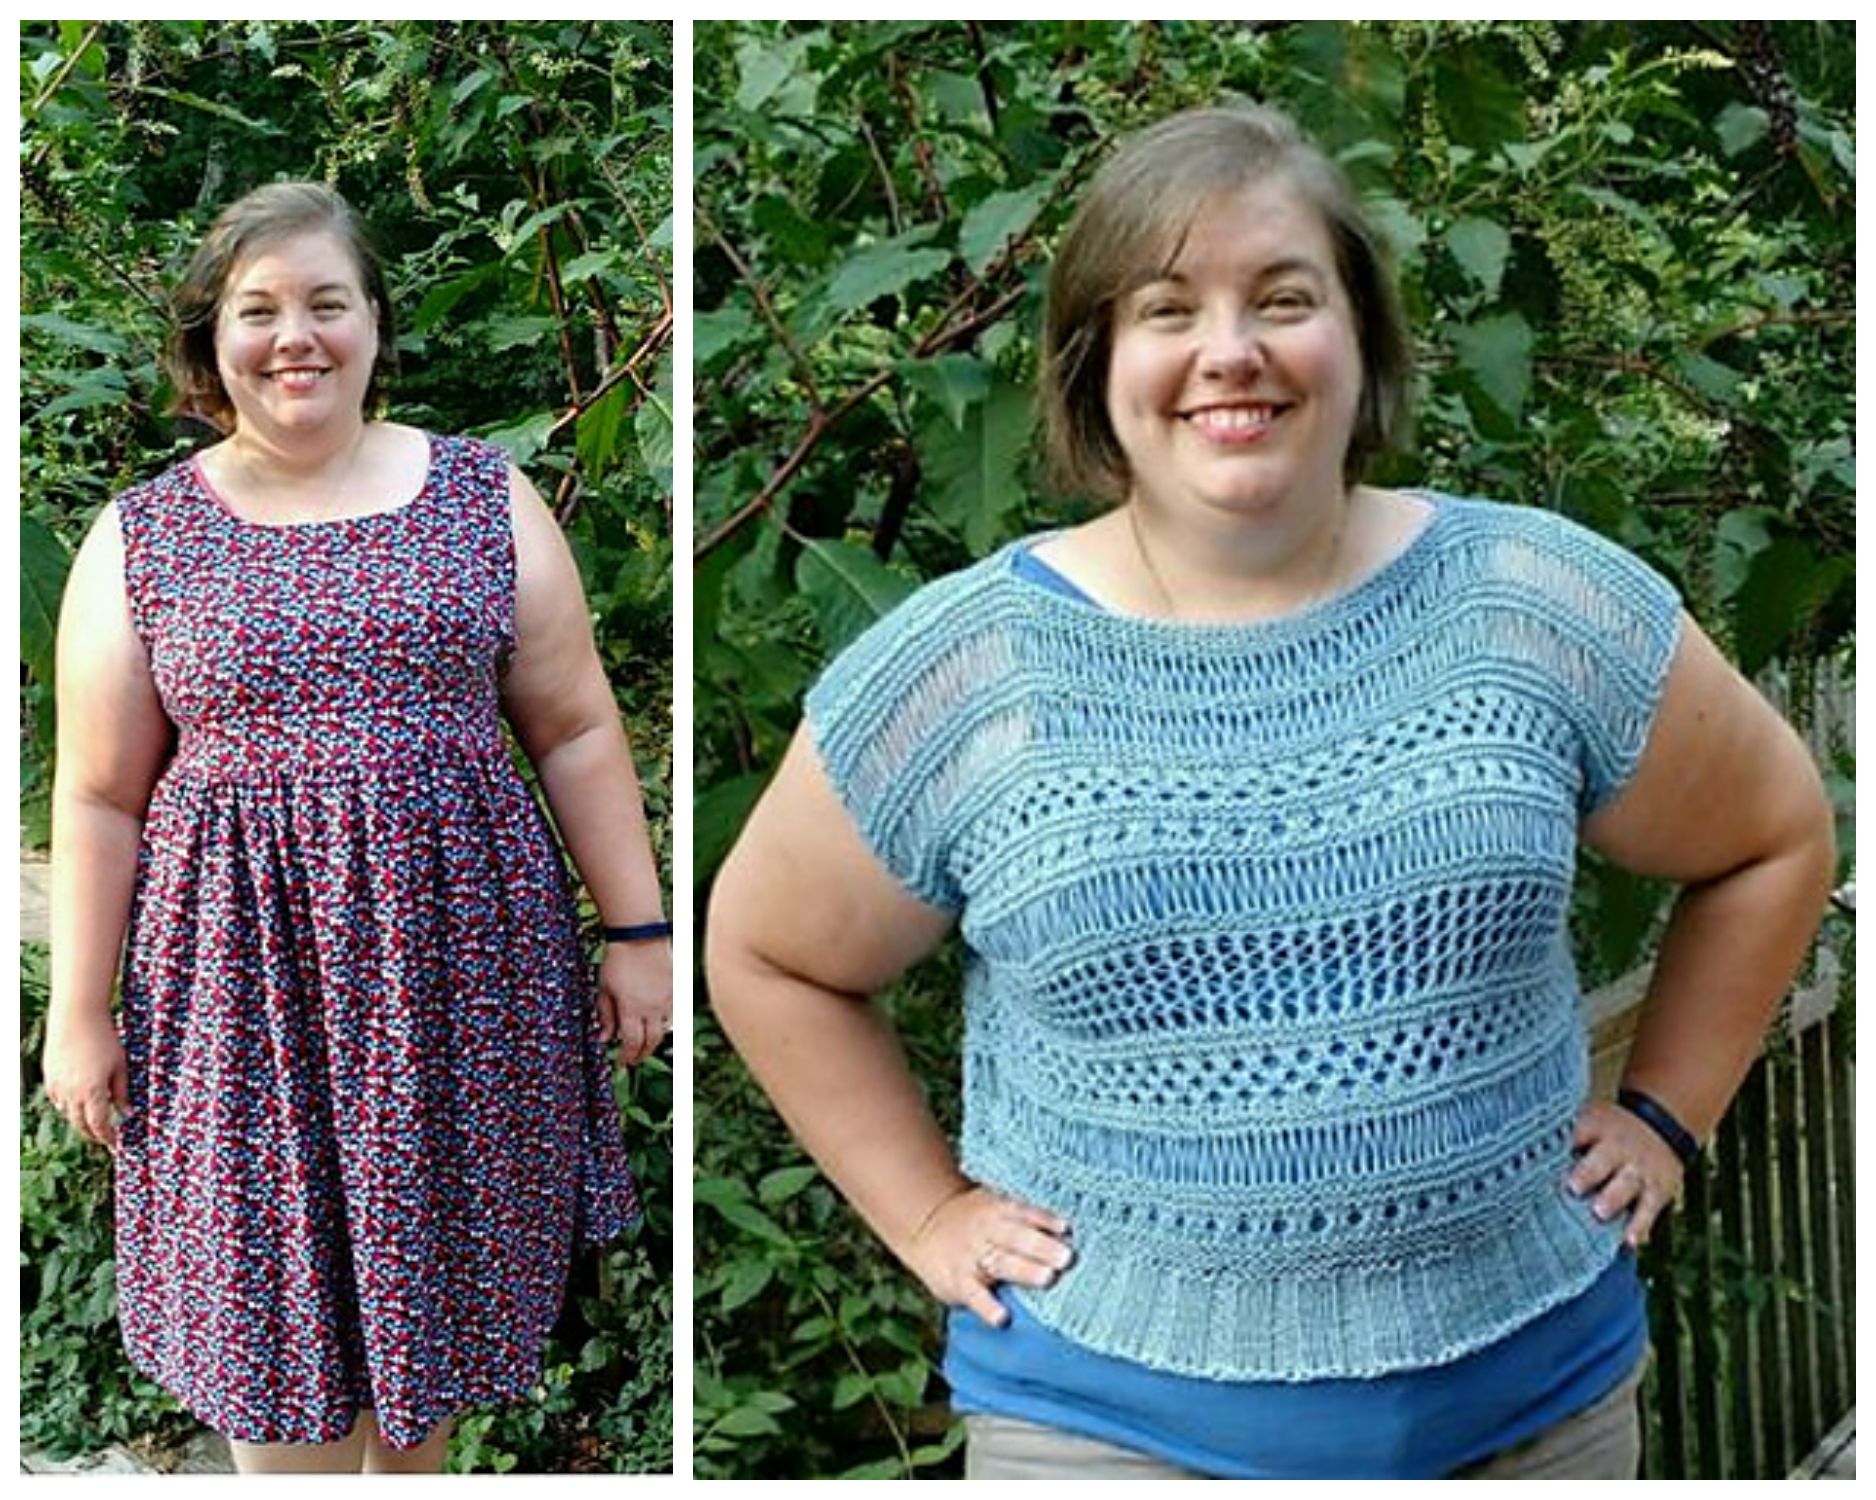
Is this class suitable for plus sized sewists?
Hell yeah! The Closet Core Ginger Jeans pattern is available in sizes 0-32 (up to a 63″ hip). Need a bigger size than that? Holler at me and I’ll get it sorted. This class caters to EVERY size, no butts left behind!
I’m a dude / don’t wear lady pants, can I take your class?
Hell yeah you can! The Ginger jeans pattern can be adapted with minor tweaks for more androgynous fit, or we can adapt a men’s jeans pattern for you. Please contact me in ADVANCE of the workshop so that I can be sure we’ve got the perfect pattern ready for you!
What experience level should I be at in order to take this workshop?
Beginners, rejoice: You don’t need to be a sewing superstar with years of experience under your belt to take this class. The prerequisites for class are that you should be comfortable threading and operating a sewing machine, and have experience sewing at least one sewing pattern. That’s it, that’s all you need to take this class!
If you are a very experienced sewist with lots and lots of sewing (and maybe even jeans making!) under your belt, I still believe you will learn a lot in this workshop! I have had a vast array of skill levels in my classes – from the total beginner to the seasoned professional – and everyone leaves with more knowledge than they came with.
**For all skill levels** Please note that this workshop moves really fucking fast. 20 hours of instruction sounds like a lot, until you realize that I talk through most of it and our actual sewing time is quite limited! You will feel like an absolute warrior when the weekend is over, and also very very tired. If you are a very timid or slow sewist, I encourage you to practice working quickly and confidently to prepare for class. You can do this!!
I don’t like that pattern, can I use a different one? Can I modify it?
If you are feeling absolutely certain that you’ll hate this experience unless you get to sew xxx Jeans Pattern, then don’t let me be the fun sponge who ruins your life! Bring whatever pattern you want and we can adapt the front fly to work with my class curriculum. However, some caveats – I will only have samples of the Ginger Jeans pattern (want to make your own sample and bring it in? That’s cool, I support it!), and I obviously cannot guarantee the fit of any other pattern as I have not personally tested them.
We will not have time in class to make any major design changes to the Ginger Jeans pattern. The PDF version of the pattern includes both leg options (skinny and stovepipe) with both rises, and there is also is a downloadable pattern for the Ginger Mid-Rise Jeans that you are welcome to bring to class. We can make additional small fit tweaks as needed, but plan on saving the major changes and additional patterns for your home sewing practice!
Will you ever offer this workshop as an online class?
Probably not! I don’t wanna do online classes! Sorry!
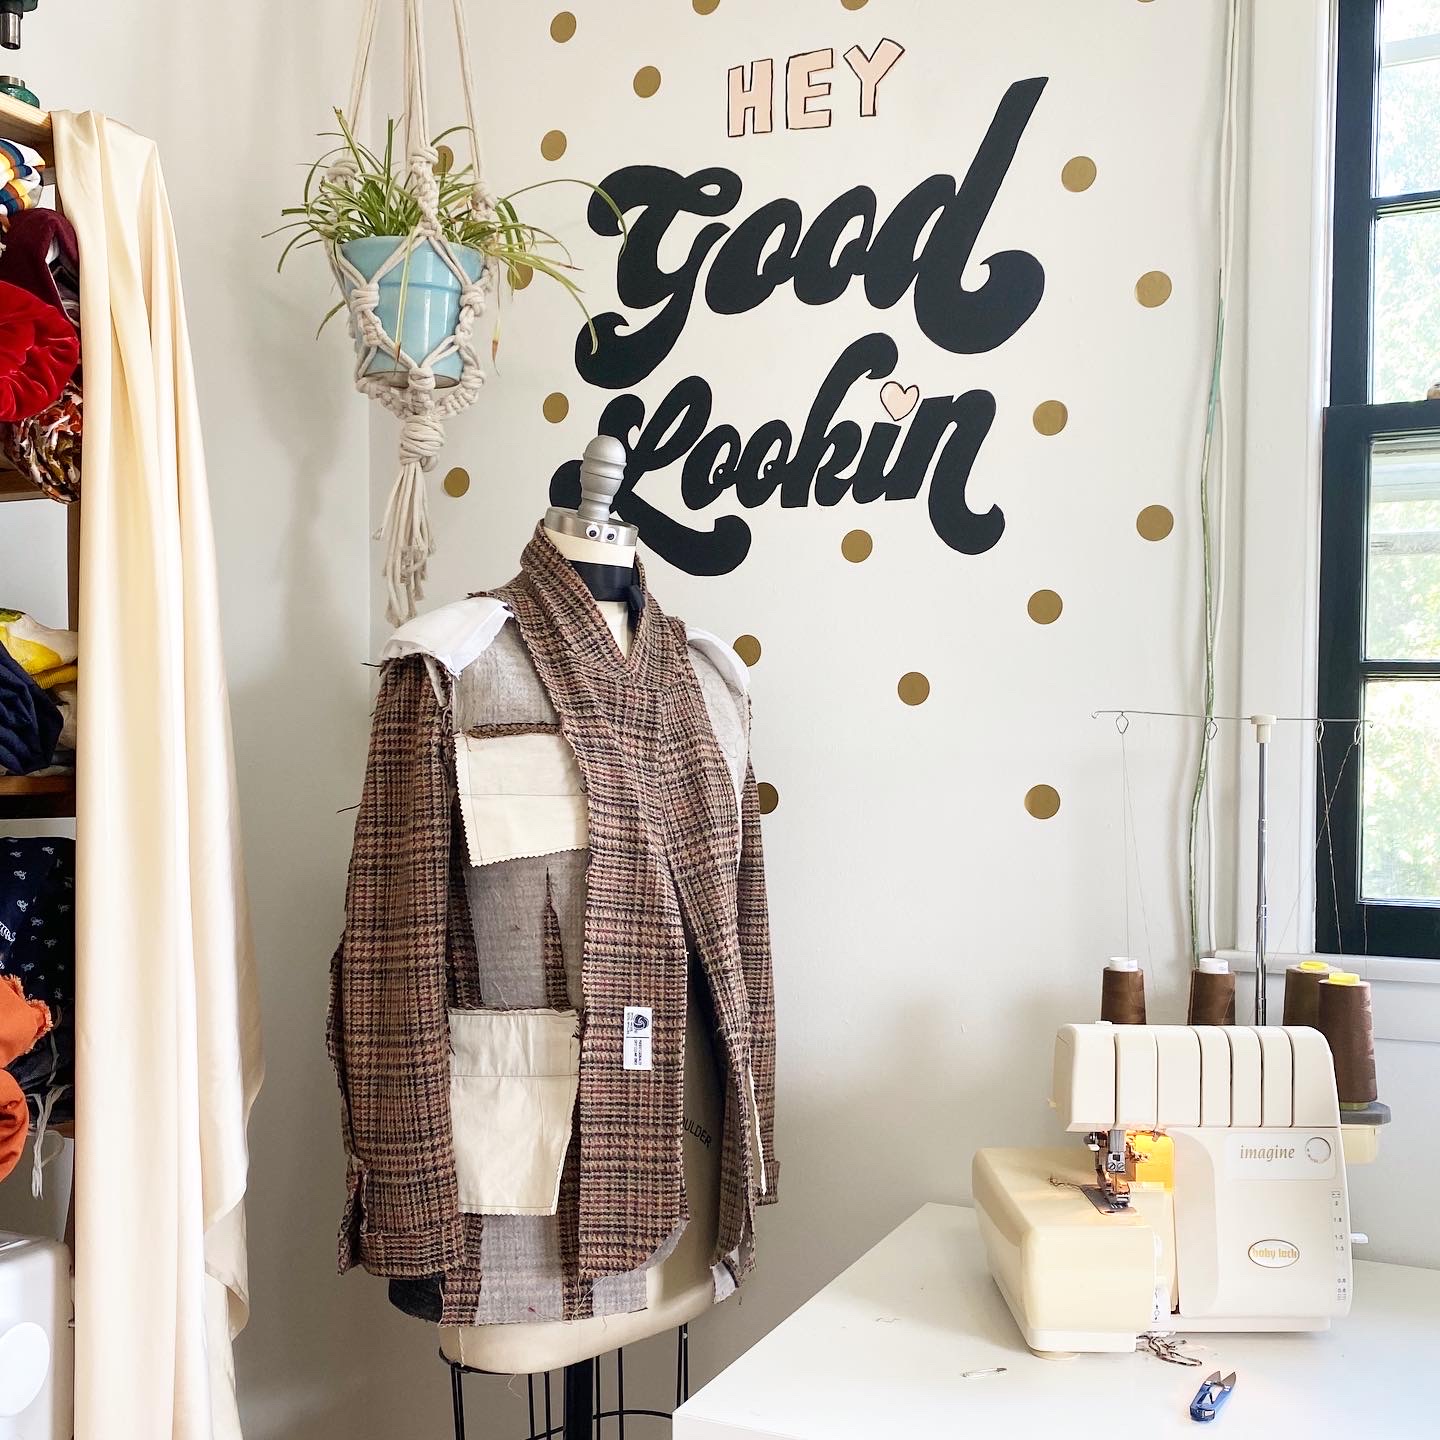
🪡ALTER + REPAIR YOUR GARMENTS 1 DAY WORKSHOP🧵
What about those garments that aren’t quite right? Whether they need basic adjustments or a full-on overhaul, we all have pieces that we want to keep but don’t necessarily want to wear. Garment alterations are a truly empowering way to level up your own sewing skills and expand your wardrobe options. This one day workshop is a fantastic opportunity to dip your toes into the world of alterations and garment repairs, while having a knowledgable teacher on hand to throw around ideas, show you the ropes, and get you out of any trouble that might arise! Students will work on garments of their choosing, meaning you won’t be stuck learning techniques that you aren’t interested in. Bring those pieces have been languishing in your closet – whether handmade or RTW, vintage or new – and let’s elevate them into pieces that give you real joy!
⚡️ALTERATIONS WORKSHOP FAQS⚡️
What can I expect to learn in this workshop?
My Alter + Repair Your Garments workshop is an absolute wildcard in terms of what you learn – that’s entirely up to you, the student! Since you will be bringing your own pieces to work on, it’s really a matter of what do YOU want to learn? In general, students can expect to learn a variety of basic alteration techniques such as pin fitting a garment, transferring the fit adjustments for sewing, techniques for successful seam ripping, and how to make adjustments and repairs to your particular garments.
Does this workshop cover fit?
Yep, that’s kind of the whole point of alterations! 🙂
Please note that this is a fitting class that focuses entirely on COMPLETED garments only. We do not work with muslins, or handle flat-pattern adjustments (this is likely something already offered by your local sewing shop!). We fit for style, for comfort, for wearability. You will learn new fit techniques and be able to see fit from a different perspective, which will aid you will your personal fitting quest!
What experience level should I be at in order to take this workshop?
This is a truly “all skill levels are welcome” sort of class. Since we work at a slower pace, there is plenty of opportunity for help with the beginner students, and more advanced students will not be bored. Students will get loads of one-on-one time, as well as a healthy of amount of self-guided sewing. For this reason, I do recommend that students have *some* sewing experience taking this class – you should know how to use a sewing machine and understand basic clothing construction (including how to press) – as you will get a lot more out of the experience.
The thought of doing alterations makes me want to die, why the hell should I take this class?
Hey, I get it – alterations are a bit unpopular in the sewing world. Hemming someone else’s pants for free ~just because you know how to sew~ is not how any of us want to spend our free time! And maybe you don’t want to work as a tailor, that’s understandable! But beyond boring pants-hemming, there are so many other benefits to understanding how to execute successful alterations. You will be able to fit and wear clothes that have evaded your body in the past. Your handmade items with weird issues that you didn’t notice during muslin (or maybe you skipped the muslin, you little rule-breaker!) can be rectified. Your understanding of fit, and how to execute it, will explode. You will learn interesting things about clothing construction that can be applied to your own handmades. Alterations are the most sustainable way to sew, and quite a bit faster than making an entire garment from scratch (I like to refer to it as “micro-sewing” 😉). And let me tell you – just because you know *how* to do something, doesn’t mean you *have* to do it for someone else. And that includes hemming pants. You can absolutely be smug about it when you tell people no 😘
⚡️👖🧵🪡✨
2024 was a magical year and I’m excited to bring that energy into 2025! I hope you will join me this year – it’s gonna be a great one!