Sorry for the radio silence this week, peepz. I have been house/dog sitting since Thursday night, which means I have not had access to my sewing machine for almost a week! I opted to not bring it with me since there was just so much stuff to carry around (and plus, I make giant messes when I sew ahaha), figuring I would just knit instead. Spoiler alert: didn’t get much knitting done either. Whoops! Anyway, I’m back at home now so hopefully I can get some sewing done over the weekend, maybe 🙂 I miss it so much!
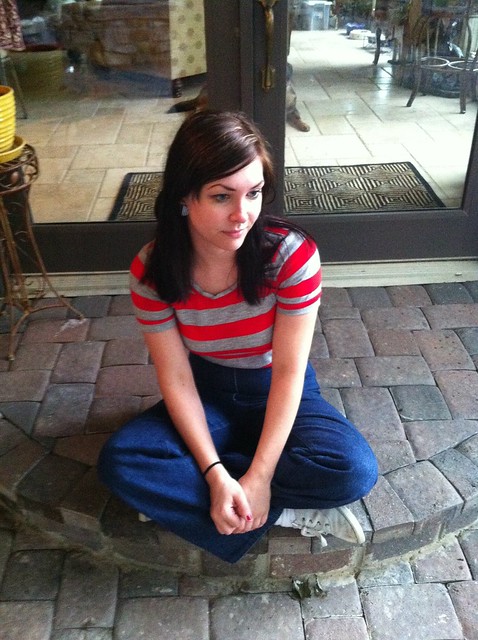
5/12
Top: Sewaholic Renfrew (unblogged, sorry!)
Jeans: Vogue 2925
Shoes: Walmart
This is basically the same outfit as Friday – I had cute stuff packed, but it ended up being really cold & rainy so I stuck with jeans for the second day in a row.
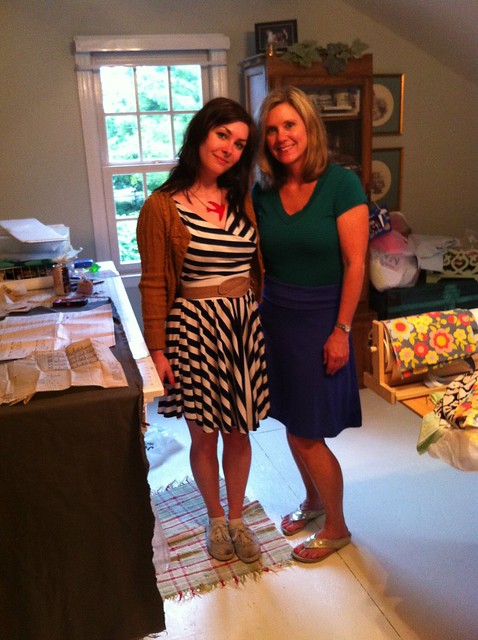
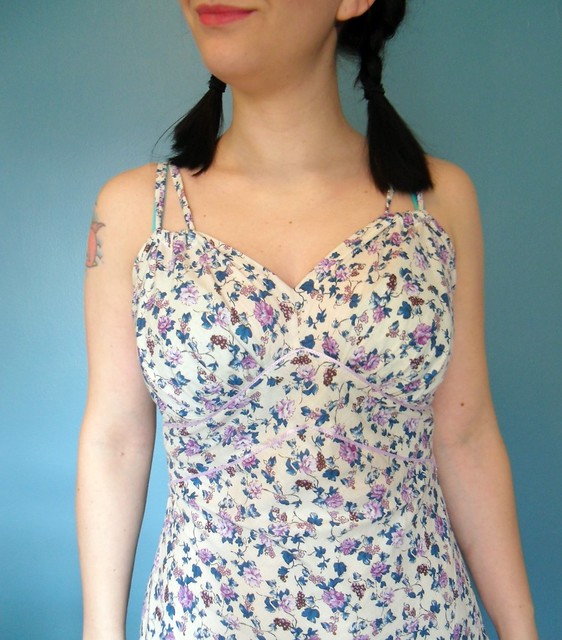
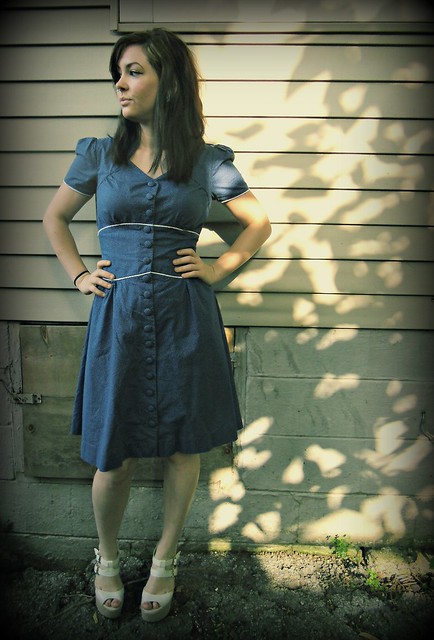
5/13 – Mother’s Day!
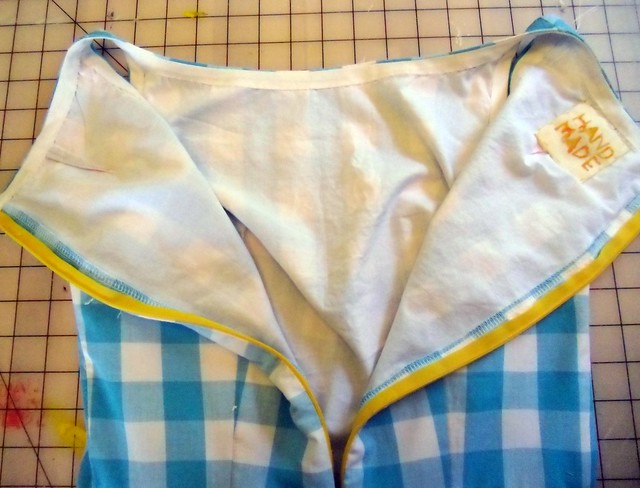
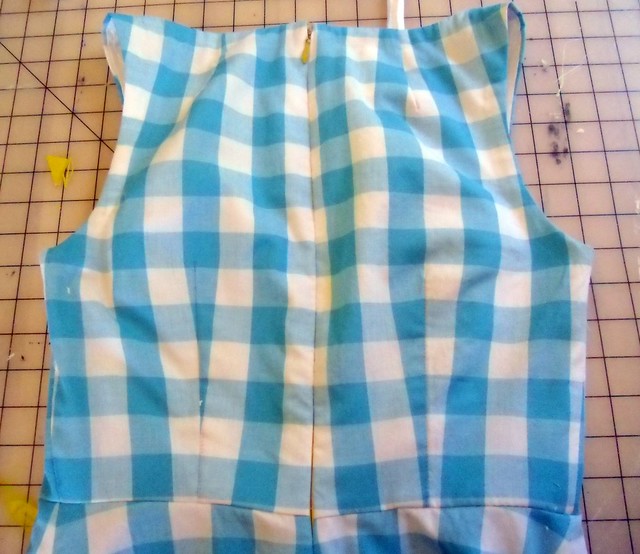
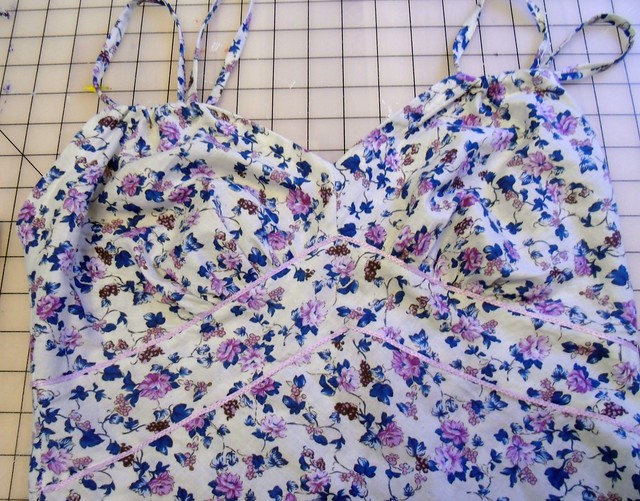
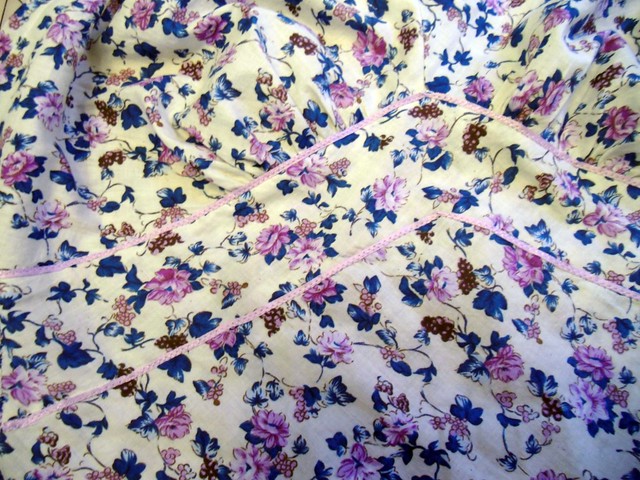
Dress: Actually, this is two pieces… the dress made me look like a box, so I separated the skirt from the top & sewed white elastic for the skirt waistband. I can wear them together or separately, woohoo.
Cardigan: Agatha – my first sweater 🙂
Belt: Thrifted
Necklace: Fire Finch (Nashville)
Shoes: Walmart (man those things are filthy… I should wash them)
This is me & my mommy, in her sewing room. Isn’t she so pretty?! Love her 🙂
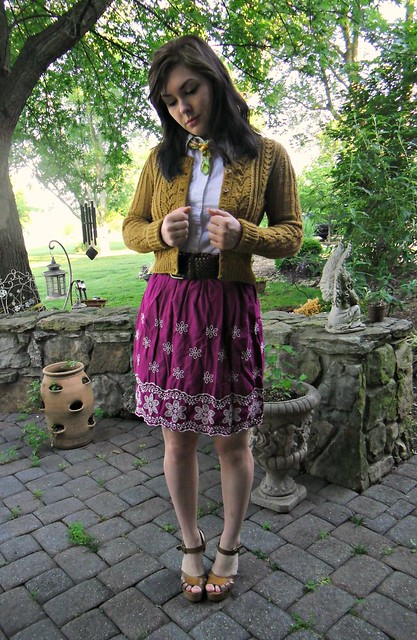
5/14
Top: Yardsale
Skirt: Style 1568; it’s supposed to be culottes but it looked awful in this linen/cotton blend (too stiff), so I converted it into a skirt. The linen would also explain why it is wrinkled as fuq – I swear I ironed the night before!
Cardigan: Thrifted – ended up wearing it tied (like how I have it on 5/15) after this picture was taken.
Belt: Thrifted
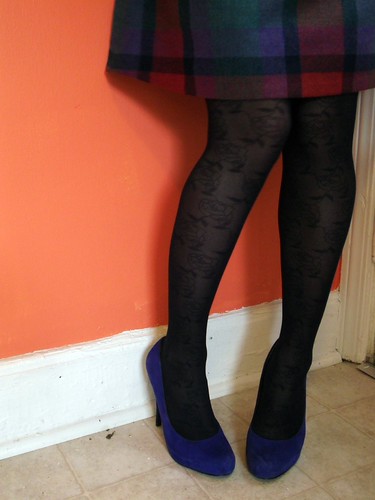
Shoes: Nine West
Earrings: Thrifted
Brooch: Flea market – it’s a skunk holding a flower ahaha

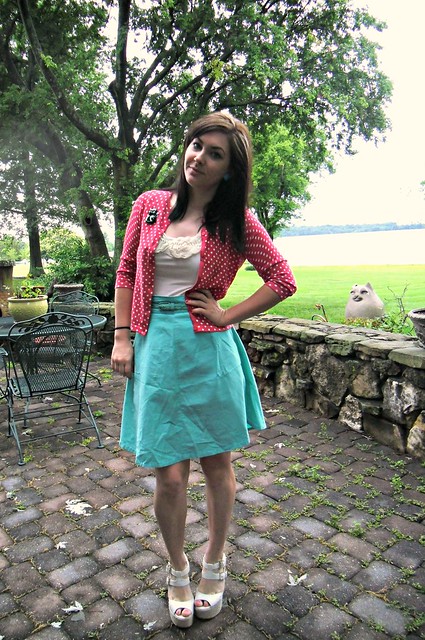
5/15
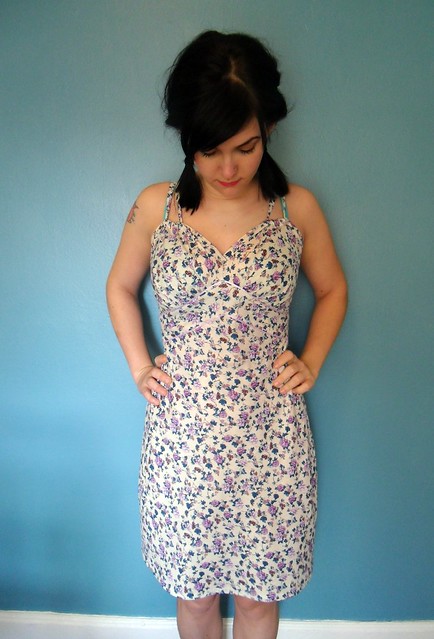
Dress: Colette Patterns Peony
Cardigan: Thrifted
Belt: Thrifted
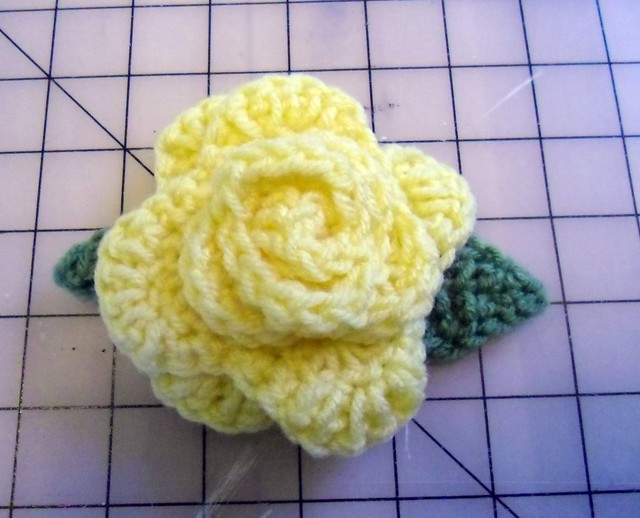
Rose Brooch: Crocheted by me 🙂
Shoes: Target
5/16
Top: Thrifted, altered to fit by me
Skirt: Thrifted – it was originally a child’s dress. I cut the bodice off & replaced the busted shirring at the waistband. Insta-skirt!
Cardigan: Agatha
Belt: Thrifted
Scarf (worn at neck): Vintage
Shoes: Target
5/17
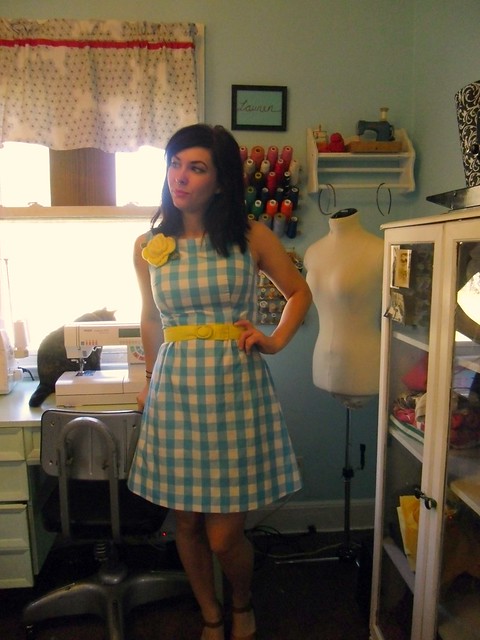
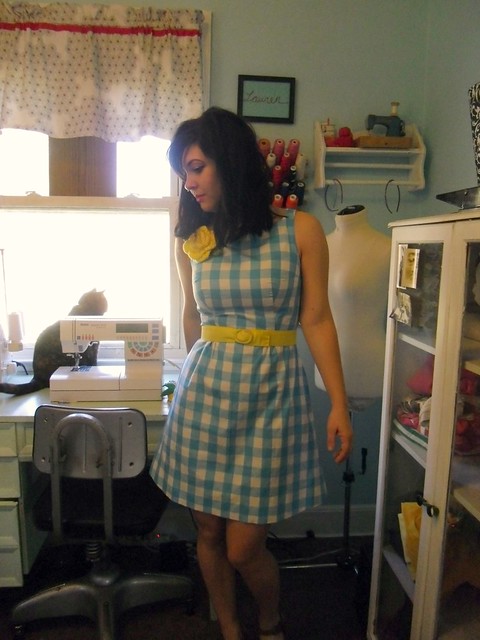
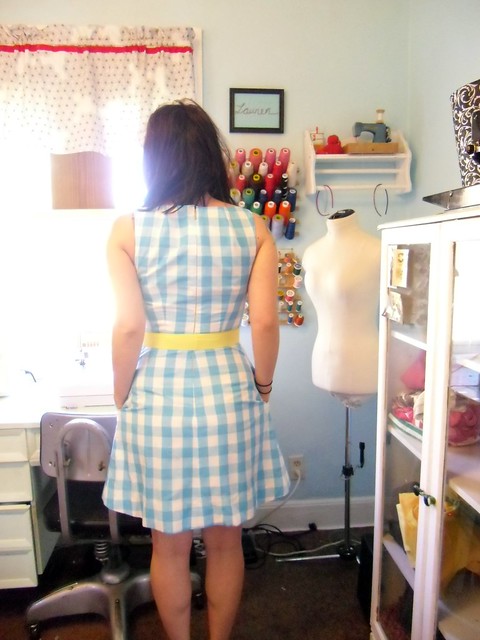
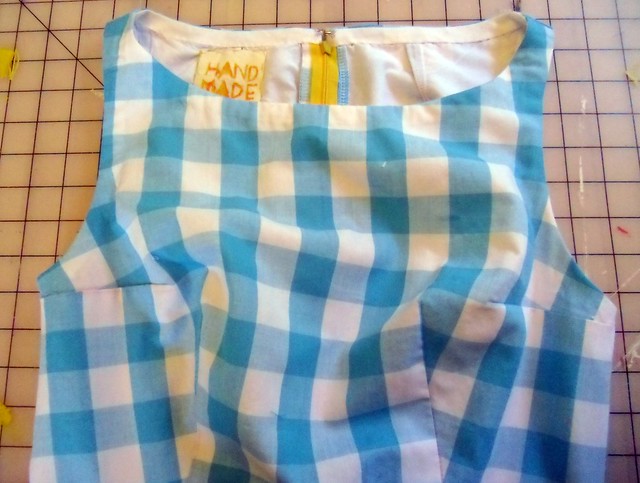
Dress: Colette Patterns Ceylon
Shoes: Nine West
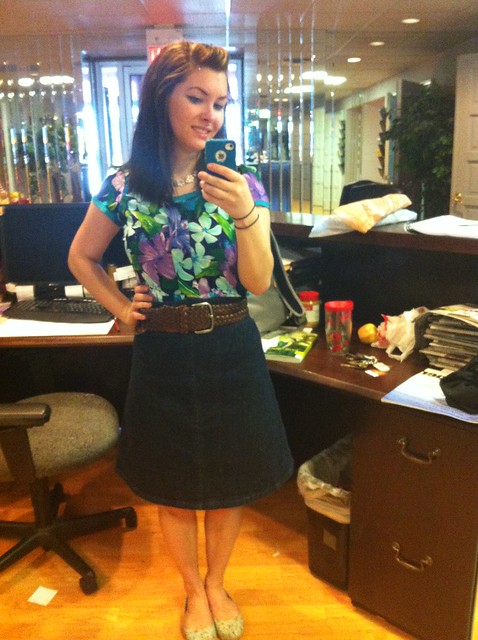
5/18 (today!)
Top: Colette Patterns Sorbetto
Skirt: Colette Patterns Ginger
Belt: Thrifted (holy shit I wear this belt a lot lol)
Shoes: Target kids
Necklace: Flea market
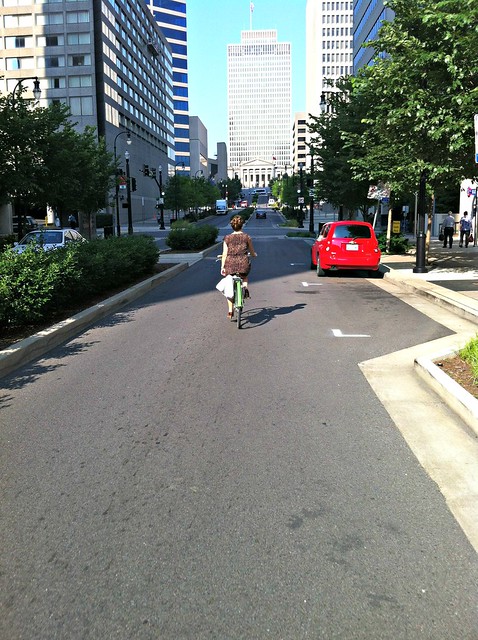
ALSO, today was Bike to Work Day… don’t worry, I managed to wear something Me-Made 🙂

5/18, pre-work
Tshirt: Stenciled & resized by me
Pants: Lululemon (obviously not Me-Made, but I wrote a review on ’em if you are interested!
Shoes: Converse
It gets very hot/humid here, so I brought a change of clothes for the office haha 🙂 Oh, and I guess you could also consider my basket Me-Made – it started out as a purse from the thrift store, I just cut the handles off & zip-tied it to my bike. Baskets are expensive!
As a side/non-sewing note, Bike to Work Day was really awesome!
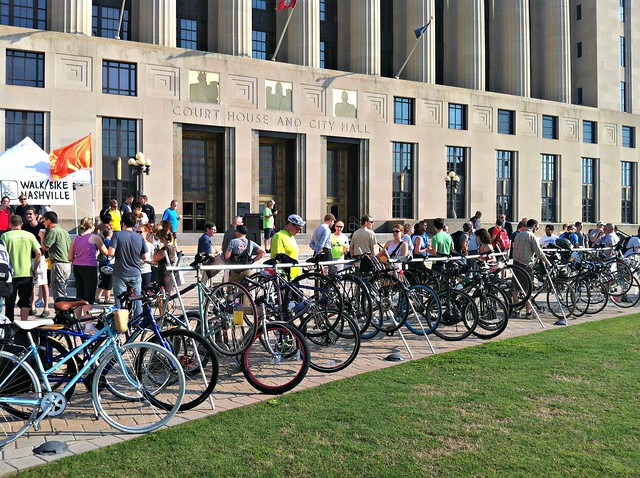
There was a great turnout

I mean, really forreal
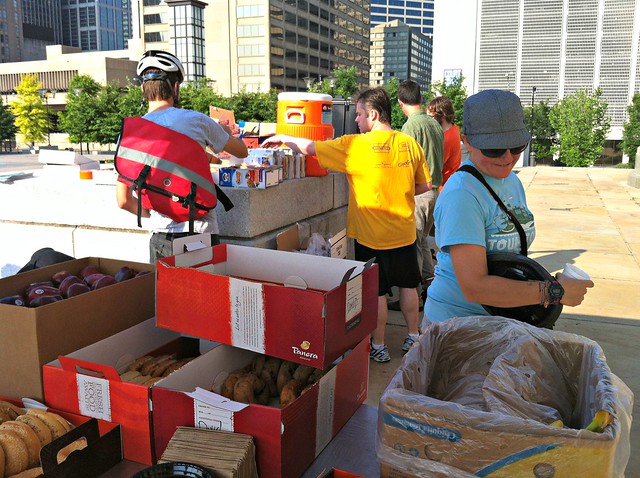
Tons of food & drinks (including coffee, yeeeeeah)

The mayor even showed up to talk to us 🙂
The best part, though, was having cycling partners on the commute 😀
Did anyone else bike to work today?