Hey everyone! Sorry I went into dead radio-silence for a minute there – as most of you know, I spent the last long weekend in NYC, and I got home to Nashville on Monday. I’ve been running around like crazy trying to catch up since then – all the work-related things I put off while I was gone, prepping for a court date that was set for yesterday, and my video shoot for The Sewing Party is early next week! Oh, and I agreed to housesit this week, too, which means I’m not even home right now! I’ve been replying intermittently to emails and comments as I can, and this is the first chance I’ve had to actually sit down and type up at blog post. Whew! Now I understand how people fall off the blog wagon – it’s hard to get back when you’ve been off it, even for a week.
Don’t worry, though – I’m not going anywhere. I enjoy this space waaay too much 😉
So, anyway! NYC! Today, I just want to give a lil’ recap of what happened over the weekend… I’ll be going over a couple things in more detail in future posts next week (I knowwww, I didn’t want to drag this out into multiple posts, but otherwise we would have had something that was the length of a small novel! Anyway, it’s my blog, I do what I want :P). I also don’t have very many photos that I actually took myself, because as we all know at this point – I don’t ever take photos. Too busy having fun, that’s my excuse!
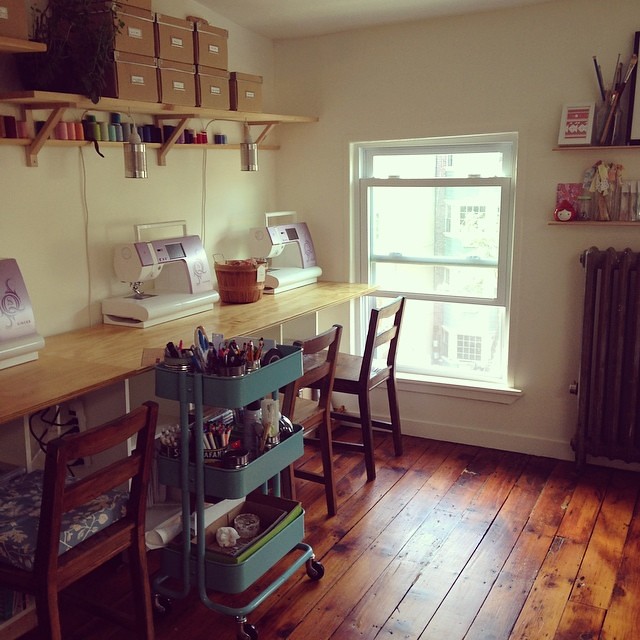
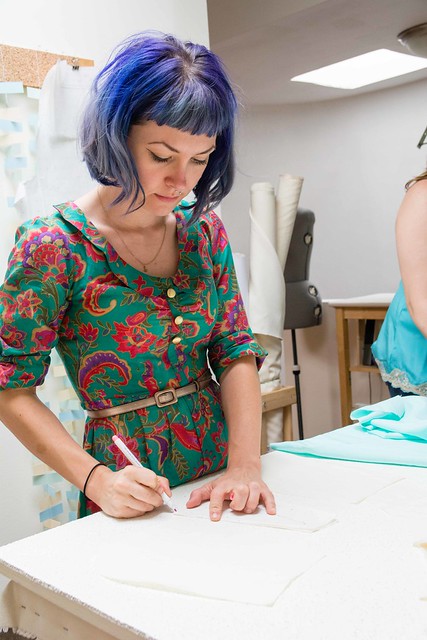
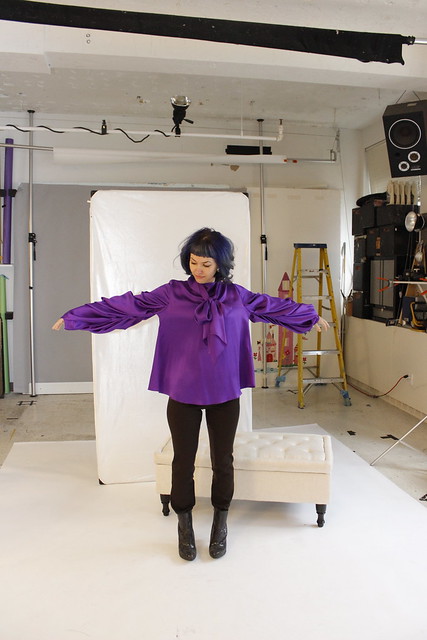
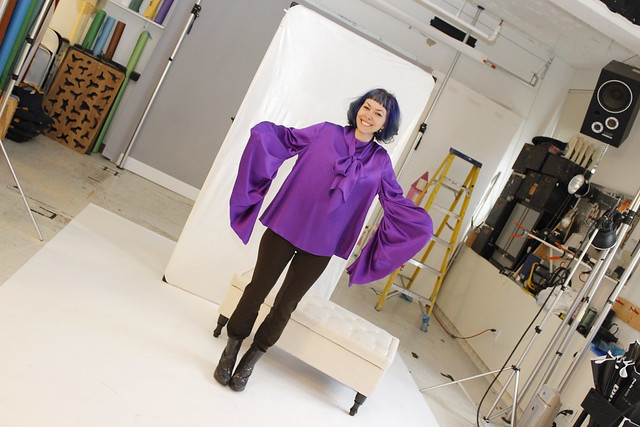
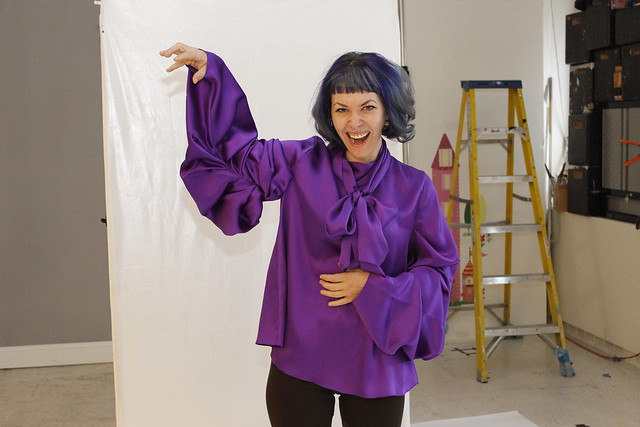
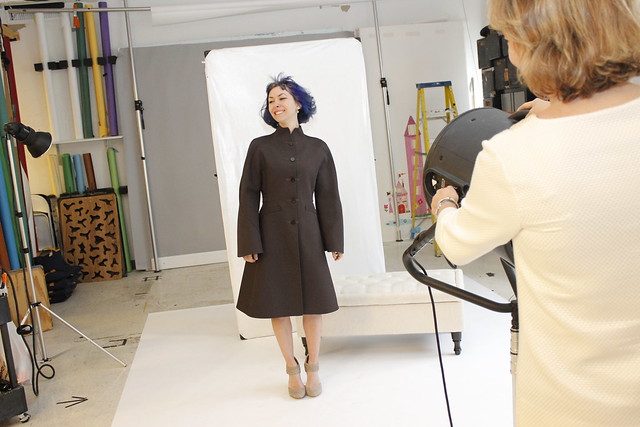
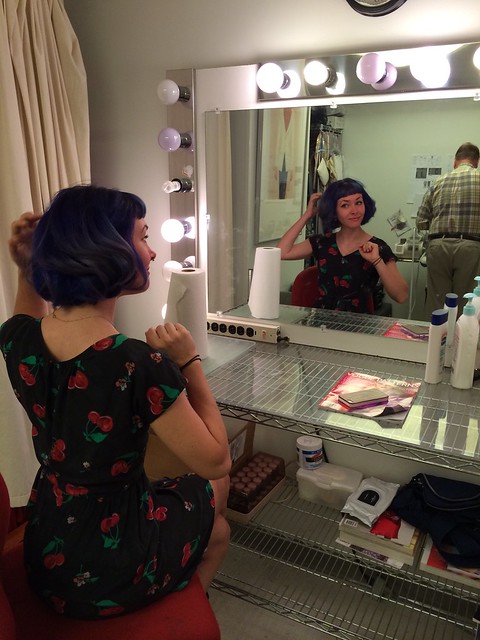
So, anyway! I started out my weekend on Thursday morning in the gorgeous studio space that is Workroom Social. If you’ve ever lurked Jennifer’s blog or Instagram, you know the space is obviously beautiful… but I can’t even put into words how great it was to see in person! It’s very well set up, with a big cutting table in the center and machines surrounding it against the walls. There are shelves, stacked with boxes full of notions and supplies, and the pressing stations are that they aren’t in the way of the cutting or sewing machines. Everything is beautiful and filled with sunlight, and there is some legit Parisian sewing studio music playing in the background. Guys, I love my sewing room – but I’m INSANELY jealous of this one! Good thing I got to hang out there for a weekend, yeah?
Anyway, Jennifer and I went over the upcoming class – she’d made a couple changes to the pattern we were using (simple stuff, like adding a pocket facing), I showed her my sample I made up at home, etc etc. We had a couple of hours to kill before dinner, so we decided to kill the time by going to… Ikea! Hahaha!! Don’t laugh at me; I live in Nashville and the closest Ikea is 4 hours away in Atlanta. I am not exaggerating when I say you can sell used/broken Ikea furniture here for close to the same price as what it costs new (I know this because I’ve done it… I set the price high to get some haggling going and NO ONE HAGGLED WITH ME. Well, ok then!). People in Nashville think Ikea is special (well, I do too, but I wouldn’t pay $80 for a broken Expedit I’m just sayin’). Jennifer indulged me – she needed to pick up a couple things for class – and we even went through all the little fake rooms and apartments. Ha! I bought some boxes, but not much else because I wanted to keep my suitcase empty for fabric.
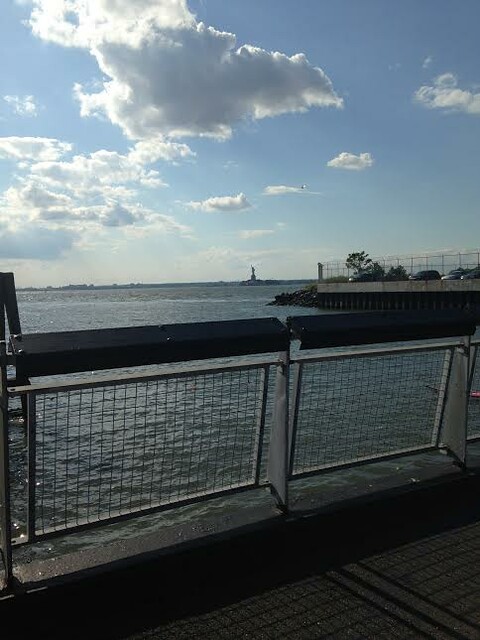
Afterward, Jennifer took me to see the Statue of Liberty, from a Brooklyn perspective. Can you believe that this is the first time I’ve seen this thing in person? Also never been to the Empire State Building, Central Park (kind of sad about that one!) or.. I dunno, touristy things. I love doing them, don’t get me wrong (I am SO not anti-tourist – in my own town or someone else’s!), but I never have time! Womp womp. So at least I got to see the Statue of Liberty from afar. Isn’t she so gorgeous and… tiny? Ha!
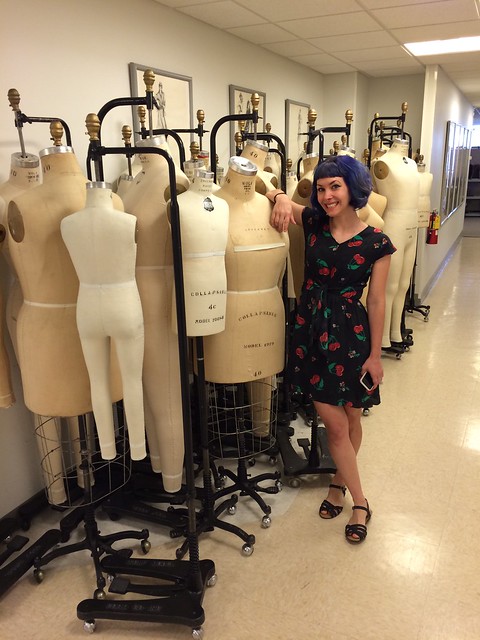
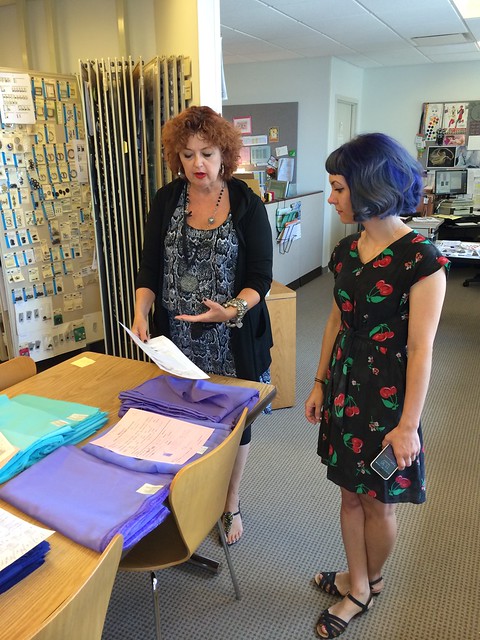
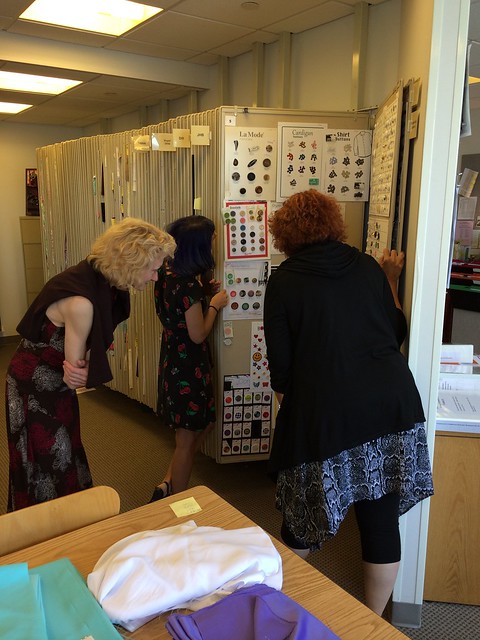
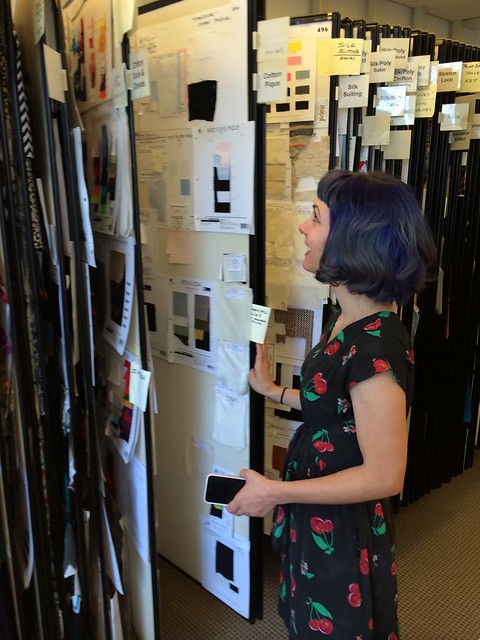
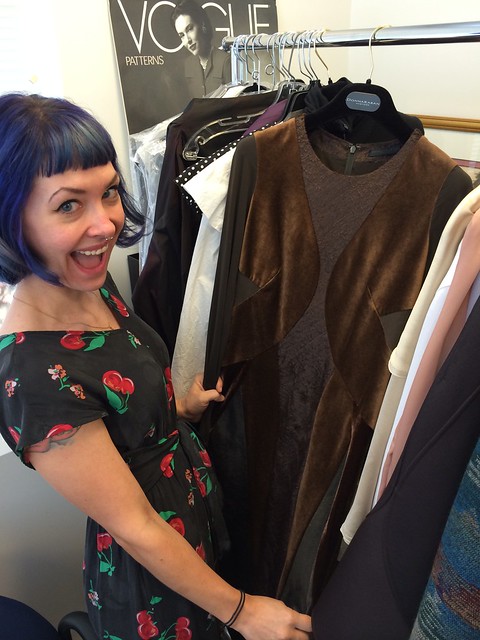
Friday morning, I managed to make it downtown with the help of Carolina (who also agreed to meet up with me way early in Brooklyn for coffee and breakfast – yay!), without which I might otherwise still be wandering around NYC, lost and confused (I’m sorry, I just cannot understand the subway system. The lack of good public transportation in my own city is mostly to blame for that). Anyway, I had an early meeting with the The McCall Pattern Company – you know, the same people responsible for Vogue Patterns!
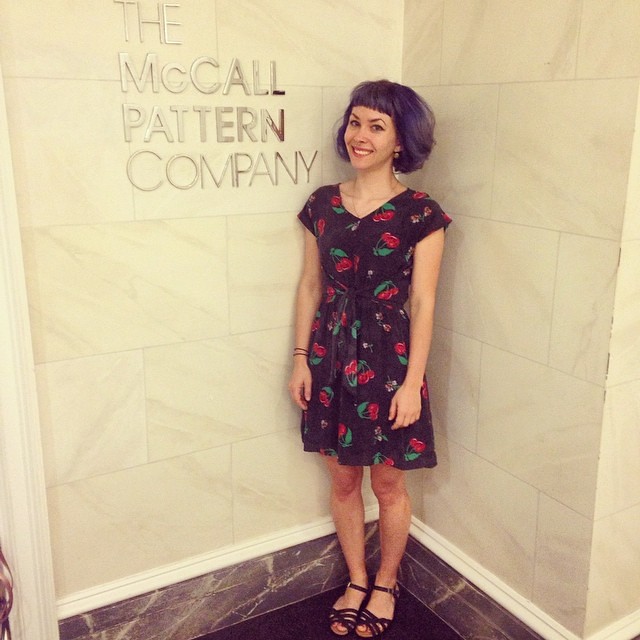
YEP.
There is SO MUCH to say about that experience – all good stuff, promise! – way too much to tack into this blog post. It’ll have it’s own blog post (with all the dirty details and PHOTOS) next week! Just know that I had an amazing time, learned a LOT about the company, and I’m still alive 🙂 Ha!

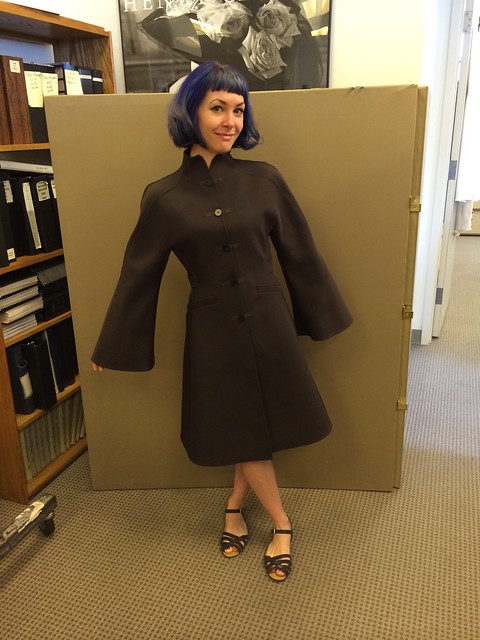
Also, I totally tried on a $10,000 Ralph Rucci couture coat. That was pretty cool!
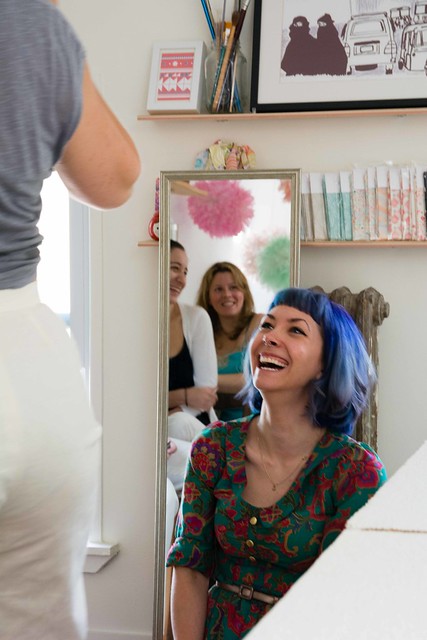
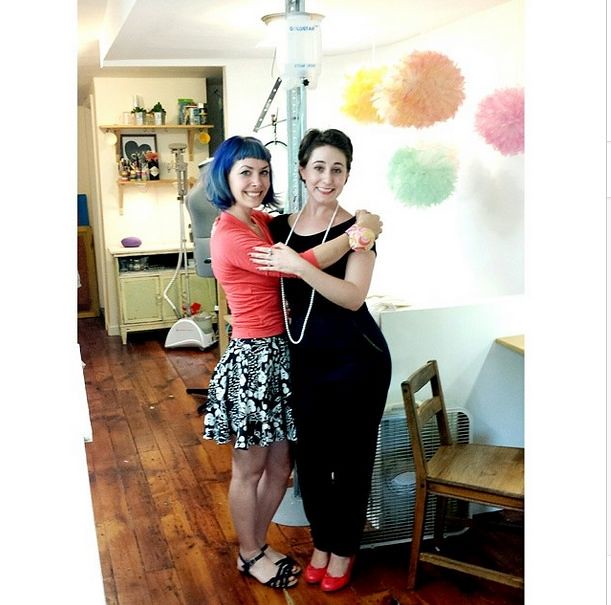
After McCall (and a brief walk down Wall Street, because lurking investment bankers is highly entertaining to me), I met up with Heather Lou so we could get to the Garment District for our meet-up! Oh, right, Heather Lou and Vicki came down from Canada to hang! It was awesome meeting both those ladies in real life – I’ve been email chatting Heather up for a good year or so now at this point, but this was my first chance to actually HUG her! My weekend schedule was pretty hectic, so I didn’t get to spend as much time when them as I would have liked, but we made every moment count. Starting with fabric shopping 🙂
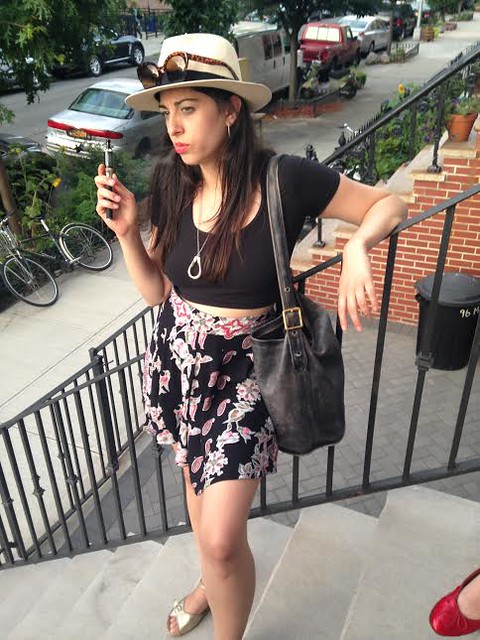
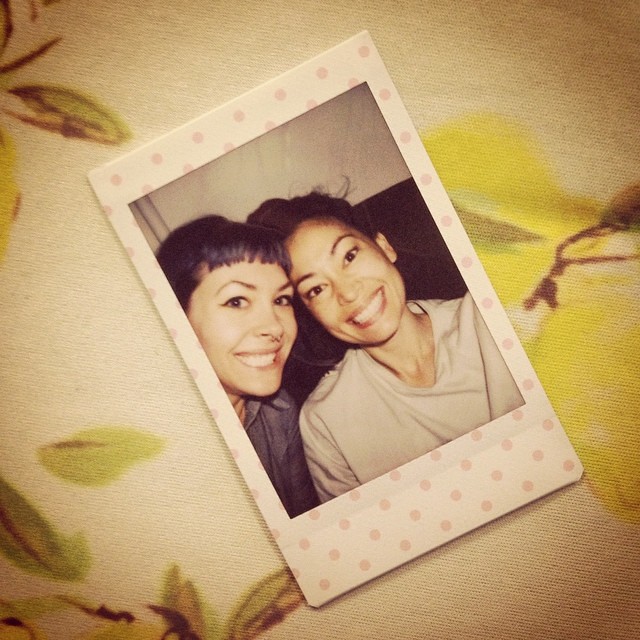
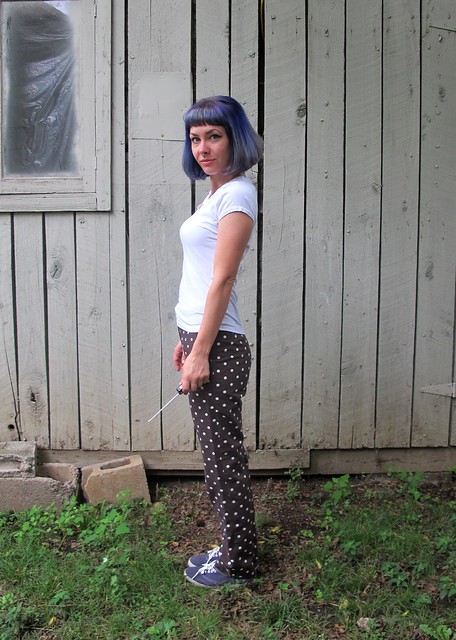
I never did get around to getting a selfie with Heather, but here is a photo of her being incredibly cool, hanging on the stoop in Brooklyn. In case you were wondering, she always looks this cool. It is maddening.
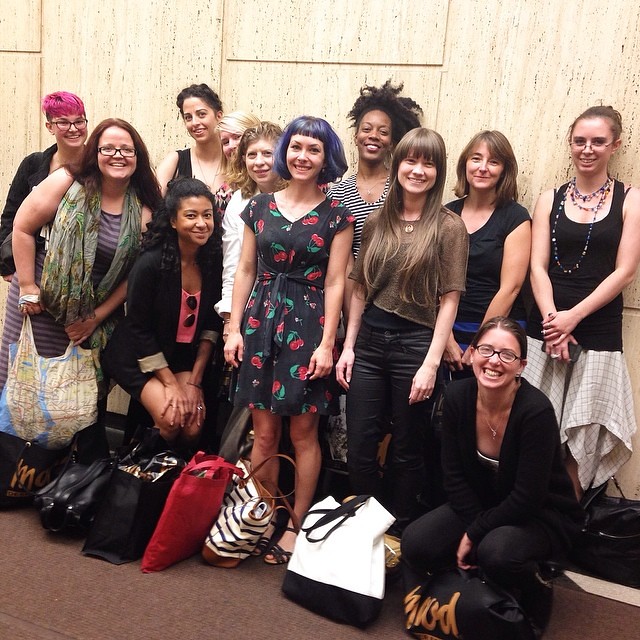
The Garment District meet-up had a great turnout! I initially assumed it would be very small – we started at 3pm on a Friday, after all – but y’all New Yorkers sure know how to sneak out of work early 🙂 Or maybe your offices are just more lax on a summer Friday! (mine rarely was, boo! Good thing I’m self-employed now so I get to do what I want haha). We started out in Mood Fabrics, where I finally got to really sink my teeth in the wool aisles – I’m always there in the spring, which puts me in the ~mood~ (lolz) for summer fabrics. This time, though, I was ready for some winter pieces! We spent a couple hours in Mood before charging through the rest of the ‘District.
Since we started so late on a Saturday, we didn’t get to hit very many more shops. I did make it a point to go to Paron Fabrics, because I had a Groupon *and* they were having a 40% off sale. I did get some nice stuff there, although a couple of the employees were a little rude. The guy letting us out did not believe me when I said I’d flown in from Nashville to buy fabric – he asked me if I knew Elvis. My response was, “Elvis is from Memphis!” to which he replied, “Good! You passed the test!” Ha! Right, ok dude 🙂
After we were done shopping, it was time to find a place to eat! We originally were going to sit in Bryant Park, but a few people said the weather wasn’t really ideal, so we looked for a restaurant that could accommodate our large party and all our bags. The first place we looked at was massively full (figures, 7pm on a Friday!), but the guys across the street at Black Iron Burger were going crazy trying to wave us in so we obliged. The restaurant wasn’t very full, but there wasn’t enough table space to fit all of us, so they set about rearranging the damn restaurant to make a big enough table! This place was freaking awesome, by the way. Not only did they manage to accommodate us, they were unfazed by the additional drop-ins that meant they had to keep adding tables and finding chairs (we had a HUGE party! I wish I would have though to get a picture of everyone! I told you, I’m bad with photos). The service was great, the beers were $4 (ahhh yeeaaah!) and the food was delicious. Our party came and went – people dropped in, people dropped out – but a good chunk of us stayed until 1:00 AM. I tagged along with Fleur back to Brooklyn, and we got to have a lovely chat on the train (and then of course, I started talking about the Bell Witch and I think I scared her with my ghost stories. I’m sorry, Fleur! Come see me in Tennessee and we won’t go near Adams, promise!).
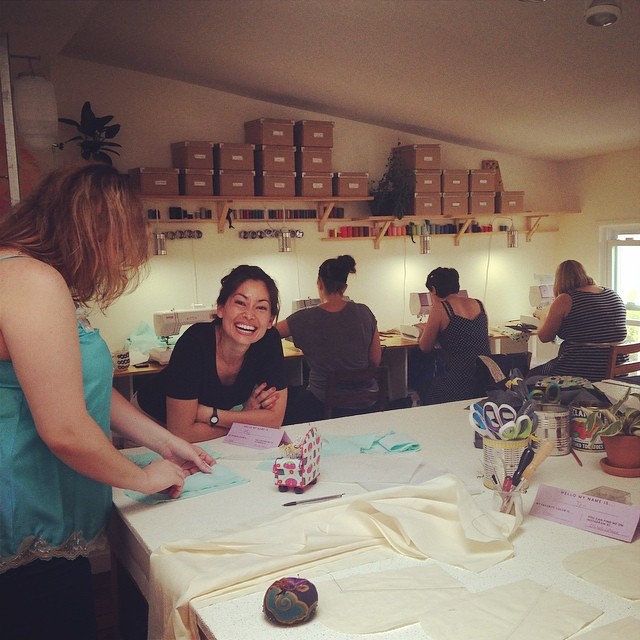
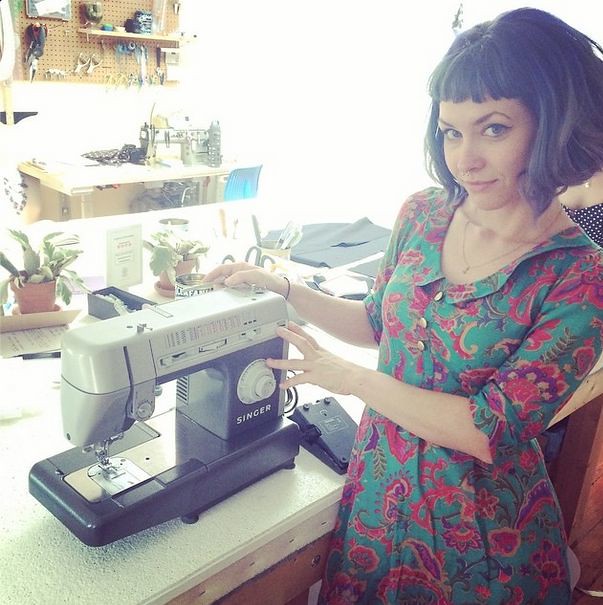
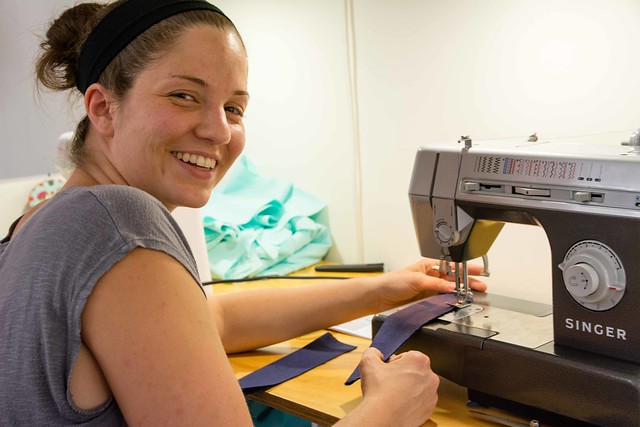
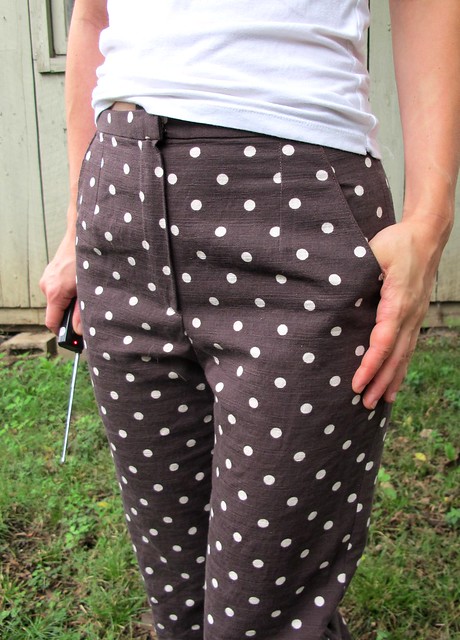
Saturday & Sunday was spent hanging in Workroom Social, teaching the wonderful world of pants-making! Again, I will be writing a separate blog post about my experience teaching at Workroom Social, and working with Jennifer, because there’s simply too much to squeeze in this post. It was an AWESOME weekend and I met so many amazing ladies (and got to spend tons of time with all of them!). Jenny, my newest little treasure, wrote a post on her experience in the class, if you’re interested to read about it from a student perspective.

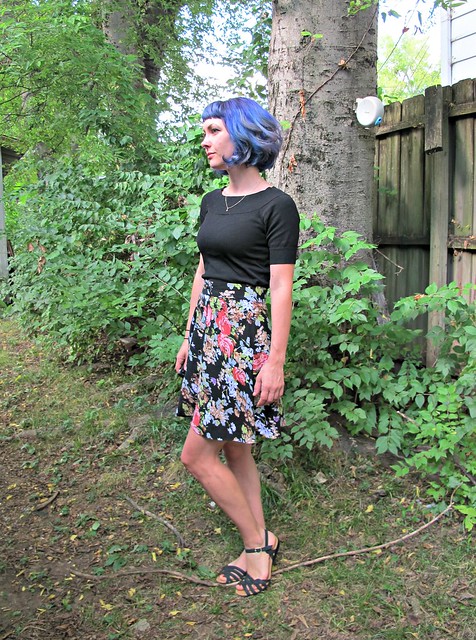
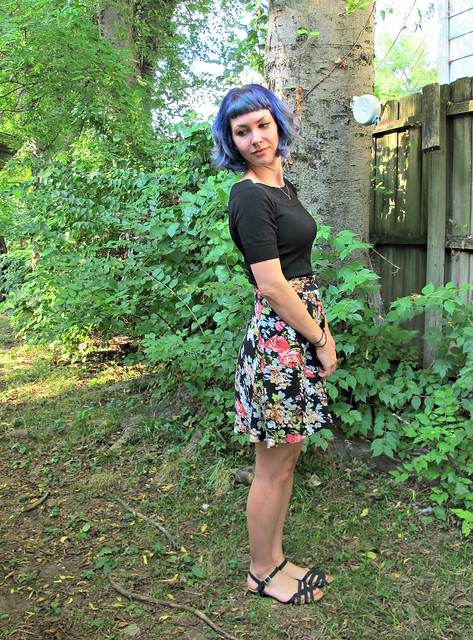
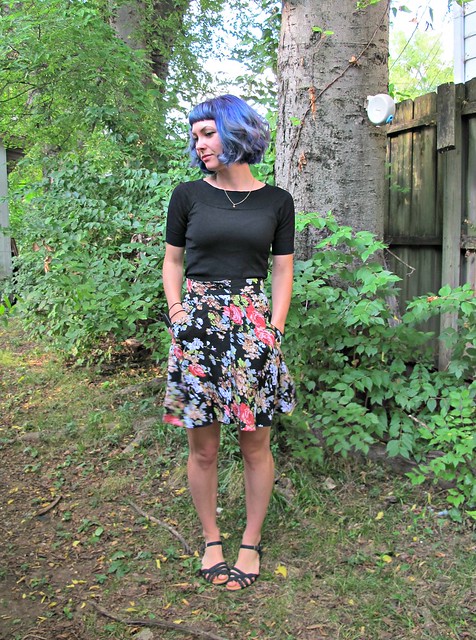
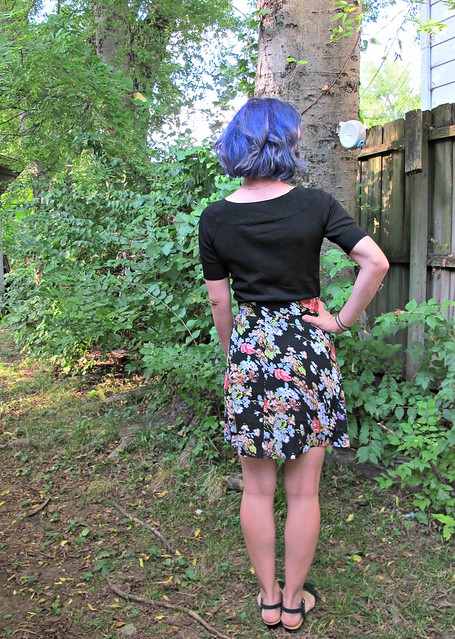
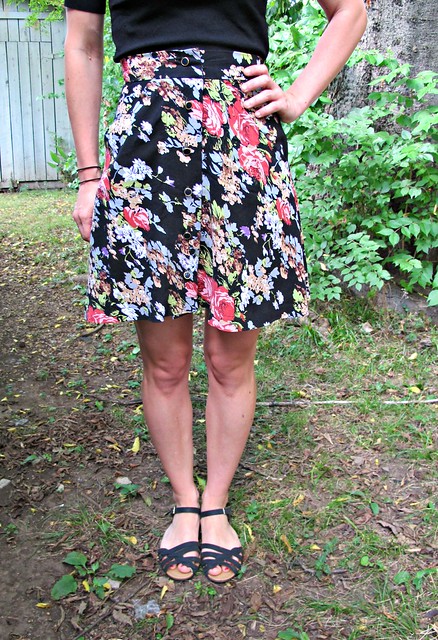
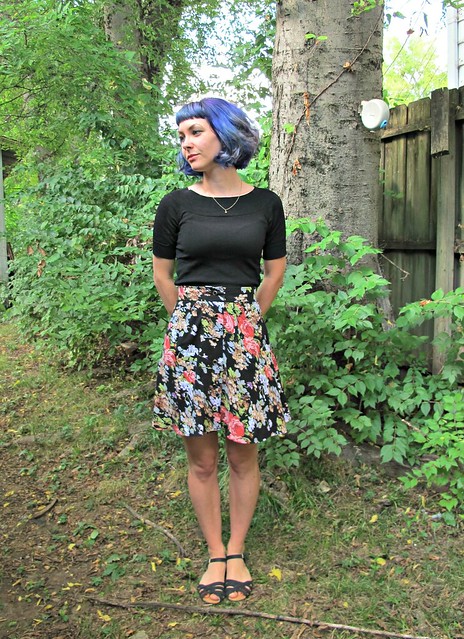
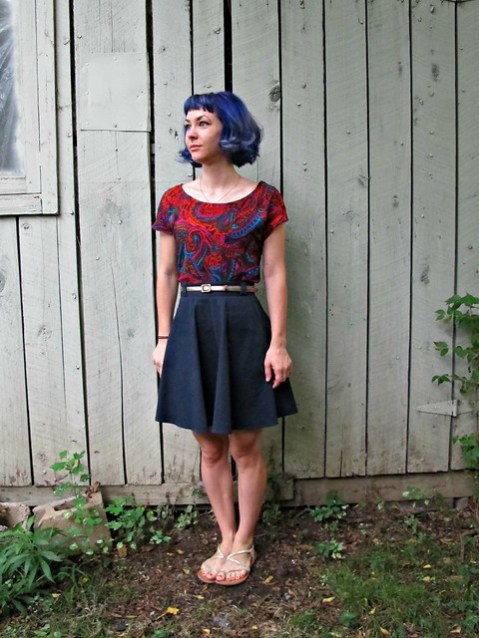
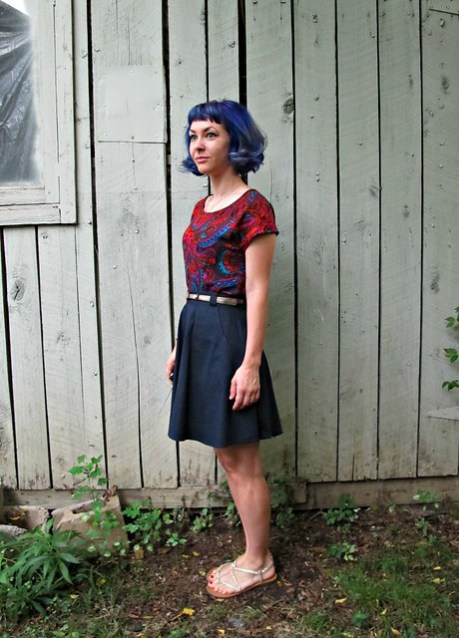
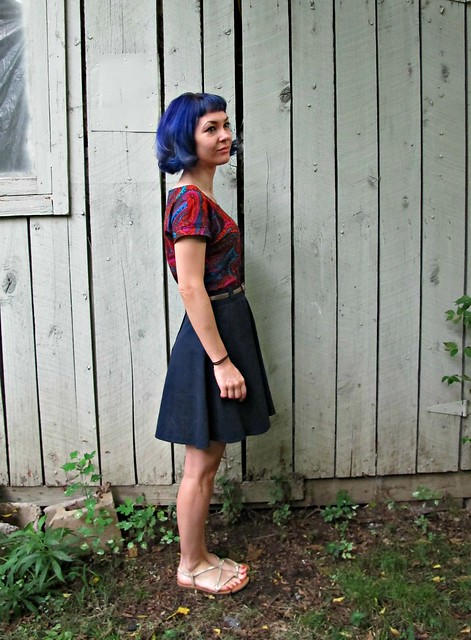
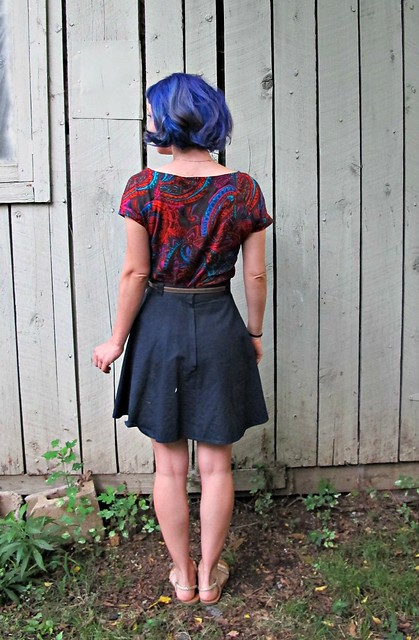
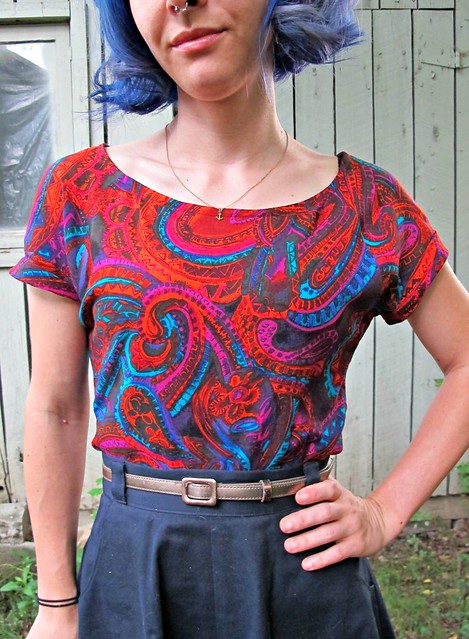
Also, at some point during the week (that would appear to be Saturday, based on what I’m wearing), I ended up with a sandwich the size of my head. Oh, America. In case you were wondering, that shit was delicious.
This was the first time I’ve visited NYC and spent more on food than I did on fabric! I barely bought anything – I was feeling very restricted because winter-weight fabrics weigh so much, and plus, I only spent a few hours there on one day (vs my normal 3 days in a row, ha!). I assure you, my bank account was very happy with this situation, but next time I’ll definitely need to plan for more fabric time 🙂 Here’s what I ended up bringing home:
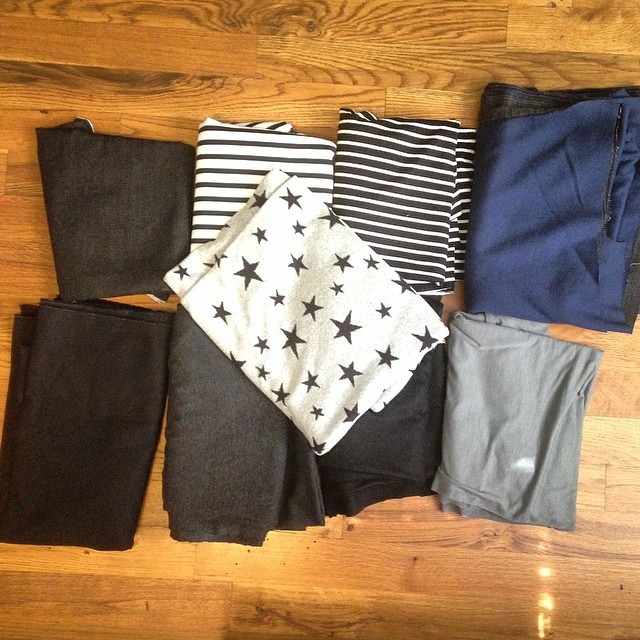
Top (from left to right): Stretch black denim (Paron), striped ponte knit (Mood), striped ponte knit (Mood)(fuck yeah I have this knit in all 4 colorways now – black and white, white and black, navy and white, white and navy. Don’t judge me.), reversible wool doubleknit (Paron).
Bottom (from left to right): Black wool knit (Mood), dark grey wool knit (Mood), black stretch twill (Mood), grey wool knit (Paron).
Middle: WOOL SWEATER KNIT WITH STARS. Omg is that shit not amazing!? It was sooo hard not to buy the whole bolt (ok, it wasn’t *that* hard – shit was $25 a yard!), but I only bought enough to make a long-sleeved top. It’s so soft and amazing, can’t wait to sew it up. Devra bought some too, so now we are fabric twins ♥
Not shown: I also bought elastics for bra-making (I looked for fabrics and powermesh, but the guys at Spandex House were being total dicks so I gave up and left. Speaking of dicks, there is dick fabric there. I’m not talking about cartoons. The fabric has actual photographs screenprinted on it. HA! I seriously considered buying some, but Landon draws the line at dick fabric. He doesn’t draw many lines so I’m ok with letting him have this one), and rivets and buttons and zippers for jeans. Some fun sewing coming up this fall, yay!
I had an amazing time in New York, and that’s 100% due to all the great company I had. Thanks to everyone who came out for a meet-up – or dinner – or coffee – or fabric shopping – or whatever! It was so inspiring and refreshing to talk to so many like-minded women, and to have conversations that didn’t focus on gossip or trash-talking, but encouragement and nerdy sewing and knitting talk! Y’all are all the best! I think I wore myself ragged from trying to do everything at once, but it was totally worth it 🙂
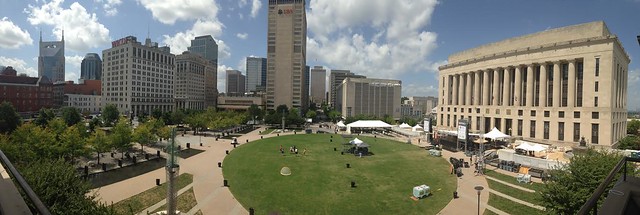
It was hard coming back to Nashville – hard, but also lovely. I love NYC so so much, but Nashville just feels good. It was good to see my wretched cat, my awesome boyfriend, and sleep in *my* bed. I snapped this photo of Nashville yesterday when I got out of court – I had already paid for parking, so I decided to play tourist and walk down Lower Broadway, as well as check out the Observation Tower at Public Square (which is that big patch of green in front of the courthouse). Such a pretty birds-eye view, don’t you think?
Oh, one more thing –

I’m coming to London at the end of November! I will be staying with my favorite traveling roomie, Clare, and YES there will be fabric shopping! I definitely want to plan a meet-up for one of those Saturdays, and I have some other plans that are currently in the process of being cooked up (more on that later!). I haven’t been to London in a good 17 years (wait, has it really been that long??), so needless to say – I’m pretty fucking excited!
Tags: fabric hoarding, Garment District, giant blog recap, mccall, McCall Pattern Company, meet-up, Mood Fabrics, NYC, teaching, workroom social


