I freaking love sewing patterns, y’all. Love them. I snap them up at an alarming rate – indies, big 4, vintage, whatever I can get my hands on. I love to collect them for the artwork, the instructions, even the odd pocket or facing piece that I might need later (ok, that’s a little hoardy, but whatever). The vintage ones will fall in my lap en mass – either someone gifting me a huge box of whatever belonged to their grandma and/or they found in their attic, or I’ll find them for the flea market for less than a dollar a pop (at this point, I’m kind of convinced that I can sniff them out).
So, yeah. I have a lot of patterns. Over 300, to be exact – ranging from printed to PDF, and, lord. There’s just a lot of them.
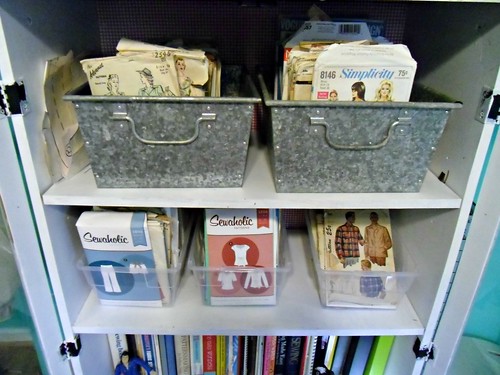
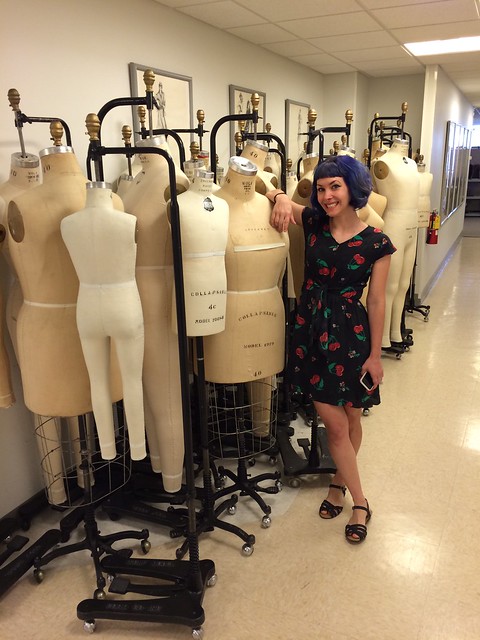
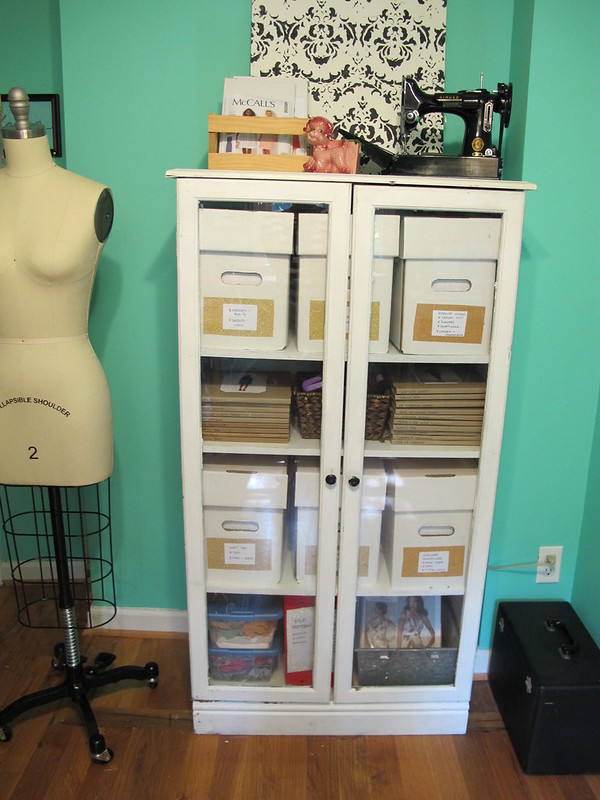
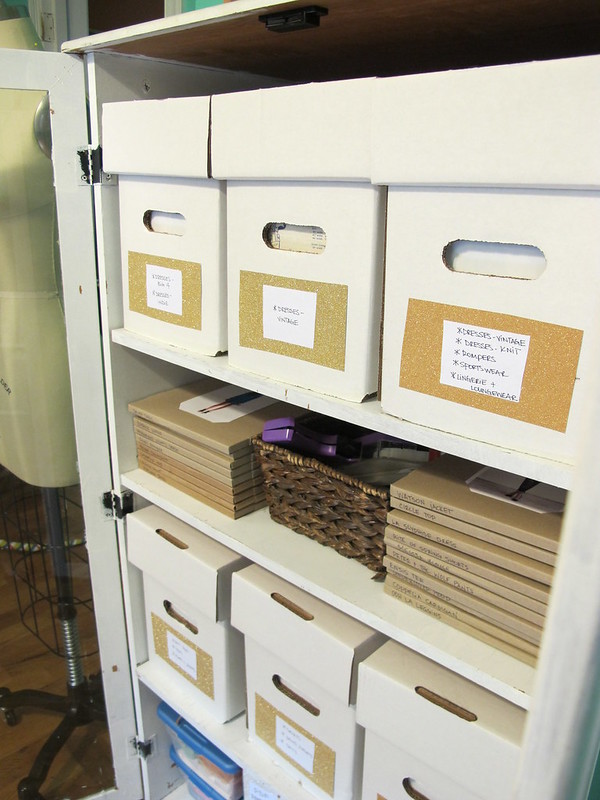
Previously, I stored them in open boxes that I sat on a shelf – that way I could easily see them and sort through them (I’m the kind of person who needs to see something to remember that I have it). This was fine when I had 20, 30… even 100 patterns. Nowdays, not so much. Despite my patterns taking up most of an ENTIRE CABINET (the photo above is from about 2 years ago, so – while I had plenty of patterns then, I have about 3x as many now, and they take up way more shelf space), there wasn’t enough room. They were crammed into boxes, which made sorting through them difficult (if not destructive, especially with the delicate vintage ones), which meant I never sorted through them at all. Which, in turn, meant my ~open shelving concept~ was BULLSHIT, because why bother if you don’t actually use it?
It was time to find a new organization system.
No doubt most of y’all have read Sarai’s post on pattern organization over at the Coletterie. If not – you should! It’s where I got this entire post idea from, ha :). Anyway, I was inspired by the post and decided to get my pattern stash under control, once and for all. Drumroll, please…
Yeah! How do you like THEM apples?!
Here’s another sexy shot, because – sexy.
Anyway, here’s what I did –
I started out by sourcing the supplies – I bought plastic bags, cardboard backing boards, plastic dividers, and cardboard boxes with lids. All of these things are made for comic book storage, but lucky for us – sewing patterns are pretty much the same size. I know Sarai had luck with getting her supplies at Bags Unlimited; I can’t personally vouch for that site as I bought all my stuff here locally, at The Great Escape, which is conveniently located right by my house. (upon linking this, I just noticed that they have an eBay store! They’re also cheaper than Bags Unlimited, because they rule). I started out with buying enough stuff to house 100 sewing patterns… then went back again. And again. This is how I know a rough estimate of how many patterns I have, ha!

Anyway, the patterns are stored in a little plastic comic book bag, with the backing board added for stability. I really love this because you can cram and push and shove the patterns around as much as you want – and even the delicate ones won’t rip, because they are protected by the bag.
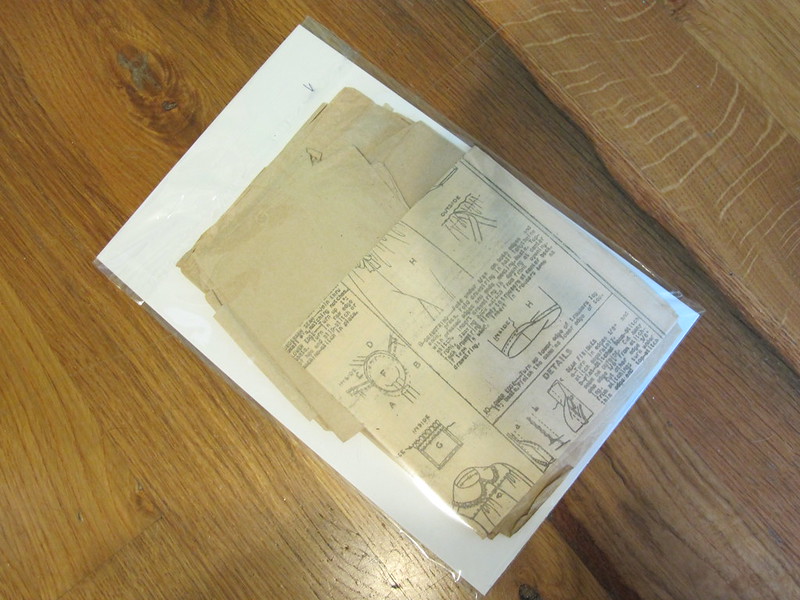
You can also shove pattern pieces in the bag itself, instead of back in the envelope, if rips are a concern.
All this talk of shoving makes me sound like I’m super violent with my patterns, hahaha. Promise I’m not *that* bad!
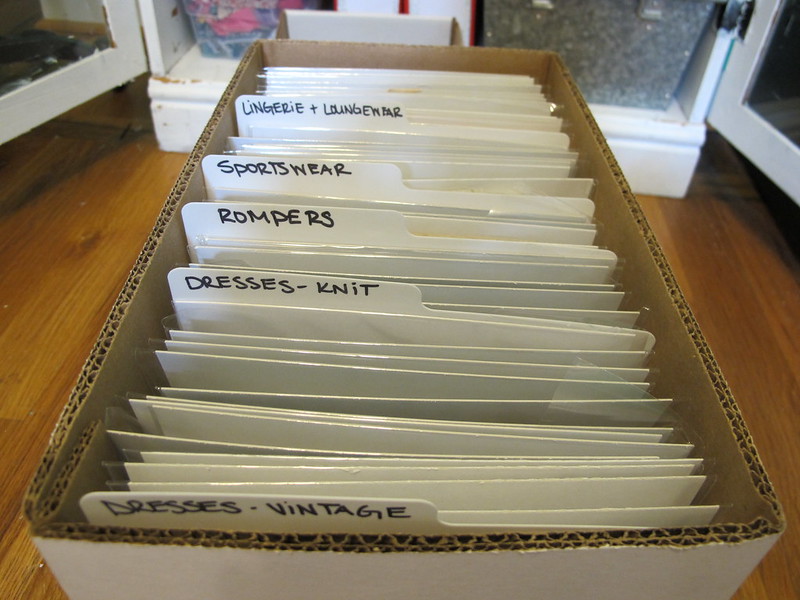
Once I got the patterns in their baggies, I could start organizing them in the boxes. I used the plastic divider boards to separate them by type, in a way that made the most sense to me.

Even if you cram them in the box super tight, it’s still relatively easy to find the pattern you’re looking for – especially with the tab dividers.
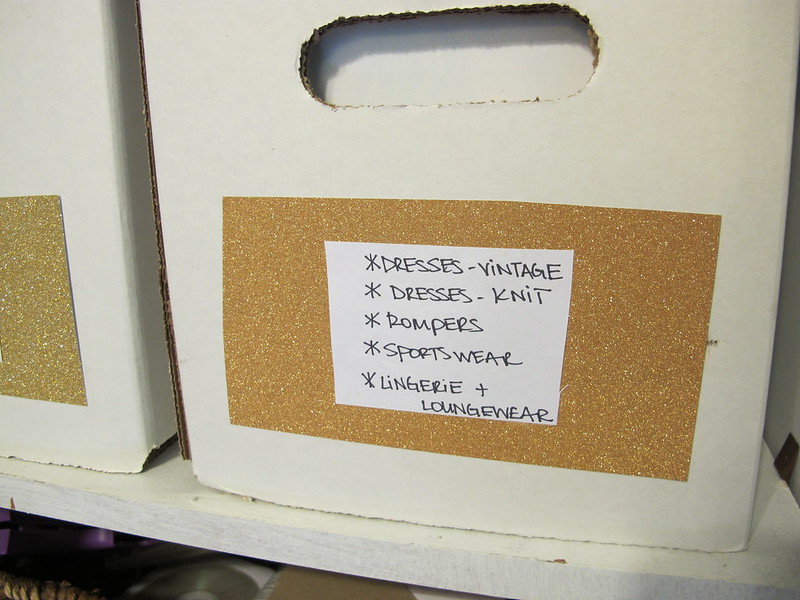
I also labeled the boxes so I would know the contents at a glance. I used scrapbooking paper and just taped the labels on – that way, if I need to switch things around, I can just peel it off the box and make a new label.
Some things to note:
– I agonized for WAY too long about what size bags to buy. I don’t know anything about comics, so I had no idea that they came in different sizes! I ended up buying the bags for regular size comics, as well as the regular size backing boards.
– The boxes, at least at my store, come in 2 sizes. I bought the smaller size – they were $5 a pop, lid included, and they are short enough to fit in my cabinet. I would estimate that each one holds around 50 patterns, give or take.
– I also played around with resealable vs non resealable bags. My personal verdict: get the resealable. You’ll end up taping the other ones shut. Just pay the extra dollar and get on with your life.
Ok, so that’s part one of the pattern organization! Next, I had to deal with patterns that didn’t fit in the boxes – PDFs, the big Vogue patterns, and my collection of Papercut Patterns.
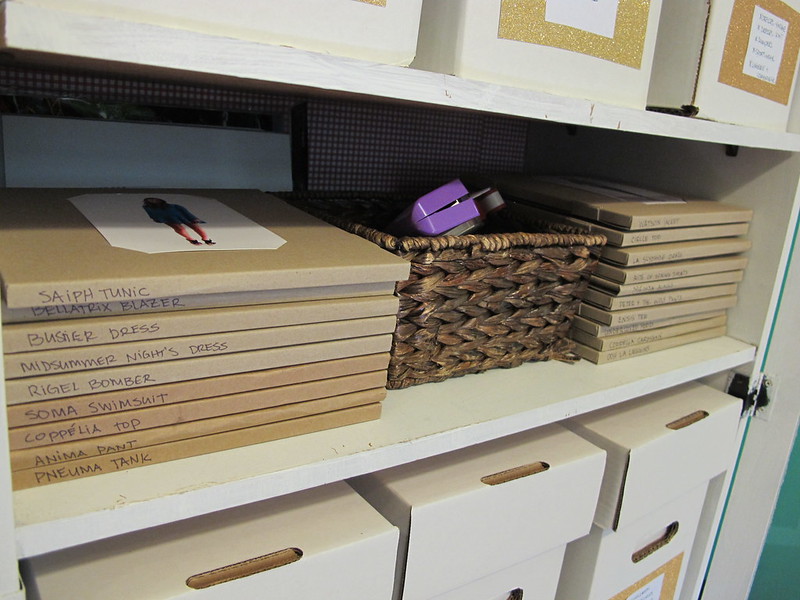
For the Papercut Patterns, I decided to take them down from the wall (the sheer amount of them was taking over the wall and starting to look extremely sloppy!) and stack them on the one stupid shelf that I couldn’t adjust. The patterns don’t have their names printed on the sides, so I wrote it on the bottom of each one so I could sort through them in a glance.
Inside the basket is my tape gun thingy that I use to tape PDF patterns, as well as some cardstock pattern pieces (like shirt pockets) and extra bags.
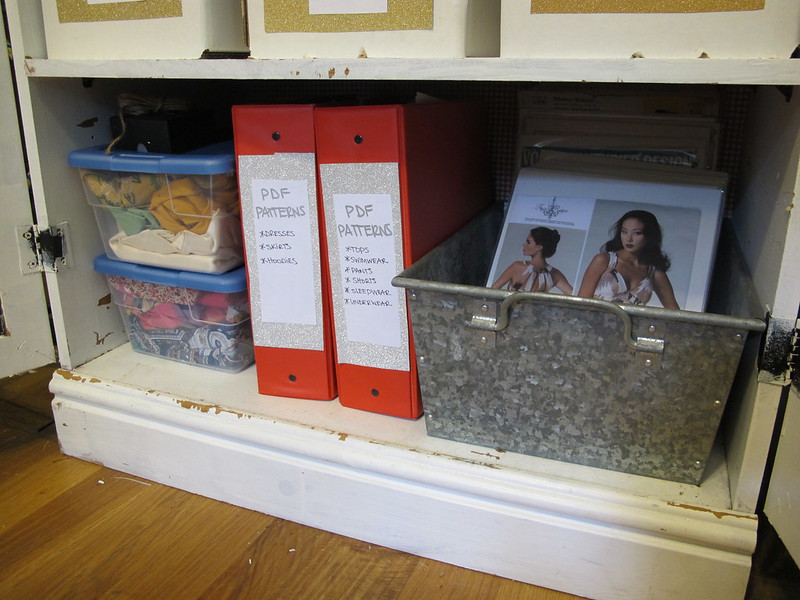
The bottom shelf holds all my PDF patterns, big Vogue designer patterns, and a couple boxes of random fabric scraps.
The manhandling of those PDF patterns into submission is my FAVORITE part of this makeover! Before, I stored each one in a large manilla envelope (I scored boxes of them from my old job when we switched to digital filing for our job jackets). That was, to put it mildly, a clusterfuck. It was hard to sort through the patterns, they didn’t all fit on the shelf, they looked like a hot mess, they were always falling out of the shelf, AND THEN I ran out of envelopes (and ew, wow, those things are expensive!). While I was debating what to do about this, I came across Andrea’s Craftsy post on organizing PDF patterns. Solution #1 – that was my answer!
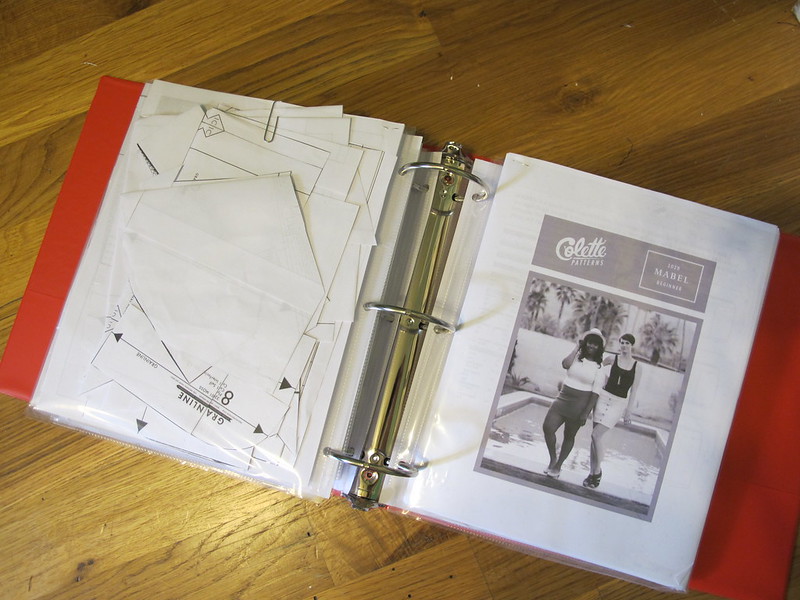
As with the printed patterns, I agonized for forever over what supplies to buy for storage. I know Andrea gives specific products, but they were a bit out of my budget. Plus, I have like 40 PDF patterns – so I needed to keep the budget way down. I ended up getting these clear plastic sheet protectors and these 3″ 3 ring binders
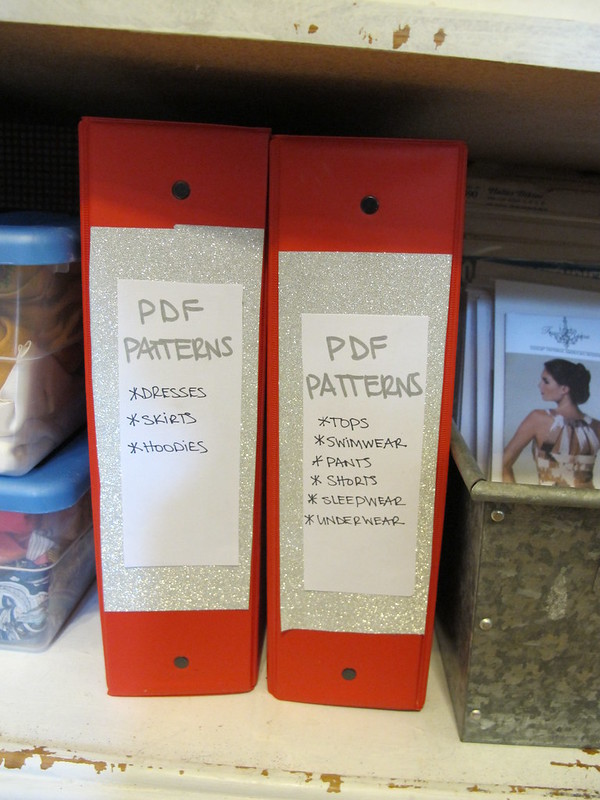
 , both from Amazon. As with the printed patterns, I organized them according to what made sense to me, and labeled the outside of the binders. Since my plastic sleeves are not resealable, I just paper clip them closed. Haven’t had a disaster yet (fingers crossed, tho).
For the Vogue patterns, I found that they fit perfectly in magazine-sized plastic sleeves (and they also make backing boards this size!), so that’s what I used. I didn’t even buy a whole box – my shop sells them for pennies individually, so I just took what I needed. They are stored in one of my old pattern storage boxes – which actually looks kind of nice when it’s not so full 🙂
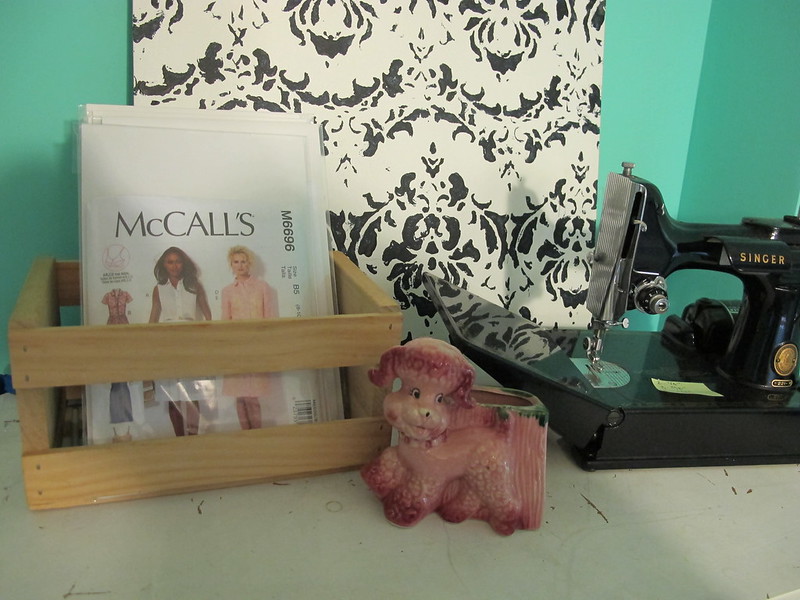
Finally, I keep a running “list” of the patterns I want to sew on top of my sewing cabinet – they’re just pulled from the boxes and stored in their cd case holder (omg I love repurposing things hahaha). This way I can still see things to be reminded of them, but not overloaded with seeing OMG EVERY PATTERN I OWN.
(also, this picture is old. I’m not sewing that McCall pattern. Actually, I scrapped it because the very smallest size was like 4″ too big for my sad little rack. And yet everyone keeps making beautiful versions of this pattern and I’m super jealous, so stop already).
Next, I’d like to digitally organize my patterns. The second half of Sarai’s post talks about creating a digital database using Tap Forms, an app that costs like $9. I’m embarrassed to admit that I bought the app (mostly because I was so sure that actually paying for it would ensure that I actually USE it) and then uploaded like 10 patterns (so much for that theory). It’s kind of a huge time-suck! Argh! But I can’t think of a better solution, so I really just need to suck it up and deal with it.

I don’t want to say this entire process was difficult – but it was very very time-consuming. It was also a bit more expensive than I had originally budgeted for – I think, all in all, I spent around $100 for all the supplies. It was spread out over a few paychecks, so the cost didn’t hurt *that* much – but still, that’s a chunk of change for organizing a mess! Anyway, it was worth it. It’s so much easier to find what I’m looking for (without destroying it in the process), and the clean white boxes and red binders make my entire sewing room look SO much better than the original messy piles. Woohoo!
Anyway, that’s my organization story! What about you? How do you organize your patterns? Or are you one of those cool minimalist people who has, like, seven? (ps, please teach me your ways).
Tags: coletterie, organization, pattern organization, patterns, sewing patterns, sewing room