
Coming back after a hiatus – even if it’s a mere 2 weeks – always feels a little awkward writing that first sentence. I have missed you guys, though! Thank you so much for all your thoughtful comments + general encouragement on my last post – I appreciate every single one of you! ♥
Before I bring in the fun underwear portion of this post, I want to address a few orders of business first. Promise I’ll be quick!

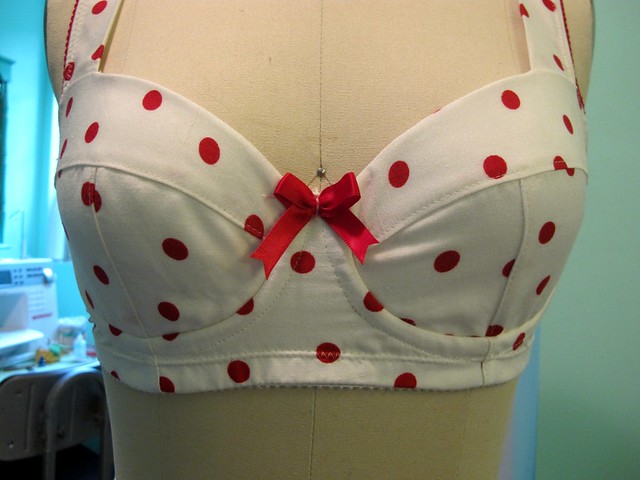
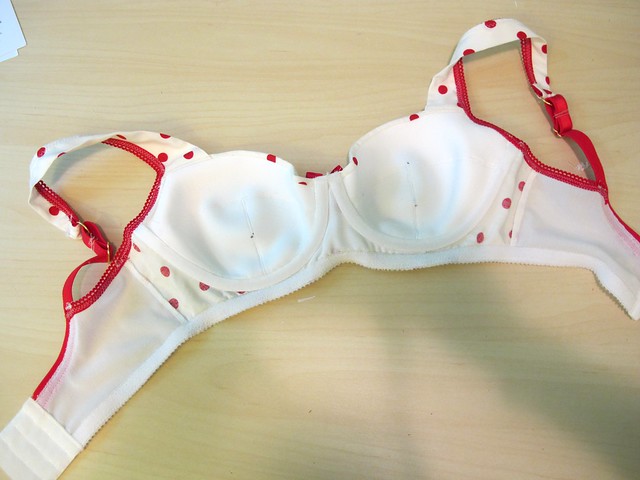
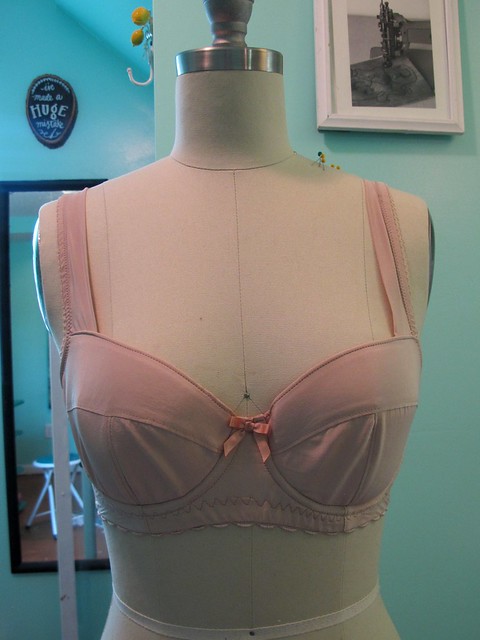
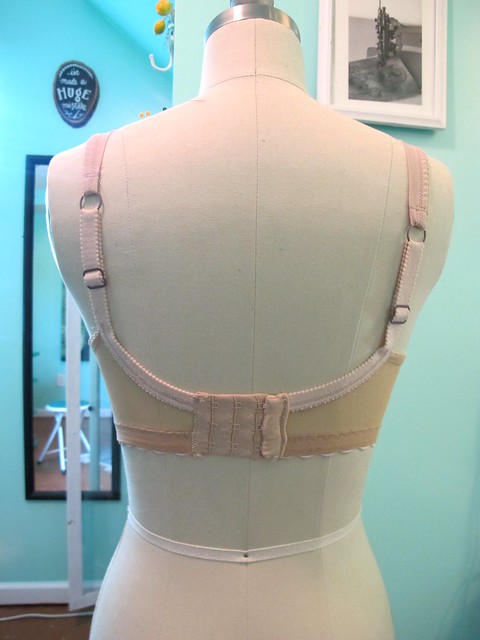
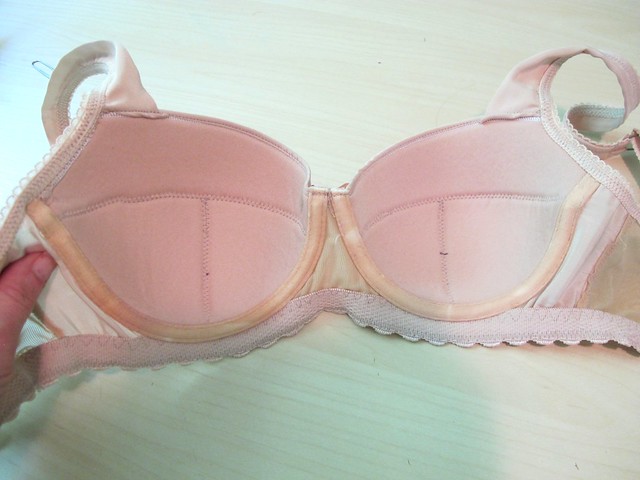
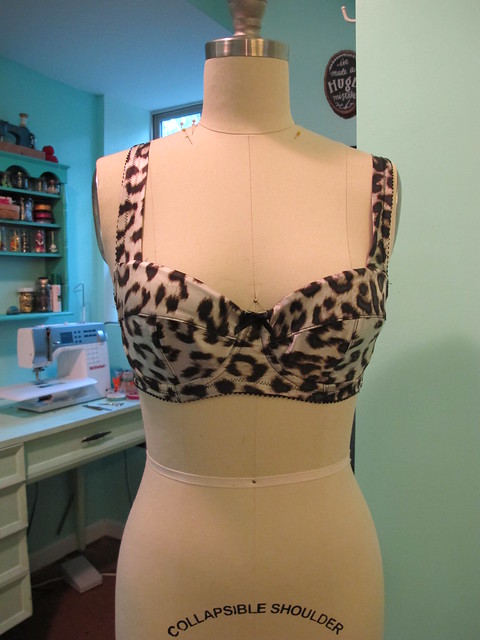
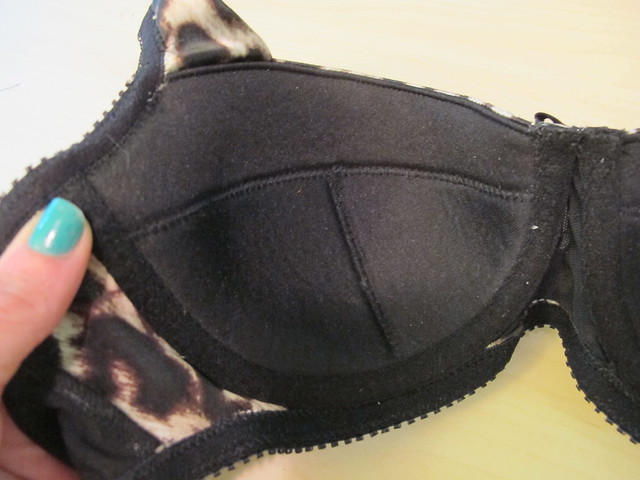
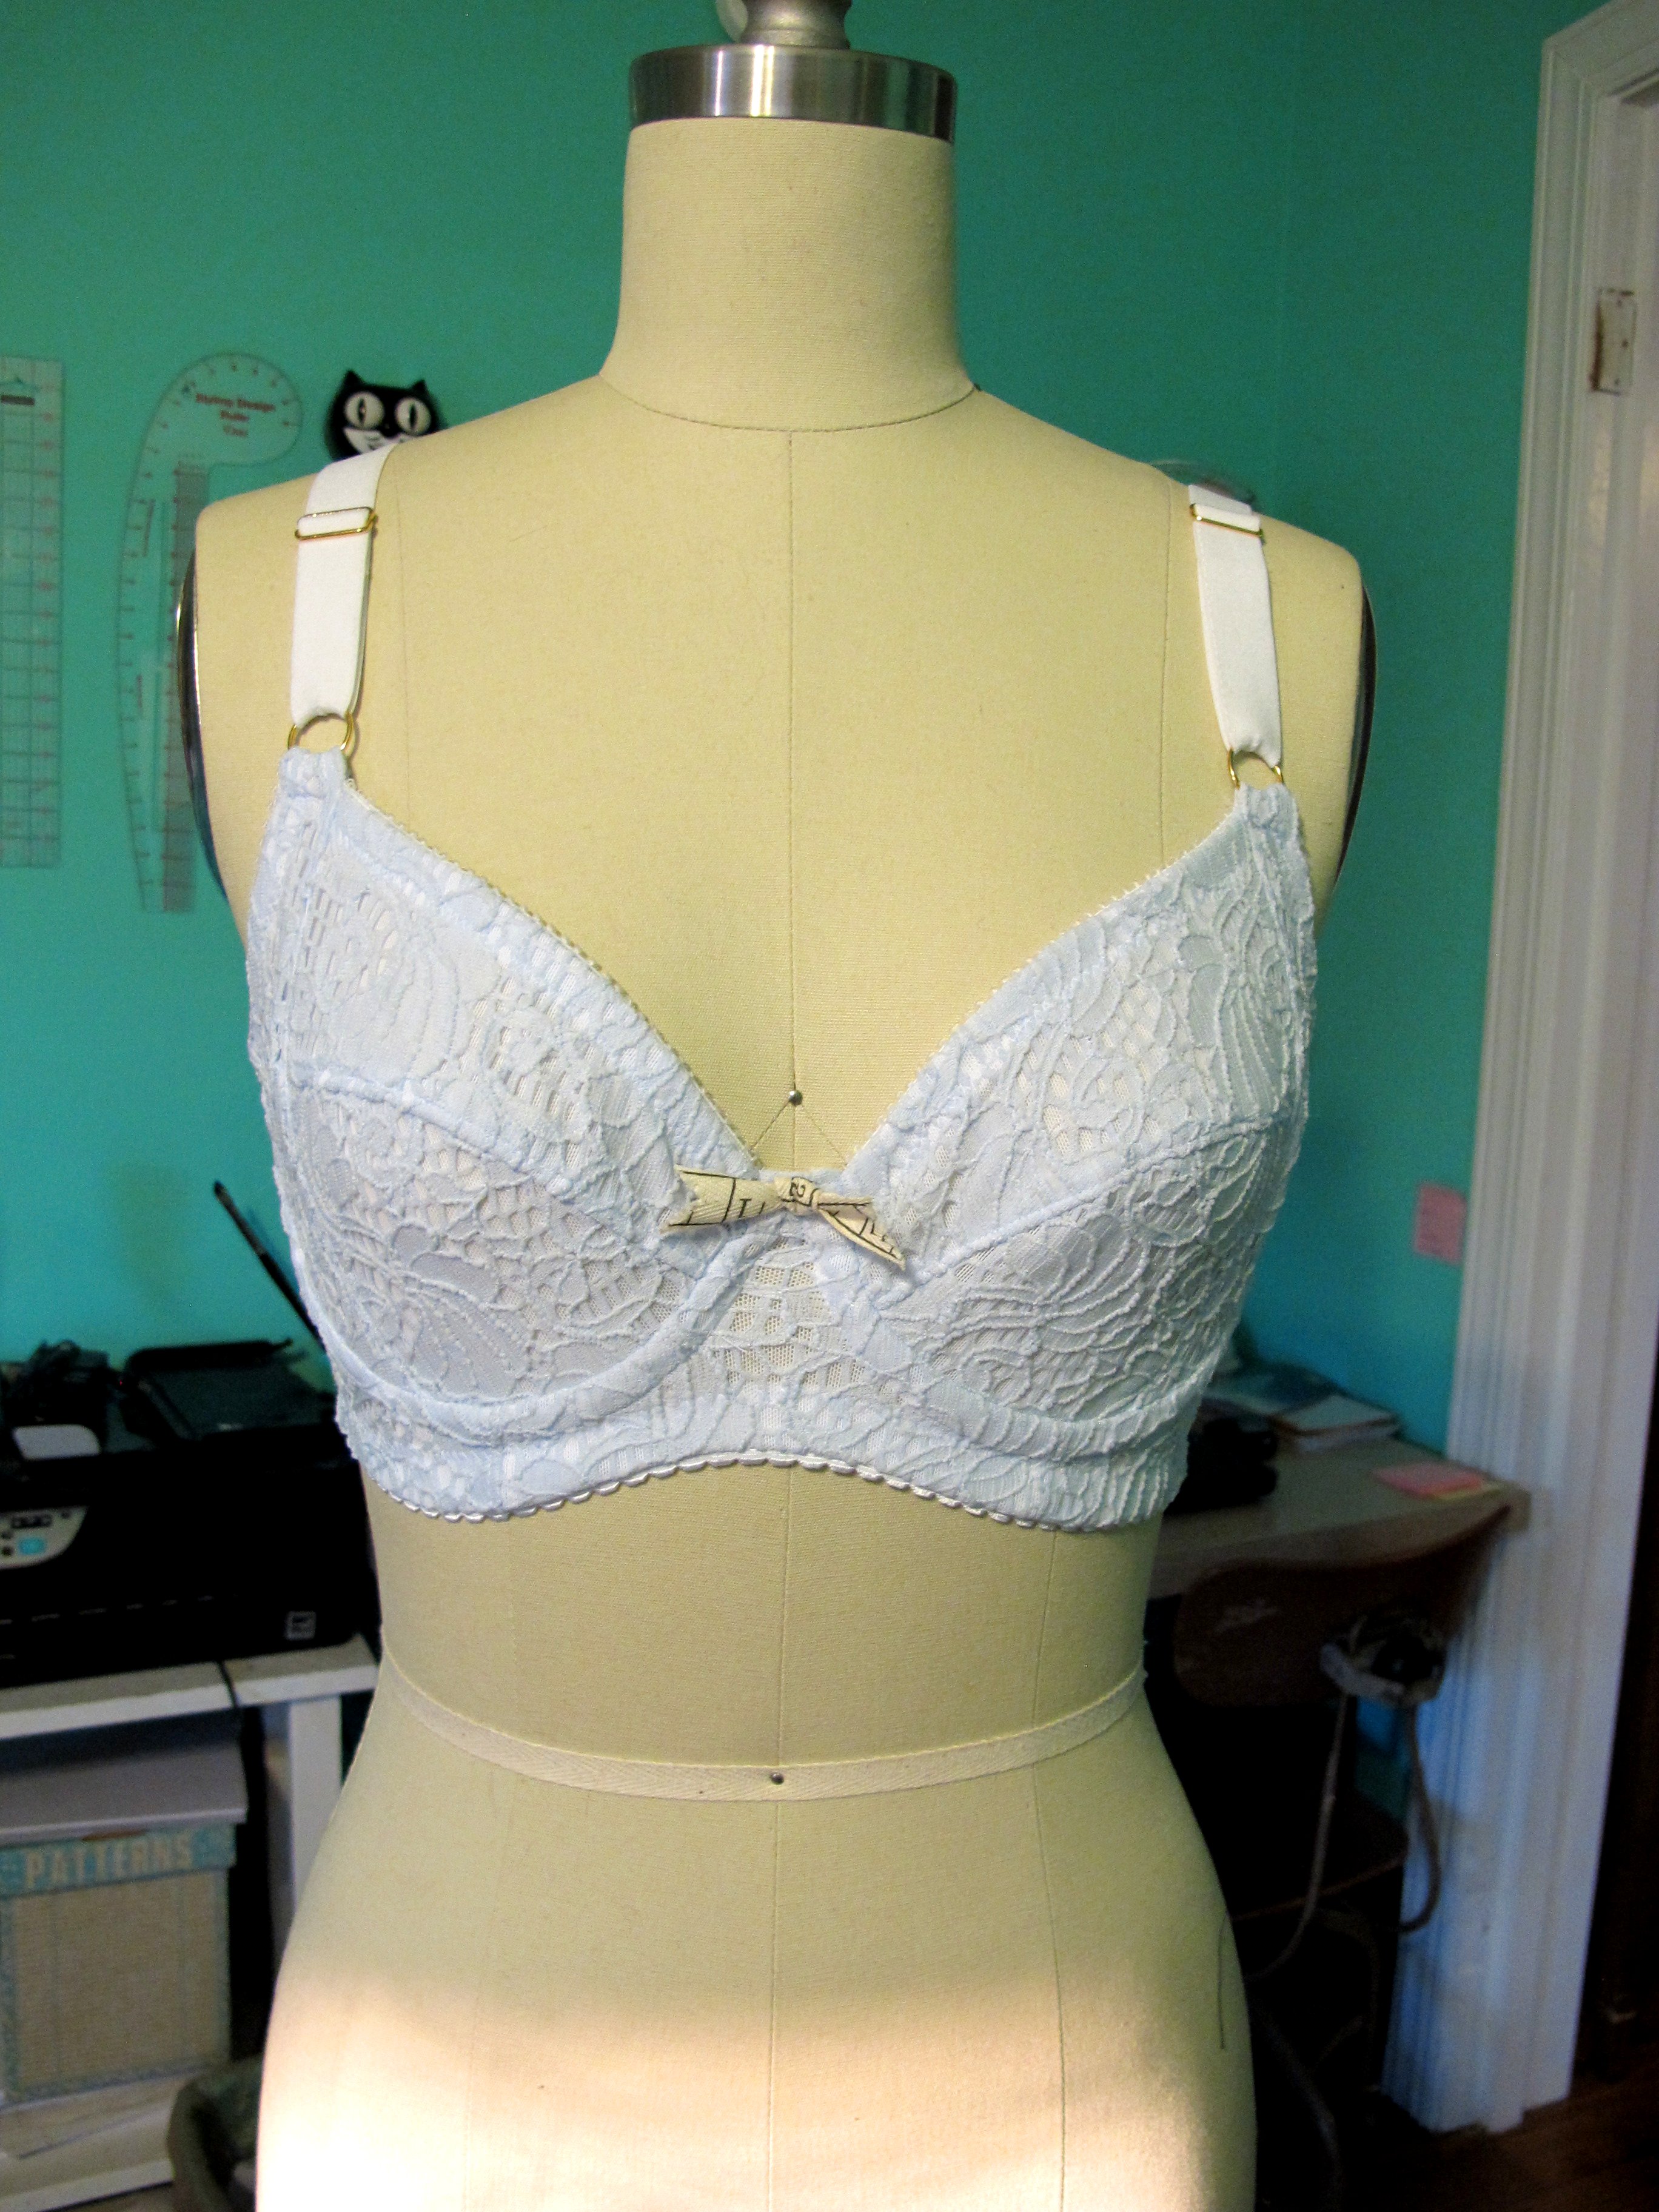
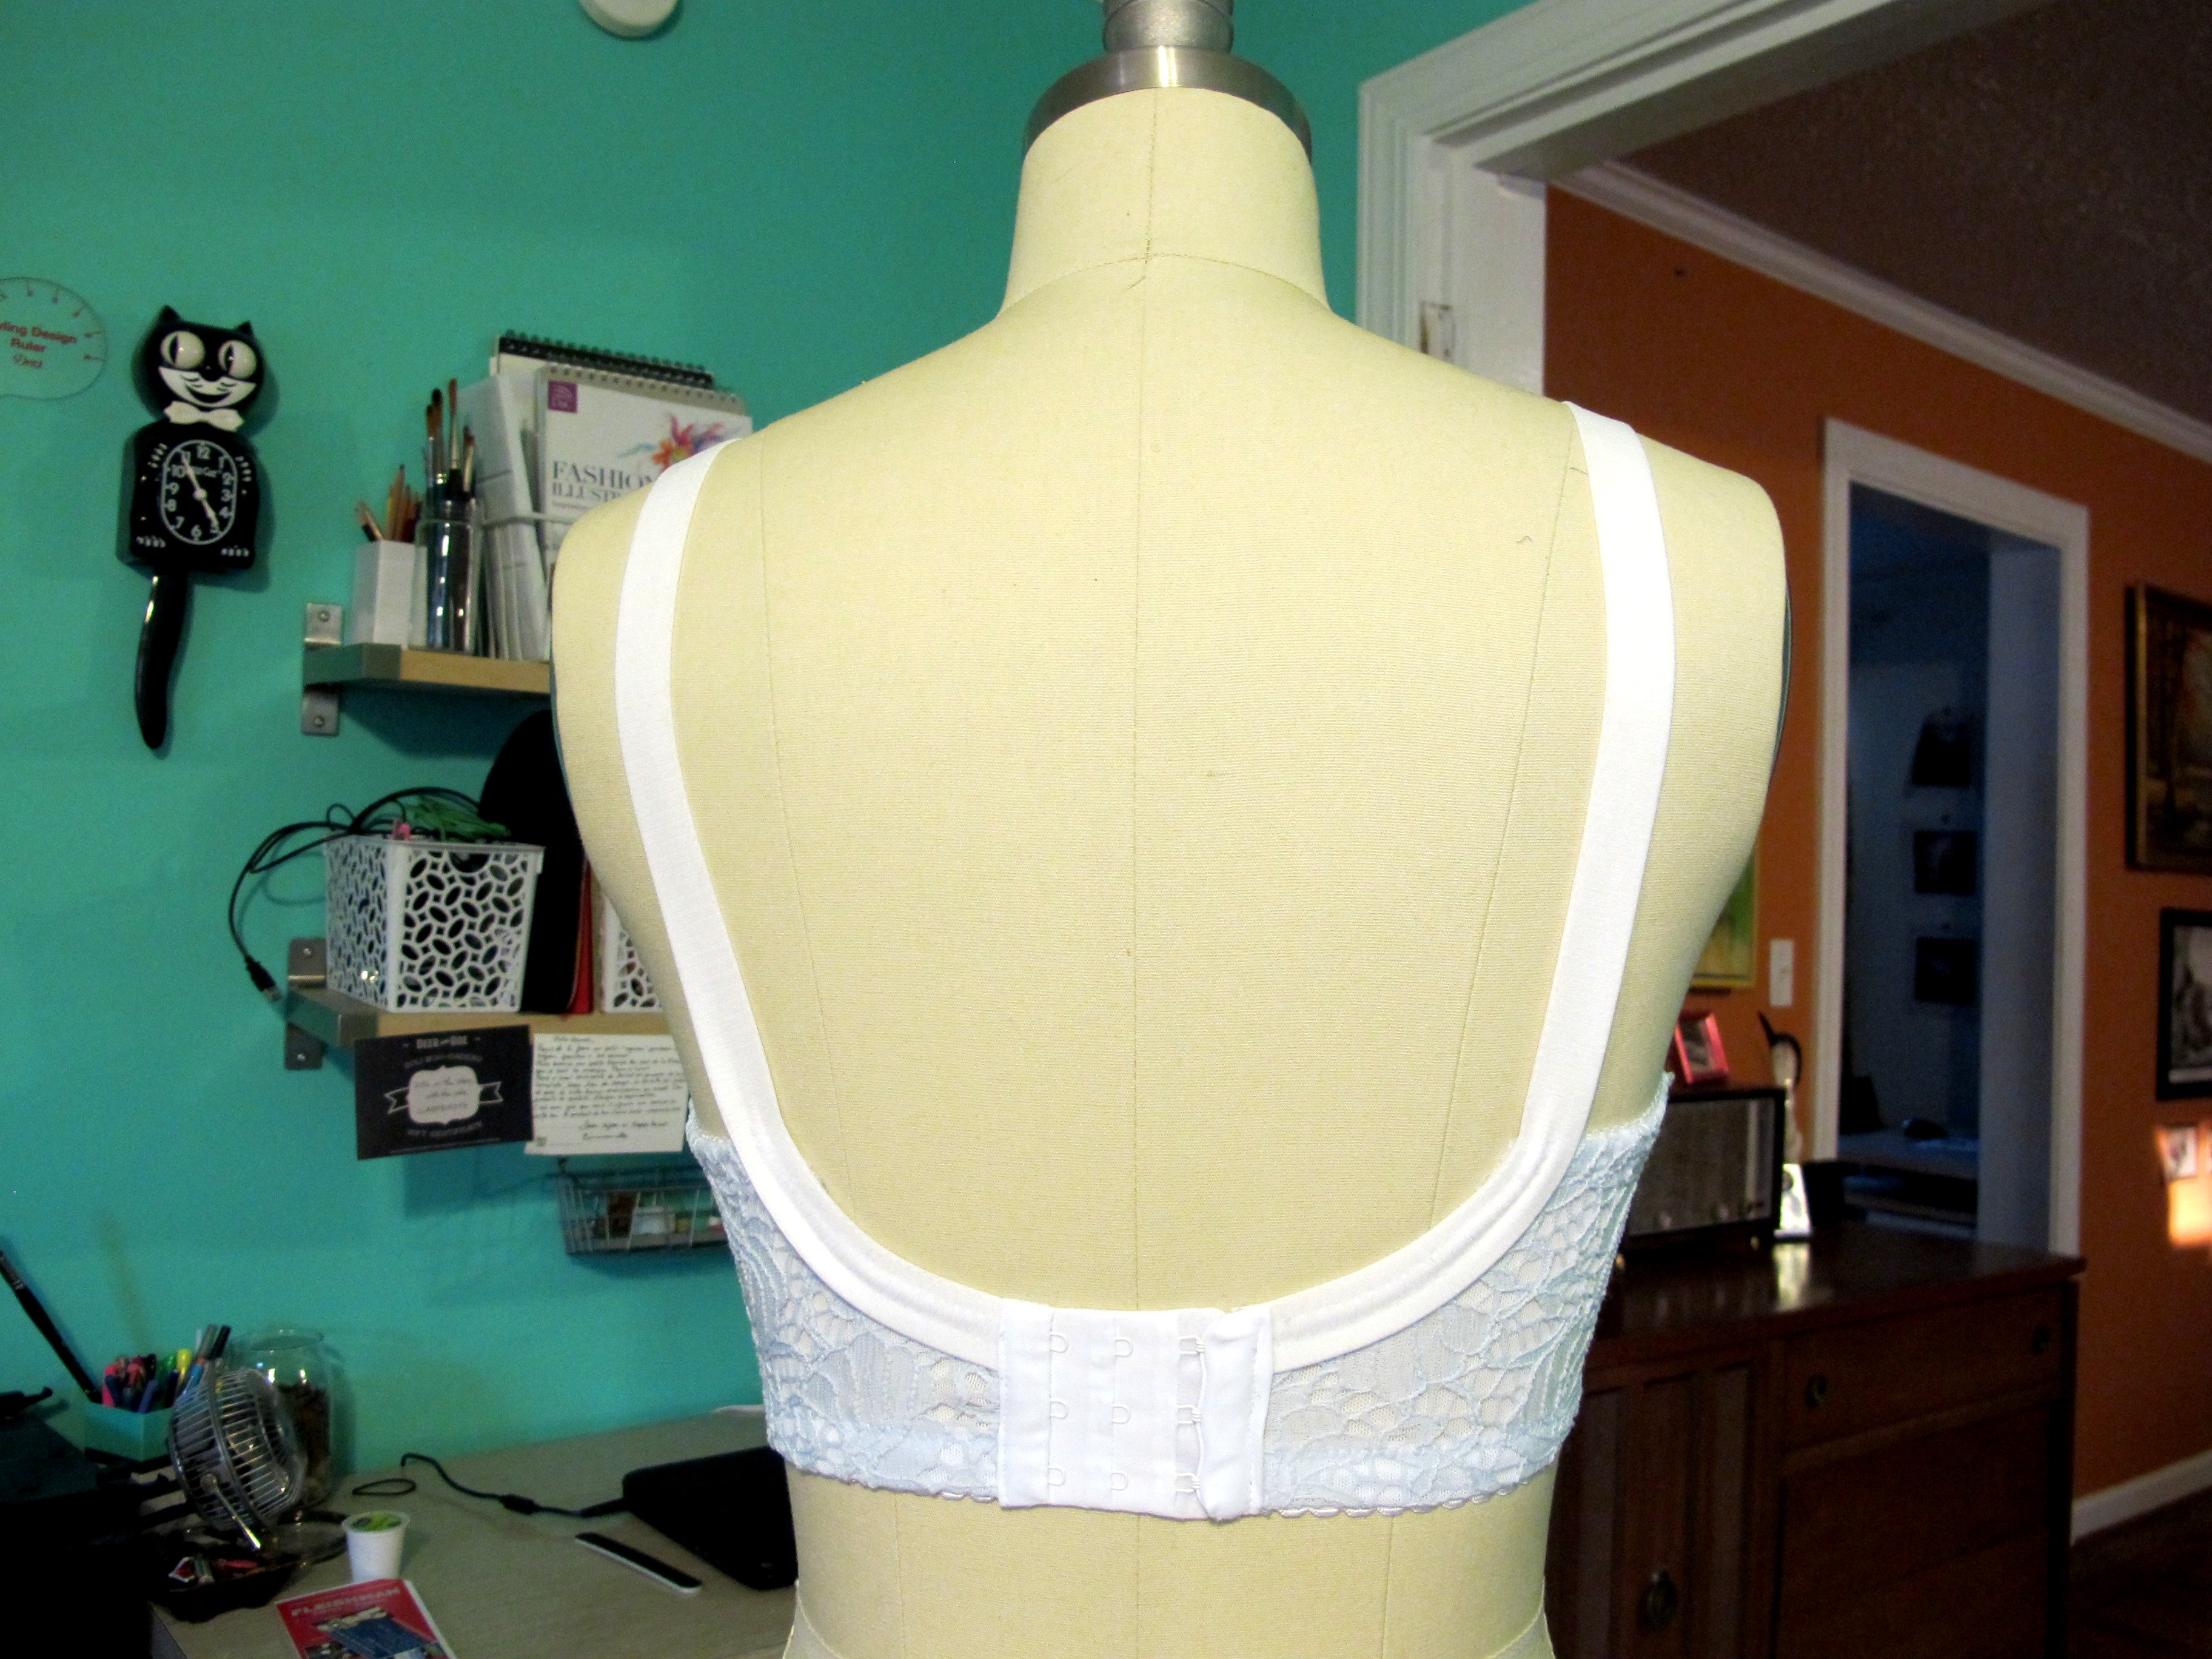
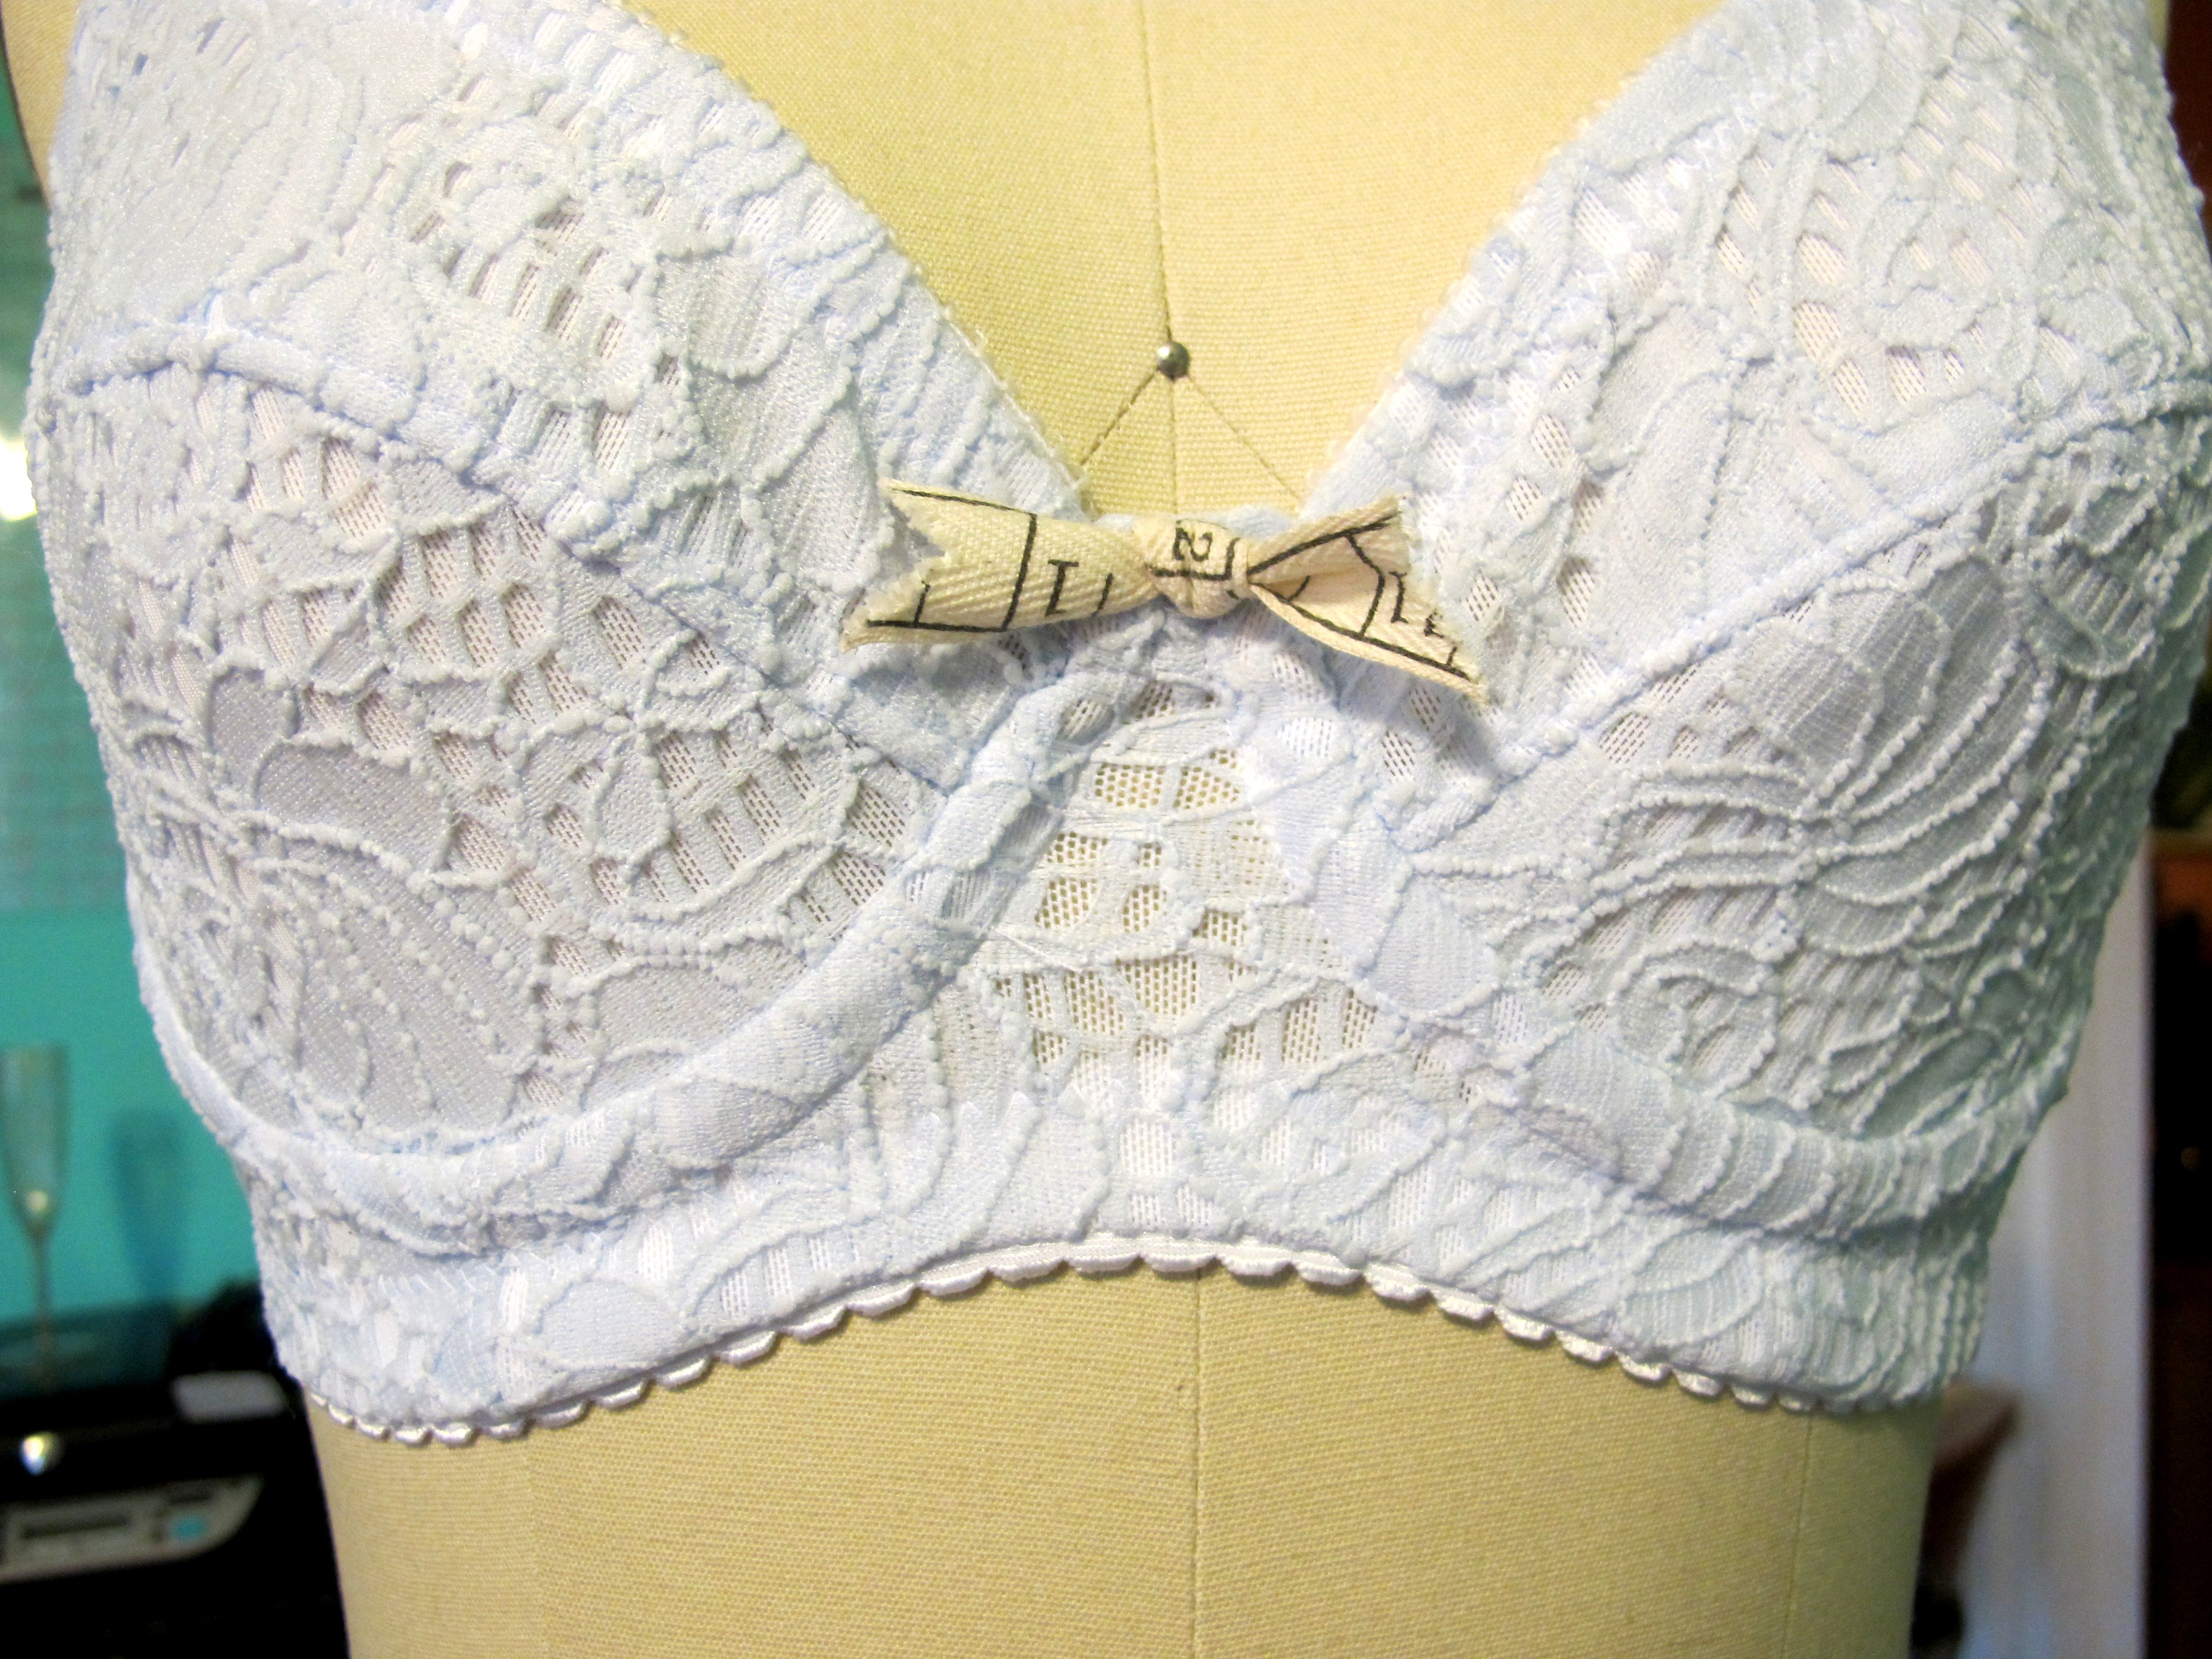
But first, a bra to tempt you to stick around. Ooh la la! Enjoy that butt view in the mirror, too.
ONE I am having a difficult time contacting one of the winners from our Shutters & Shuttles giveaway in December, Shesewsswell. Both Allison & I have sent emails and we haven’t heard a peep back 😦 Neither of us are terribly keen on the idea of passing the prize on to someone else just yet (I would feel absolutely rotten if it turned out those emails went to a spam filter or something), but we will need to if we don’t get a response from the original winner. SO, Shesewsswell, pleaseeeee contact me at lladybirdlauren at gmail to claim your prize! There is a beautiful piece of handwoven, Nashville-made fabric waiting for you 🙂 UPDATE: Found her! Yay! 😀
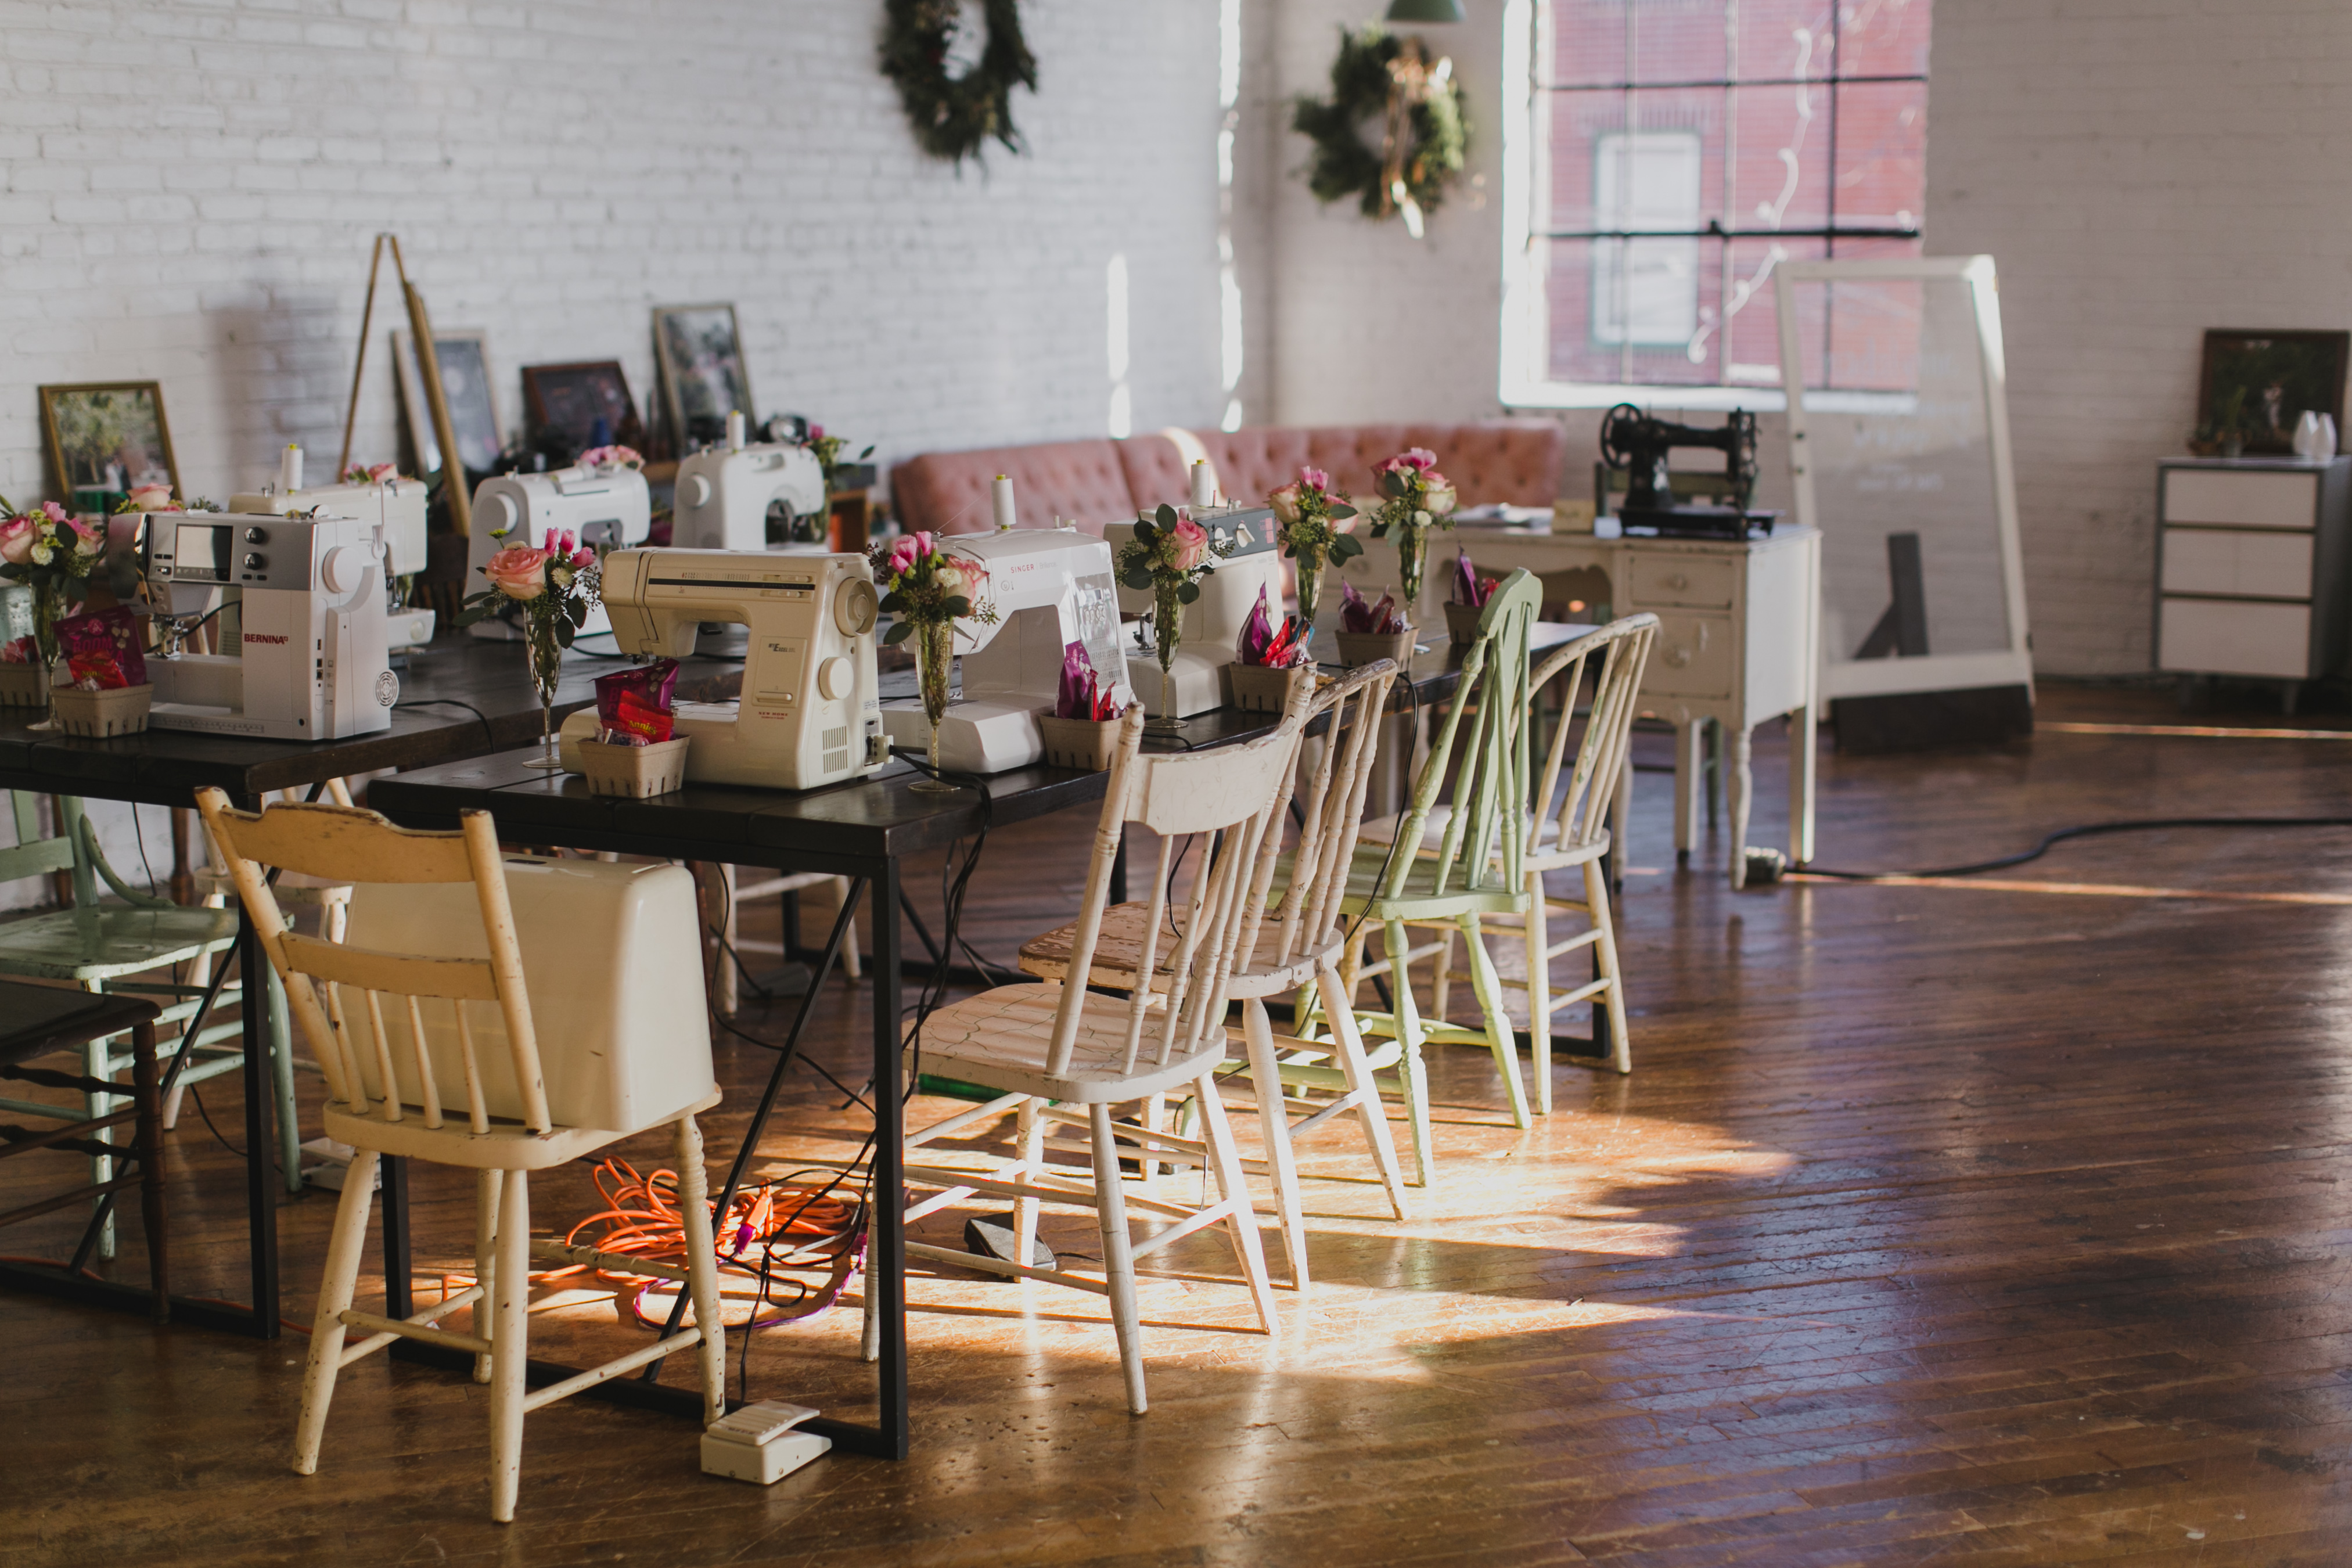
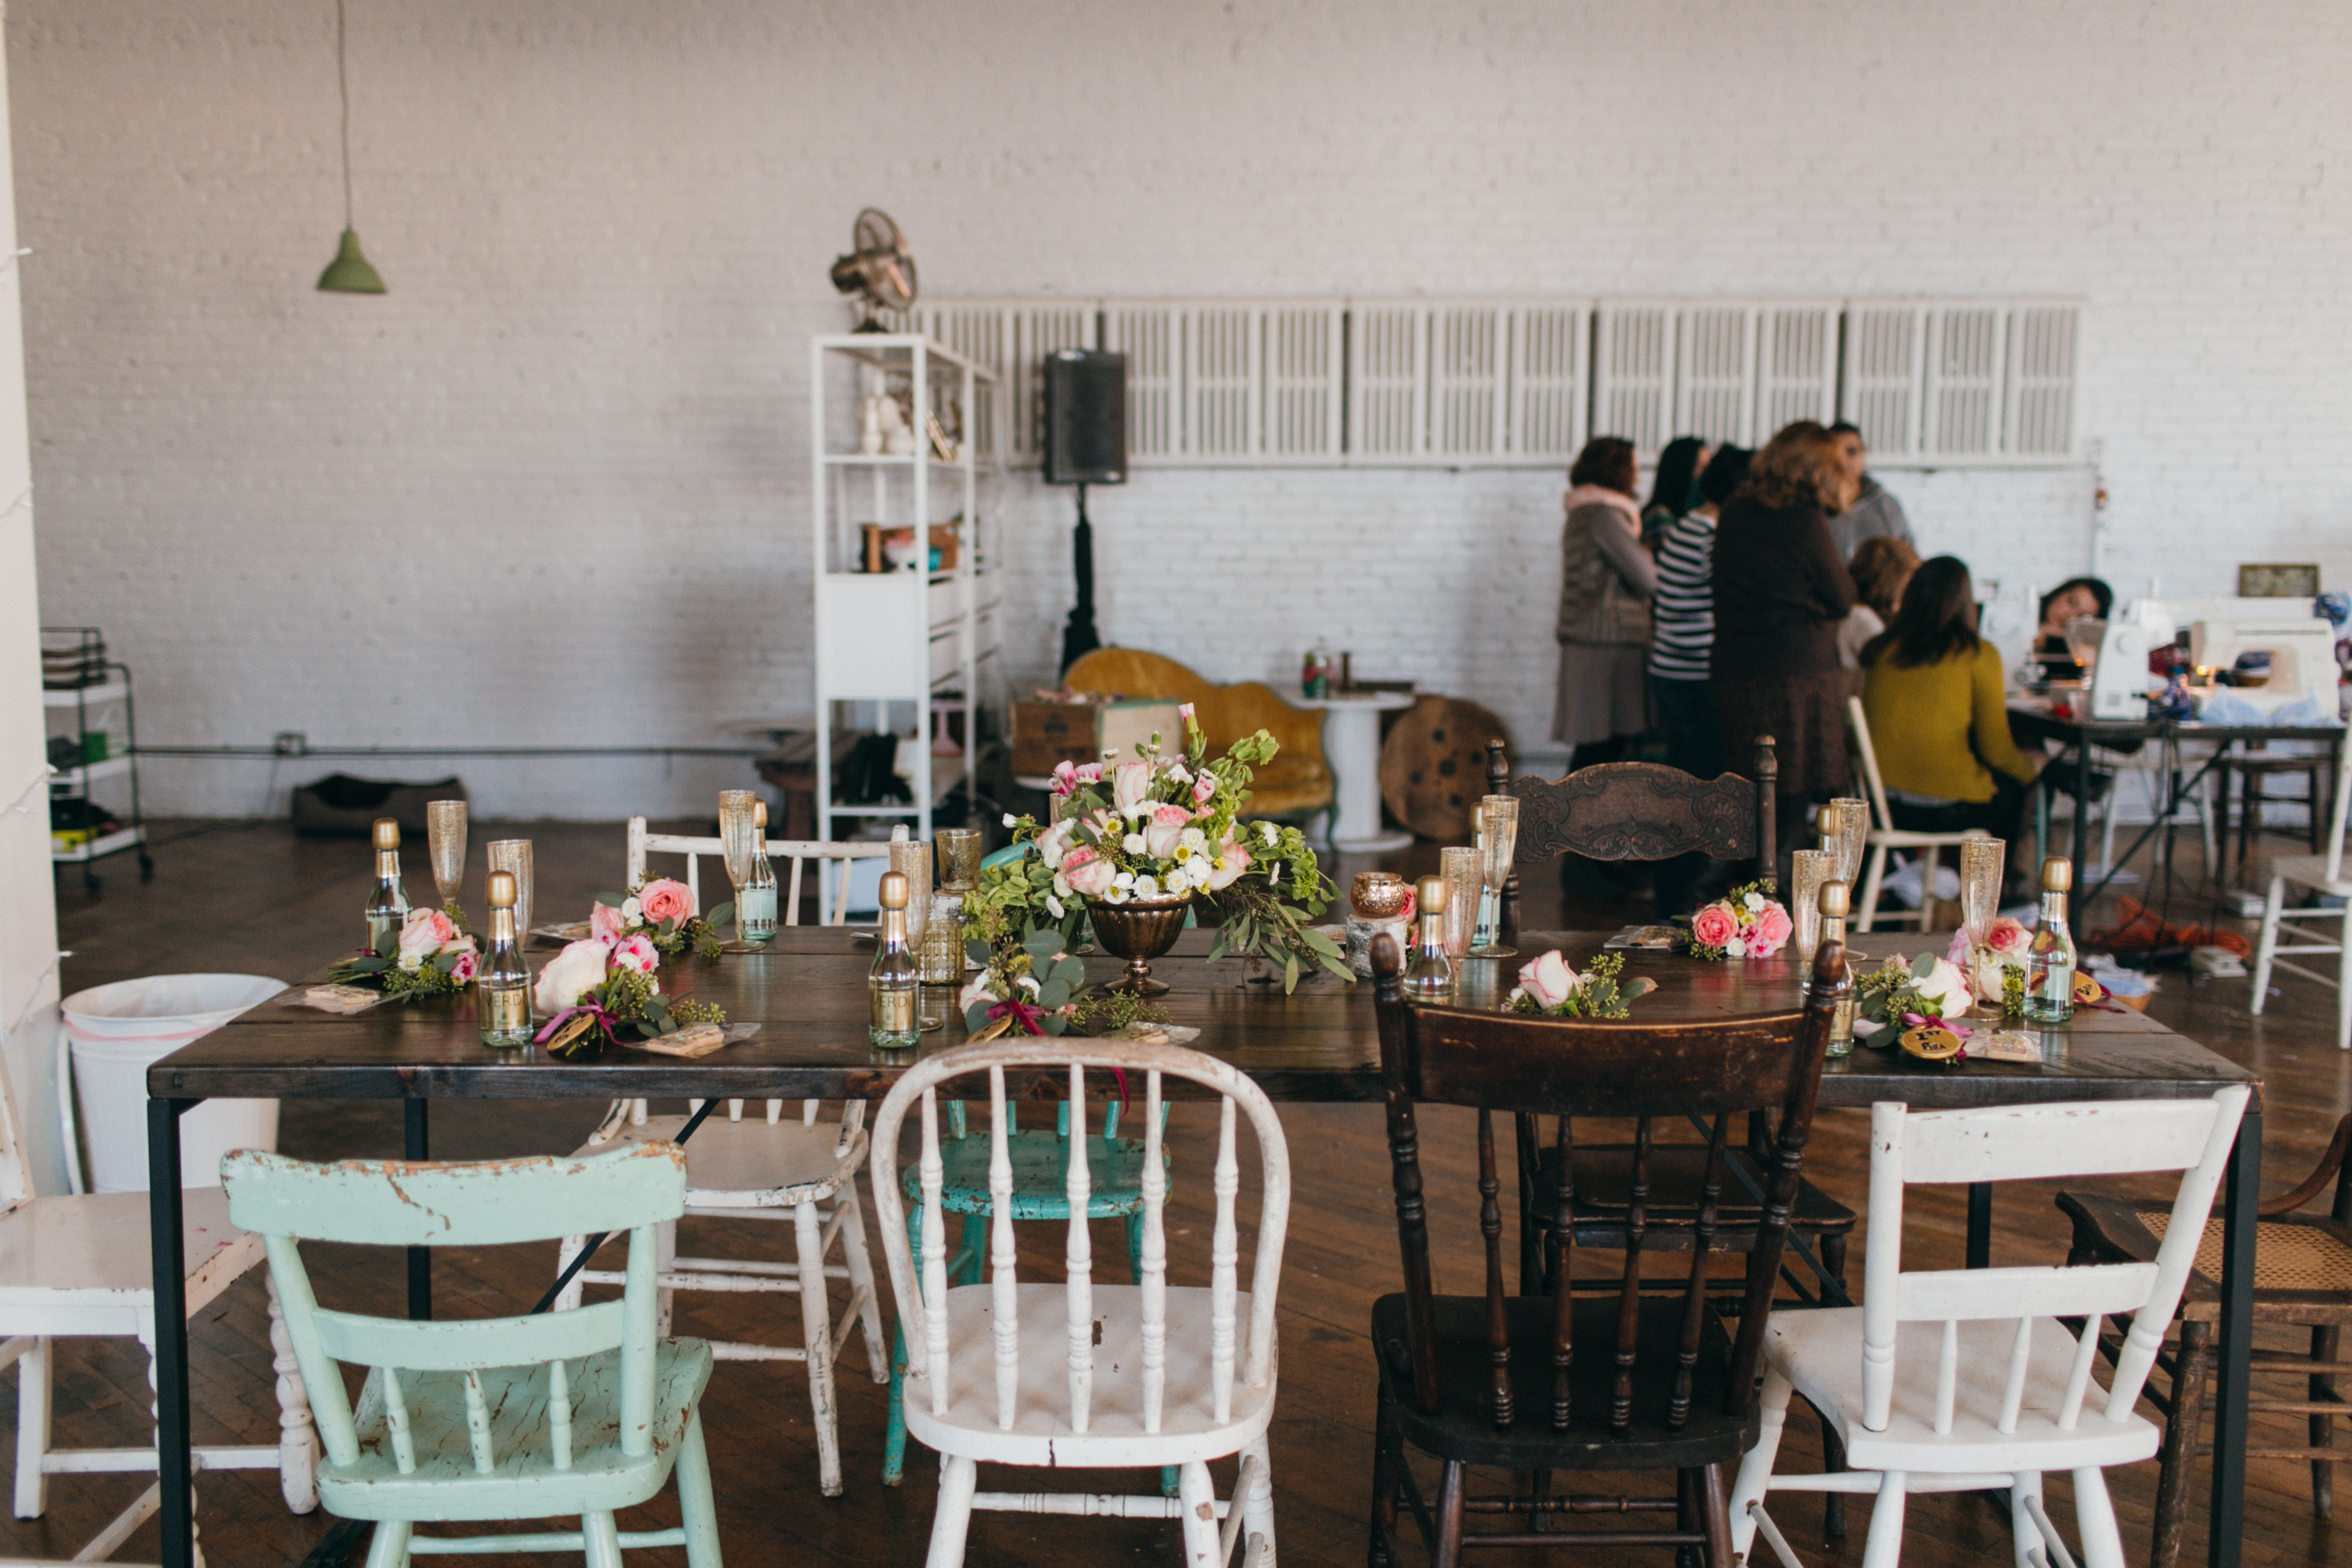
TWO Upcoming workshops! First one is in March in Brooklyn, NY! I’ll be coming into town to teach the Weekend Pants Making Intensive at WORKROOM SOCIAL, which, if you’ve heard me talk about this class before – you know I’m pumped about it! This is a fun, 2 day class (3/19 & 3/20) at WORKROOM SOCIAL studios in Brooklyn, where we will cover all the basics of making a fine pair of pants – from basic fitting, to following the pattern, to all the little details that make pants look, well, like pants 🙂 This is a really popular class and it always sells out pretty fast, so if you want a spot you better act fast! We also have an afternoon of fabric shopping in the Garment District the Friday before, for those who need some guidance with selecting their pants fabric – or just want to take advantage of a Garment District tour and all the discounts! All the info for the class + shopping trip are on the WORKROOM SOCIAL website, as well as where to sign up! If you want to learn more about the class from my perspective, here’s a post I wrote about the first one I did (wow, that was a long time ago!).
THREE Other workshop! In April, I’ll be in Portland, ME, to teach another open-sewing weekend at A Gathering of Stitches! I had SOOO much fun teaching this open workshop last year, and I’m super delighted to come back for a second round! The workshop is in Portland, ME, and starts Wednesday, April 13 for a pizza + booze get to know you night, then four days (4/14 – 4/17) of awesome fun sewing times! What I love most about this workshop is that it isn’t specific project-based – you get to pick whatever project you want to bring, and sew away in the beautiful shared space, use the cool equipment (like the gravity feed iron), and hang out and socialize with everyone else. And, of course, I’ll be on hand to provide assistance and ~expertise~, as well as comic relief and general cheerleading 🙂 Whether you want to make a pair of jeans, tailor a coat, whip up a bra, get some help with fitting and making muslins, or just want to take a solo sewing hobby and make it social for a weekend – this is the class for you! Plus, Maine is SUPER beautiful (truth, if it weren’t for the winters, my southern ass would figure out a way to move there in a heartbeat. I already have my house picked out and everything haha) and full of such delicious food. For more info on the class, visit A Gathering of Stitches. Official registration isn’t live until February 8th at 12PM EST, fyi, but this gives some time to plan and save before worrying that it will sell out 🙂 (it sold out last time. Actually, we oversold! Whoops! I loved all 11 of y’all though! ♥). If you want to read a brief write-up of my experience with the class last year, you can find that here.
Ok, that’s enough housekeeping! Onwards to the undies 😀


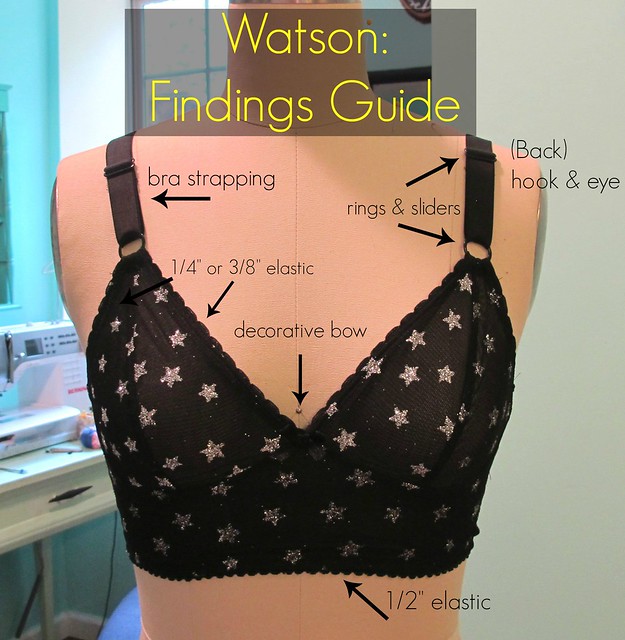
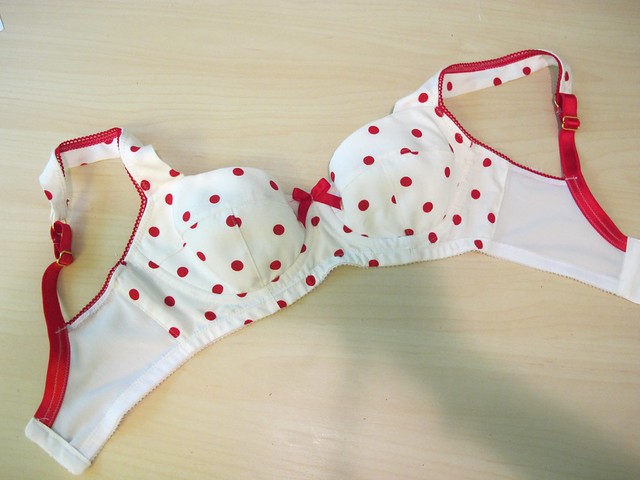
Actually, I don’t have too much to say about this project so I’ll keep this (relatively) short! This is another Watson Bra, which is a non-underwired soft bra pattern. Perfect for a first bra project, I think! The fabric + notions are a kit from Tailor Made Shop, which is one of my favorite sources for bra kits and supplies. Everything is sooo nice and the kits are just beautiful! The particular kit I used is for coral and light pink, which doesn’t appear to be available anymore, but this one is pretty similar. And this yellow one is awesome. Ok, enough, Lauren!

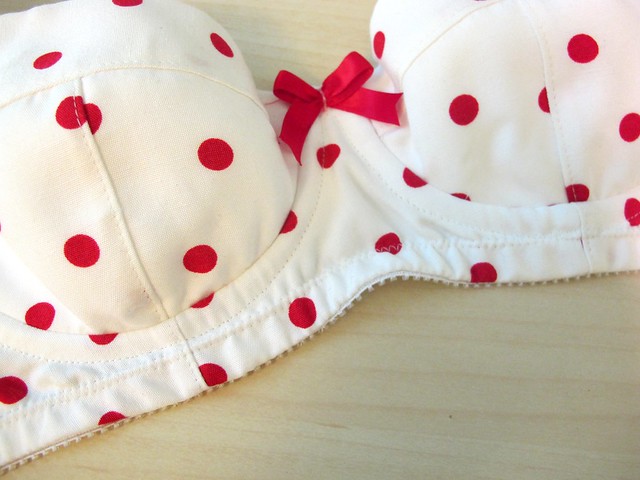
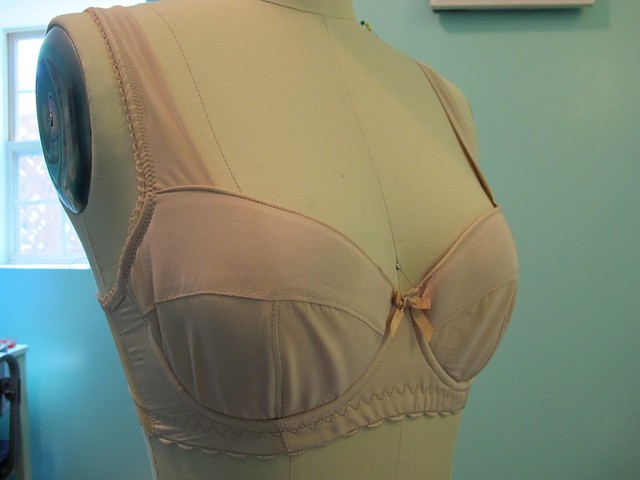
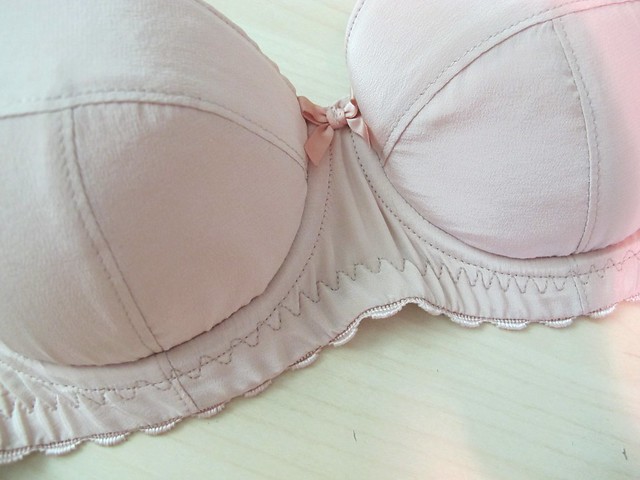
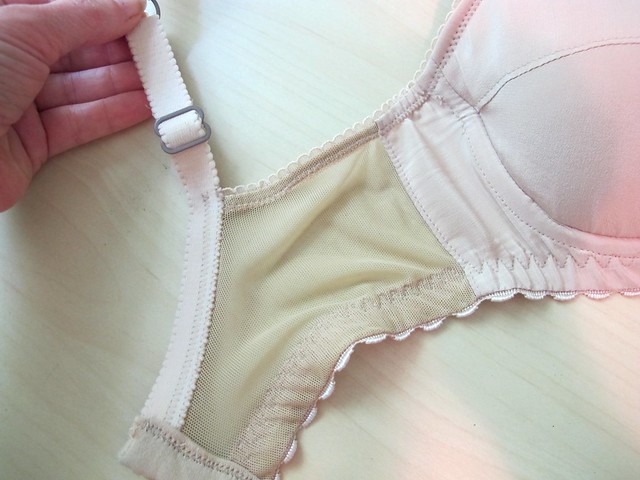
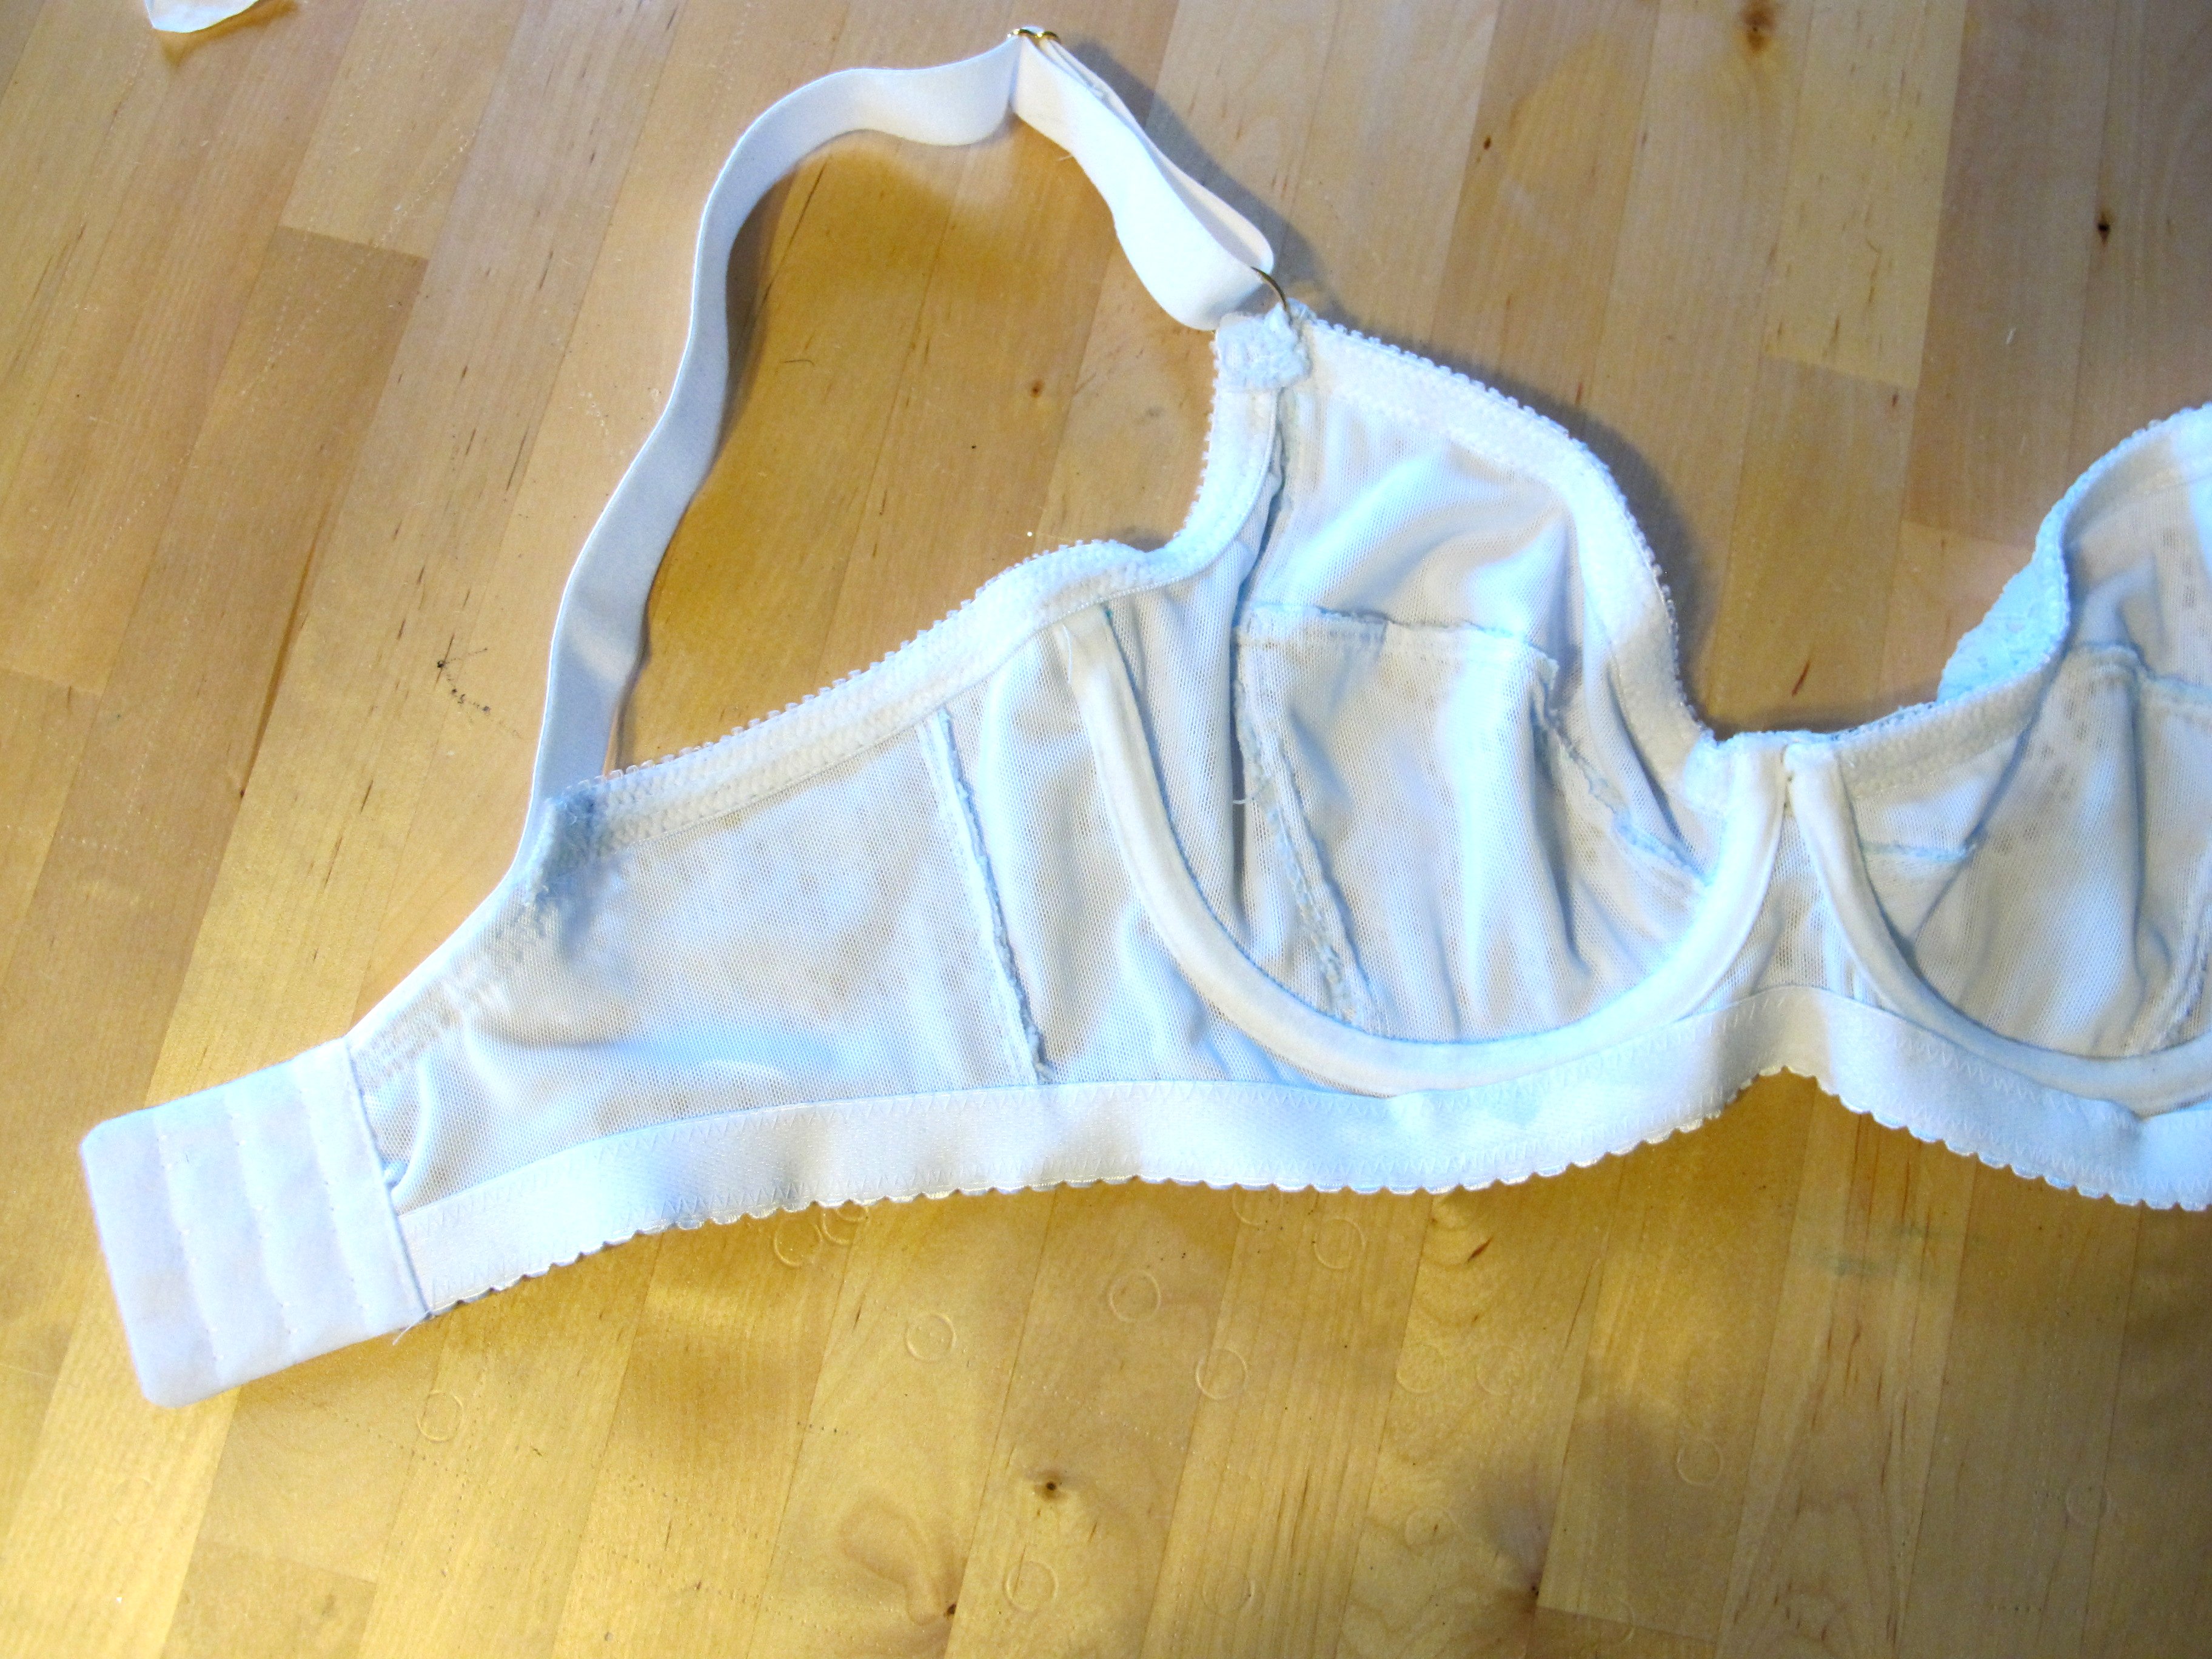
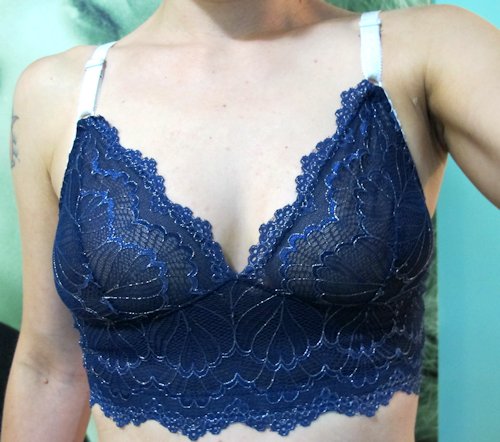
I love the effect of the scalloped lace, and I wanted to use that to my advantage with this bra. This makes for some finicky cutting – not only do you have to be sure that you’re cutting the right edge along the scallops, but it’s also nice to mirror them so everything is balanced. Having made this pattern before with scalloped navy lace, I used that knowledge to make the coral lace. The elastics along the scallops are sewn flat and not turned back (such as what you’d do with a picot edged elastic), so the lace retains the scallops. Since the lace is pretty stretchy, I underlined the entire bra with the included powermesh. There was plenty of fabric in the kit for all this – I even have some left over 🙂 I guess I could make some matching undies, but realistically, I probably won’t. I have realized that I don’t like sewing underwear. It’s just… meh.


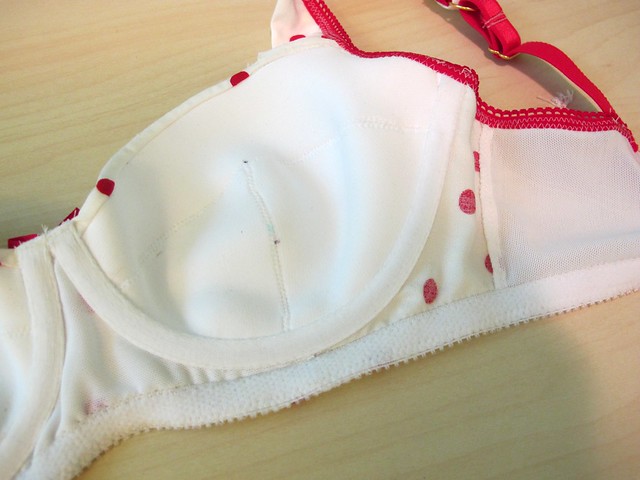
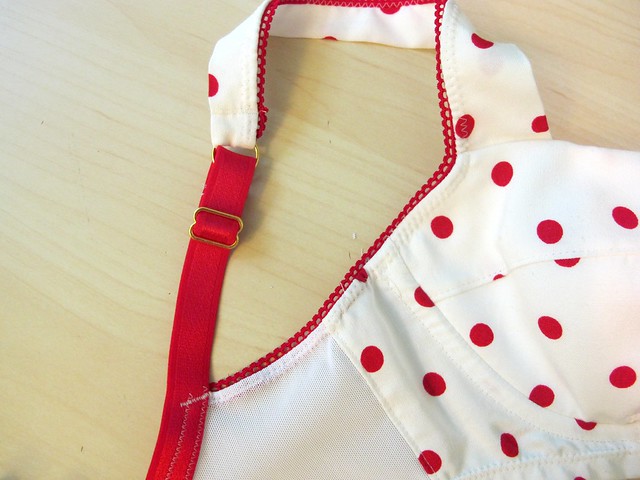
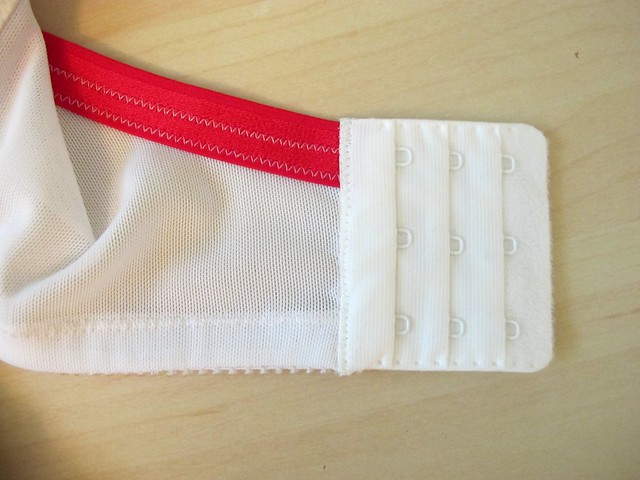
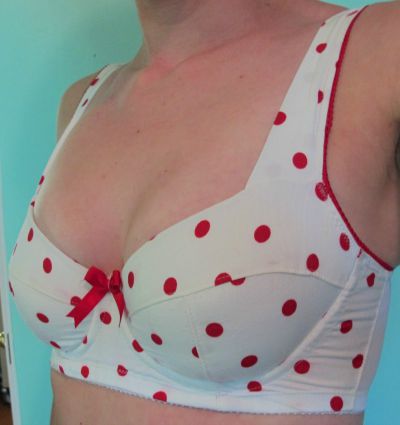
For the pattern, I used my normal size 30D and made the version with the normal band (i.e., not the long-line). Sewing the bottom elastic was a little tricky since there’s not much real estate to work with there – I used the included picot that came with the kit, since it was narrower than the 1″ stuff I used on my navy lace version, and that helped a little. I had originally requested the kit with the 3 row hook and eye, thinking that I’d make a longline – but changed my mind and thus had to change the hook and eye. I noticed that RTW bras just zigzag along the top of the hook and eye, so that’s what I did with this one after I trimmed it down. Then I melted the edges with a lighter to really smooth them out (it’s poly, so it works). I don’t think you can even tell there was a surgery on that thing. Go me.
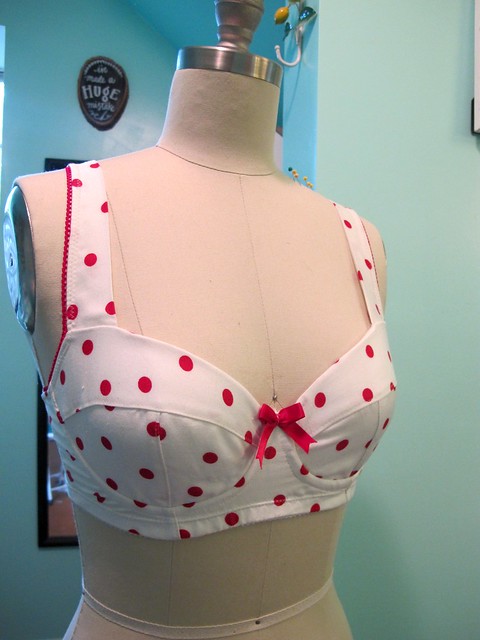
Fit-wise, this one is ok. It’s not nearly as awesome and supportive as the longline versions – which I had suspected would be the case, especially since there’s no underwire to bear the brunt of the support. If I tighten to the tightest hook, it does help some. I reckon this short style is just better suited for smaller cup sizes. If you’re rocking a D or larger (or maybe even a really full C), you probably want to stick with the longline so you can take advantage of that support. It really makes a difference!
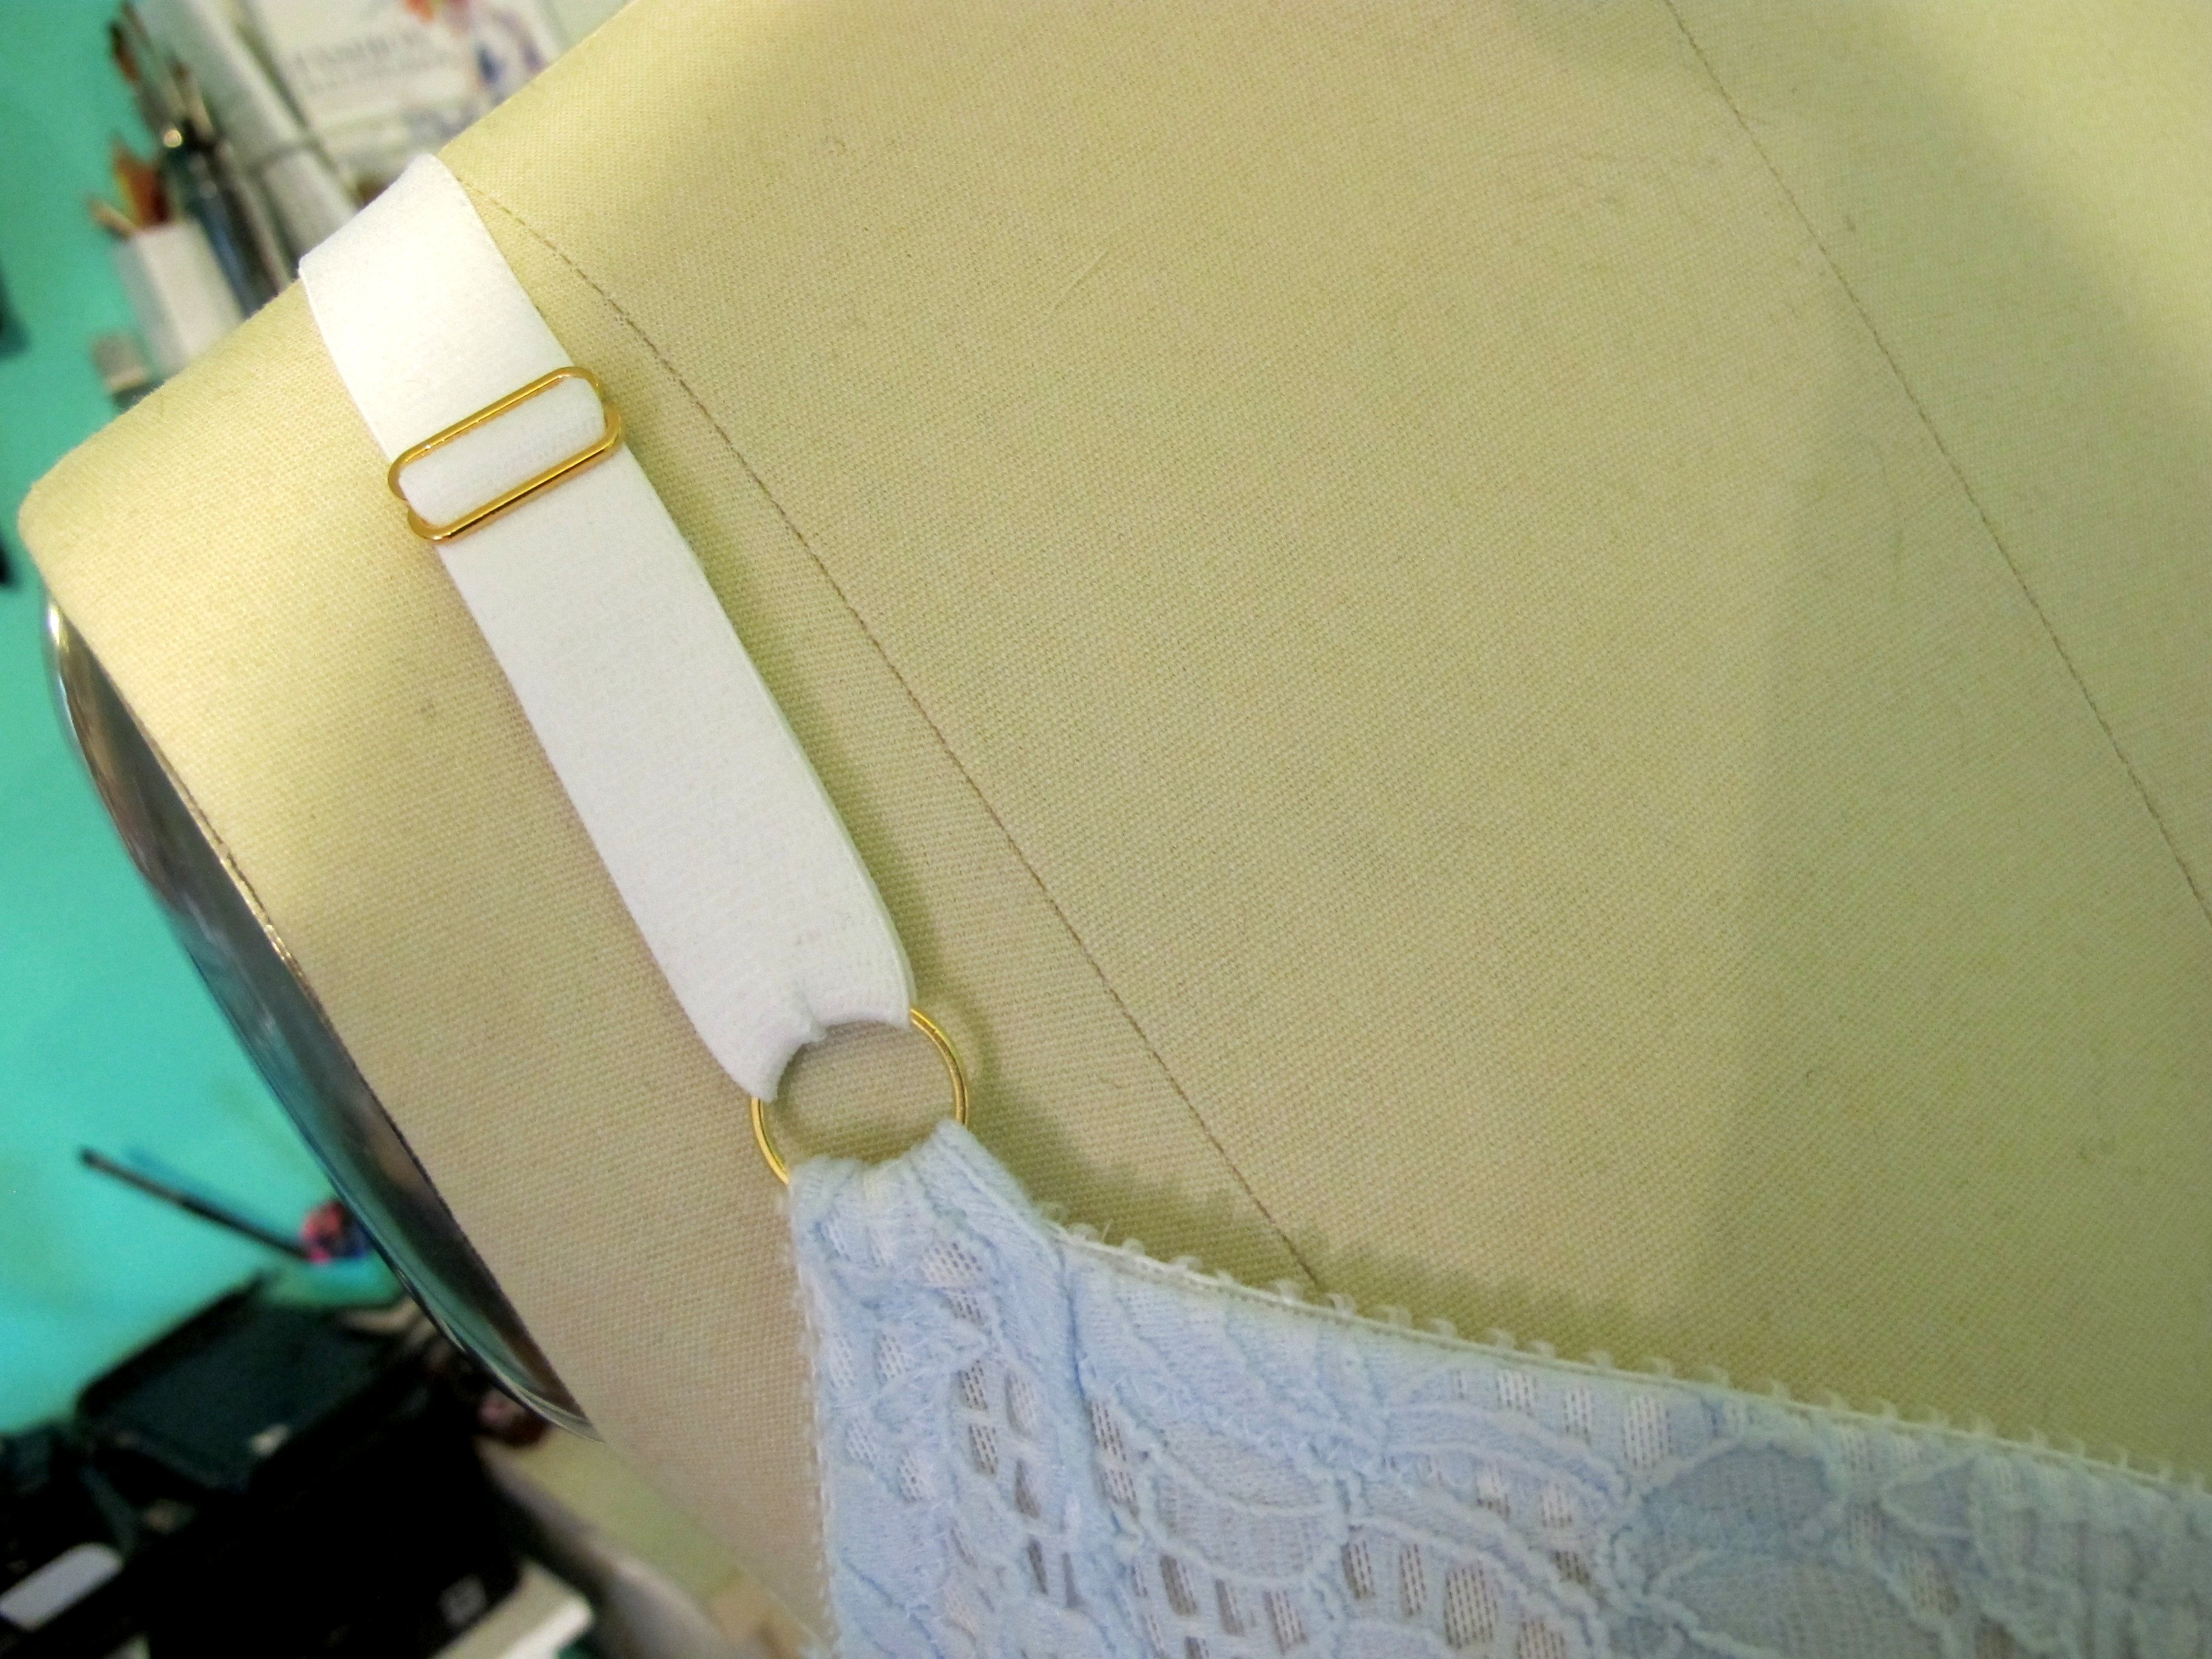
This is mostly a bra for lounging around and being all fancy in-house, because it’s PRETTY comfy. And it’s really beautiful on! I think lace bras with scalloped edges are just beautiful regardless, but this one is a lovely shape and the colors are just fantastic. I really love that the kits have different colored elastics that all match the lace, and that the hardware (rings + sliders + hooks + eyes) are metal. Even the strap elastic is fancy. LOVE ALL OF IT.

So anyway, there’s that. Happy first post of 2016! 😀 😀 😀 Who’s got bra making on their reSEWlution list this year (I am so sorry about that awful word haha)? Who’s coming to NY or Portland? Shesewsswell, where areeeee you? Let’s talk!
Note: the supplies (bra kit) for this project were given to me by the Tailor Made Shop. The Watson bra pattern, however, was purchased by me! And all gushing is 100% my opinion 😉


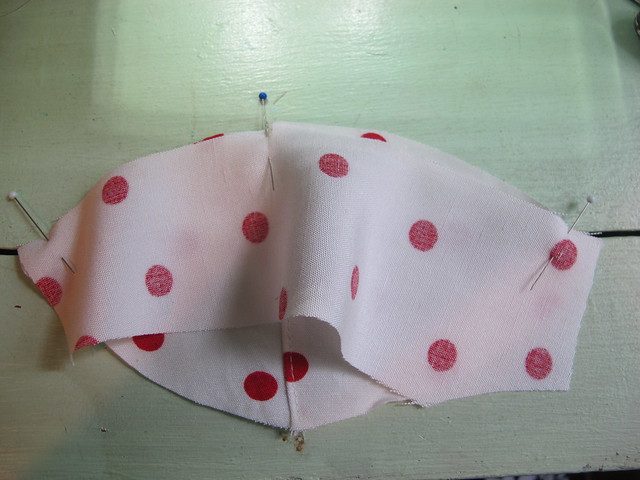 PROTIP #1: Pinning
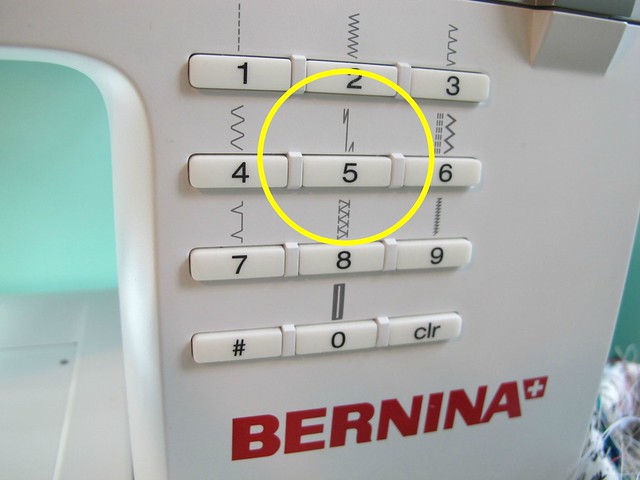 PROTIP #2: Starting & stopping, part 1
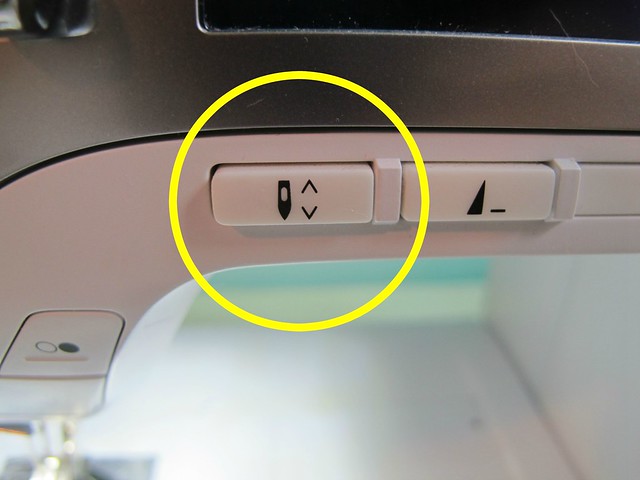 PROTIP #3: Starting & stopping, part 2
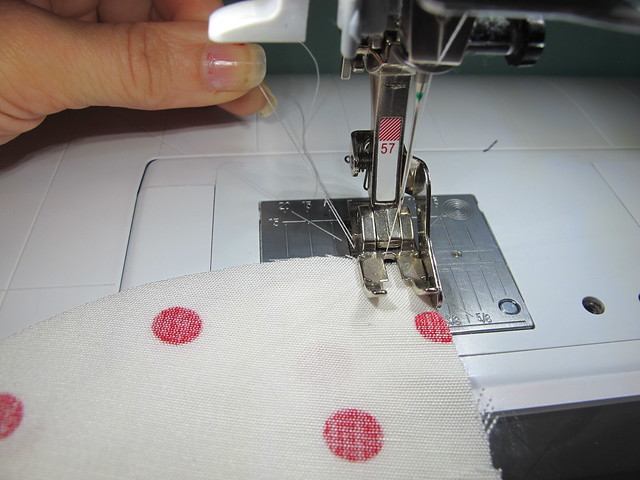 PROTIP #4: Starting & stopping, part 3
 PROTIP #5: Keeping 1/4″ seam allowances
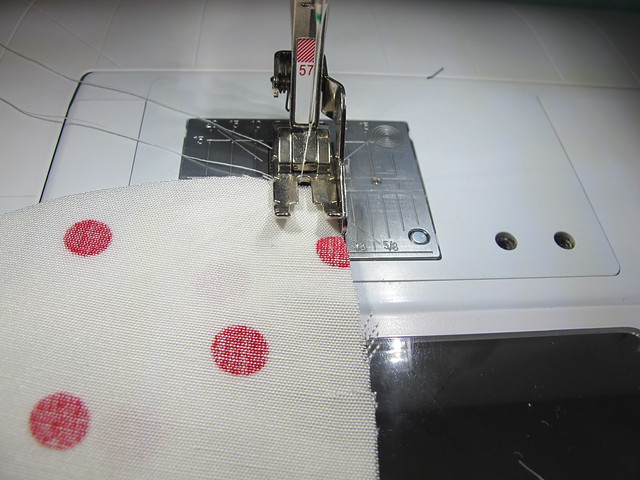 Here it is in action. The dull blade runs against the raw edge of the fabric, keeping the needle exactly 1/4″ from the edge.
 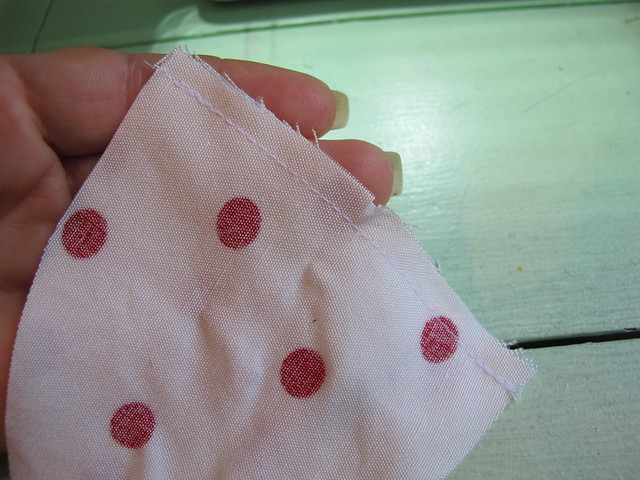 And here is my finished seam. Ah! Perfectly 1/4″ from the edge, every time. Ooh, see my backtacking, too? Thanks, securing stitch!
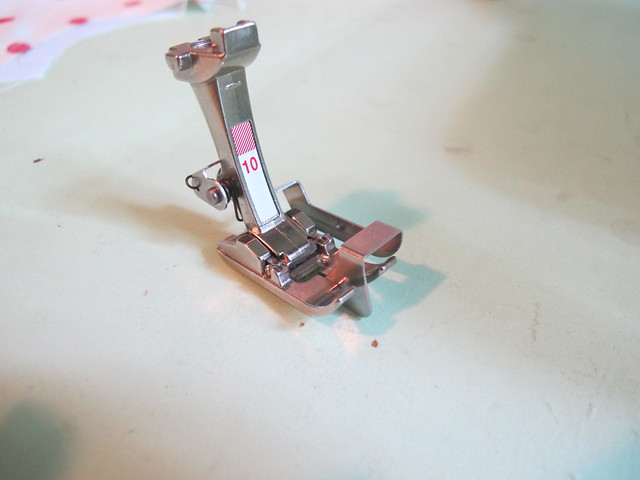 PROTIP #6: Perfect topstitching This is my secret weapon for topstitching, lingerie or not. It’s a special foot and it’s called the edgestitching foot. Besides the 1/4″ foot, it’s the best thing ever. You can also use it to understitch and stitch in the ditch, with little to no tears of frustration and/or wonky stitch lines.
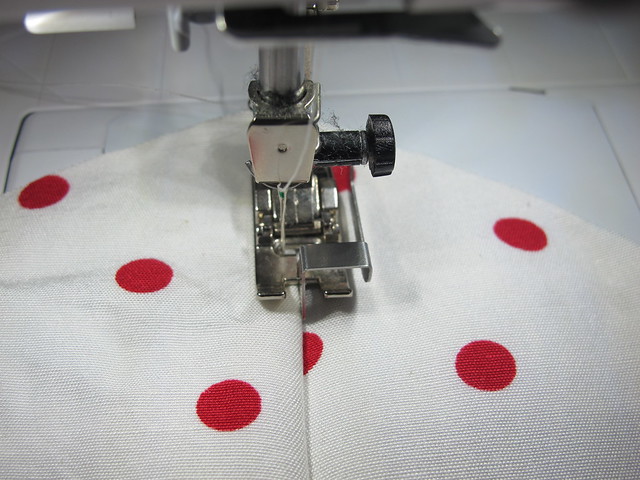 Here it is in action. The dull blade goes right in the center, and you can move the needle either right or left as needed. If you keep the blade against your seamline and move the needle all the way to one side, you’ll end up with a perfect 1/8″ topstitching line. I find this easier than trying to line up part of my foot with the seamline; for whatever reason, shit always goes wonky when I try to do that.
 Here is the finished topstitching. One thing to note – I don’t backtack my topstitching if it’s going to intersect with another piece. I only backtack construction seams (otherwise they’ll pull apart at the ends). Since I use a different stitch for each of these steps, that means I can keep my settings saved for each step and just flip between stitches. Which is super handy, because that means I don’t need to re-enter all my preferences each time I move from constructing to topstitching. I use stitch #1 for topstitching (with a slightly longer stitch length and the needle moved all the way to one side), and stitch #5 for constructing.
 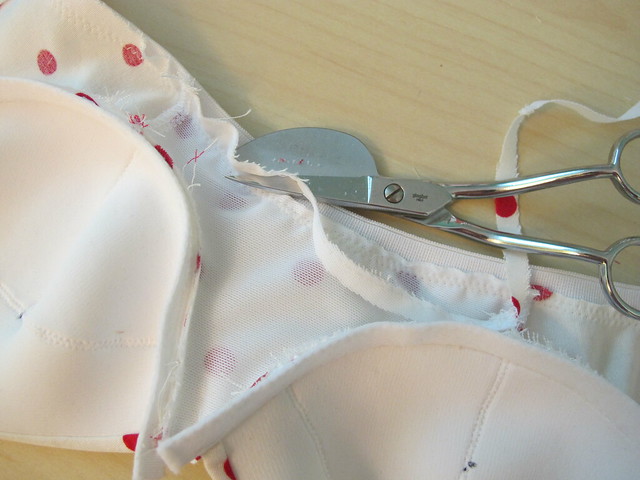 PROTIP #7: Trimming
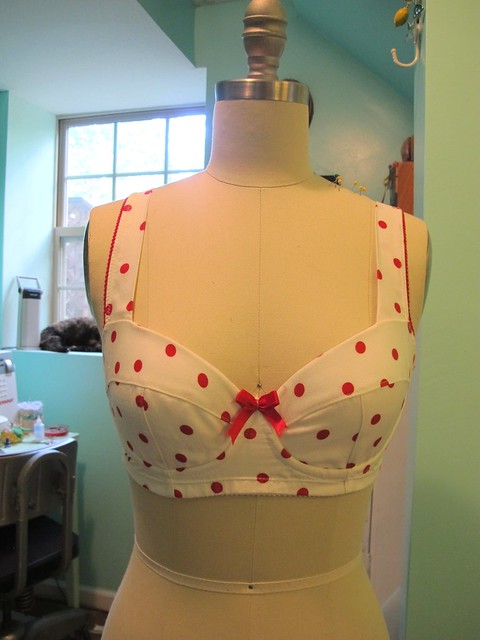


