Man, I am SO far behind in terms of what I made vs actually posting it. This is from 2 weeks ago. Ain’t mad about it!
 The pattern here is the Boylston bra, which is the newest pattern from Orange Lingerie. I think I mentioned this before, but I’ve been waiting for a hot minute for this pattern to debut – Norma showed me a photo of one of her samples when I met with her in Paris (man, that sounds so fancy! I wish I was that fancy irl haha) and I was super excited about the idea of making a bra with a woven fabric. Also, tiny prints. You need a tiny print so that it doesn’t get lost in these little pattern pieces. And isn’t everything tiny automatically twice the fun? Yes.
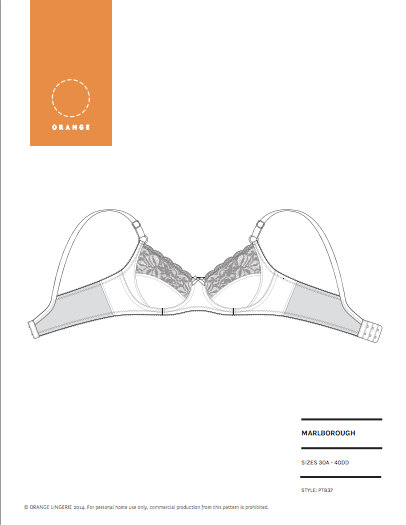
Another big selling point of this bra vs the Marlborough is that the Boylston has been designed to be made with foam cups (you can also make it without foam cups and just have a soft, lined bra, if that’s your jam!). At the time of my snooping, I wasn’t terribly interested in foam cups (I am now, though), but I loved the idea of a lined bra, again, made with a tiny print. Also, the balconette shape is new to me – I don’t think I’ve ever actually owned a bra with this silhouette because I’ve never found one that fit properly. So obviously it was time to try something new! 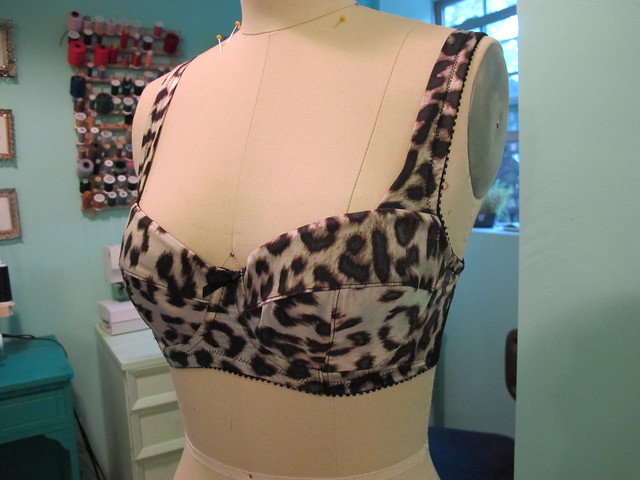
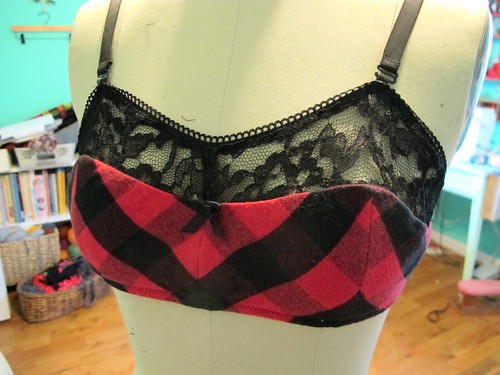
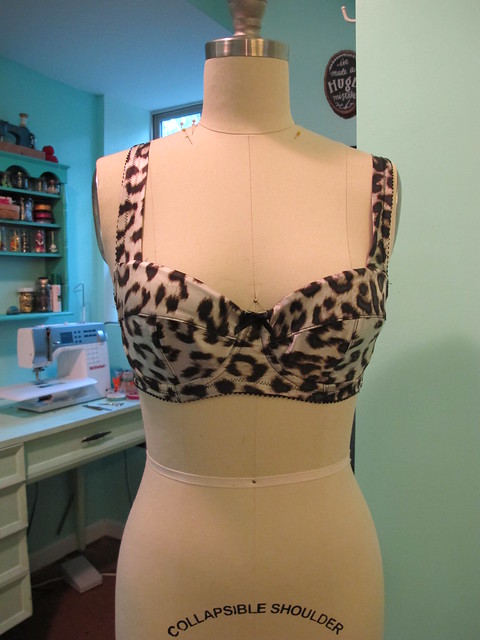
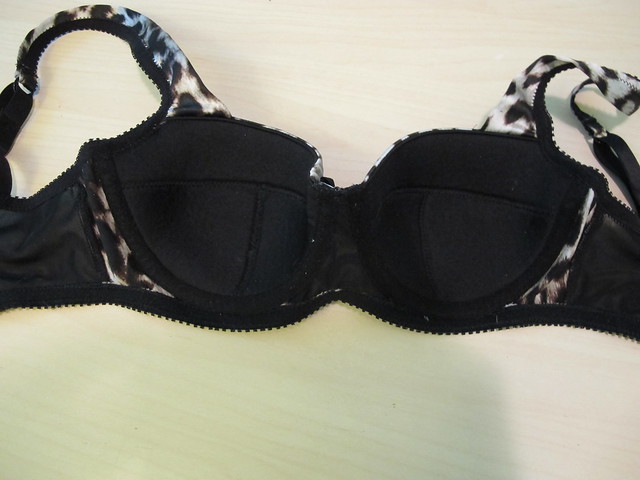
Since I’ve already made the Marlborough bra a number of times (one two three, etc etc), and I was pretty comfortable with the fit, I compared the pieces of the two patterns together to see if there were any similarities. Both the bridge and the back band on the Boylston and the Marlborough are almost exactly the same. The cradle is also pretty similar. Obviously the cups and straps are different, but I felt pretty confident that I could cut my usual size in the Boylston and not have any weird surprises. So I made my bra up in a 30D, same size as the Marlborough was for me. I also applied my Marlborough back band changes to the Boylston pattern – I figured if the bands were drafted the same, then they would probably need the same LT-alterations (mostly shifting the curve so that the straps hit the right spot, and extending it to be slightly longer. Which means technically this band isn’t a 30, but, whatever. It fits me now, that’s all that matters). The cup wrinkles you see on the dressform aren’t there in real life; she’s just a slightly different size than I am.
 I tried to wait & hang around to see if anyone else made this pattern before I dove in, so that I could steal their ideas without having to figure things out on my own. But, y’alls is too slow for me! I waited a couple agonizing weeks and said, fuck it. Cut that sucker up, stitched her together, new bra by the end of the day. Yay!
I wanted to try something super duper fancy for this bra, so I made it out of silk! The outer is this leopard print silk charmeuse from Mood Fabrics, and it’s REALLY nice stuff! I used the shiny side facing out – normally, I prefer the matte side of silk, but the shiny side definitely looks more bra-like (and I’d guess will also wear better under clothing, since it’s ~slick~). For the cups, I did try out foam for the first time – and I’m a total convert. Bra foam RULES, you guys!! Making the little cups was really fun (and having little foam boobies floating around the sewing room is a total thrill, let me tell you) and they definitely make this bra look way more RTW than anything else I’ve ever made. I’ve hated foam bras for quite a while now – mostly because of that weird half-grapefruit shape that they all come in. My boobs definitely aren’t shaped like that, so they never fill out the bra correctly – there’s always a giant gape at the top half of the cup. What’s nice about this pattern is that the cup is seamed, so you get a more natural shape which in turn makes the foam cup fit better. I bought this foam from Sweet Cups Bra Supply (which is the US version of Bra Maker’s Supply – cheaper shipping, but the selection isn’t quite as extensive, wah) and I really like the way it feels, as well as how it sewed. One of those little foam pieces was plenty for this bra – I estimate that I have enough to cut at least 2 more bras, maybe 3. So it’s not terribly expensive, either.
While this bra pattern was designed to work with foam, the pattern isn’t actually drafted to be foam-friendly – you have to do that yourself (does that make sense? The stye works with foam, but the pattern needs a couple of tweaks for the best sewing results.). Part of my waiting around for someone else to make this pattern was that I could not figure out how to seam up the foam on the bra – wouldn’t the seam allowance be bulky? I did some lurking and found this make a foam cup bra series on Cloth Habit, which answered pretty much all of my foam questions. I retraced the cup pieces onto light plastic and removed the seam allowances, and followed Amy’s tips for sewing everything together and trimming down the foam within the seam allowances to reduce bulk. I’m really pleased with the results. I think this bra looks totally professional.
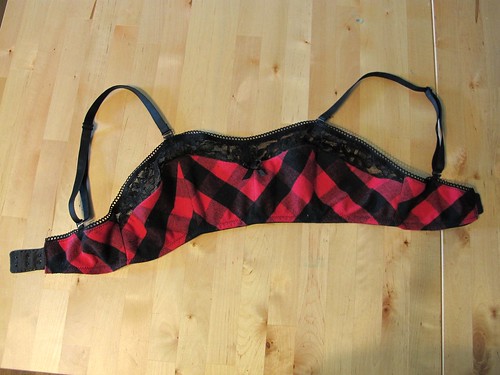
 As with my other bras, I used firm powernet for the back band and lined the bridge with the same powernet. All the elastics and notions are from my stash (mostly from the Garment District, but I buy my underwires from the aforementioned Sweet Cups because I love their wires! In fact, I love everything I’ve bought from that site. Their quality is the best!). Interestingly, I had *exactly* enough of all the elastics I used – nothing more, nothing less. Dunno how that happened, but I won’t argue with it! The cups are lined with the foam, and thanks to the elastic and underwire channeling, the only seam you see is the side seam that connects the bridge to the band. I serged that seam with a 3 thread overlock; next bra I make, I might experiment with binding it or even adding a lightweight boning. So many options!
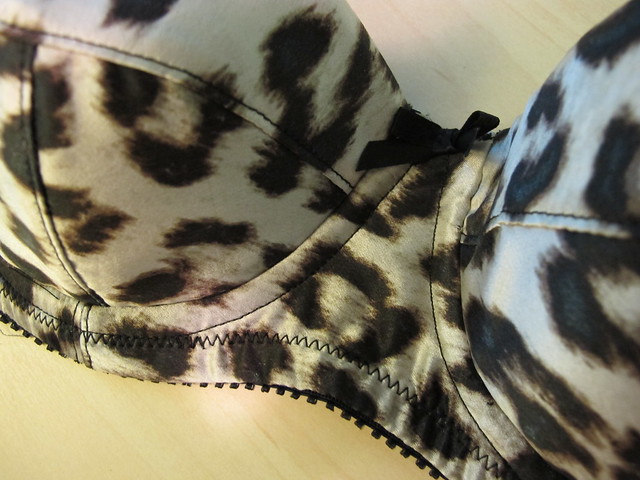


I worried about the straps getting stretched out of shape, since they’re silk and all (a double layer, but still). The edges are finished with elastic, though, so that helps them keep their shape. I’ve worn this bra a LOT since I finished it. I’m actually wearing it right now as I type this 😉 hahaha!
 The only thing I will change for the next bra is that damn seam allowance at the top of the cups. Instead of following Amy’s advice and using 1/8″, I used the pattern’s 3/8″ and as a result, the foam is really bulky and there’s definitely a ridge at the top of my bra. Using a smaller seam allowance would have eliminated that. Oh well!
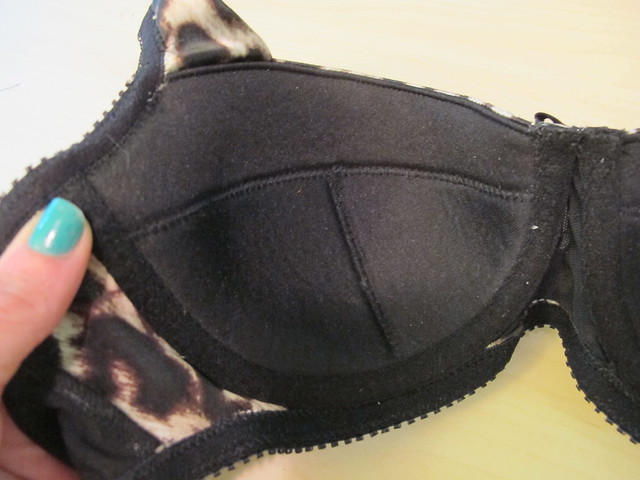
Here are the foam cups. Aren’t they adorable! They are sewn up with a basic zigzag stitch, the pieces butted together with no overlap. I’ve seen some people cover their foam cup seams, or use a satin stitch to piece them together – but I like the basic ol’ zigzag. It’s strong enough, not very noticeable, and super quick!
Final thoughts – this is by far the prettiest, best-fitting bra I have ever made. I think the shape is really beautiful and modern, but not Victoria’s Secret’s idea of modern (no big half-grapefuit foam cups, PLS). I don’t have any photos of me wearing this one, sorryyyyy, but I’ll make an attempt for the next one (as of this writing, I have 2 cut and ready to be sewn, so it’s safe to say that there will be more of these in my life!). I LOVE that the pattern is made for non-stretch fabrics, and thanks to the foam cup – you could make this bra out of almost anything. Which has definitely got me thinking hard and lurking into the depths of my fabric stash! The fabric straps are pretty, and bonus – they use less elastic than normal elastic straps (so, again, yay for using scraps!). I also think the cup piecing could lend itself to some gnarly colorblocking. We’ll see! I also wonder if this pattern could be converted to a strapless? The shape is pretty similar to the RTW strapless that I own; except the cups have less coverage on this one.
As far as how easy the pattern was to make – well, I definitely did not make it any easier on myself thanks to my fabric choice! Silk charmeuse is hard enough to deal with on a good day, but we are talking about teensy little pattern pieces here. A couple were cut off-grain and had to be recut. I didn’t have too much of a problem assembling and topstitching, but I’ve also made a few bras at this point so I’m pretty confident in those skills. The only construction part that was hard was getting the elastic around the underarm and up the strap. That curve was difficult to navigate. I don’t think this is a hard pattern, per se, but I don’t know if I’d make it my first bra pattern. Definitely not in silk charmeuse with foam cups, at any rate. Maybe start with the Watson or the Marlborough first 🙂 The instructions were good, pretty similar to the ones for the Marlborough. I did notice that Norma added grainlines to the pattern pieces, which indicate the stretch direction so cutting is easier. That was a MASSIVE help! I do wish there were more markings on the pieces themselves – mostly, top and bottom markings. I’m not really sure if my cups are upside-down or not, because there’s really no way to tell.

Ok, who else has bought this pattern and when are you gonna make it?! Guysss! I need to see more Boylston bras up in here, please and thank you!