Tag Archives: bias

Completed: Deer & Doe Réglisse Dress

23 May

I feel like it’s been a long time since I’ve made a pretty dress. To be fair, it’s also been a long time since I’ve felt like wearing a pretty dress – something about the cold and winter just makes me want to dress in head-to-toe black, and only wear pants (very, very stretchy pants, I should add). Once the sun starts heating up our side of the world, though, I’m ready for pretty dresses, bright colors, and fun shoes!

Deer & Doe Réglisse dress

I was anticipating this a few months ago while still stuck in a winter spiral, so I planned for this one early. I knew I wanted to make the Deer & Doe Réglisse dress – it’s a pretty design, without being toooo frou-frou (I admire everyone who can stick to that look, but my style has really evolved to that point where that is totally not me anymore).

The original plan was to make this out of a traditional white/blue striped cotton seersucker, which I bought several yards at Metro Textile while I was in NYC. Unfortunately, my fabric – ok, actually the entire load of laundry – was victim to a laundry mishap, and now I have a bunch of indigo-dyed stuffed that was not supposed to be indigo dyed (and as of now, indigo dying and myself are NOT FRIENDS and don’t try to get us to kiss and make up, it won’t happen). I can probably salvage some of that yardage by cutting around the spots – or even re-dye the whole thing – but I was feeling a little over that particular piece of fabric so I decided to make the pattern out of something else entirely.

Deer & Doe Réglisse dress

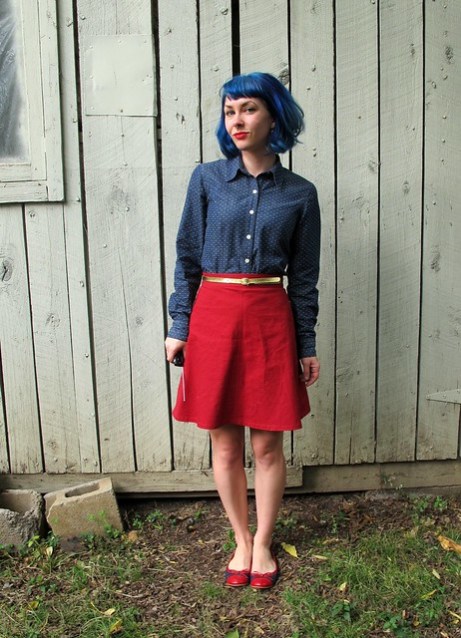
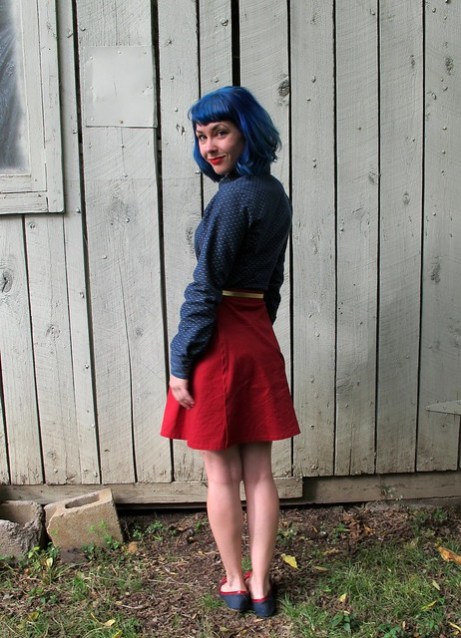
Anyway, it ended up working out in the best way possible because I am super happy with the end result! The Réglisse can run the risk of looking very juvenile if you’re not too careful – which, again, isn’t a bad thing, but it’s definitely not my style these days. Using a solid fabric really toned down the sweetness of the design, and also makes the dress a little more versatile. I’m trying to make myself be better about repeating outfits, and it’s easier to repeat an outfit when you know it’s not an entire statement piece on it’s own, you know? This solid navy is a great neutral for me, and goes with pretty much all of the rest of my wardrobe. Including all my shoes 🙂

Deer & Doe Réglisse dress

Deer & Doe Réglisse dress

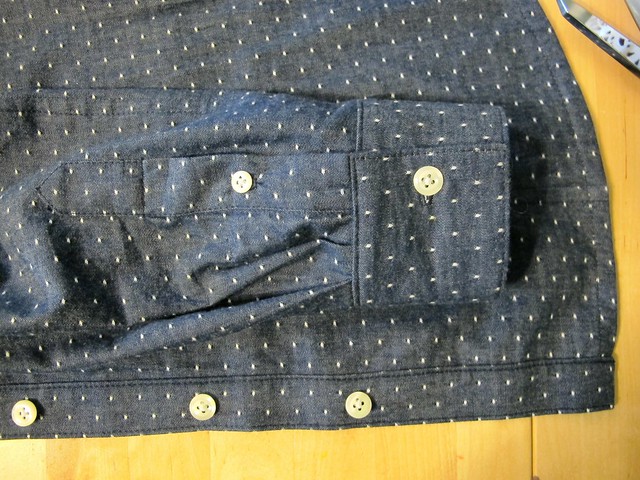
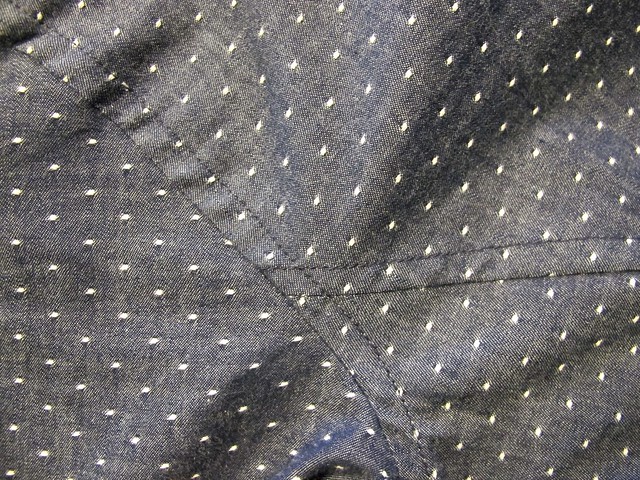
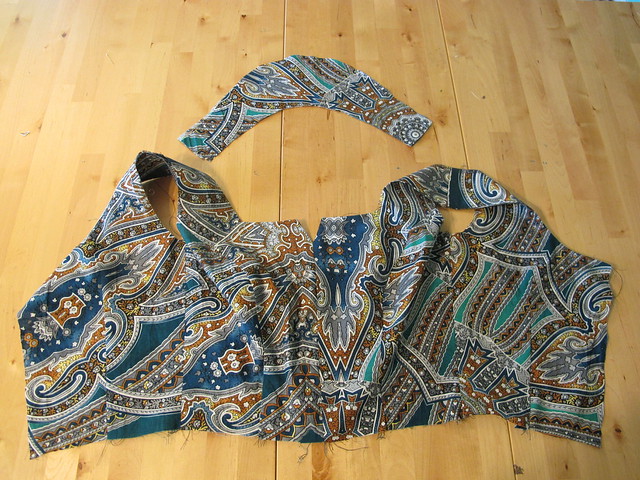
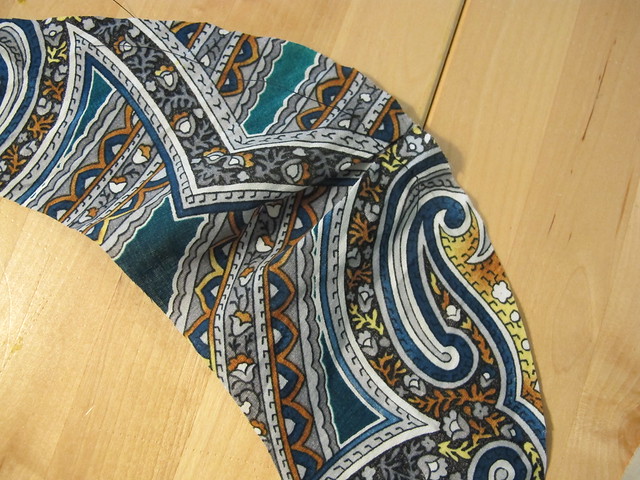
The fabric I used for this dress is just a simple lightweight woven cotton, but it’s quite special to me because I bought it when I went to Egypt! It’s very soft and a little translucent, so I knew it would be really lovely to wear in the heat. Again, the deep navy color is a color that I wear a LOT, so it goes with most of my wardrobe. I only bought 2 yards, so I had to be a little creative with my cutting layouts – like, the undercollar is pieced, instead of cut in one piece – but I was able to eek it out!

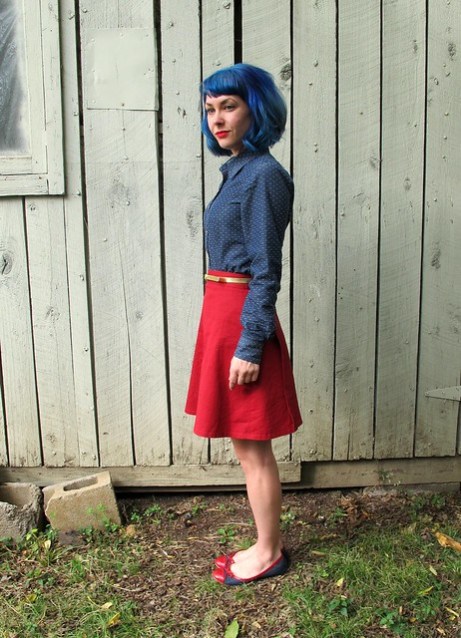
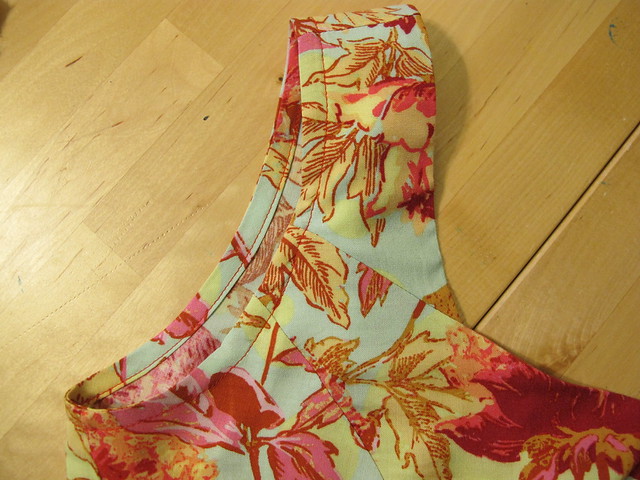
I sewed this dress over the course of a few days. It was a nice, relaxing sew, which I really enjoyed. I cut a size 34, which is a little bit smaller than my measurements. I decided to do this because some of versions of this dress I googled seemed to run a little large, and I didn’t want it to be too blouse-y on me. As it stands, I think the arm holes are a little too deep – any lower and they would definitely show my bra – but the overall fit is good, and I am happy with it. I chose the elastic length by putting it around my waist to determine what was comfortable. My experience with using elastic is that I tend to pull it too tight, and it ends up being so uncomfortable that I never wear the dress (which means that, right now, I am in the middle of Operation Remove All Elastic And Replace With Longer in my wardrobe). So I left this one a little loose, which ended up being sooo much more comfortable.

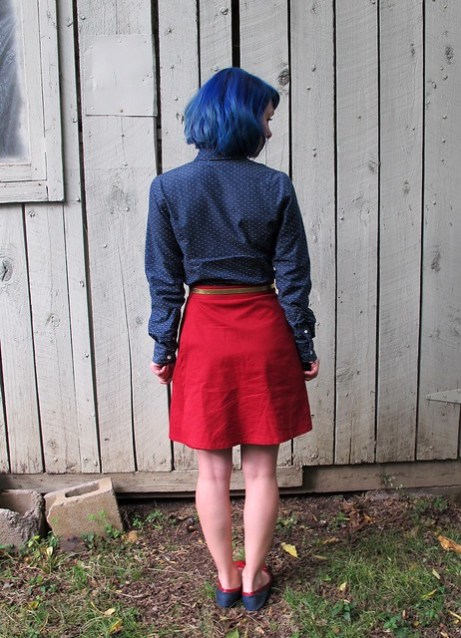
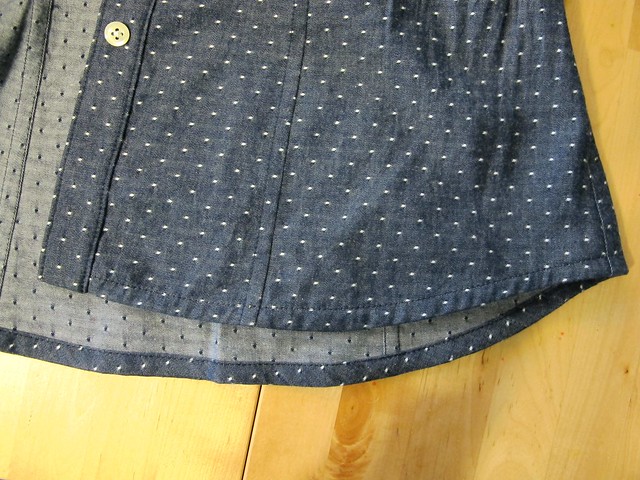
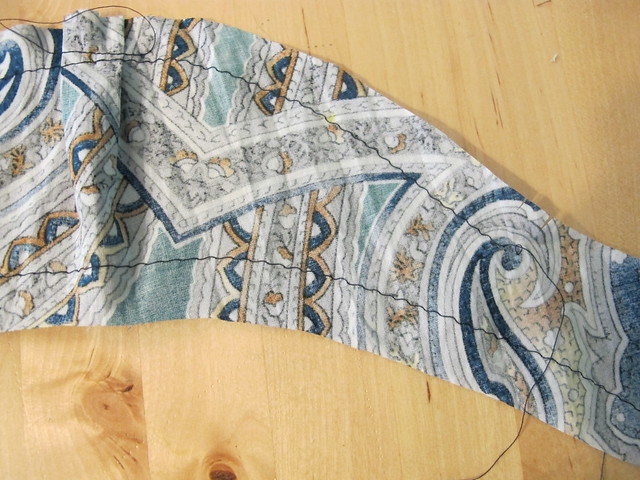
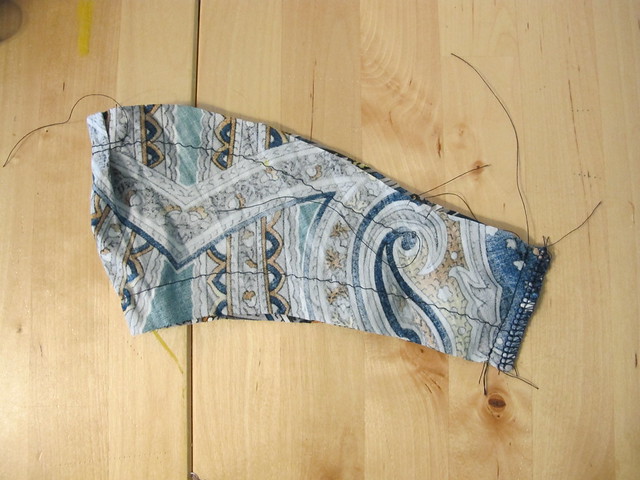
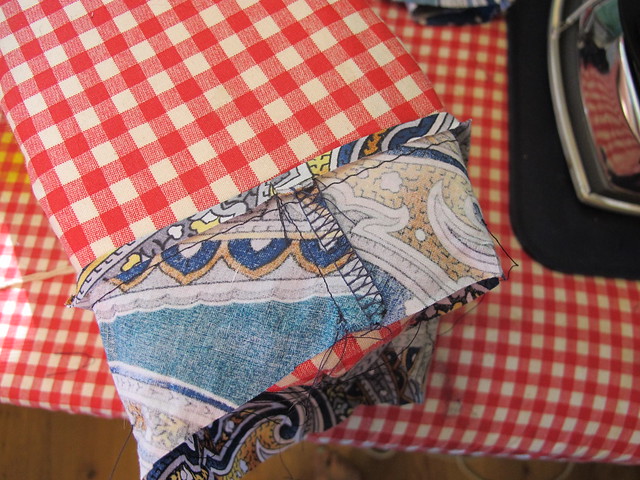
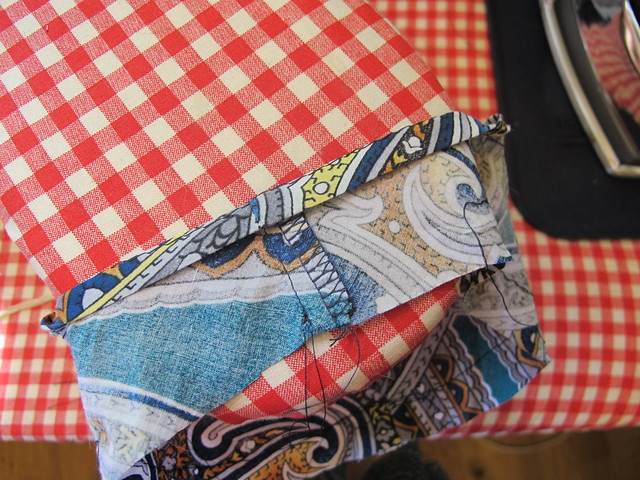
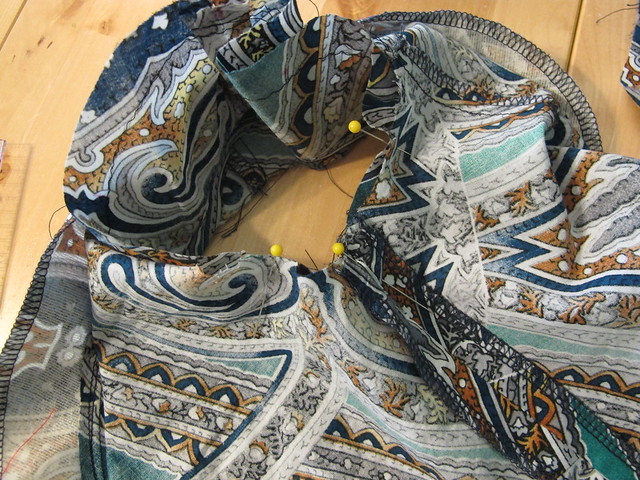
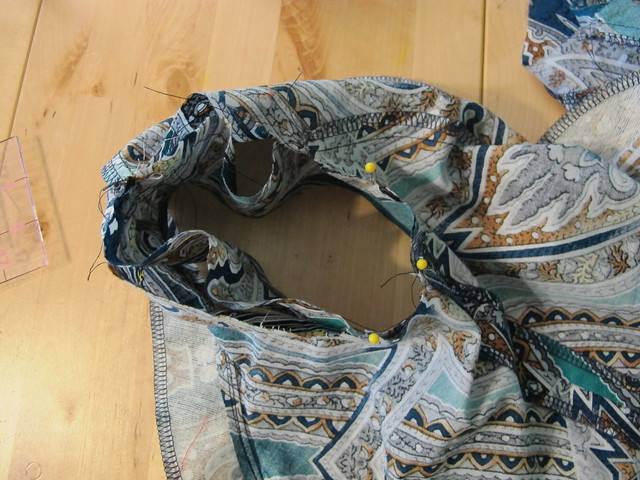
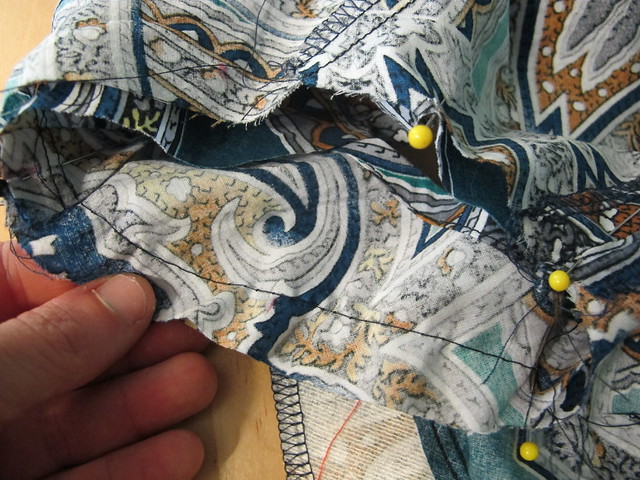
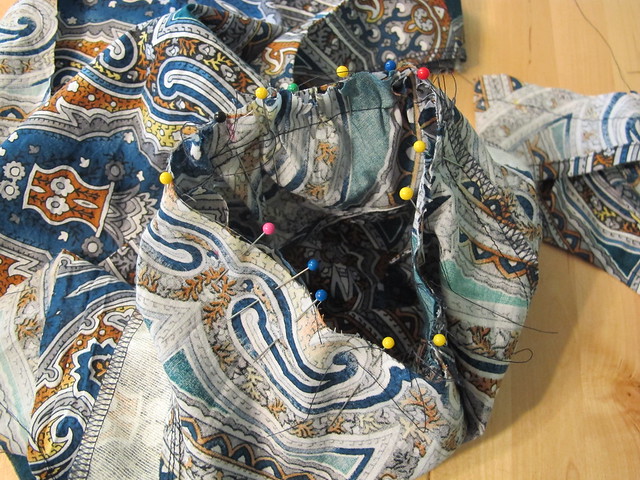
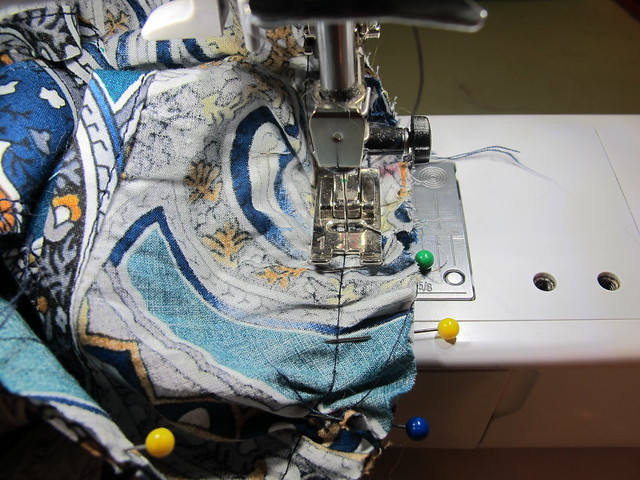
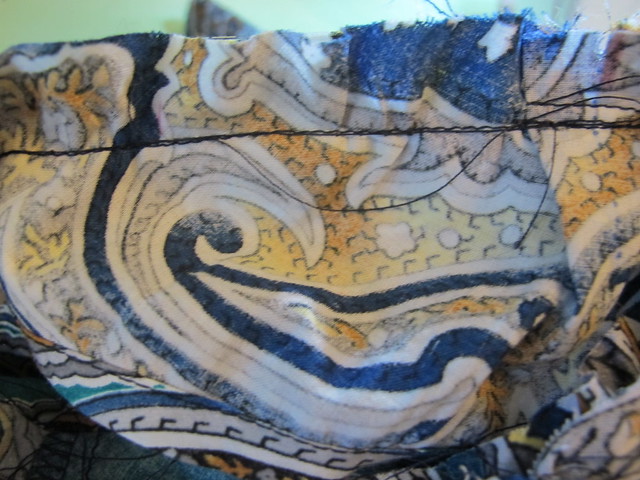
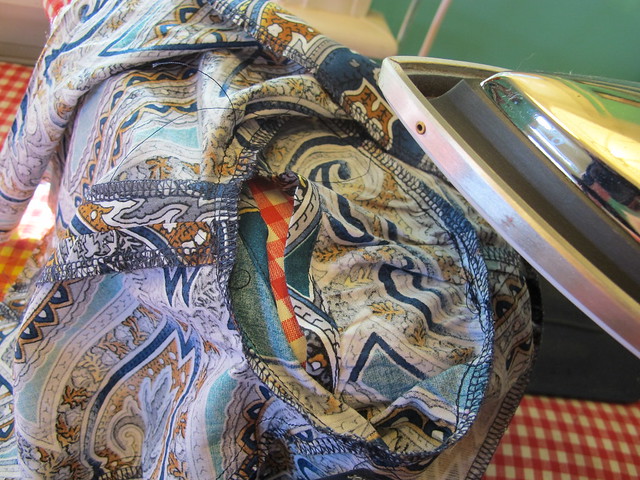
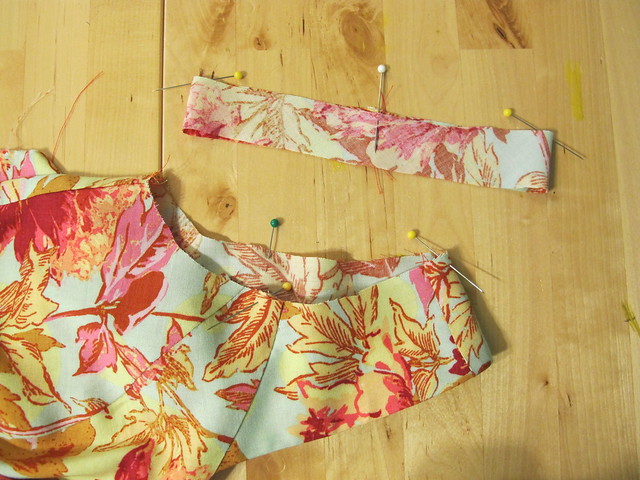
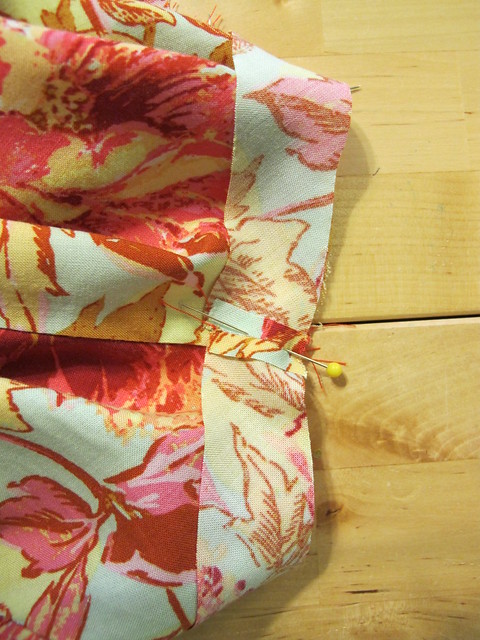
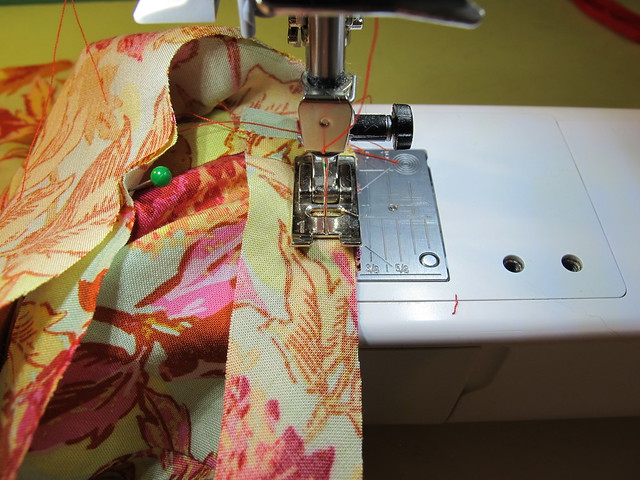
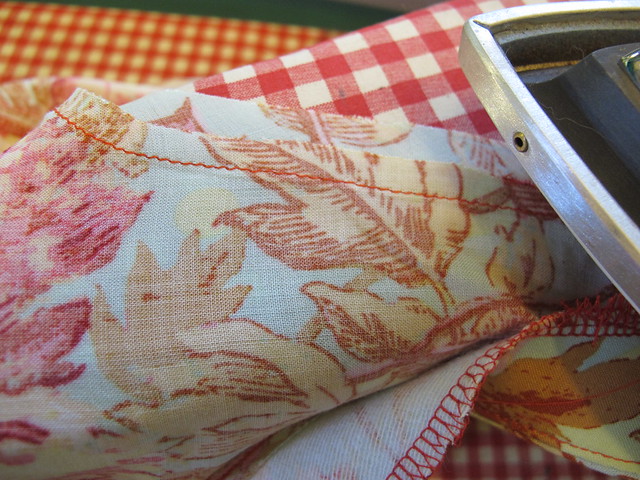
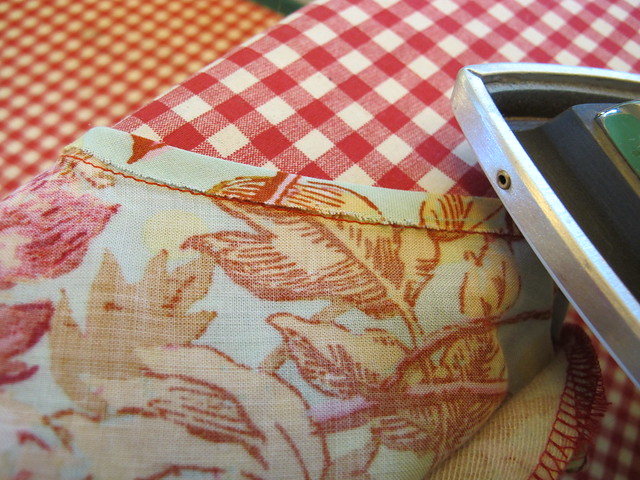
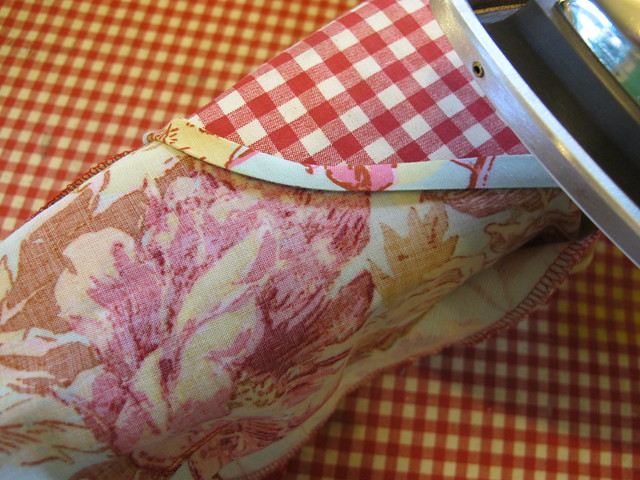
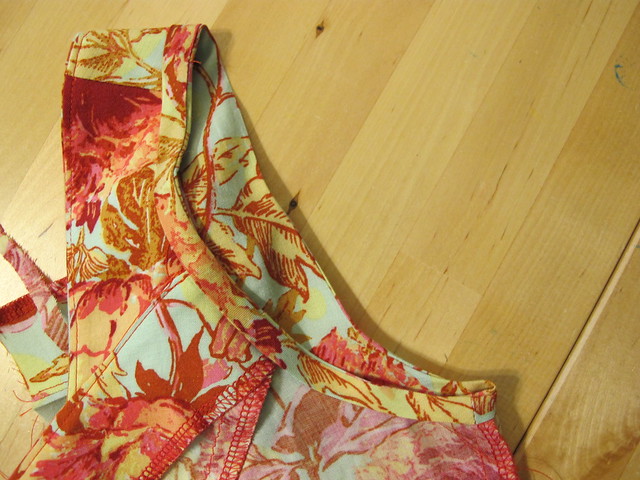
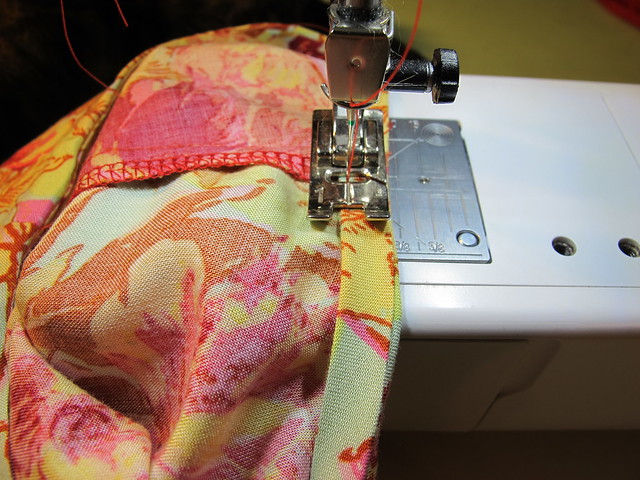
All the seams are finished with my serger – I used 3 threads instead of my usual 4, since it’s a little narrower and worked better with the delicate fabric – I serged them individually and pressed the seams open as instructed. The bodice and skirt are cut on the bias, so I made sure to really stabilize the neckline with staystitching before handling it, to prevent it from stretching. The skirt needed to hang on my dressform for about 48 hours before I could hem it, and it was super uneven after all the bias settled and dropped. I did make a couple of changes to the construction – added some topstitching where it wasn’t required (mostly because I thought it looked better that way) and I sewed the elastic waistband casing so that there are no raw edges. I don’t have any pictures of the inner construction, so, sorry, you’ll have to trust me on that one haha.

Deer & Doe Réglisse dress

Deer & Doe Réglisse dress

Deer & Doe Réglisse dress

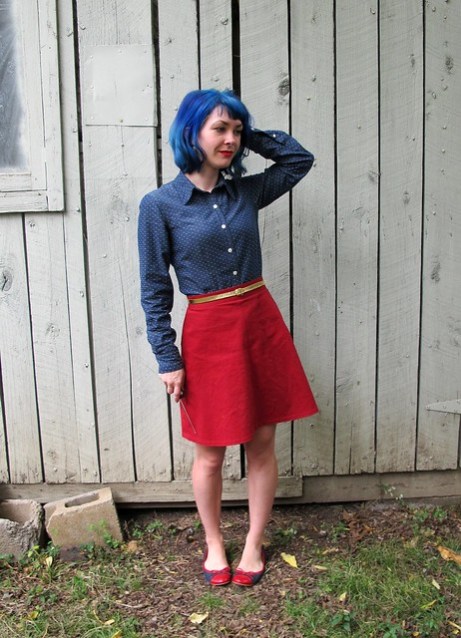
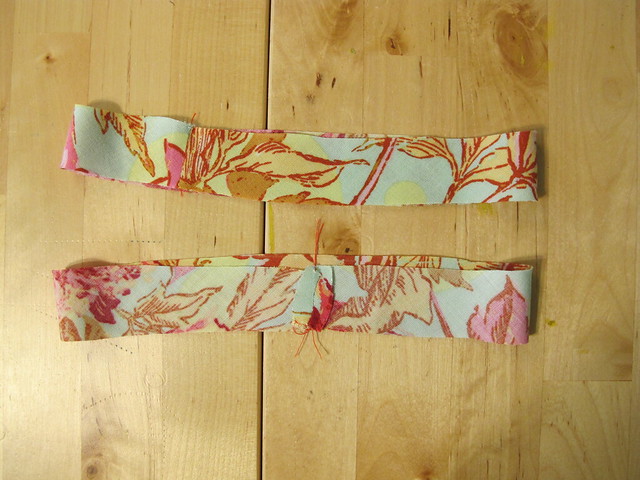
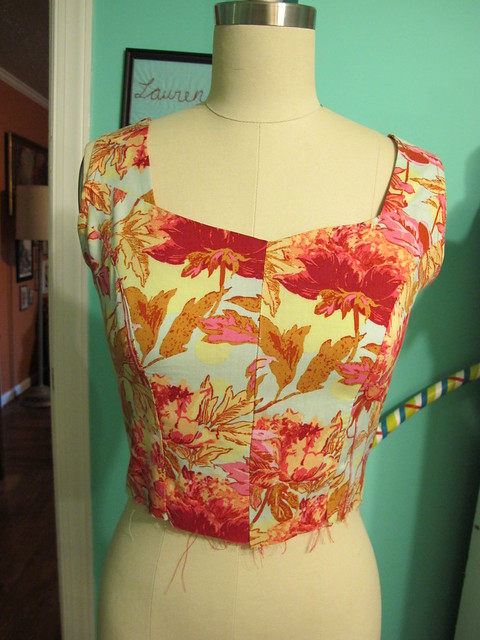
I was a little afraid up until the very end that I wasn’t going to like this dress – the sweet little collar and bow were making me a bit nervous. But I am happy with how it turned out, and I think the solid dark color helps with that! I experimented with tying the neck ties so that it’s more like a necktie, but I actually like it as a bow. I knotted the ends because, I dunno, I like the way it looks haha.

I see that Deer & Doe have updated their pattern to include an option without the bow – which I may try in the future. I’ll have to draft it myself, though, since I have one of the older paper copies, before the rebranding.

Deer & Doe Réglisse dress

I think that’s all for this dress! BTW, as a side note – I have some more workshops coming up! And don’t forget about the OAL, which is kicking off very soon! 😀

Garment Sewing Weekend July 14-16, 2017
Three Little Birds Sewing Co., Hyattsville, MD
Come spend a weekend working through a sewing project of your choosing with meeee as your guide! For 2 glorious days, work on the project of your choice in the Three Little Birds Sewing Co. space. The beauty of this workshop is that each students get to choose their own project. Do you need help with fitting? With construction? Interested in bra making? Perhaps you’ve had your eye on a garment you don’t feel comfortable tackling on your own.  I will guide you through all of these and more!

Jeans Making Sewing Intensive August 11-12, 2017
Workroom Social, Brooklyn, NY
Let me show you how fun and fulfilling it is to make your own jeans! In this class, we will work out way through the Ginger Jeans pattern (my personal favorite!), learning the basics of fitting and construction for making your own jeans. We will also go over all the fun extras that separate jeans from mere pants – topstitching, fancy seam finishes, and installing hardware. Yay!

What are your sewing plans for this summer?

Completed: Polka Dot Chambray Butterick 5526

21 Oct

HAHAHAHAHA I bet you guys are sooo sick of seeing me in renditions of this pattern, huh? 🙂

Polka Dot Chambray Button down

SUP Butterick 5526. My heart, my soul, my official tried’n’true button down pattern. I don’t know how many times it has to be before it’s considered “the charm,” but I’m pretty sure this is legit the nicest button down I have ever made. I am so pleased with myself right now!

Polka Dot Chambray Button down

Since I’ve made this pattern, um, a lot (see: 1 2 3)(ok that’s not a lot, but it sure feels like a lot!), I’m pretty well-versed in the fitting and construction of this dude. It’s practically an autopilot pattern for me – apart from selecting the fabric & buttons, I don’t really have to think much while I’m putting this together. It’s like my hands have repeated the process so much, they don’t need any instruction from my brain at this point.

Polka Dot Chambray Button down

So, I’m sorry if you’re bored with looking at this pattern. Deal with it.

Polka Dot Chambray Button down

Seriously, though, I did have to figure out those damn sleeves, because all my previous versions have some awkward lengthage going on. My last attempt at making them full-length ended up with them being some weird purgatory of not-quite-long-but-not-quite-short – like the highwaters of shirt sleeves (do we still make fun of highwaters, or is that the cool thing to wear now? I just looked down and realized the jeans I am wearing are cuffed to the length of highwaters, SHIT!!). Since I actually want to wear this top underneath sweaters – and hence why I made a second chambray button down when the first one is actually quite wonderful (spoiler: dem sleeves, tho) – I needed to figure that shit out once and for all. And, look ma! They’re the right length! Finally!

Polka Dot Chambray Button down

Although, now I can’t decide if they are… too long? They look bunched up when my arms are hanging. However, when I reach my arms out – they are exactly the right length (as in, any shorter, and they would ride up to be too short and expose too much wrist). Thoughts? This is why I always roll up my sleeves (and jeans, for that matter) – I can’t find a happy hem length! Anyway, what is the point of making all your clothes if you can’t even hem them correctly?

Also, I think the sleeves might be a bit loose? Or do they look ok? Thoughts on that?

Dammit, this totally isn’t a TNT pattern, is it? 😛

Polka Dot Chambray Button down

Anyway, whatever, let’s talk about the victories! Check out that sexy sexy sleeve placket. I used the placket for the Negroni (which, honestly, that pattern piece + instructions are alone worth the price of the pattern) instead of what was included with 5526. Lurrrrve it.

Polka Dot Chambray Button down

I also sucked it up big time and flat-felled every single seam on this shirt – the princess seams, the side seams, the arm holes (thanks to Negroni for those sweet instructions – see? Negroni, you rule!) – everything! What you see here is a beautiful and clean-finished top that doesn’t have ANY serging on the inside. Just miles and miles of flat-felled seams and gorgeous topstitching. Ugh, so good.

Polka Dot Chambray Button down

Don’t you love the fabric? I picked this up at one of our local fabric stores, Textile Fabrics. They were having a 40% off sale, so I treated myself to this and some soft fleecy knit. I was originally going to use this to make the Bruyere, until I realized I didn’t want to look exactly like the pattern cover (which is beautiful, don’t get me wrong!). I’m more of a plaid flannel kinda gal, for which I’m still stubbornly holding out for the perfect one to reveal itself to me. Textile Fabrics, unfortunately, couldn’t deliver on that front – but they did have polka dot chambray, so that’s ok enough in my book. Speaking of which, I think this is Robert Kaufman fabric. Don’t quote me on that, though!

Polka Dot Chambray Button down

Anyway, it’s a very lovely fabric – and it was soo nice to work with! Very soft and smooth, easy to cut and sew, SUPER easy to press (which is important with this style of shirt). The topstitching just sinks right in.

Polka Dot Chambray Button down

Again – placket! Sorry the cuff looks uneven. I promise it’s not. Buttons are these dress shirt buttons from Fashion Sewing Supply – part of my neverending stash.

Polka Dot Chambray Button down

I’m just including this because it looks so damn good – topstitched intersecting flat-felled seams (arm hole & princess seam). Also, if you were wondering – flat-felling princess seams really is not any more difficult than flat-felling straight seams. I don’t know why I put it off like it’s impossible to do. It’s not. It’s definitely more time consuming than just serging your raw edges, but the end result looks SO nice.

Polka Dot Chambray Button down

Finally – can we talk about how good this hem looks? Y’all, shirt hems have always been the bane of my sewing existence. I could never figure out how to get them to be straight and even with that giant curve. They ALWAYS look like shit. Not anymore, though! This time, I was inspired by Rochelle and tried using bias facing at the hem. I made self-bias strips with my fabric, and then applied it the same way I bias face sleeves & necklines (I did this before attaching the placket, as per the instructions). Since I used self-fabric for the bias, the end result looks like a simply turned up and stitched – except I didn’t, and this was SO MUCH EASIER. Plus, it give a nice bit of weight to the hem, which I like. Consider me a convert! Bias facing FTW!

Polka Dot Chambray Button down

So yay! I’ll consider this shirt a success – even if the sleeves are a little iffy. At any rate, I’m serious when I say it’s the best-made shirt I’ve ever constructed (if you see me in the wild and compliment it, there’s a good chance I’ll rip it off my body so I can show off the insides. TRUTH.). Little things like this make me happy! I think that’s the best part about sewing with a pattern you know and love – instead of focusing on new instructions and fit, you can zero all your attention on improving your technique.

Oh, and if you were wondering – that’s my Tie-less Miette I’m wearing in the photos. The shoes (because everyone always asks) are from the clearance rack at Nine West and no, I did not buy them to match this outfit. Ha! 😛

Two more things!

1. My lovely sponsor (and OG to the LLADYBIRD Sponsor Game), Sweet Little Chickadee, is closing up shop for the time being 😦 We will miss her (I will miss her! Where do I buy my patterns from now?! I got candy with those orders hahaha), but on the flip side – this means closeout saaaaale! 😀 From now till whenever the shop runs out, use the code SHOPCLOSING to get 25% off your entire purchase. Apparently there are also some sweet flat-rate shipping options at checkout, so you may save there, too! Please keep in mind that you are buying from a one-woman shop who is running a sweet freaking sale, so please be patient if your order takes a couple days to ship out. Not a bad payoff for 25% off, though, yeah? Now go forth and help Juli clear out that inventory!

2. Affiliate links. I wrote this blurb out in my last post, but realized after the fact that not everyone reads sewalong posts (I’m guilty of this too – those posts can be boring if you’re not following along). I definitely want y’all to be aware of my use of affiliate links, because I think it’s important, so I’m copying this verbatim into this post. Sorry if you’re reading this twice  🙂
Side note/disclaimer: Ok, so I decided to start occasionally using affiliate links on this blog. Sorry if you hate me! 🙂 I am currently only affiliated with Amazon, and I promise I will only be linking things that I personally use and recommend – such as those scissors & that clapper. Y’all will never ever ever see me link something just for the sake of linking it – that’s just crappy. However, please keep in mind that any purchases you make through these links will net a small kickback to me, which I will likely spend immediately on yarn & fabric (and thus pour back into this blog, in the form of content for y’all to read!). Also, no sneaky linkies – I will always describe the item I’m linking so you don’t have to click to see them, if affiliate links squick you out 🙂 I won’t be posting this disclaimer at the end of all my posts, as it seems a little redundant, but you can always view it in my About Me page. That’s all! Thanks for supporting my blog, dudes! ♥

Ok, that’s it! Have a lovely Tuesday, guys!

OAL: Sewing Sleeves or Bias Facing

23 Jun

Hiya OAL-gers! Today we are going to attach our sleeves and/or finish our arm hole edges with bias facing (depending on which version of the bodice you are sewing). Again, this is a long, picture-heavy post, so sorry! I will be covering my favorite way to sew bias facing (as I mentioned in my silk cherry Vogue 1395 post last week), so you may want to check this out even if you’re not sewing along with us 🙂

For the version with sleeves, read on!

OAL 2014 - Sleeves and Bias Binding
You should have a bodice and two sleeves. If you have not already done so, you may want to baste the edges of the facing along the arm hole, as that will all get attached in just a moment.

OAL 2014 - Sleeves and Bias Binding
Make sure your pleat markings for the sleeves are marked on the RIGHT SIDE of the fabric. I used chalk so it will just brush out and not leave a permanent mark.

OAL 2014 - Sleeves and Bias Binding
To form the pleat the top of the sleeve, fold the fabric exactly along the solid line and bring it to the dashed center line. Pin in place. Do this for both sides, forming two pleats.

OAL 2014 - Sleeves and Bias Binding
Baste the pleats into place.

OAL 2014 - Sleeves and Bias Binding
Now you are going to sew two lines of basting stitches. The first line of stitching is along the curve of the sleeve cap, starting at one set of notches and ending at the opposite set, at exactly 5/8″ from the raw edge*. Leave long thread tails. This basting will be used to ease the sleeve into the arm hole. The second line of stitching is along the hem edge of the sleeve, from end to end, at 5/8″ as well. This basting will be used to hem the sleeve. You can leave it off if you feel confident in your sleeve-hemming skills, though!
* Note: Lots of people like to ease their sleeves in with two lines of basting, at 5/8″ and 1/2″. You are more than welcome to do that if that’s your jam, but I’ve found that I get much more gentle easing with less puckering if I use one line at 5/8″. Totally up to you!

OAL 2014 - Sleeves and Bias Binding
Sew the underarm seam of the sleeve, right sides together. Finish the edges and press.

OAL 2014 - Sleeves and Bias Binding
To hem the sleeve, first fold up the bottom edge 1/4″ and press. Fold up the remaining hem allowance, exactly along the line of basting stitches that you created, and press again. All raw edges should be encased inside the hem at this point.

OAL 2014 - Sleeves and Bias Binding
Topstitch the sleeve hem into place and press again. If you’d like, you may use a slightly long stitch length (I use 3.0 to my normal 2.5) – I personally just think it looks a little nicer 🙂

OAL 2014 - Sleeves and Bias Binding
Time to stick that shit in the arm hole! Starting at the bottom, match up the side seam with the underarm seam, and match the notches. Match the dashed line at the sleeve cap (the one that both pleats are folded to) to the shoulder seam. Your sleeve will be obviously too big for the arm hole, that’s fine, we are going to fix that.

OAL 2014 - Sleeves and Bias Binding
Very gently pull the line of basting stitches, easing the sleeve excess to fit the arm hole. We don’t want to create big gathers here – we just want the sleeve to be a little smaller so it fits smoothly. Once you’ve got the sleeve eased in, pin everything into place.
* Note: Easing sleeves can be a little difficult! These sleeves will ease in smoothly, but if you are having problems with puckers, you may want to open up your pleats at the top of the sleeve and make them a little bit deeper. That’ll use up some of the excess ease 🙂 Don’t go too crazy with that, though, as you do need a little bit of easing so the sleeve has a pretty curve and enables you to move your arms around and all that.

OAL 2014 - Sleeves and Bias Binding
Now you can sew the sleeve in! Sew exactly along the 5/8″ line of basting, being careful to make sure there are no puckers or gathers and that your sleeve in eased in smoothly. I like to sew my sleeves in with the gathered side facing up – that way, I can periodically lower my needle, raise the presser foot, and adjust the easing as I go.

OAL 2014 - Sleeves and Bias Binding
Once you’ve got the sleeve sewn in, double check both sides to be sure that there is no gathering or puckering. Your sleeve will probably have a bunch of excess at the seam allowance like I have here – that’s fine! As long as it’s smooth at the stitching line 🙂 Now go ahead and finish your seams.
* Note: The instructions tell you to sew a second line of stitching right by the first one. Honestly, I’ve never done this before – even before I had a serger – and I’ve never caused a Sewing Apocalypse, so take that as you will.

OAL 2014 - Sleeves and Bias Binding
Press the seam allowances (I press toward the bodice) and steam the sleeve cap to remove any excess fullness.

OAL 2014 - Sleeves and Bias Binding
Finished: Cute little cap sleeves! Yeeeahhh!!

For the sleeveless, read on for the bias facing tutorial!

OAL 2014 - Sleeves and Bias Binding
The first thing we want to do is remove some of the seam allowance from the arm hole of our bodices. This bodice is designed to be sewn with a 5/8″ seam allowance, and we will be attaching our bias strips at 1/4″. So you’ll want to shave off about 3/8″ from the entire circumference of the arm hole.

OAL 2014 - Sleeves and Bias Binding
Now measure the arm hole, so you know how long to cut your bias strips.

OAL 2014 - Sleeves and Bias Binding
Next, we are going to cut bias strips from our fashion fabric (or cool contrasty fabric, if you want!). There are lots of tutorials on how to do this; I am just showing you my preferred method 🙂 Start with a piece of fabric that has two straight edges at a right angle. For the cross grain, you can just rip your fabric, which will give you a perfect straight edge without cutting.

OAL 2014 - Sleeves and Bias Binding
Fold the ripped edge up to meet the top straight edge, thus forming a diagonal line. Cut along the diagonal line (you may want to gently press first, if you need a guideline); you have just created a bias edge.

OAL 2014 - Sleeves and Bias Binding
Now cut two strips on the diagonal/bias – 1″ wide and the length of your arm hole measurement. I like to draw my lines with chalk and cut with scissors; you can also use a ruler and rotary cutter if that’s your jam.

OAL 2014 - Sleeves and Bias Binding
Sew each little bias strip into a circle with the right sides together, using a 1/4″ seam allowance. Press the seam allowances open.

OAL 2014 - Sleeves and Bias Binding
Next, we want to make sure the facing will fit inside the arm hole before we actually sew it in. *Generally* speaking, most bias facing is fine at 1/2″ shorter than the measurement of what it’s being sewn into (which is why we cut our strips at the measurement of the arm hole – 1/4″ seam allowance x2 = 1/2″), but some stretchier fabrics – such as my rayon challis – require a shorter bias strip. So we are going to check that measurement now. This pinning/sectioning also makes it easier to sew the bias strips in if you’re a newb.
Anyway, section your arm hole and bias strips into 4 equal sections, and mark with pins.

OAL 2014 - Sleeves and Bias Binding
Pin the bias facing to the arm hole, starting with the seam matching the side seam, with right sides together (so your bias facing is on the outside of the garment). Match each section, so your bias facing is pinned at 4 points. From there, check one section and see if the facing is short enough for the arm hole – you just need to be able to gently stretch it to match the length of the bodice arm hole (gently, I say! We are not sewing ribbing onto tshirts here!). If it’s too long, pull it out and shorten the bias strip accordingly, then repin. I had to shorten mine by another 1/2″ to get it to fit.
* Note: If you want your bias facing on the OUTSIDE of your garment (again, cool contrasty thing), you will need to pin it to the inside of the arm hole.

OAL 2014 - Sleeves and Bias Binding
Once your facing is the correct length and pinned into place, sew it down with a 1/4″ seam allowance, catching the edges of the bodice facing in your stitching as you come across them. Again, the bias facing needs to be on the outside of the garment, right sides together.

OAL 2014 - Sleeves and Bias Binding
Now take the whole thing to the ironing board and press the seam allowances toward the facing.

OAL 2014 - Sleeves and Bias Binding
Fold the facing down toward the arm hole, wrong sides together, matching the raw edge of the facing with the stitching line you just created. Press.

OAL 2014 - Sleeves and Bias Binding
Fold the entire thing down one more time, along the stitching line, to the inside of the arm hole (or outside, if you’re going that route). All raw edges should be completely encased at this point.

OAL 2014 - Sleeves and Bias Binding
This is what your pressed/unstitched facing should look like. Note that I also caught my bodice front facing in the stitching/binding, so it’s all encased and won’t need to be tacked down later.

OAL 2014 - Sleeves and Bias Binding
Now topstitch your facing to the arm hole, about 1/8″ from the fold. Try to keep your stitching line consistently spaced, as this will show on the outside of your garment. You may need to gently stretch the binding as you sew the curves. Alternately, you can slipstitch this binding if you don’t want the stitching to show on the outside, but I’ve found that works best if you have underlining to sew it to (otherwise you may have little thread puckers).

OAL 2014 - Sleeves and Bias Binding
Once you’ve sewn down your bias facing, take it back to the iron and give it one last press, to ease out any wrinkles or fullness, and to make the edges nice and sharp.

OAL 2014 - Sleeves and Bias Binding
And that’s it! A gorgeous bias facing that doesn’t require using a fiddly tool (man, those things can be obnoxious). I LOVE this method and I find it much easier than any other binding method I’ve used before. This works for both necklines and arm holes, and can be done either flat or in-the-round as I demonstrated.

Phew! That’s all for this week! As always, let me know if you have any questions 🙂

Completed: Chevron’d Ginger Skirt

4 Apr

Here’s another piece that I have seriously been planning for a couple of years – the chevron’d Ginger skirt!

Ginger Skirt - chevrons

Another stupendous idea delayed by lack of fabric – why why whyyyy is it so hard to find a good, 1″ stripe, non-stretch fabric, apparel-weight? Whyyy? I find lots of striped shirting fabrics (too lightweight, stripes too narrow), striped stretch twill (holding out for the lycra-less, pls), striped knit (ok, yes please, but not for this particular project!), or stripes in some kind of weird array of colors. Not to mention the overabundance of home decor striped fabric – but I’ve found I just don’t like all the structure that comes with home decor weight. My ass is not meant for curtains to hang off of it.

Ginger Skirt - chevrons

I was PRETTY FREAKING EXCITED when I found this fabric at last month’s flea. Hiding under a pile of vintage fabrics (all good, I bought nearly all of them lolz) were 4 yards of my dream yellow-and-white-1″-striped-cotton. In a rare unselfish move on my part, I ripped the yardage in half and sent 2 yards to Sunni (who I was doing a great fabric swap with earlier this month and holyyyy shit you guys I cannot wait to start digging into the lovely stuff she sent me!), keeping the other 2 yards for myself and this skirt. And here she is – finally, the striped/chevron’d skirt of my dreams!

Ginger Skirt - chevrons

As I mentioned before, this is the Ginger from Colette Patterns. I made view 3, which gave my striped fabric a nice chevron. I know chevrons are REALLY hip right now (and every time I pass something chevron’d at Target, I groan. A lot.), like to the point of already looking super trendy and dated, but I do like them for clothing. I’d say something like I hope they never go out of style, but I pretty much wear whatever I want regardless, so let’s just say I hope I can continue finding good striped fabric to make my own! Hopefully more frequent than once every couple of years 🙂

Ginger Skirt - chevrons

I’ve made this skirt a few times before, so this definitely ain’t my first rodeo, but I did have to size down since my previous versions don’t fit me anymore (well, maybe the Gazer does. I haven’t pulled that one out of summer storage yet to check). I cut the pieces on a single layer so I could be really accurate with lining up those stripes, and it (mostly)paid off.

Ginger Skirt - chevrons

I even went as far as to center the yellow vertical stripe in the middle of the waistband, so everything would be nice and balanced.

Now that you’ve seen the gorgeous, time to share my shame…

Ginger Skirt - chevrons

Kind of bummed that the chevrons on the side seams don’t match up 😦 I actually think it looks much much better in these photos vs real life (and since I took these photos, I have worn the skirt and been totally ok with the barely-matched-up side seams). Like I said. I did a very careful job of cutting everything out on the single layer, but the way this skirt is shaped means that you either get the fabric on-grain, or the side seams match all the way up to the waistband. One or the other, make your choice! I decided the grain was more important – plus, they kinda sorta match, right? 🙂

The other shame is that dammed invisible zipper! Guysss, inserting an invisible zip into a bias-cut garment isn’t the easiest thing you’ll ever do. I stabilized my seam allowances with 1 1/4″ wide stripes of silk organza cut on the straight grain, and the zipper is ALMOST perfect, but there is a tiny bubble at the bottom. I’m trying to decide if it bothers me enough to rip it out and fix it. Eh. It looks pretty bad in that picture!

Ginger Skirt - chevrons

But, you know, issues aside – it’s a fun skirt! And it’s fun to wear, although I do feel like I’m exposing myself every time I bend over to pick something up. Bias cut rides up all kind weird.

Ginger Skirt - chevrons

Ginger Skirt - chevrons

This fabric was also kind of weird, amazing as it is. When I first grabbed it, it felt like a great bottom weight – slightly stiff, a bit of body, a subtle sheen. After the prewash, however, the fabric majorly softened up and weight-wise, it felt a lot more like quilting cotton. I was hesitant at first, as I wanted a stiffer shape to my skirt, but I’m pretty happy with how the drape of the fabric looks with the bis cut. The only drawback was that those bias sides stretched a loooooot. Like, so much. That’s probably a good part of the reason why the side seams don’t match up so nicely.

Ginger Skirt - chevrons

Ginger Skirt - chevrons

To give the waistband some structure, I interfaced the outside with my normal fusible interfacing, and sewed hair canvas to the facing. While this particular waistband isn’t quite as high as the other views on the pattern – and it’s not shaped, either – I still didn’t want it to crumble when I bent over. Not a good look!

Ginger Skirt - chevrons

Ginger Skirt - chevrons

Oh yeah, I used the bicycle fabric left over from this dress to face the inside of the waistband. It’s a cute little surprise!

Ginger Skirt - chevrons

I also used the last of my yellow lace hem binding for the hem. Side note – the packaging for this stuff (it’s from the 70s) boasts that it’s “Like Pretty Underwear!” which makes me laugh every time.

Ginger Skirt - chevrons

So that’s it! Simple skirt, simple fabric – but I love the results! I guess I’m on a major skirt kick right now; I’ve got anther one cut out waiting for assembly as I type this.

As a side note – the shirt I’m wearing is my button down from this outfit. I LOVE this shit and I’ve worn it soo many times since completing it! The reason why I’m pointing it out, though, is because this is what the shirt looks like after a wash with no ironing – I just shook it out and hung it to dry. It has some subtle wrinkles, but nothing crazy – it kind of reminds me of linen with how the wrinkles just look relaxed and natural. Except it’s cotton! Pretty cool; I love getting away with not ironing my clothes 😉