
I’ve been swimming through muslin hell this whole week (crazy me decided to even make a SECOND MUSLIN to verify all my changes, wtf who am I turning into amirite), but fortunately, I have an old make from pre-Maine that I can share with y’all! Jeans! Yay!

Remember when we were all scrambling around to buy those fancy Cone Mills Denim kits with our Ginger Jeans earlier this year (and last year too, for that matter)? I’m so happy that I made space in my budget for one, because Cone Mills denim is awesome. It’s the same denim they used to make Imogene + Willie jeans (which I can personally vouch for as I own 2 pairs – they wear really well and hold their shape beautifully, which means I never need to wash them in order to shrink ’em back down at the end of the day), and although the kit wasn’t cheap – it is certainly cheaper than buying the actual jeans. By the way, if you’re thinking, “Where the hell is this kit so I can buy one???” I’m sorry to be the one to tell you that they were on limited pre-order, and have been sold out for a while now 😦 Hopefully there will be more where that came from!
EDIT I have just been informed that Threadbare Fabrics sells Cone Mills Denim! Yay!! I apologize in advance for those who end up emptying their bank accounts after reading this post 🙂
Anyway, the point of that somewhat sales-y sounding paragraph was to say that I finally used one of the pieces of my denim for this pair of pants. I received the kit way back in April and have been anxious to sew it up, but I wanted to wait until it was actually something closer to pants-season before I got too excited.
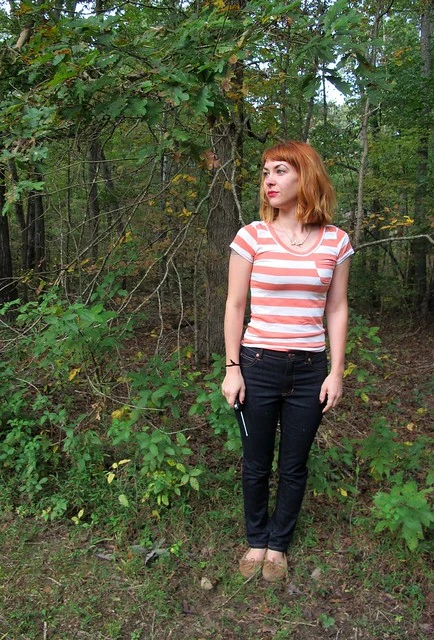
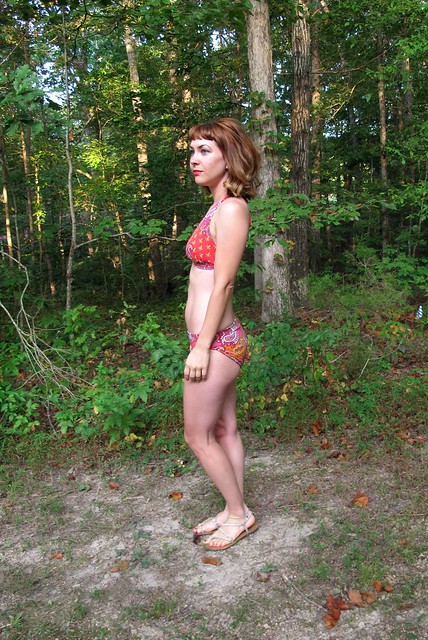
Also, just a head’s up before we delve too far into this post – sorry in advance for all the weird bobble-head shots. I didn’t realize my camera was tilted so much, and I don’t care enough to retake the photos. Also, there be VPL in most of these pictures. Not sorry about that! Deal with it!

The denim itself is what really counts when it comes to a good pair of jeans. You want a material that is a good medium weight (not too light, but also not too heavy) and if it has stretch, an awesome recovery. The single thing that’s plagued me the most when it comes to making my own pants is finding material with a good recovery! I hate having my pants bag out by the end of the day – it’s annoying enough for every day life, and utterly useless if you’re traveling and don’t have access for a quick wash (or just plain don’t own a washer and dryer, which was totally my situation up until we moved this year!). Plus, washing denim too much can fade out the color and cause the fibers to break down faster. I like my jeans to be a really deep, dark indigo blue, so fading isn’t my first choice. Figuring out fabric recovery is really difficult to do without actually wearing the fabric – which means you have to sew it first. So whenever someone gives me a head’s up on some good stretch bottomweight, I tend to snap it up without hesitation. I knew the Cone Mills denim was good stuff, so I’m glad I was able to get my hands on some before it sold out.
This certainly is not my first pair of Ginger Jeans – I’ve made a classic indigo denim pair, a red cotton twill pair, a gold denim pair, a version of jeggings and shorts version. What can I say – when I like a pattern, I tend to stick with it 🙂 And I REALLY like this pattern – it’s a nice, classic jeans pattern with all the good details you see in store-bought jeans, minus the shitty denim and strange fitting issues.
Having made this pattern numerous times made me feel confident enough to break into my mega-expensive denim for the pair you see here. I knew I already had the fit pretty good, so I could focus more on visual details with this version. That being said, there are a few changes to this pair that aren’t evident in my previous makes.

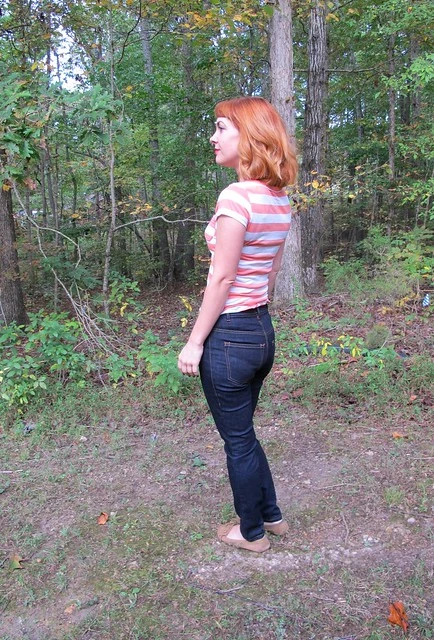
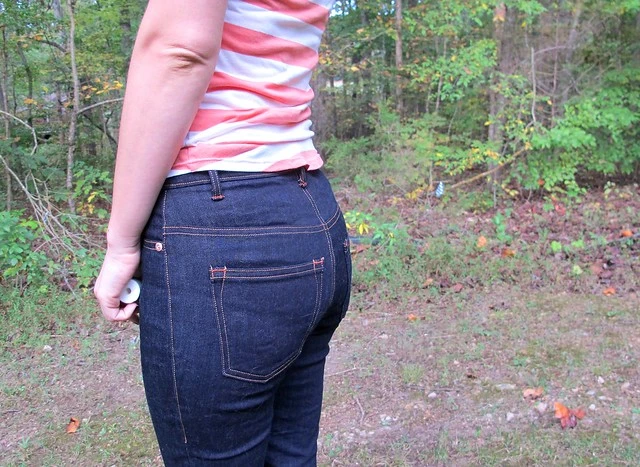
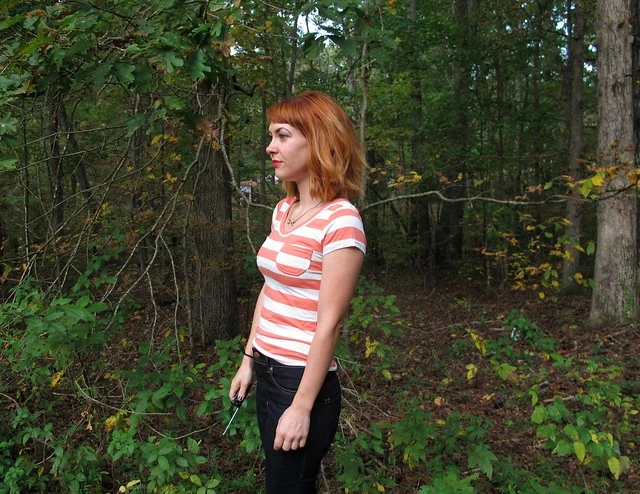
The biggest change is that I went up one size, to a 4. While I like the fit of the 2 (all my other Gingers are 2s, fyi!), I’ve gained a little bit of weight over the summer and I got this weird paranoia that I was in denial about my size. Those 2s are great and super comfortable, but the legs are so tight that they look painted on. I was horrified at the thought of people thinking I was trying to squeeze into a too-small size, so I went up to the next size. I think the 4 definitely fits better, but the are a little different. Namely – those wrinkles at the knee. What is the deal with those? The calves aren’t too tight (they are looser than the tightness on my 2s, and my 2s don’t wrinkle like that), so that’s not the issue. Maybe they’re too loose at the knee and need to be taken in a bit? Thoughts? Btw, the wrinkles look worse in photos than they do in real life!

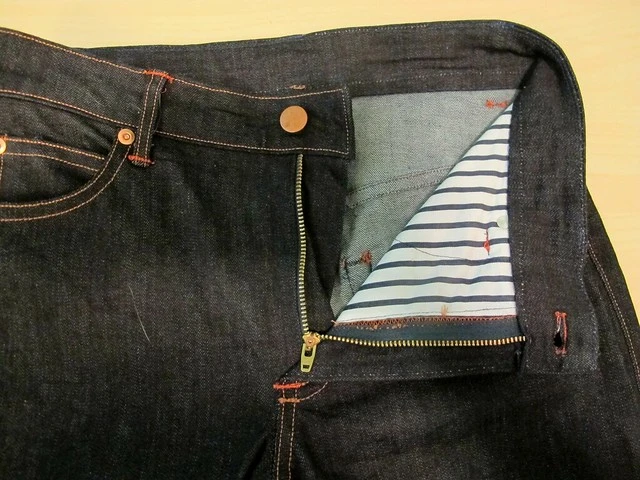
Since I was going up one size and I don’t trace, I had to reprint the pattern. I know Heather updated the Ginger jeans pattern at some point last year, and I had both an original version (that I got when it was first released) and an updated version (that came with my purchased denim kit). I printed the new version so I could try it and compare to the original one. I don’t recall exactly what changes were made to the jeans, but there are some slight differences in the rise and the shaping around the crotch and hips. The waist is definitely a lot higher than it is in the original version – and this was after I shortened the crotch. The major difference in the updated version is the pocket bags – instead of normal jeans pocket bags, there is a drafted pocket stay (also called an instant tummy tuck).
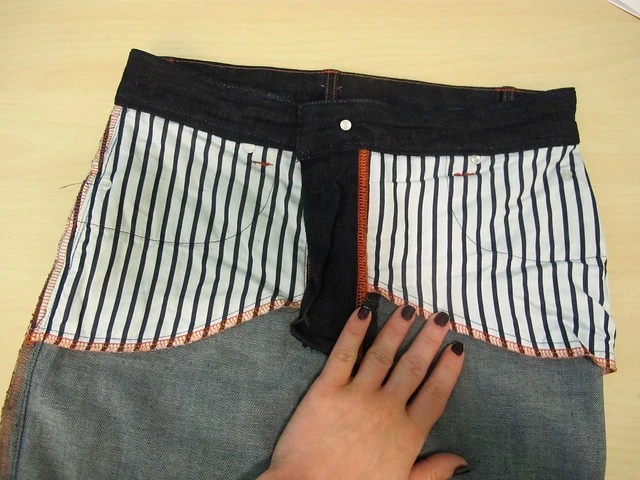
With a pocket stay, the pocket bags go all the way across the front into the fly. This helps pull everything in and give you a smooth line in the front (hence the tummy tuck name). I wasn’t sure if it would be comfortable, but I tried it anyway and I’m glad that I did! I don’t care about smooth lines or whatever (I mean, c’mon, I’m basically always rocking dem VPLs. Death to thongs!), but what I do love is that the pockets stay in place when you pull your pants on. You know how tight pants always have to get the pockets shoved back down after you go to the bathroom? Not with these babies! Plus, since the pocketing isn’t folded over anywhere, there isn’t a weird bump at the coin pocket. I never was a fan of that.
Damn, shoulda pressed those insides before taking the photo. That fly shield wrinkle looks awful.

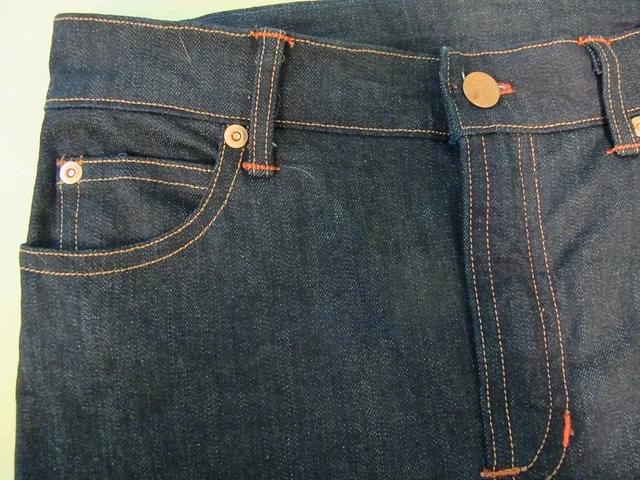
All the topstitching and jeans-y details are what really made these fun to sew up! I just love the way jeans topstitching thread looks when sewn up against denim, so good. I kept my I+W jeans on hand and used their stitching colors as inspiration for this pair (here’s an old post where I took close-ups of the jeans right after I bought them, if you’re curious). The kits came with the zipper, button, rivets, copper topstitching thread and denim needles. However, you can buy all that stuff individually as well – Taylor Tailor has most of it in his supply shop for really reasonable prices. I did buy the orange topstitching thread from Taylor Tailor, which I think looks awesome next to the gold topstitching.
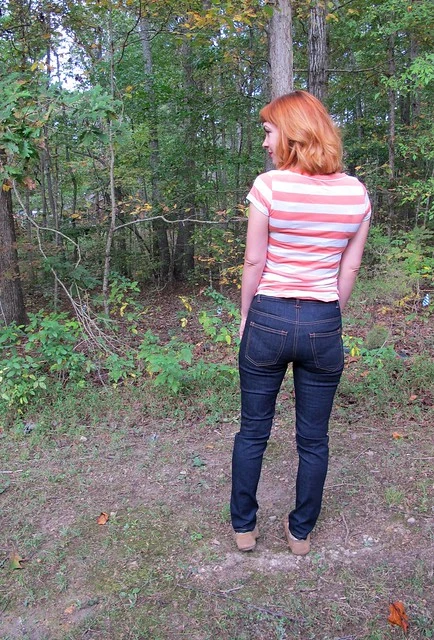
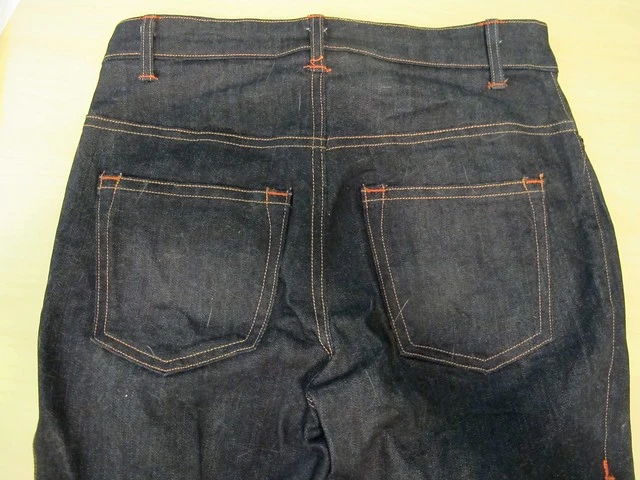
Now that I’ve overloaded you with pictures of my butt and crotch, here are some flat jeans shots.
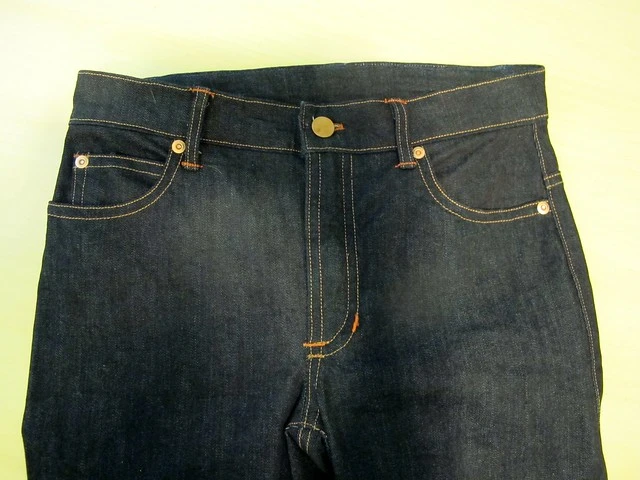
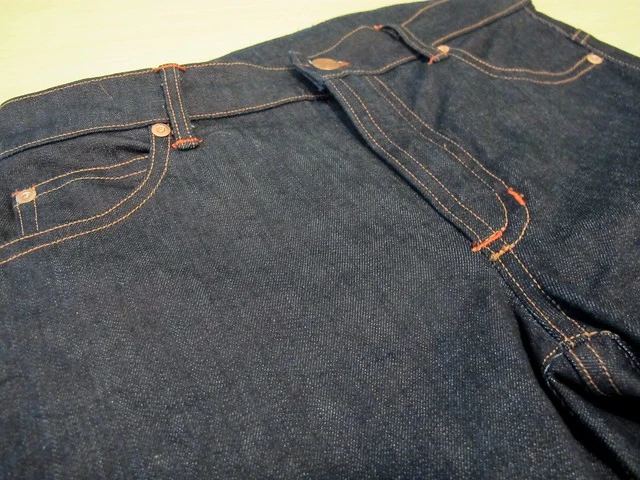
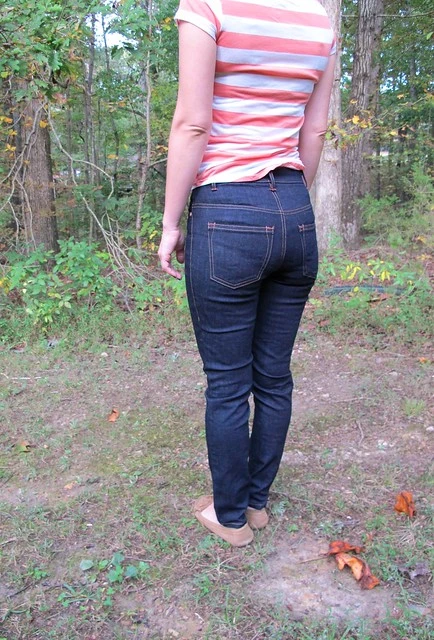
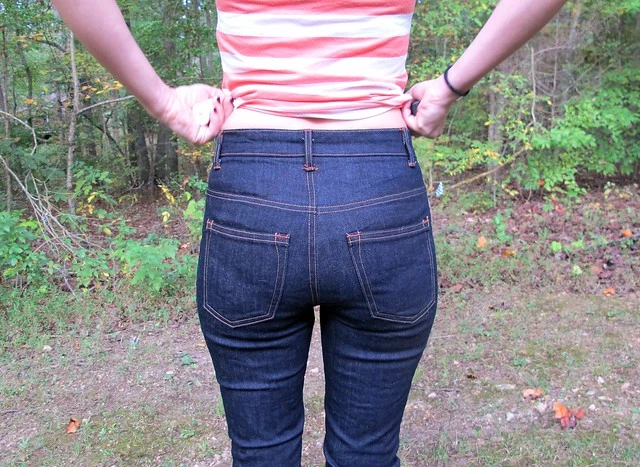
As you can see, I used the orange topstitching thread pretty sparingly – just for the bartacks and belt loops. I can’t say I thought of this myself, as I pulled the inspo straight from my I+W jeans. They also use a third topstitching color in the second line of stitching, which is not something I did with this pair. Also note that the I+W jeans don’t use rivets, but I did use them here. I love hammering those things in and I think they really finish off the jeans nicely. I just kept them on the front pockets and coin pocket – I don’t like the look of rivets on the back pockets.

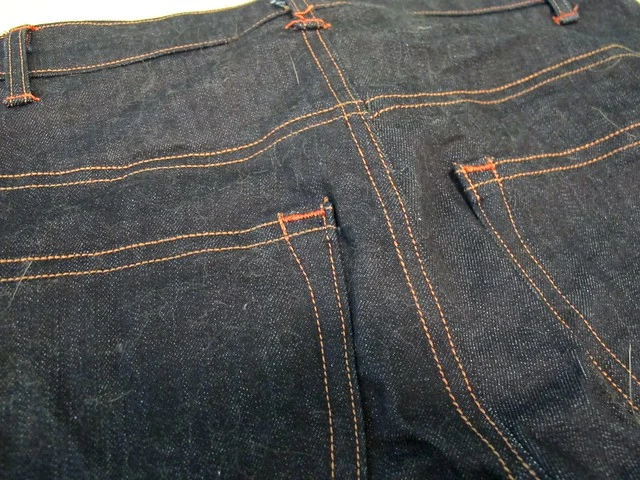
Again, using my I+W jeans as inspiration – I flat-felled only the back yoke seam, and serged + topstiched the leg seams (this will make it way easier to take in the legs if I need to, so yay!). I used orange thread in my serger, which mimics the orange bartacks. I LOVE the way it looks!
Whew! Sorry about all that cat hair!

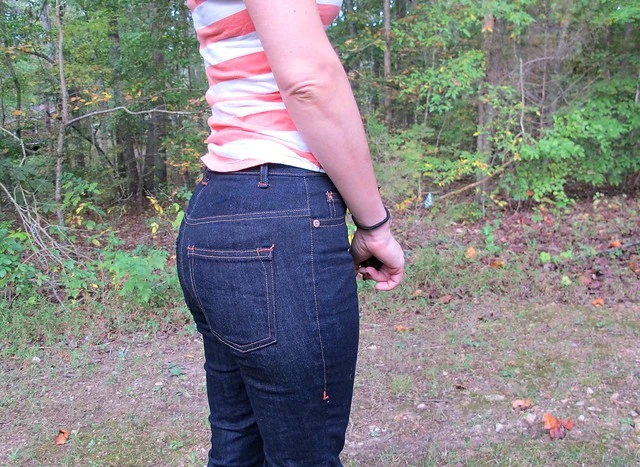
This is my absolute favorite little detail of these pants – the side leg bartack is a little L for Lauren 🙂 On my I+W jeans, they have a little + sign on one leg in place of a bartack, and I thought, hey I can do that with an L. It’s only on one side, and it’s quite subtle unless you already know it’s there.
Welp, that ended up being a super long post! Do you see now why I love making jeans so much? All the little details are so fun and make the end result look extremely professional. Not to mention, all the customization options – from fit, to denim, to topstitching details. I’m so glad Heather released the Ginger pattern and I’m even happier than we were able to get some of that fancy-ass denim to make it up with! I still have one more piece for one more pair of jeans – and I’m thinking I might do the low-rise version next. Could be fun!


