All right, dudes and dudettes – Project Sewn is up and running! This first week, the theme is Style Icon.
I’m just gonna be real with y’all – as soon as I saw that challenge, my personal motto started rolling through my head. The thing is – I don’t have a style icon. I honestly don’t have a person (or designer, or whatever) who I use as inspiration for my outfits. I mean, I like the way lots of celebrities dress and I’m no stranger to the siren song of a good Joan Holloway outfit, but as far as picking a particular person… naw. I don’t even know, y’all. In the end, I decided to go with someone who I admire as a person who just happens to have amazing style….
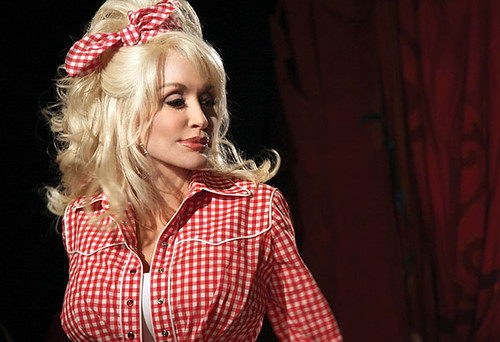

Dolly Parton!
I mean, who doesn’t love Dolly, amirite? She’s such an incredibly smart, funny, generous – and not to mention talented as HELL – woman… a true icon in my book. Speaking of books, have you ever read her memoir, My Life and Other Unfinished Business? Or heard about her program Imagination Library, which sends free books to kids to get them excited about reading? Or, hell, have you been to Dollywood?? This woman, she is amazing. She’s not just a style icon for me – she’s a real life icon, the kind of person I want to emulate.
Plus, Dolly (specifically circa 60s-70s) was no stranger to an overly decorated/borderline tacky western shirt. And, dammit, I wanted a western shirt! I’ve actually been looking for an excuse to sew one for years.
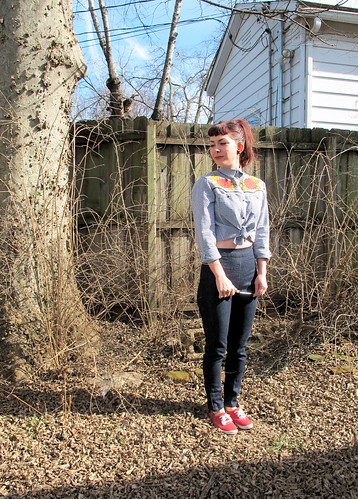
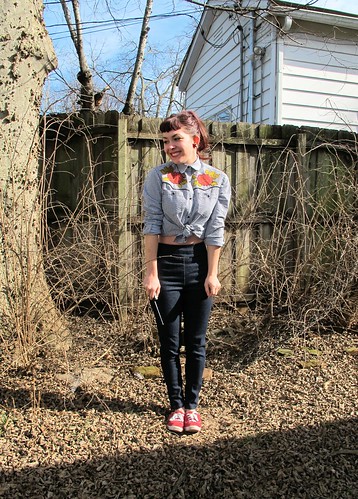
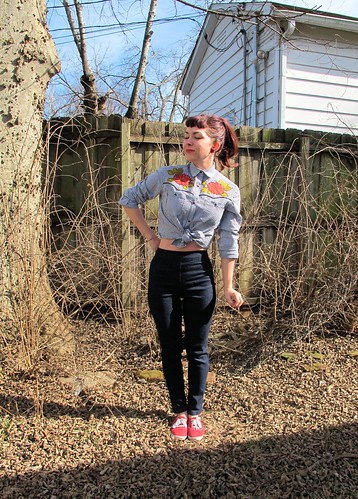
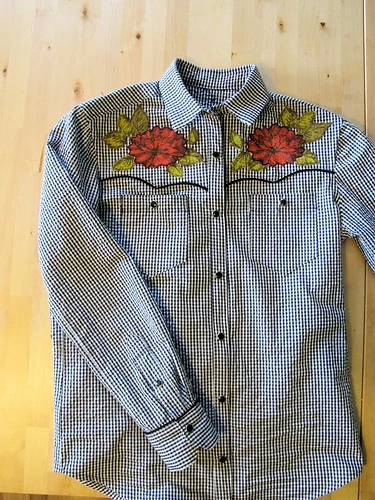
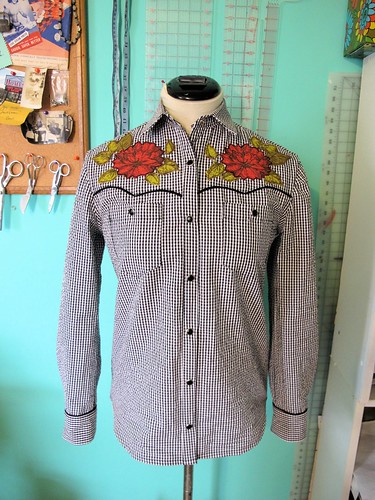
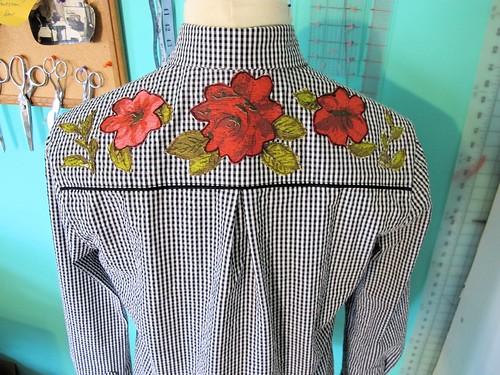
I made my entire outfit, obviously, but let’s talk about the shirt first. My fabric is a tiny check gingham seersucker from Mood. I used the Archer as my base pattern (lol, poor Jen, probably never thought her pattern would get used to make this sort of monstrosity SORRY JEN I LOVE YOUR PATTERN THO), and made a few modifications, beyond my normal ones of changing the sleeve placket, narrowing the side seams, and a different method for attaching the collar and collar stand. There’s quite a bit of piping, since we all know it’s not a real western shirt without gratuitous amounts of piping.
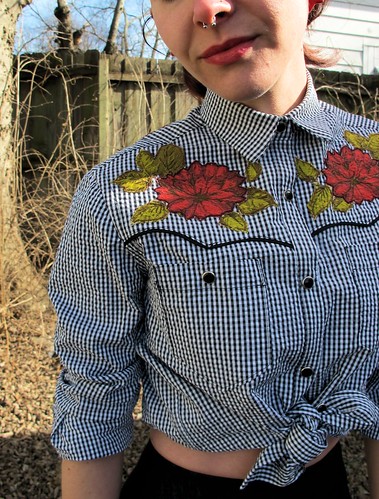
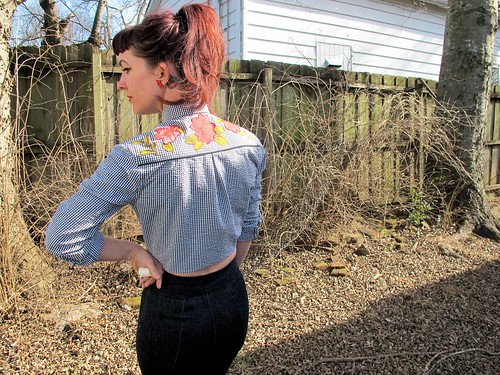
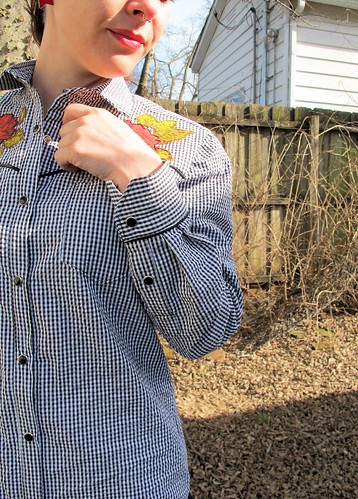
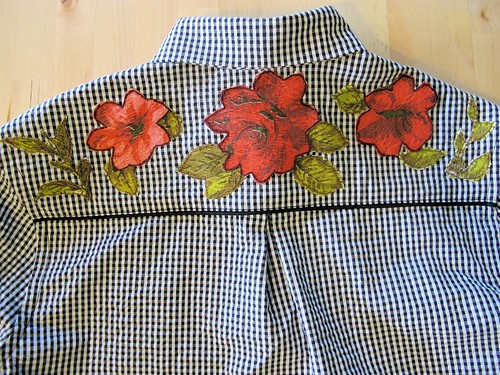
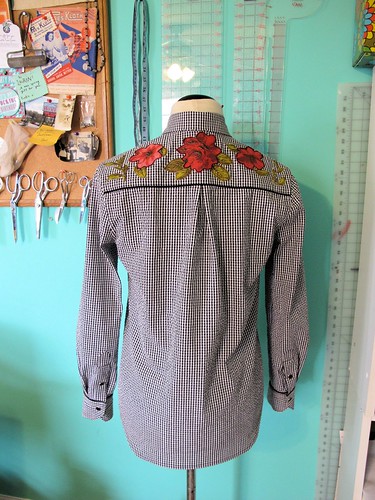
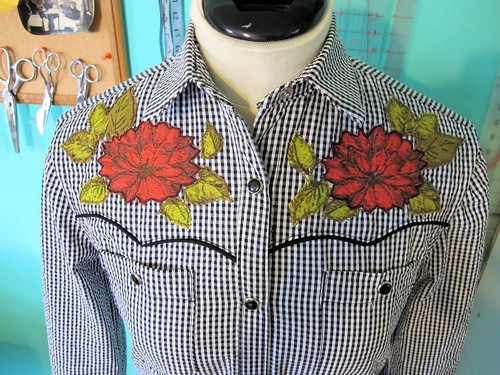
Adding the piping was really fun, and definitely adds some pizazz to an otherwise plain shirt. The piping at the back yoke and top of the sleeve cuffs was easy – I just sewed it along the seam allowance before attaching the other pieces. For the front yoke, I had to do a little bit of drafting and figuring out – I ended up tracing the front piece and cutting off where I wanted the yoke to hit (right above the pockets) and then drew my scallops with a french curve. To attach the piping, I first sewed it to the bottom of the yoke, clipped and trimmed and pressed and it toward the wrong side, and then laid the yokes on top of the front piece and topstitched along the piping. The raw edges of the piping are enclosed inside the yoke, so the inside of the front of the shirt is perfectly clean except for a line of topstitching. I think it worked out pretty well, if I do say so myself!
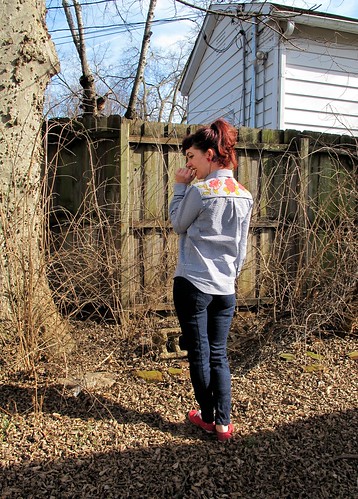
Once I had the shirt entirely assembled, less the pearl snaps and hem, I hung it on a hanger and stared at it for over a month. What to do next? I liked the way the effect was going, but it clearly needed some embroidery at the yokes to give it that western flair. I realized at the point that the tiny gingham check was working against me – any embroidery was going to get lost in all that action.
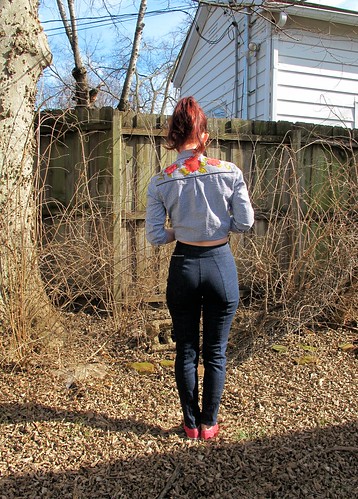
I had my epiphany right before I fell asleep one night – APPLIQUE! That would show up against the check, and it would still allow me to involve some of the embroidery I so desperately wanted. I knew I still had a piece of vintage barkcloth in my stash that would be perfect (I used the majority of it for my birthday dress a few years back, and have been hoarding the remaining yardage ever since!). I painstakingly cut around each rose and leaf, arranging the pieces so they would be mostly mirrored at the front, and attached them with fusible web to the yokes. Then I hand-embroidered around every piece – partially to keep them attached to the start, but mostly because I just loove the texture of hand embroidery!
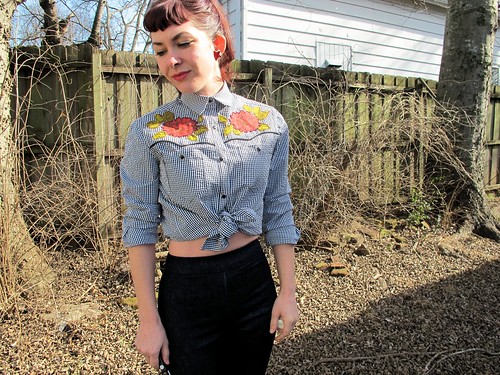
I am pretty freaking THRILLED with how it turned out, what do you think??
The last thing my shirt needed was a little bit of pearl snap action! I got mine from Cowgirl Snaps on Etsy, and I couldn’t be more pleased with the overall experience. I actually bought both red and black pearl snaps, but once I got the shirt finished, black was the clear winner. Also, I just really love hammering shit in my sewing room, ok.
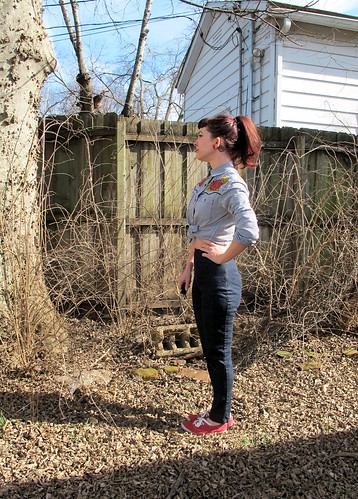
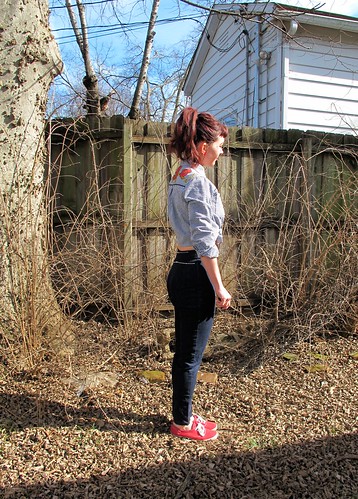
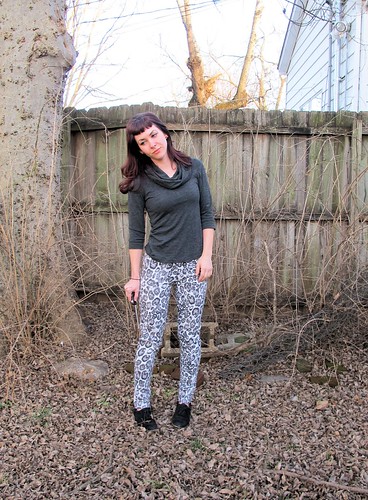
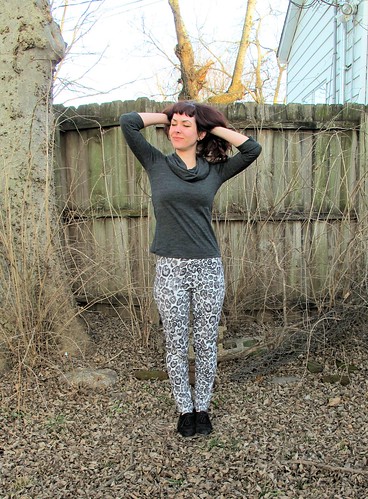
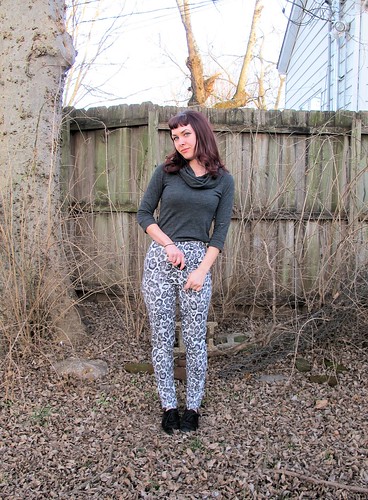
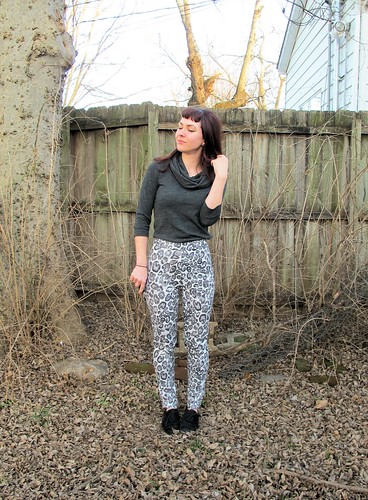
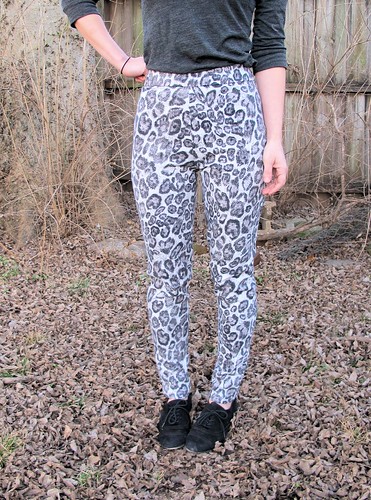
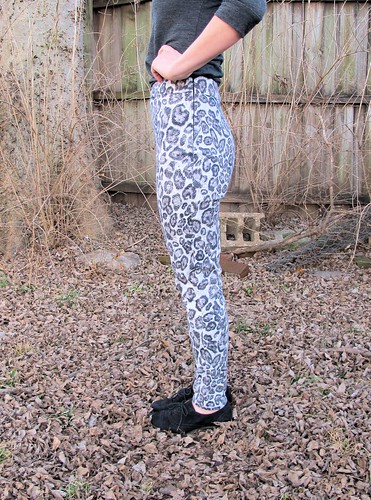
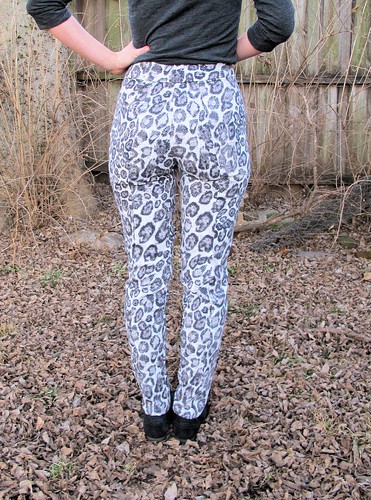
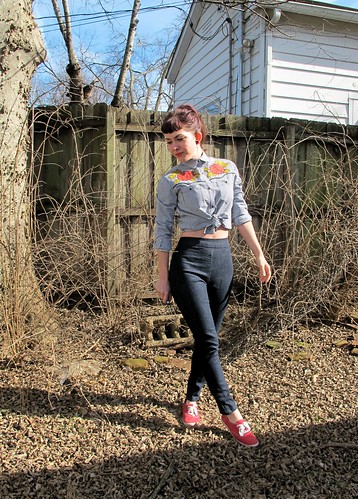
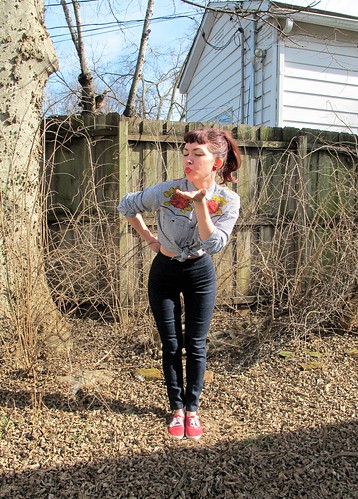
Ok, now let’s talk about the pants! I used a Theory stretch denim from Mood and my pattern is McCall’s 6440. This is my first version of this pattern (you’ve already seen my leopard pair, ooh la la), and I went through a BIG fitting curve with these. I initially cut the size 8, based on the finished measurements – and they were huuuuge! Pretty much every thing about them sucked except the crotch curve, basically. I spent an entire evening trying on, pinning, basting, trying on, repinning, basting, trying on… ad nauseam. I’m happy that they worked out in the end – they are SO fun to wear, and look super pin-up, yay! – but getting there was a process, plus the insides are full of thread tails from all that basting. Oh well!
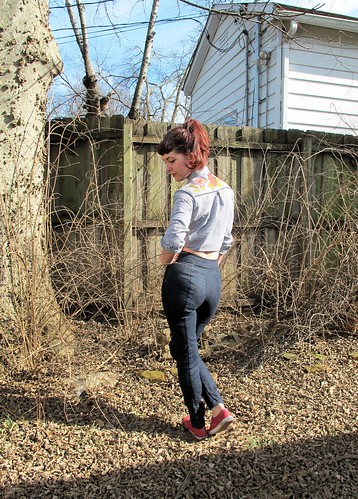
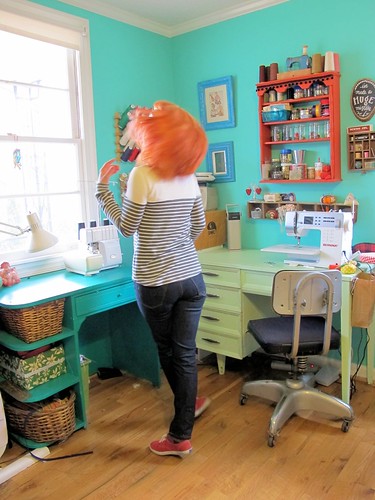
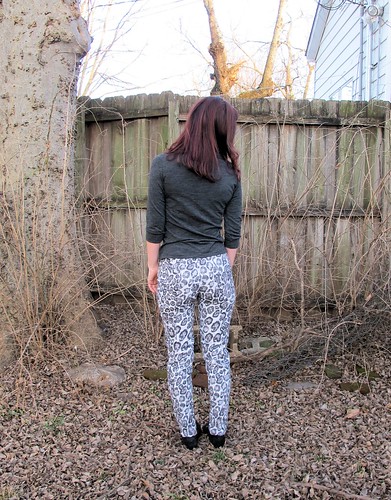
Some gratuitous butt shots for ya. You’re welcome.
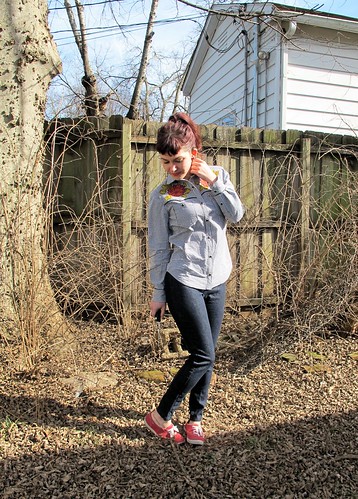
Oh, yeah, and in case you were wondering – I can also wear this shirt untied with the sleeves rolled down, like a proper Archer, which makes it much more wearable in day-to-day life 🙂
Now at this point, I’m sure you’re thinking, “Ok, fine, but where the hell are you going to wear that thing, anyway??” Guys. Guys. I live in Nashville. I’m not so stuck up my own butt that I’m not above rolling down to the tourist district and getting my Honky Tonk on. Let’s be real – Honky Tonkin’ is the best part about living in Nashville, as far as I’m concerned. OF COURSE you can go dancin’ in normal people clothes, but why the hell not throw on your best western digs and cowboy boots and dress the part? This being made of seersucker is even better – it’ll be much more comfortable come summer, compared to my RTW black cotton western shirt, especially with the looser style.
I’m also going to wear it just for the heck of it because, well, it’s awesome 😉
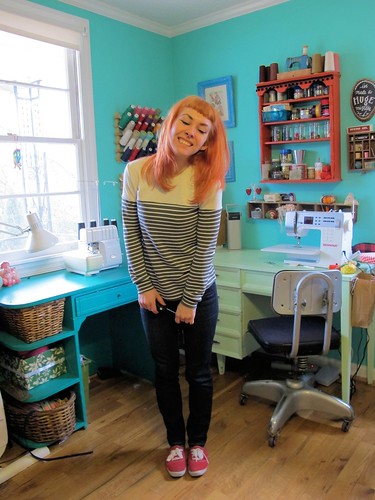
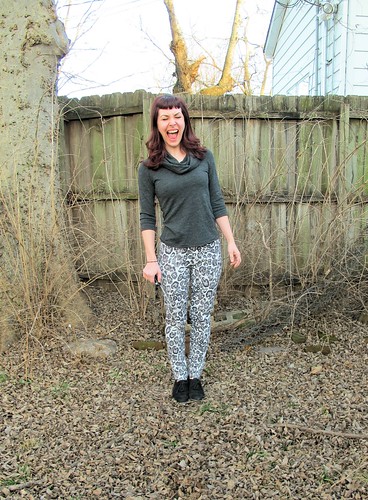
Also, in case you were wondering – I DO have cowboy boots! I just thought this outfit needed a little tone down from the ~country~, hence the Keds 🙂
Ok, hope you’re ready for some detail shots… I took a million :\….
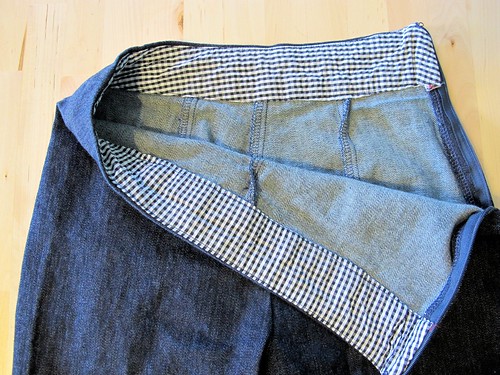
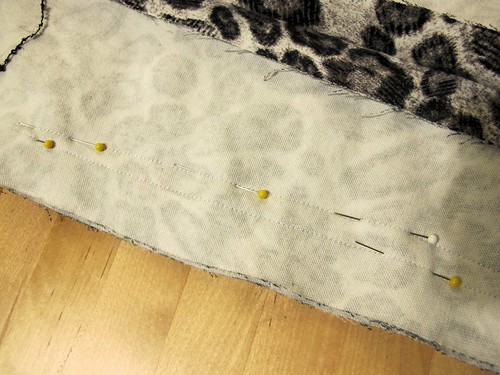
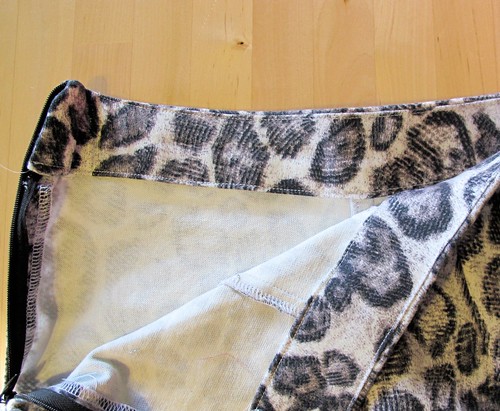
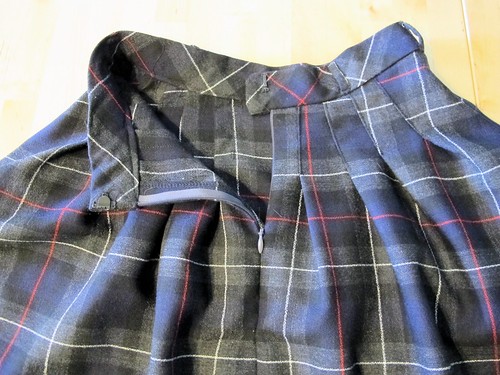
The waistband of the pants is faced with more gingham seersucker. I love when my pants match my top, even if it’s only on the inside!
Don’t look too closely, but the embroidery on the front yokes is actually not a perfect mirror. Since the flowers weren’t printed to mirror, I had to get super creative with my cutting and appliqueing on one side, but I think it worked out quite nicely!
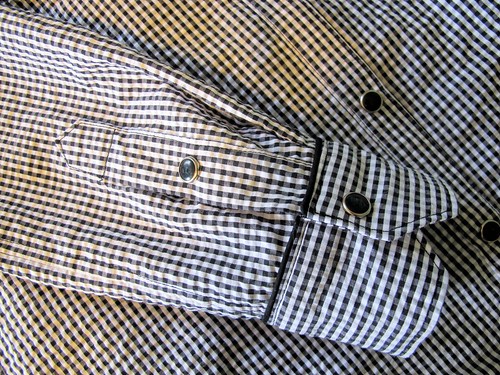
Sleeve placket + pearl snaps + piping = ♥
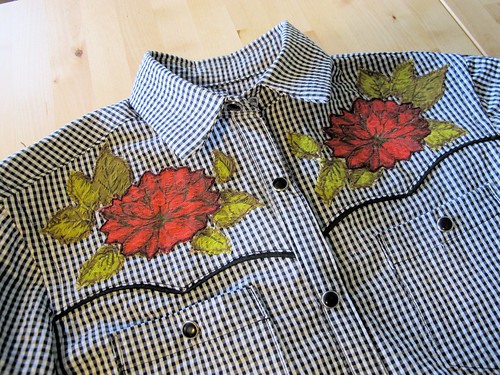
Yokes
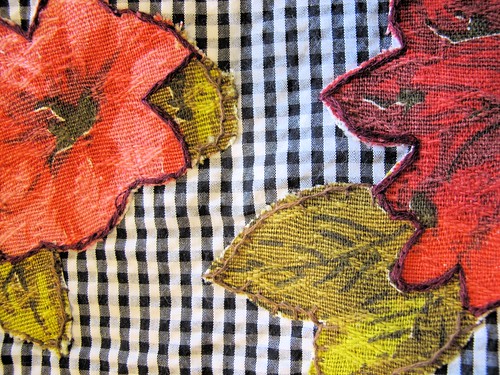
Embroidery – the flowers are outlined in a 4 thread split stitch, and the leaves are outlined in a 2 thread chainstitch. I love the effect and textures with the applique and embroidery – it’s just a little bit Alabama Chanin.
Snaps to anyone who sat through this entire post! I have one gift for you, which I found while I was trolling the nets for Dolly inspiration (click for source):

NOW do you see why I chose her as my inspiration? God, I love that woman.
Now head on over to Project Sewn and see what everyone else has been up to! Don’t forget to vote for your favorite!
Tags: applique, Archer, completed, denim, Dolly Parton, gingham, mccalls, Mood Fabrics, pants, Project Sewn S3, seersucker, shirt, style, western shirt