
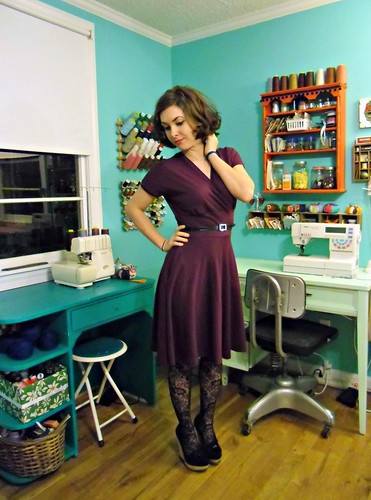
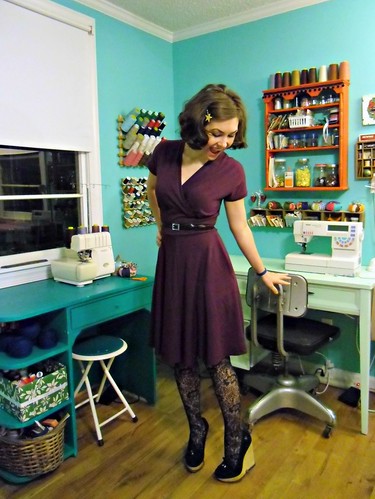
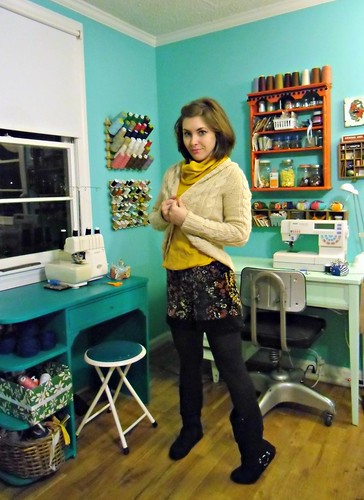
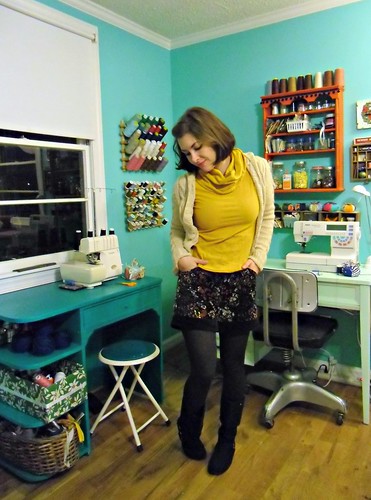
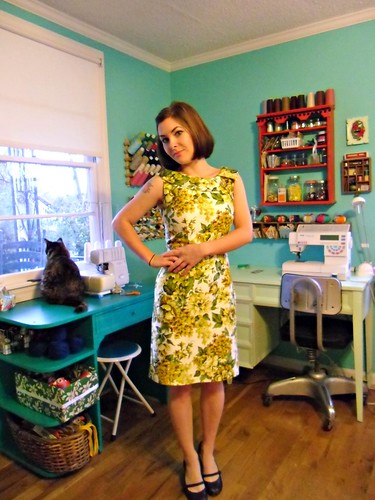
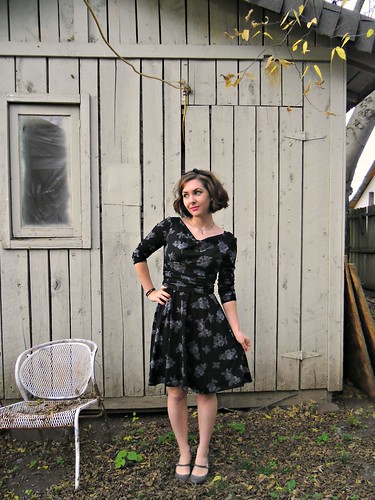
WHOOOOOOOOOOO LOVES CAKE? I’m talking about the new pattern line, the brainchild of our beloved StephC (although the food is all kinds of delicious too, mmm). Tiramisu is her first offering – a knit dress with a mock-wrap front (in cup sizes A-D), short kimono sleeves, and pockets.
I was actually part of the crew of ladiez who were initially chosen to test the pattern before it went to print. There was a small snafu with the tester printing (so it goes), which is why you see my dress at the same time you are (hopefully!)holding your own copy of the pattern. I’m still treating this like a test pattern, which is why I actually paid attention to the instructions and made notes as I sewed. I also made a muslin. I never make a muslin for knits – are you proud of me? ARE YOU?
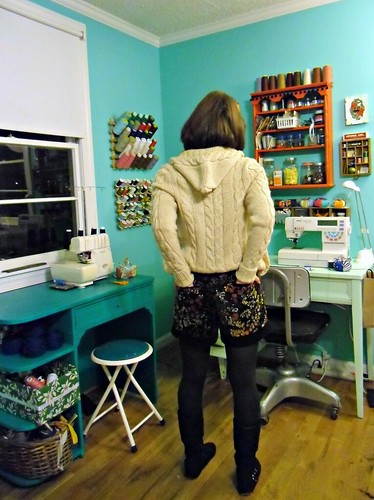
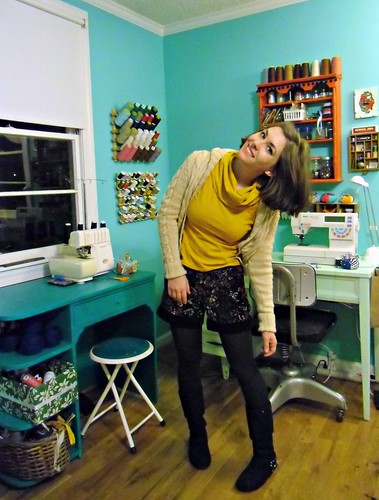
Despite treating this like a test, I’m sorry to report that my pictures are still total shit. You know, winter, lack of light, I’m not getting up early, blah blah. Also, my hair looked REALLY good last night and I need to take advantage of that. Them’s the breaks!
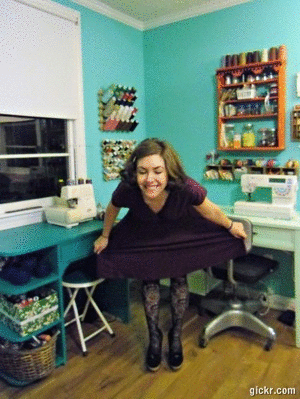
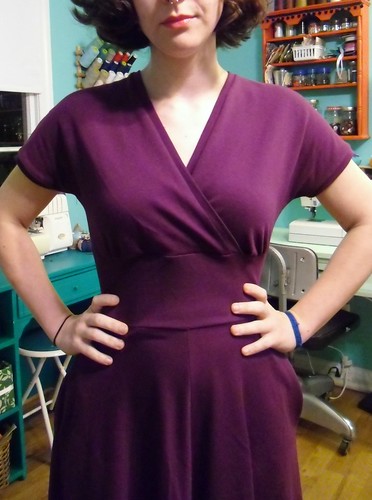
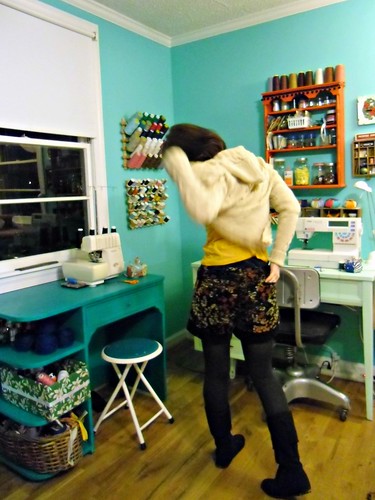
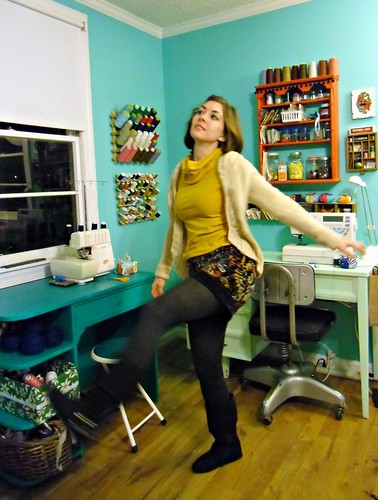
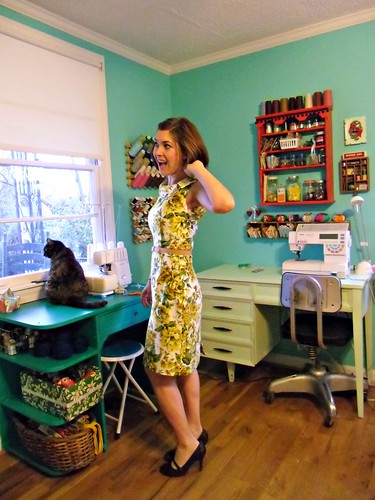
Anyway, check out my new dress!
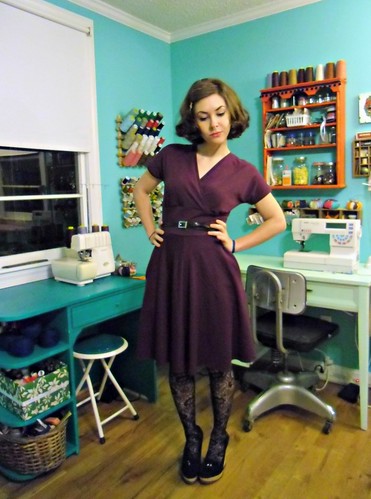
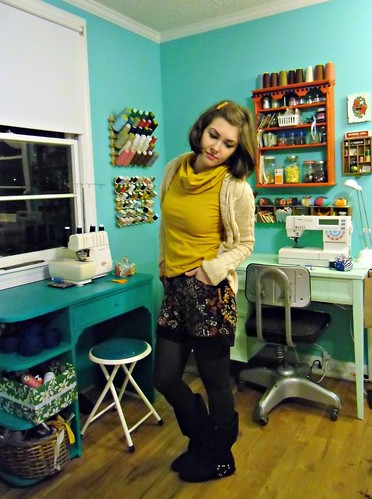
~So in love!
It looks totally different in a solid color, yes?

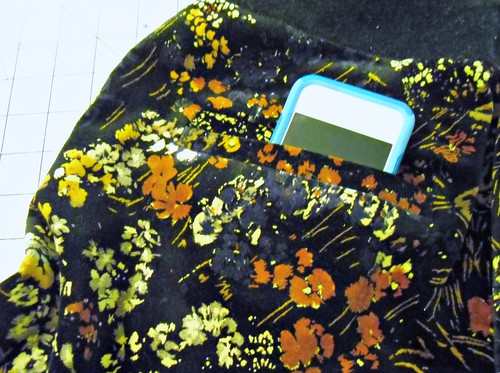
For this lil guy, I used a gorgeous purple bamboo knit that I bought at Vogue Fabrics while I was in Chicago. I actually bought it specifically to make this pattern; I’ve been holding it for a few months haha. I wish I had a big enough piece to send every single one of you a little swatch – it is the softest thing I have ever put on my body ahhhh!! And the color… none of these photos (mine or the ones from Vogue) do it justice. It is the most beautiful eggplant purple in the world.
Basically, I never want to buy another knit that isn’t bamboo again. Ever.
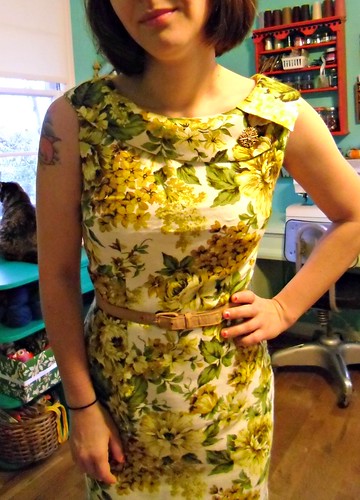
So let’s talk about the pattern! The sizing is pretty brilliant, and in fact my favorite part – you pick based on your high bust measurement, and then corresponding cup measurement (which is more of a measurement of proportion rather than the actual size bra that you would normally wear). The waist band is chosen based on your actual measurement (rather than the usual, “Well, if your bust is x, then your waist is y.”). It sounded confusing at first read, but once I actually got the pattern in my hands and looked over the sizing information, it was pretty easy to determine what size I should cut.
The size I ended up with was 30D, based on my measurements, and the waistband was cut for a 25″ measurement. I had to make a couple small changes to get my preferred fit, but even straight out of the envelope it was looking pretty good!
The changes I made were actually pretty mundane:
– I took about 1/2 off the bottom of the front bodice, as it stretched a little too low in the muslin (PROTIP: When making a muslin for this dress, you only mock-up the bodice & midriff. Since the skirt weighs down the whole top and thus affects the fit, it is pretty important to pull down the band to mimic this if your fabric is on the heavy side. Otherwise, you may end up with a longer bodice once you sew the skirt on!)
– I took at least 1″ off the side seams, for a much more snug fit
– I took 3.5″ off the hem, as below-the-knee doesn’t look so hot on me. The skirt is 20.5″ now.
Ok, looking back, I realize that those bust changes mean I actually ended up with a 30C. WHATEVA.
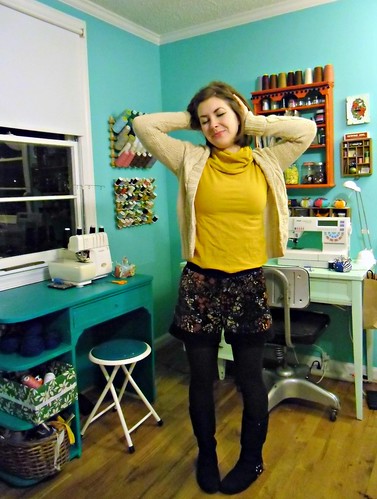
Things I love about this dress:
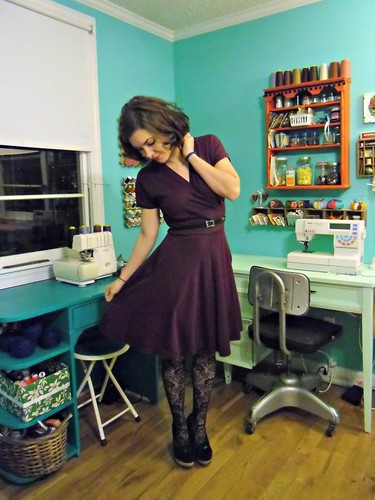
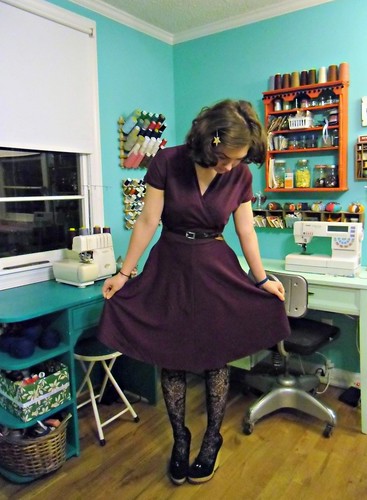
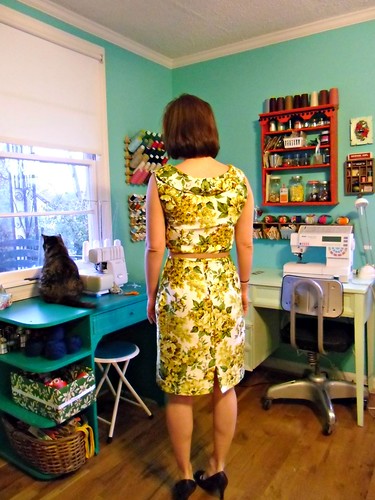
DAT SKIRT.
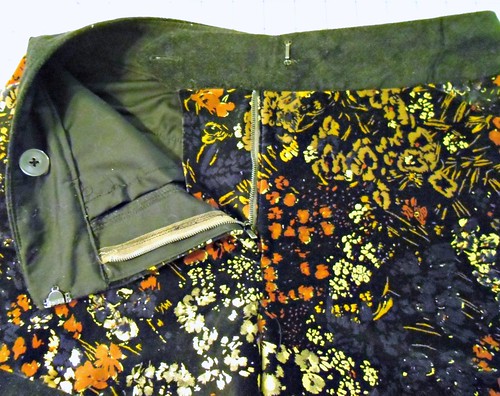
SOFT POCKETS.
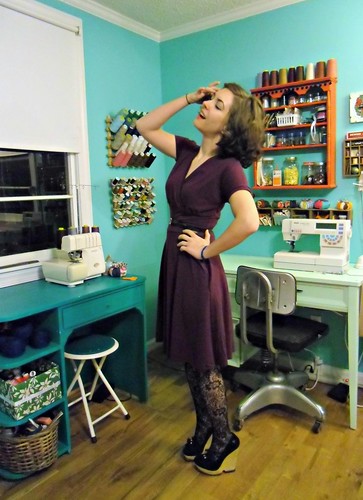
NO GAPE.
Seriously, the bodice engineering on this thing is a thing of beauty and wonder.
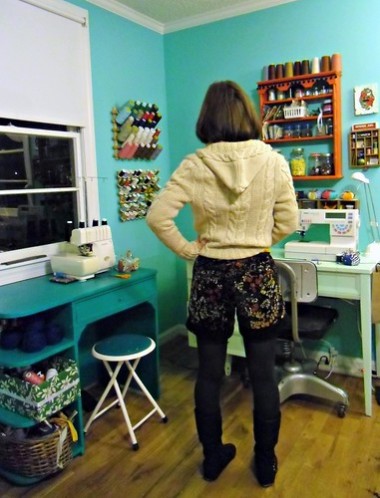
One thing I did note with this particular dress is that the pockets do add a bit of bulk at the hips. I think this is unique to my particular fabric (it’s quite clingy due to the 4 way stretch), as it’s not apparent on Steph’s version (or the bonus version), but I think it bears mention if you are concerned about that kind of thing. I’m not, personally, so the pockets will stay.
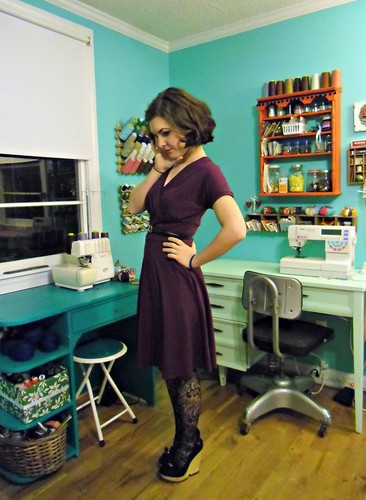
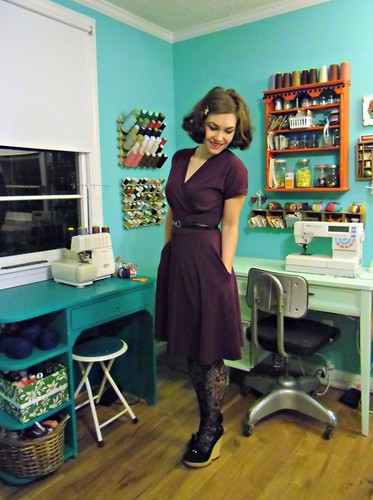
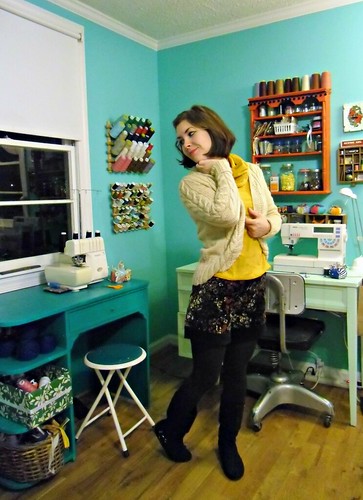
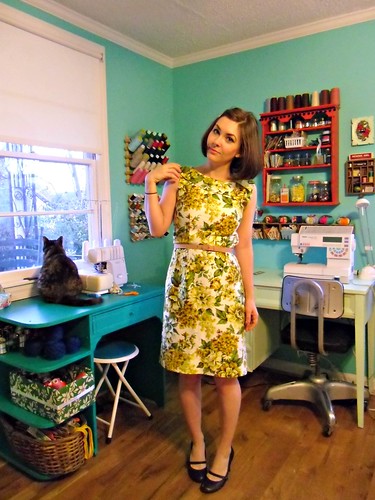
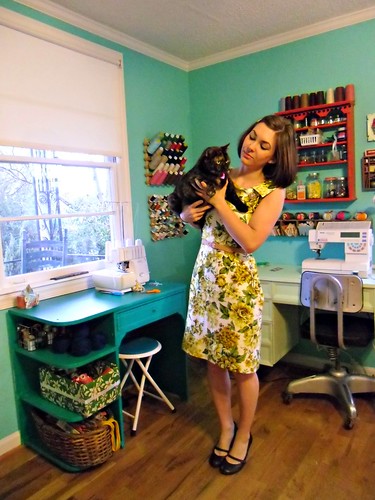
Oh, here are some pictures without the belt, btw:
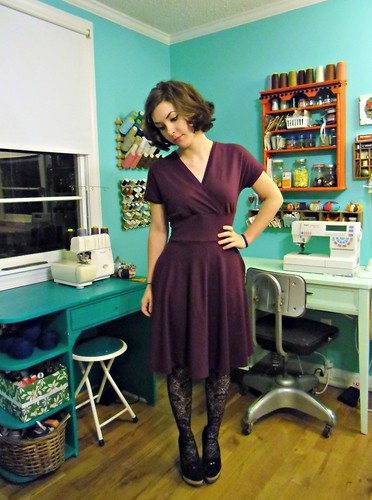

It’s still pretty! I just like to belt, well, everything 🙂
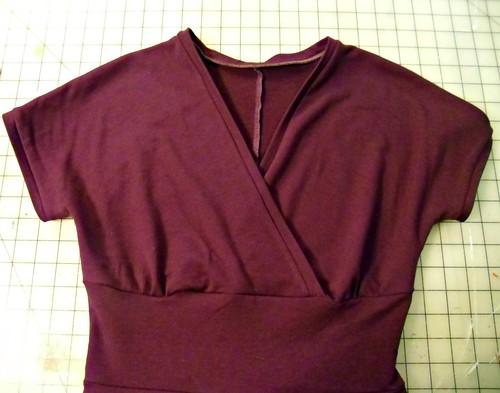
The only thing I would change next time I make this is to sew the sleeve binding on after the side seams are sewn. It’s a personal preference – I know why the pattern has you sew the binding on before (so you can test and tweak the fit – and yes, it comes in handy!), but I just like the way it looks as an, er, uninterrupted tube. It also may or may not have anything to do with the fact that I sewed the sleeve binding to the bottom of the midriff on my first go (and no, I’m not bitter or anything, why do you ask?).
Another thing I’ll mention is that the fabric estimates are generous. I only used 1.5 yards of my 60″ fabric. Even at $15 a yard, that’s a pretty cheap dress!
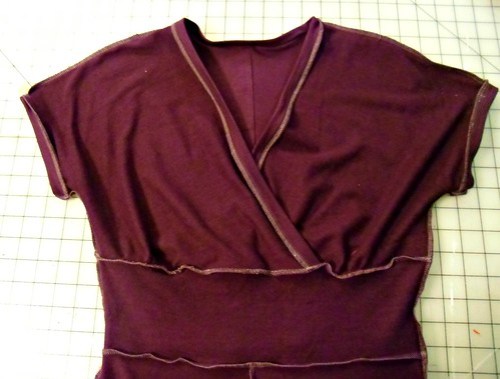
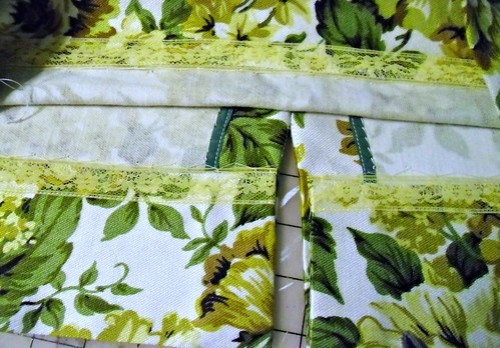
I know my threads look as white as I am, but I promise they are purple! Also, this picture is boring as hell.
Anyway, super happy with this one! I can see this in lots of different fabrics – it’s so comfortable, especially since you don’t have to worry about THE GAPE.
With that being said, if you haven’t already done so – you really need to pick up a copy! And OMG so excited about the upcoming Pavlova!!


