
This is the last post in our sew-along, folks. We are about to finish up these bad boys once and for all!

Today we will be sewing steps 20-22 – making and attaching the belt loops, adding a button and hook and eye, and hemming the pants. That’s it! That’s all that’s left!
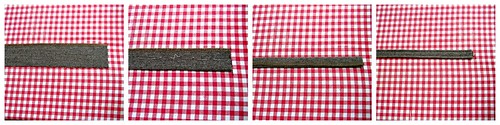
Belt loops first! If you don’t want to add belt loops to your pants, that’s fine – you can skip this part and scroll down. If you are adding belt loops, I hope you can see this picture. It should enlarge through Flickr if you are having trouble.
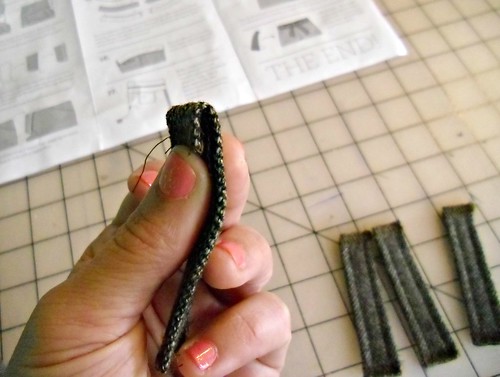
Finish one long edge of the belt loop piece – preferably with something that won’t add much bulk, as this fabric will be triple folded onto itself. Mine is serged. Fold the piece into thirds – start by folding the unfinished long edge about 5/8″, press, then fold the finished edge over that, and press again. Topstitch on either side of the folded piece, making sure to catch all layers through both rows of stitching.

Cut the belt loops into 6 equal pieces. The instructions call for 4 1/2″ length, but I find that to be a bit too long for the width of the waistband, so mine are 3 1/4″.
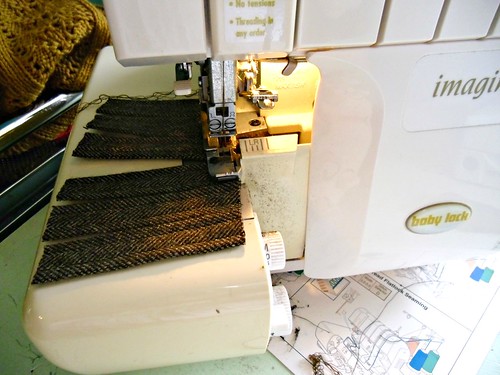
This step is totally optional, but I like to finish the raw edges of my belt loops so they don’t unravel over time. If you have a serger, just shove them under the presser foot one after the other and serge in one long line. If you don’t have a serger, you can zig-zag with your sewing machine. Repeat on the other side.
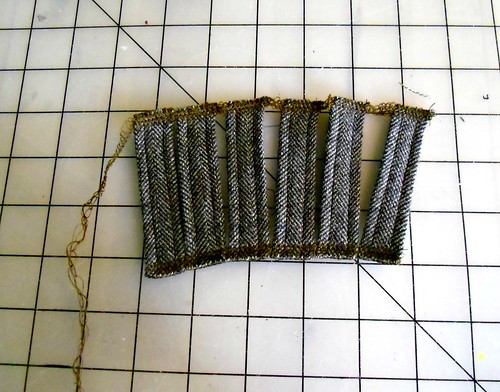
You will end up with something like this.
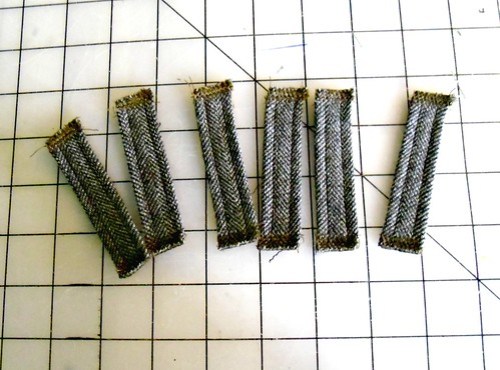
Then cut all the little pieces apart.
Again, this step is optional. If you don’t finish the edges of your belt loops, I’m pretty sure the sewing police won’t arrest you for fraud or anything :B
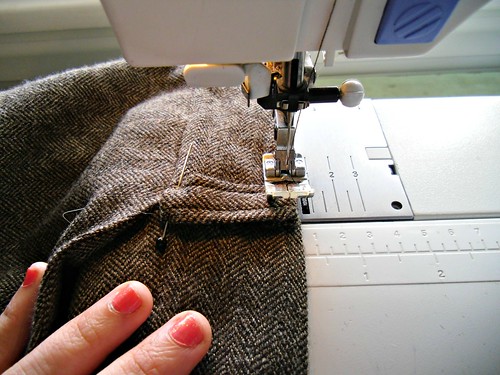
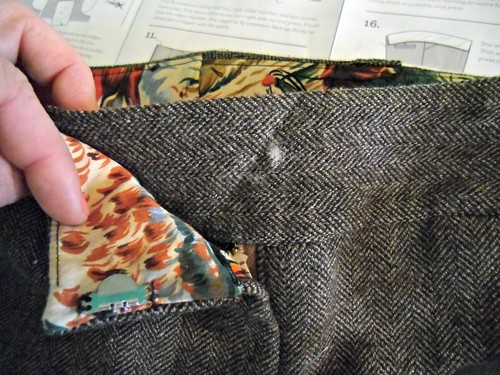
Take your first belt loop and fold one end back about 1/2″ or so (however little you can get away with, due to the bulk). If your belt loops are closer to 4″, you may need to fold more back.
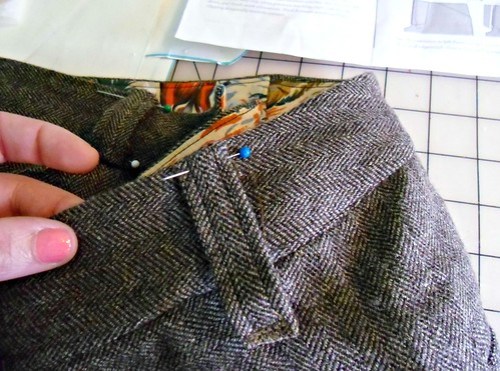
Pin the belt loop to the pants waistband, right along the top edge. The belt loops are centered over the back darts, side seams, and front pockets. The diagram in the pattern is very helpful if you need more placement guidance.
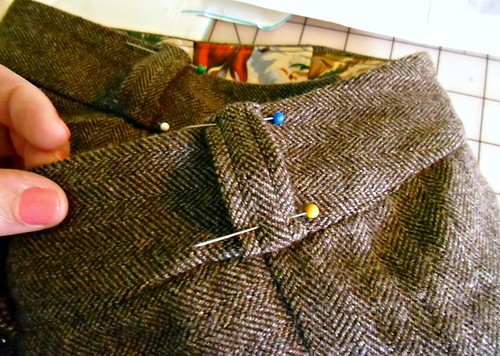
Fold the bottom of the belt loop back approximately the same amount as the top (in my case, 1/2″) and pin along the bottom of the waistband.
The belt loops are not intended to lay perfectly flat along the waistband – there should be a little bit of room. You know, so you can fit a belt in there 🙂
Continue all the way around the waistband until all the belt loops are pinned down.
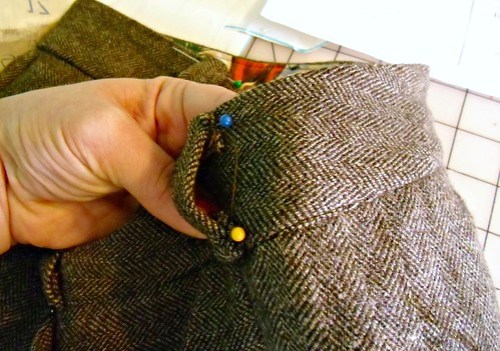
To sew them down, stitch as close as possible to the top edge of the waistband. I like to go over this stitching line a few times – forward, backward, forward again, and then a small back stitch to secure. Don’t want those belt loops going anywhere!
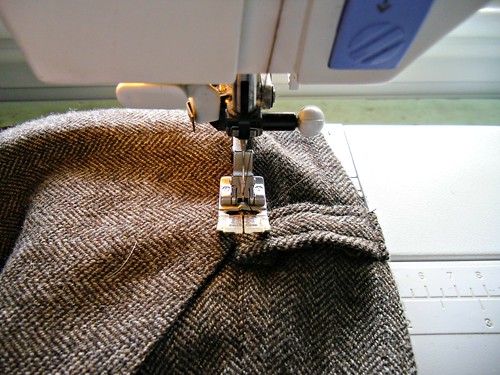
Sew the bottom of the loops down in the same manner, getting as close to the seam as possible.
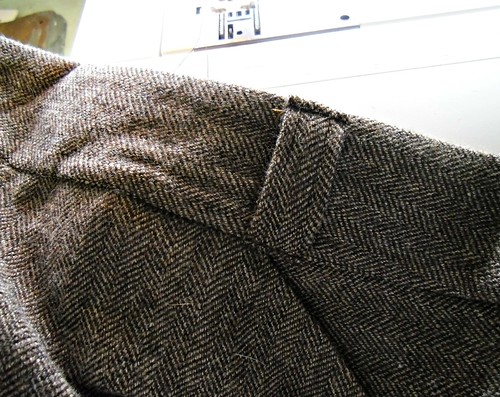
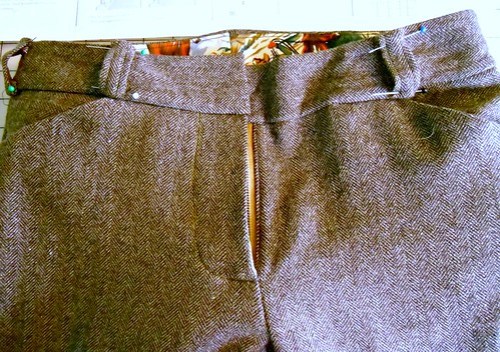
Here is what my sewn on belt loops are looking like. Shnazzy!
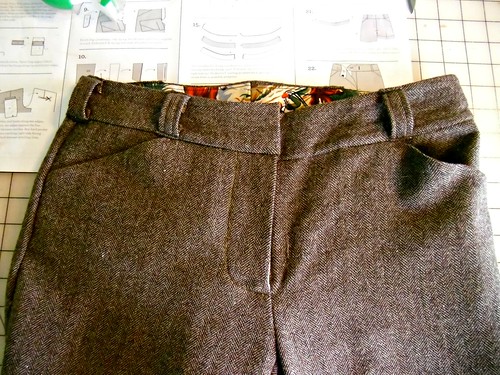
All belt loops should be sewn on at this point.
The next step is hemming, but I like to save that for last and I find the fit of my pants is slightly affected without a proper closure at the top. So I’m going to skip 21 and jump straight to step 22.
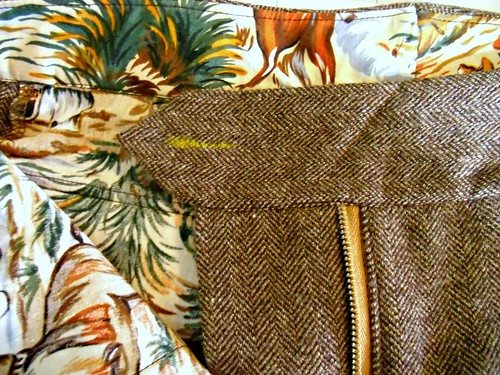
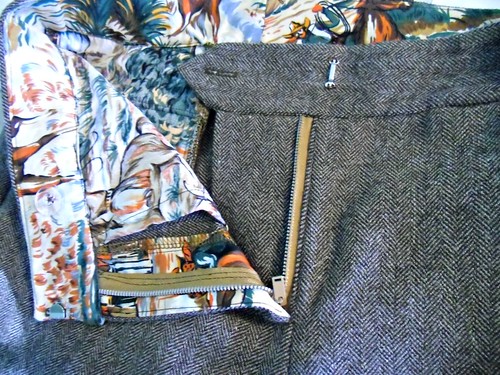
Button hole goes on the left front – it should be placed right at the edge before the triangle point starts.
Sew your button on the inside of the right front, being careful not to stitch on the outside of the pants.
Hook goes on the right front – butt it as close to the edge as you possibly can, without it actually showing from the outside. I like to sew mine on using a blanket stitch, as it tends to be a bit more secure.
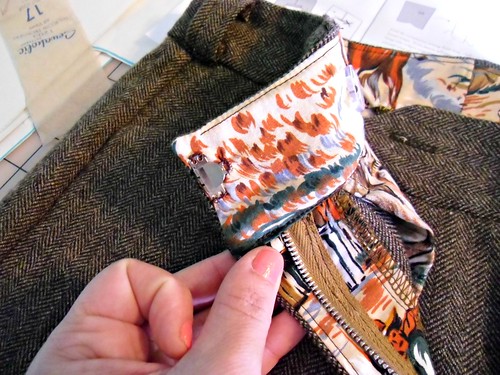
To locate the exact placement of the eye, zip the zipper closed and rub the edge of the hook (where the eye would sit if it was closed) with a soft piece of chalk until it is coated in powder.
Close your pants up and press firmly over the hook.
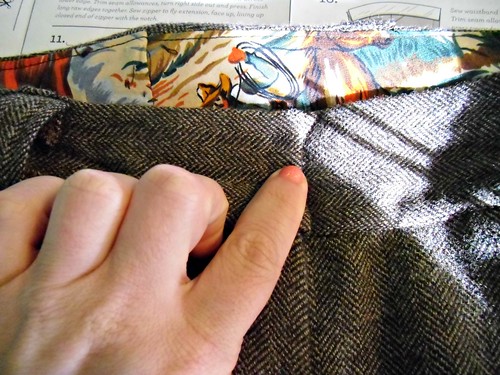
When you open them again, there should be a little chalk print where the hook was.
Sew your eye right over it! EASY.
You can go ahead and hem your pants at this point. The pattern allows for a 1 3/4″ seam allowance, which can either be turned and topstitched or hemmed invisibly with a slip stitch. Tasia has a great tutorial on invisible hemming with seam binding – hers is shown on a dress, but it would work just as well with pants.
And that wraps it up for the sew along! If you’re still catching up or have only been watching from the sidelines, don’t worry – these posts will be here indefinitely, as long as you need them. If you have any questions that were not covered, I’m always happy to answer via comments and/or emails. Hopefully these pictures & word vomit made you feel much more confident about tackling pants. Because, dude, pants are awesome. Especially when they have cowboys inside them 🙂
I’ll post a reveal of my finished pair on Monday. PANTSSSSS.
(thanks, Andi, for reminding me that this exists!!)


A little behind on the pants/shorts, but I was SO hoping you’d include this clip! (Also, I totally made a pun. Awesome!)
Beautiful, beautiful photography, great post. 🙂
You are fabulous! I was struggling with the welted pockets and contacted Sewacholic for some help. They directed me to you. Thank you, thank you thank you!
Hooray! I wanted to make these pants when they first came out. Years, and many intervening projects later, I’ve finally done it. I really appreciated this sew along to hold my hand through the project. Thanks for dong this sewalong!
You are welcome!!!
I just wanted to thank you for your Thurlow trousers sew-along posts. I’ve followed it 3 times because every time I look at the printed pattern, it’s utterly baffling. Your tutorial is a life saver!
You are so welcome! I’m happy to hear that you found the sewalong helpful 🙂
Thanks SO much for this sew-along, it’s been really helpful. I’ve just completed my first ever pair of brilliantly-fitting trousers thanks to the Thurlow pattern and YOU! 😄