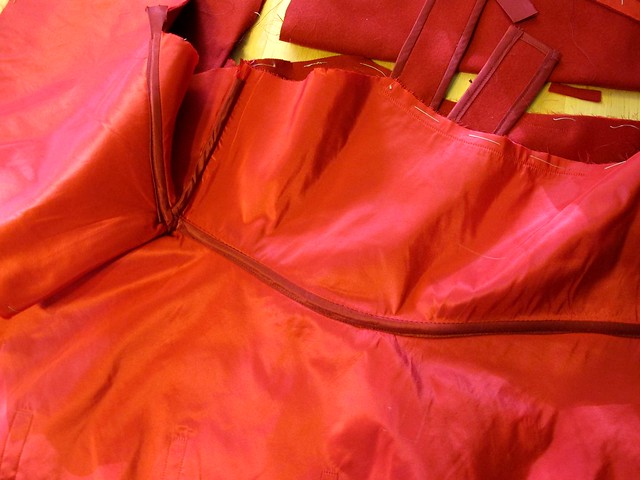
Good morning, sewalongers! This is the week we actually start sewing our coats – aren’t you sooo excited!?! 😀 Meg will actually be covering this week’s set of steps over on the McCall Blog later this week (she had a family emergency last week, so please be patient if it takes her a couple of days to have the post up), but I thought I’d post here with some tips and progress updates (and personal cheerleading, in case you need it 😉 ).
This first set of steps will get you acquainted with attaching the binding, as well as starting some basic construction on the coat – the back belt, the underarm gusset, and attaching the side to the front. It is fairly straightforward – you may not even need the sewalong once you start reading the instructions – although you do need to be very precise. Don’t be afraid to go slow and maybe even do some hand basting on the trickier parts. You got this!
Ok, here are my ~top tips~ for this section:

If you underlined your coat, you will want to remove the basting stitches after you sew each piece together. This is where the silk thread/hand basting comes in handy – it should be very easy to pull out 🙂

Underlining or not, if your coat fabric is thick, you will definitely want to trim and grade the seam allowances as much as possible when it comes time to apply the bias binding – otherwise, you may have problems getting it to lie flat. I use my Gingher duck-billed applique scissors for this; the flat side keeps any errant fabric from getting caught and accidentally snipped. Obviously you can use regular scissors – just be mindful of where you cut 🙂 I grade down my coating fabric first – as close as I can to the stitching line, without compromising the strength of the stitches – and then trim the remaining seam allowances once I’m ready to fold over the binding.
SPEAKING OF THE BINDING…

Trim off those little triangles before you start applying. It’ll make things a tiny bit easier.

When attaching the binding to the belt, I used my #10 Edgestitching foot to stitch in the ditch on the right side…

Which turned out freaking GORGEOUS, by the way.


The rest of the binding is actually applied flat to the coat, with the topstitching visible on the right side. It can be pretty difficult to get everything even on both sides (catching the binding at the fold on the inside, while still keeping an even topstitching distance on the right side). The pattern has you baste the binding down first, which is a great idea. The only thing I’d add to that is to baste it by hand – yes, I know machine basting is faster, but guess what? It’s also a HUGE PAIN IN THE REAR to remove. Do yourself a favor and baste by hand. Use silk thread if you got it. I basted right along the edge of the binding with dark blue silk thread (so it was visible)(sorry, no photos of this), and then topstitched right inside my basting line on the outside, using one of these little seam guides so I could keep the stitching line straight. Afterwards, you will want to beat the crap out of your seams to get them to lie nice and flat. I give everything a healthy dose of steam, and then smack it with my clapper (I use this clapper & point presser, but honestly, you could use a hunk of wood if you’re feeling cheap. Just make sure you sand it reeeeeeally well so you don’t get a surprise splinter in your coat!).

Oh yeah, and I realized about halfway through this sewing session that it’s probably a good idea to keep a container around to hold all my trimmed seam allowances. There is a LOT of trimming going on around here, and for some reason, I’m incapable of hitting the trash can. Whatever.
Anyway, once you have finished through step 22, you should have something like this –

It’s a coat… front… thing! Yeah!!! Not so bad, huh? 🙂
Head over to the McCall Blog for Meg’s step-by-step of this part of the process (hopefully up later this week!). In the meantime – how are we doing? Anyone have questions on this section of the sewalong?
Side note/disclaimer: Ok, so I decided to start occasionally using affiliate links on this blog. Sorry if you hate me! 🙂 I am currently only affiliated with Amazon, and I promise I will only be linking things that I personally use and recommend – such as those scissors & that clapper. Y’all will never ever ever see me link something just for the sake of linking it – that’s just crappy. However, please keep in mind that any purchases you make through these links will net a small kickback to me, which I will likely spend immediately on yarn & fabric (and thus pour back into this blog, in the form of content for y’all to read!). Also, no sneaky linkies – I will always describe the item I’m linking so you don’t have to click to see them, if affiliate links squick you out 🙂 I won’t be posting this disclaimer at the end of all my posts, as it seems a little redundant, but you can always view it in my About Me page. That’s all! Thanks for supporting my blog, dudes! ♥


