
Good morning, everyone! If you are participating in this year’s OAL, you should be rocking and rolling along with both your sewing & knitting projects. As I mentioned in the announcement, I will not be offering full tutorials for sewing the Lander Pants – there is a great sewalong available for free on the True Bias website, should you need the additional support – but I did want to pop in and share an alternate method for sewing the belt loops & attaching the waistband. Even if you are not participating in this year’s OAL, I hope you will find this useful!
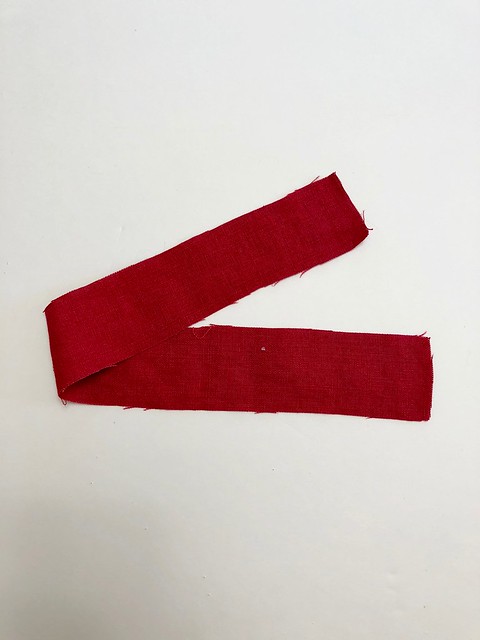
You’ll want to make your belt loops before you attach the waistband (note that you can also attach the belt loops after the waistband if you prefer! For the sake of simplicity, I am following the pattern directions here). The pattern has you sew a tube that you turn right side out and press flat. This is a great method if you are sewing with a lightweight fabric, but it can be a nightmare to try to turn that skinny tube if you are using a heavier fabric, especially denim. Even my red linen doesn’t like being pulled like that! So here is an alternate method if you are using a thicker fabric, or just hate turning tubes 🙂
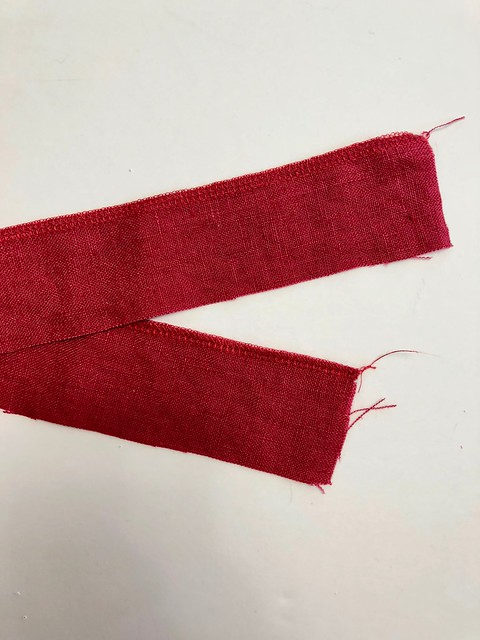
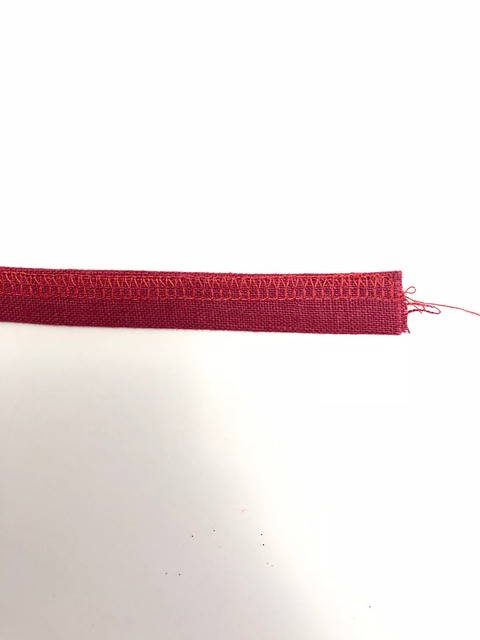
Finish one long edge of the belt loop piece. I used a serger, but you can also sew over the edge with a zigzag stitch, or bind with fabric.
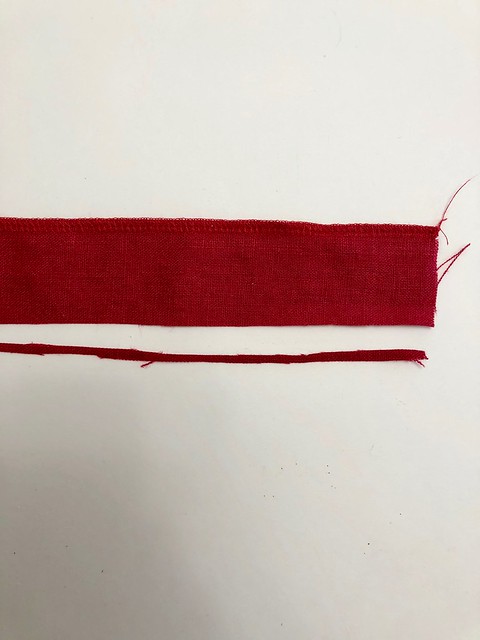
The pattern is designed for the finished belt loops to be about 1/2″ wide. You may want to trim 1/8″ off the long (unfinished) edge of your piece if you want to maintain that measurement. Otherwise, your belt loops will end up being about 5/8″ wide.
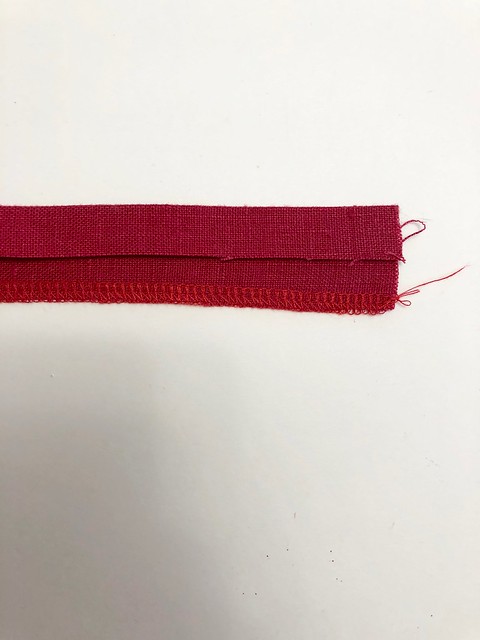
Starting with the unfinished side, fold the belt loop into thirds with the right sides facing. You will end with the finished edge on top, hiding all raw edges. Be nitpicky here and do your best to get the finished edge right EXACTLY on top of the first fold.
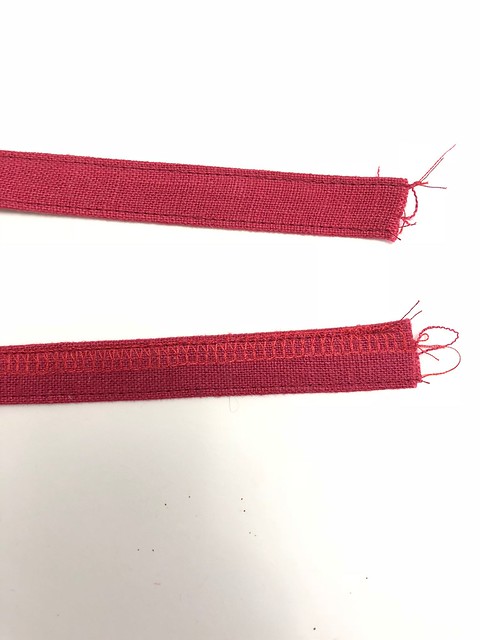
Topstitch along both long sides at 1/8″. This is why it is so important to get the finished edge right on the fold – if you are too close to the center, the stitching line won’t catch it.
And that’s it! This gives the same effect as the turned-tube-belt-loop-, but I find it a lot easier to sew. From here, you can cut your belt loop into 5 pieces and attach them to the top of the pants as instructed.
Now, for the waistband!
If this tutorial seems like deja vu, it’s because I’ve showed it before on my blog! I wanted to show it again for those who missed it the first time, and also to show that it does work for one piece waistbands as well as two piece!

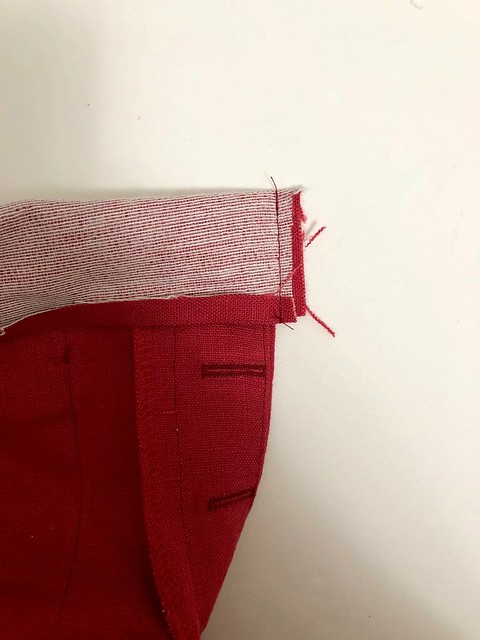
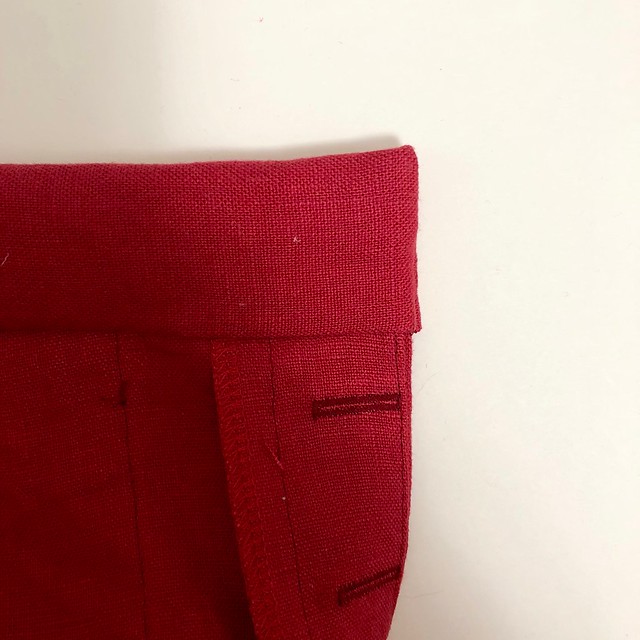
On your interfaced waistband piece, fold up one long edge a little bit less than the seam allowance (this pattern is 1/2″, so I folded up my edge at 3/8″) and press.
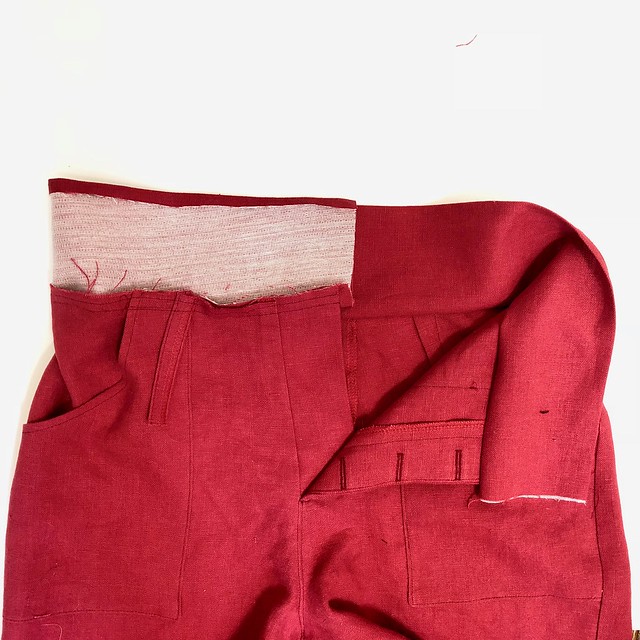
This is gonna seem ass-backwards – just bear with me! Attach the waistband to the INSIDE of the pants, with the right side of the waistband facing the wrong side of the pants. Sew all the way around at your normal seam allowance, making sure to leave at least 1/2″ overhang at each end (you can always cut off any excess). You will sew all the way around, from one opening to the other. If your pants have a zipper, make sure that it is unzipped and sew right across the zipper – just go slow so you don’t break your needle on the teeth.
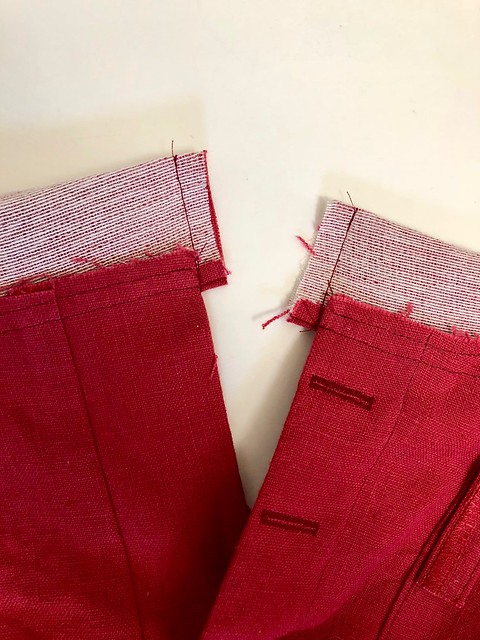
Now you’ll fold the waistband back on itself, with the right sides facing. The side that has been folded and pressed – i.e., the side that was not sewn to the pants) should hang below by about 1/8″-1/16″. This is to ensure that the stitching line you just did will be covered when you turn the waistband right side out.
Now, stitch along the short edge, keeping in line with the center front edge of the pants. It may be helpful to draw a guideline here first with a ruler (which is exactly what I do – no shame here!).
Trim one of the seam allowance layers in half. Do not trim the corner, keep some seam allowance there.
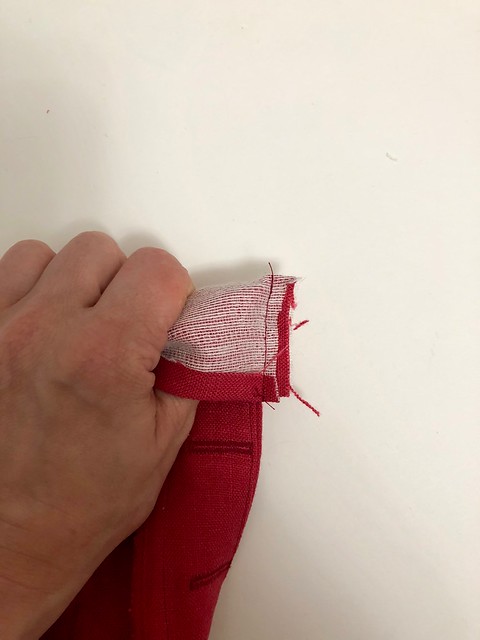
Now you will turn the waistband right side out! To get a nice, crisp corner, start by sticking your thumb in the waistband up to the corner.
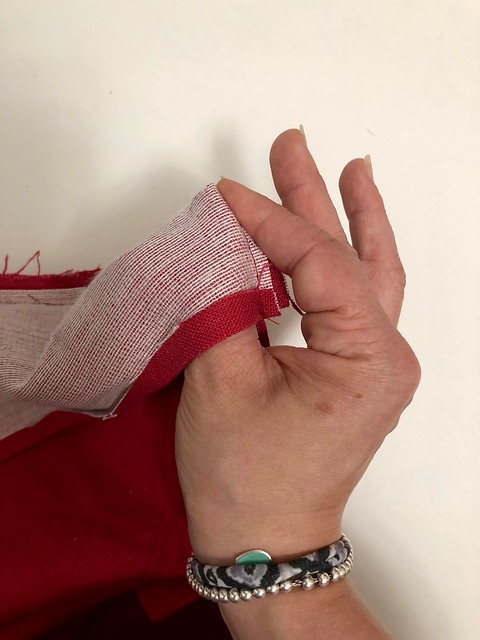
While your thumb is still in that corner, use your pointer finger to push the seam allowance down to one side (doesn’t matter which side) (Sorry, I don’t have pretty hands haha)
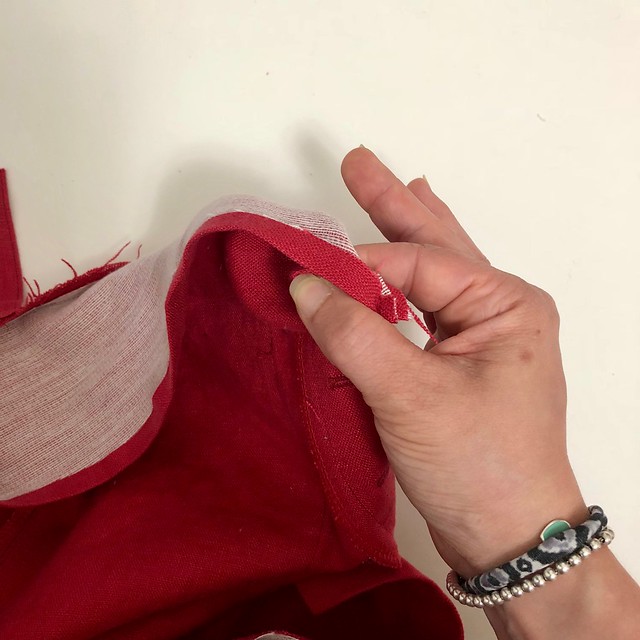

Keeping your fingers in that weird pinch, turn the waistband out to the right side.
You should end up with a nice sharp corner here! You can use a point turner to really push the edge out if you need it to be even sharper 🙂 By holding the seam allowances in place when you turn right side out, this keeps the corner sharp (rather than trying to crap the seam allowances in after the fact). Keeping a bit of fabric in the seam allowances (rather than trimming down aggressively) also adds some structure to that corner, so it doesn’t collapse on itself.
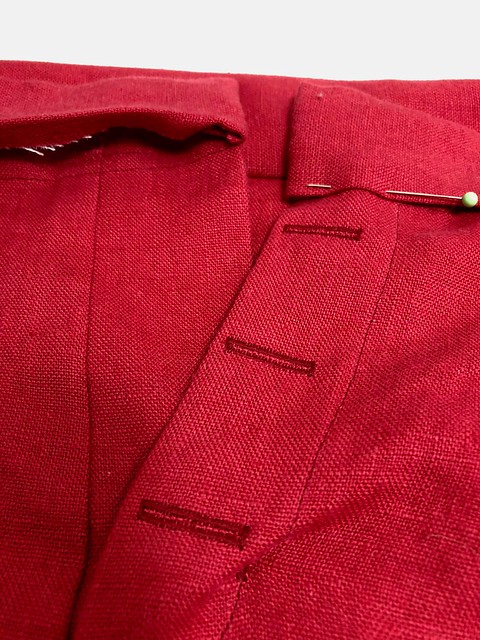
Finally, you can pin the remainder of your waistband down and topstitch from the right side, making sure to cover the first stitching line. I like to start at the center back and go all the way around the long rectangle, ending where I started. You can then cover the backstitching with a belt loop 🙂
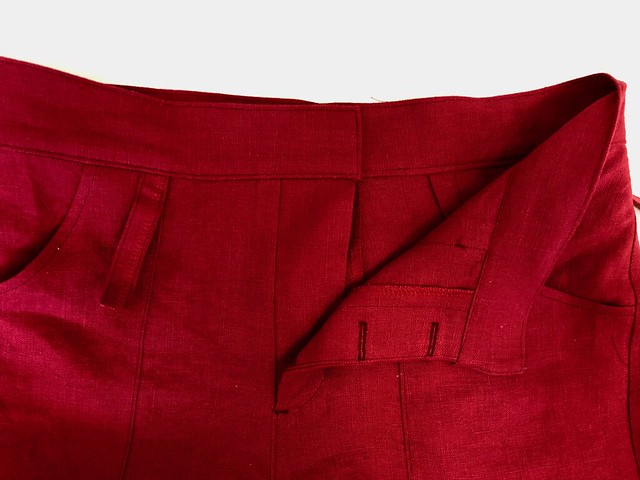
And that’s it! I love this method for attaching a waistband, because it ensures you get a beautiful, even topstitch on the outside without having to worry about catching the facing on the inside! It’s just EASY and basically fool-proof! You can also use this method for sewing in the round waistbands, cuffs (buttoned or in the round) and even collar stands.
Let me know if you have any questions!


This is great! I am so going to do this from now on! I can never seem to catch the whole waistband on the inside when i attach the wb the other way. Thank you!
You are welcome!! 😀
Many moons ago I saw a tutorial for this finish on jeans and now it’s the ONLY way to go!
That fabric is such a nice color.
Thank you! I love the red, it’s the perfect shade!
This is so brilliant and seems so obvious when I read it, although I’ve never tried it. I can’t wait to use it, though. I always have trouble catching all the layers when I stitch from outside.
Same, I find the other method unnecessarily finicky! This way is so easy (I use it in my jeans workshops, too) and it is pretty much universally flawless!
I made an antique style mens shirt using a laughing moon pattern and learned this method to attach the collar and cuffs. I love it for all of the reasons you stated. I’m not sure I thought about using for a waistband (which is exactly the same as a shirt cuff or collar stand obviously). I’m also all in for flat felled seams now for shirts. I won’t have time to make pants before the OAL is finished but I want to make some lander or persephone pants before the summer is out. I’ve been waiting to make pants because I think my measurements will change but then I just don’t have any pants. Obviously my measurements will fluctuate but in the mean time I need some new pants!
Make two pairs of pants – one now, one when your measurements change! I am going through the same thing myself (what I weigh at the end of winter is NOT what I weigh at the end of summer) and it’s nice to have that kind of stuff now, rather than waiting!
Thank you, thank you, thank you for showing this waistband method! I just tried it on a pair of Lander shorts and it worked a treat. I’m terrible at catching the back while stitching in the ditch but this is easy!
Yay! I’m so glad you found it helpful! 🙂
Perfect timing. I was just getting ready to sew my waistband onto my Flint shorts. I used your strategy, and it is by far the best waistband I’ve ever done, and easiest. It seems so obvious once you try it, I wonder why the other method even exists.
That sounds brilliant! I am starting mine this weekend. The belt loops methods sounds just like the one for the Ginger Jeans (which you are an expert in)!