
One last installment of these OAL2015 tutorials and then we are OUTTA here! Finally!
This post is gonna be pretty short and sweet (well, compared to the other ones haha) – all that’s left is inserting the zipper into our skirt, adding the buttons and buttonholes to the back of the bodice (or sewing that section shut) and hemming the skirt. That’s it! Yay!
Let’s get to it!
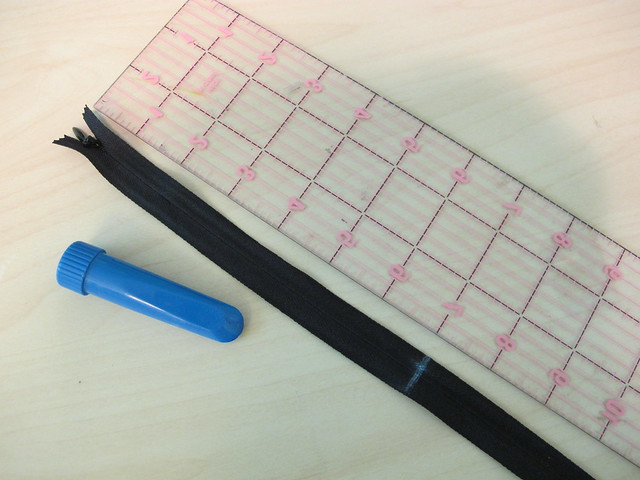
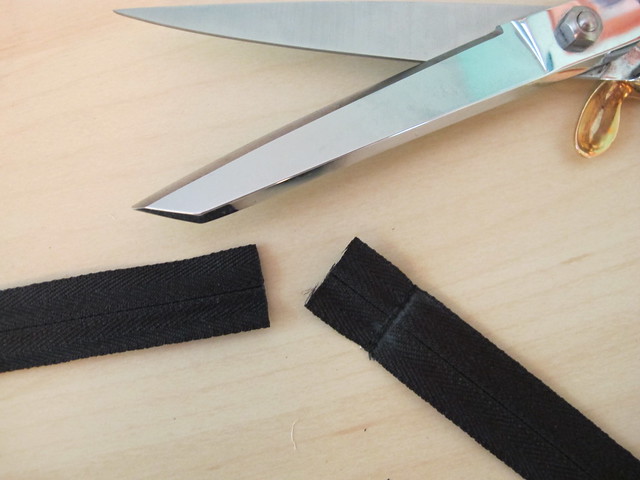
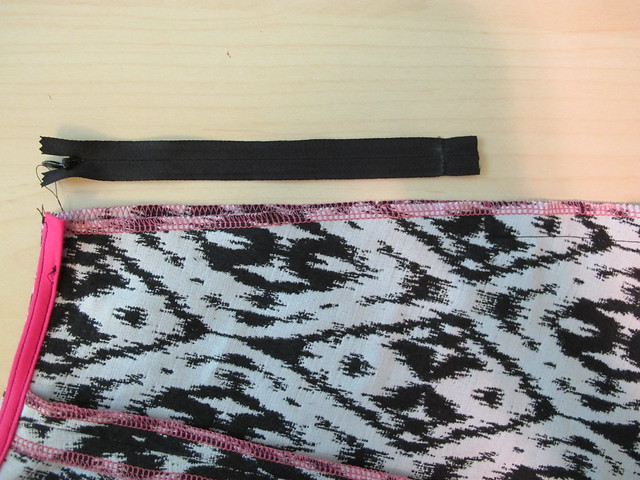
If you’re making the view with the back cut-out, you’ll need a 7″ invisible zipper. If you’re anything like me and only have 22″ zippers lurking around, it’s pretty easy to shorten the zipper. Just mark the length where the new zipper stop needs to go, sew over the mark a couple of times (I use my machine and go back and forth twice each way -you can also do this by hand) and then cut off the excess zipper, leaving about 1″ between the cut and the new zipper stop.
Sew the center back seam of the skirt at 5/8″, ending 1-2″ from where the zipper stop will be located.
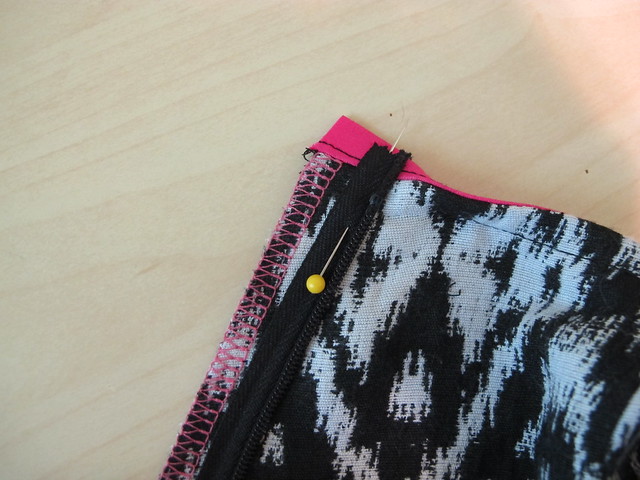
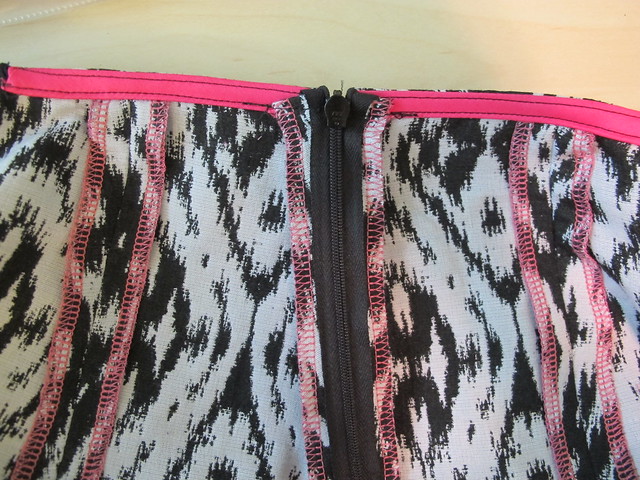
Unpick the topstitched part of the bias facing along the edges of each side of the back cut-out, just about 1-2″ from the edge. Position the zipper stop so that it’s about 1/8″-1/4″ away from the bottom edge of the bias facing, and pin so that the facing is flipped out flat (see photo if this doesn’t make sense!).
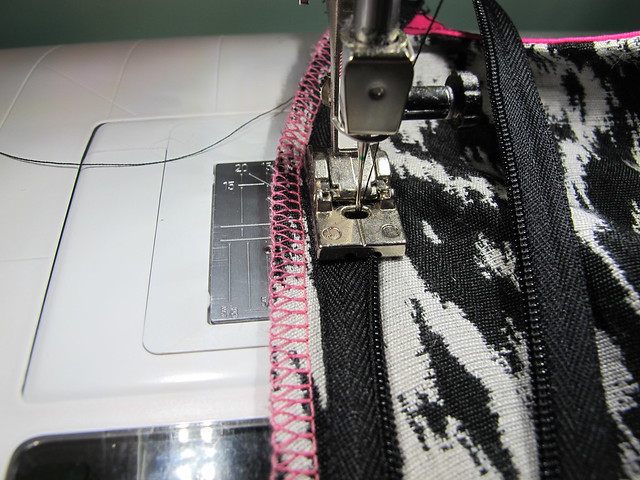
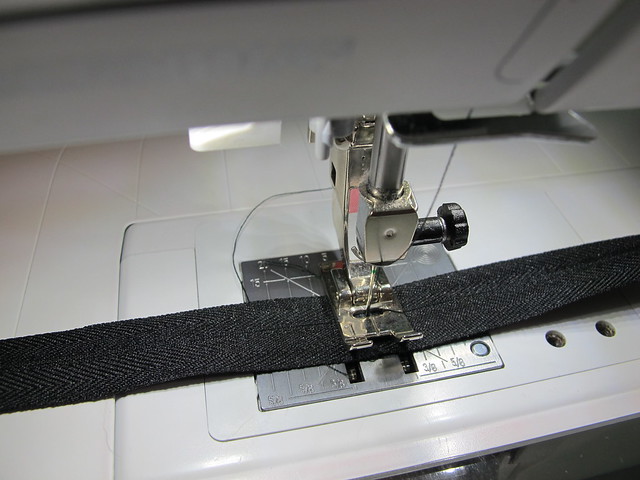
Attach the zipper to the skirt back using an invisible zipper foot and a 5/8″ seam allowance, then close up the hole at the bottom where the zipper stop meets the center back stitching. If you need more instructions for this, here’s my tutorial on inserting invisible zippers 🙂

Once the zipper is sewn down, you should be able to fold the bias facing back to the wrong side, like so.
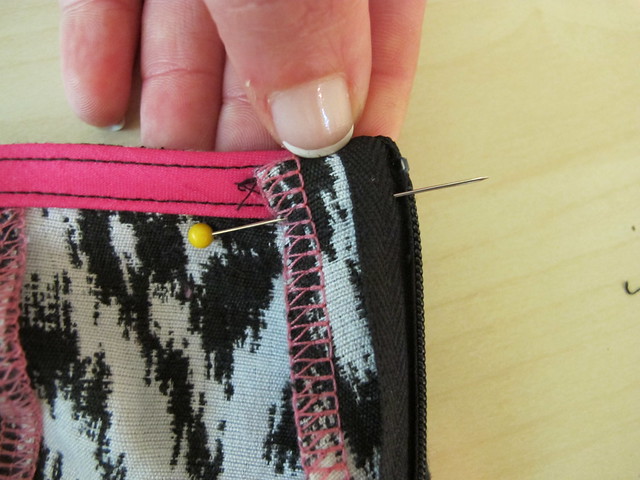
Then fold the zipper seam allowance back to the wrong side as well, like so. Topstitch the bias facing back down, being careful not to sew the zipper teeth. You can also tack down the edges at the top of the zipper/seam allowance if you’d like.
Finished zipper:

If you’d like to add a hook & eye to the top of your zipper, you may do so now.
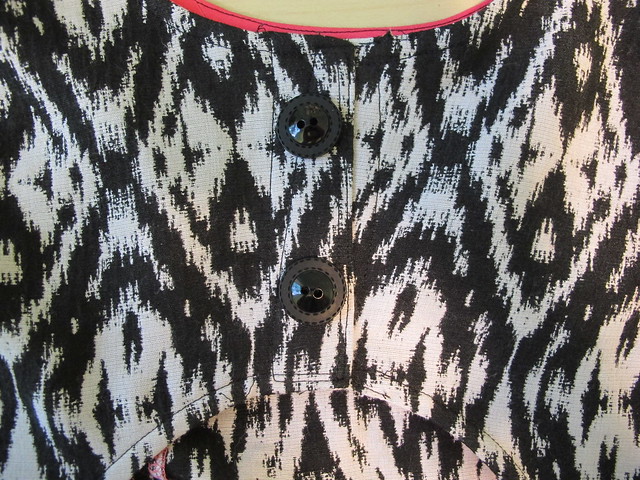
To finish the back bodice, you’ll either want to sew buttons & button holes – or just close the entire thing up. I lapped one side over the other and topstitched all the way around, then sewed buttons in the middle. If you decide to close this off, MAKE SURE you can get the dress on without needing to undo the back! I can wriggle into mine, but only just barely hahaha.
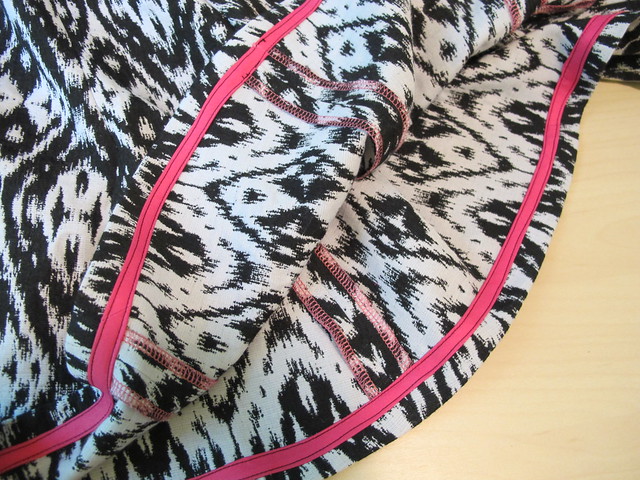
Finally, hem your dress! I used the rest of my bias facing so I’d have a happy hem 🙂 I followed the same method for attaching the bias to get this hem finish. Here is a tutorial from last year’s OAL on hemming if you need it!
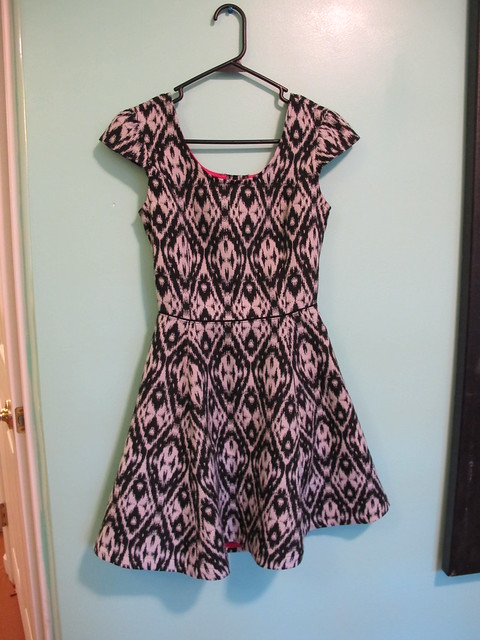
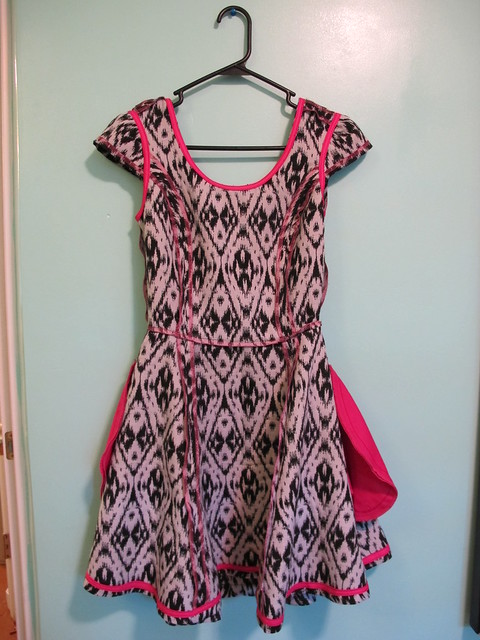
Aaaaand here’s my finished dress:
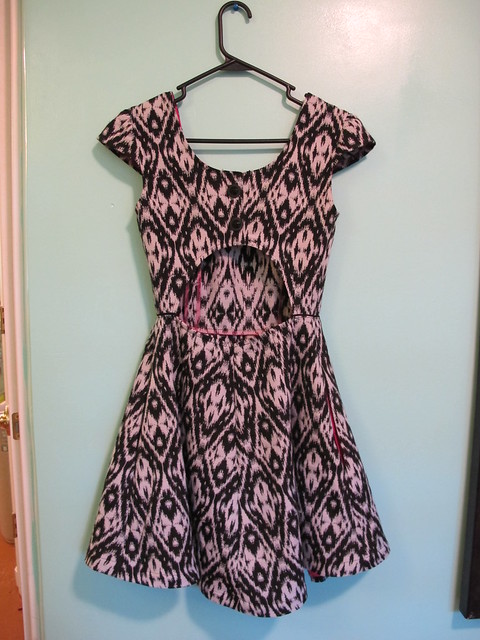
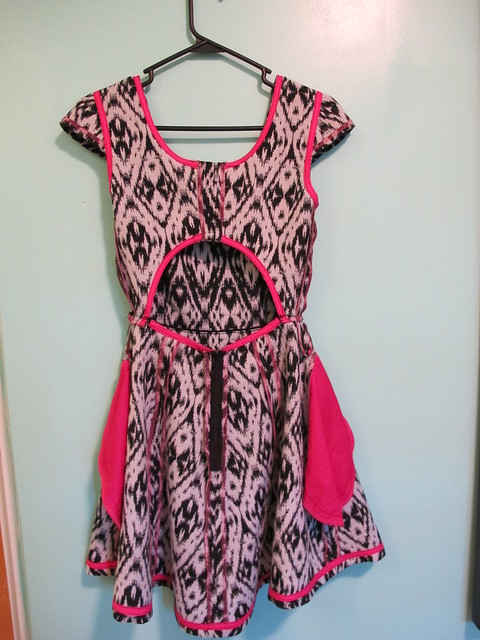
And the inside:
Yeah!!!!
This concludes the sewalong portion of the OAL. Once you’ve finished your garments for the OAL, don’t forget to post them in the OAL 2015 Finished Outfits Thread on Ravelry so we can all have a lurk! The deadline is 7/31/15, so y’all still have a couple of weeks to catch up if you need to! Once I finish my sweater (yeaaah… I’m nearly done with the first sleeve. Getting there!) I will share photos of my finished outfit as well 🙂
Let me know if you have any questions!


I love this dress!!
Thank you! I’m pretty happy with it 🙂
So sweet this dress, love the inside ( and out 🙂 ) I am fighting with my cardigan, I hope to finish in time!
Thank you! I hope you can finish it in time too :DDD
Dang, the inside is just as lovely as the outside!
http://www.StyleSewMe.com
Interior prettiness is just as important as the exterior, as far as I’m concerned 🙂 haha
Love the inside as well as the outside. Wish I could say the same for my current project :).
It’s never too late in the project to start striving for a neat interior finish! That being said, I don’t blame anyone who only wants to focus on the outside – no one is going to see the inside, after all. For me, it just gives me another part of my project to (happily!)fuss over 🙂
Adorable dress! I love the pink accents. You should be modeling this for us – I want to see how the cap sleeves look. I have made this pattern 4 times and have yet to use the capped sleeve option.
Once I finish the cardigan, I’ll have photos of me in the dress 🙂
Such a cute dress! And I have also now discovered how much easier life is with an invisible zipper foot. Wow. My invisible zipper inserts look so much better now.
Oh yeah, isn’t it life-changing? That’s one foot that I think is worth every single penny 🙂