
I’m back again with my second Soma Swimsuit!

Aaaaaand, omg you guys, this is my favorite of the two. Definitely my favorite out of all the swimsuits I’ve made, possibly my favorite swimsuit EVER. Seriously! I really really love it!
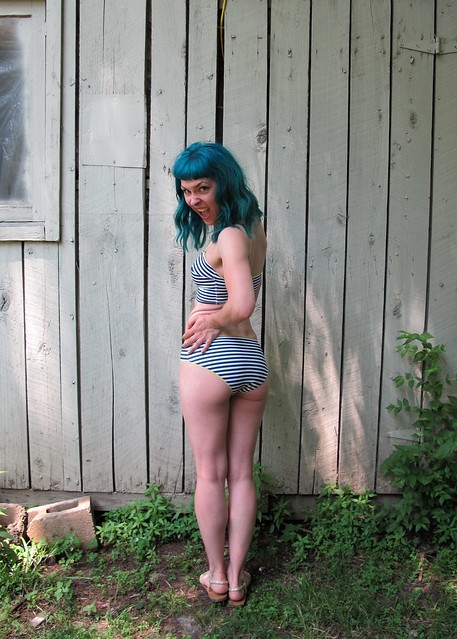
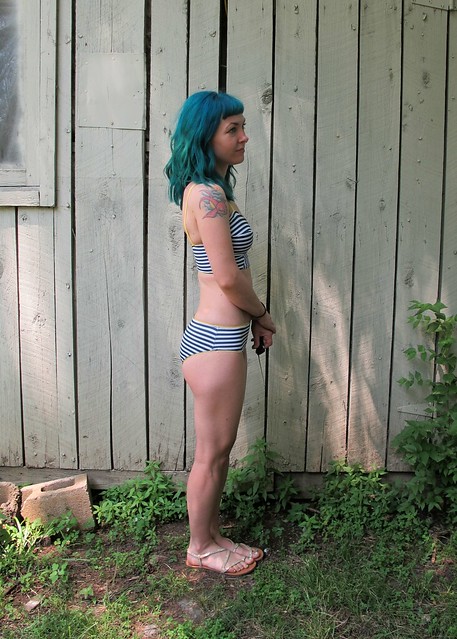
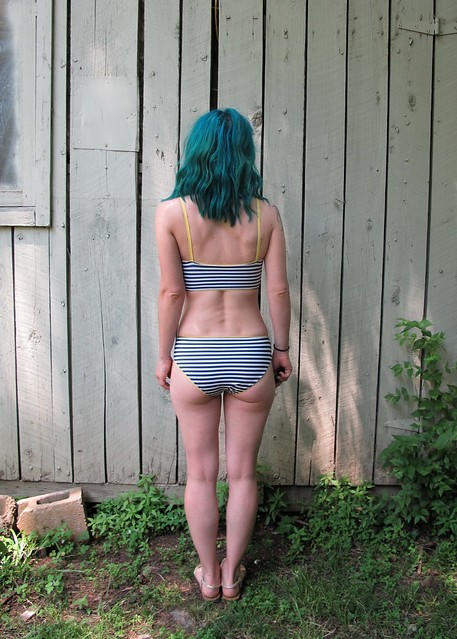
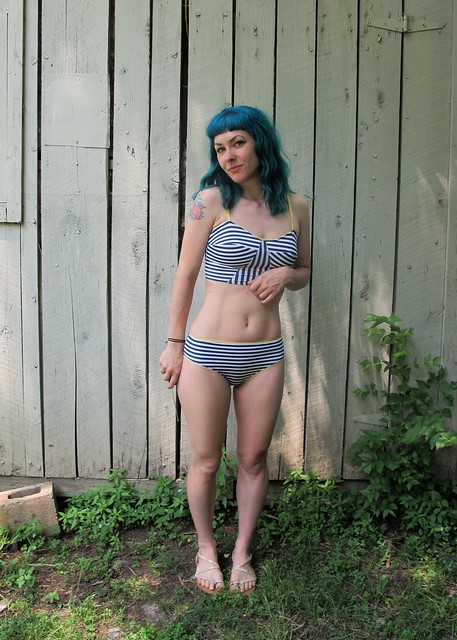
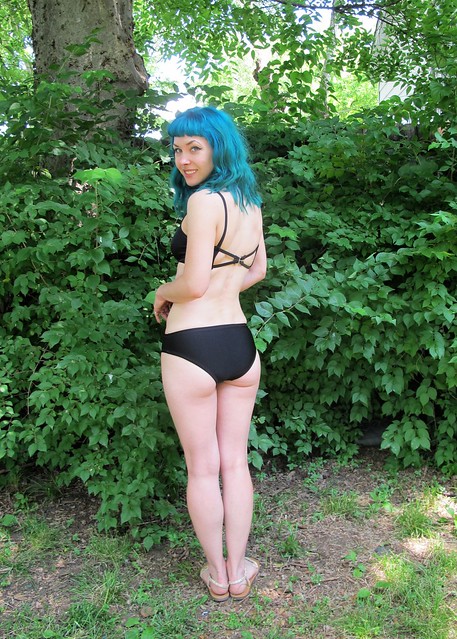
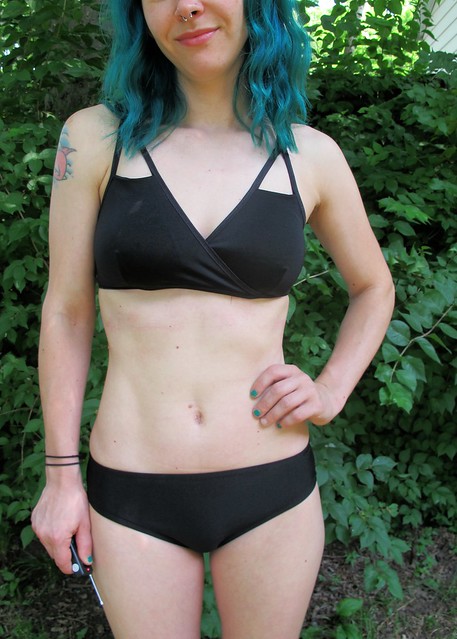
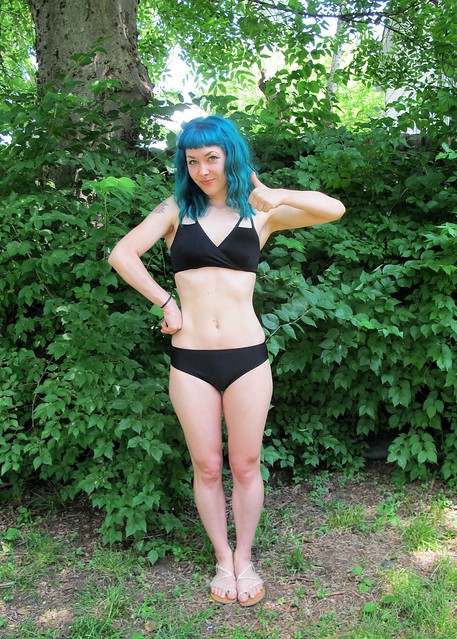
Cheeky butt and all 😉
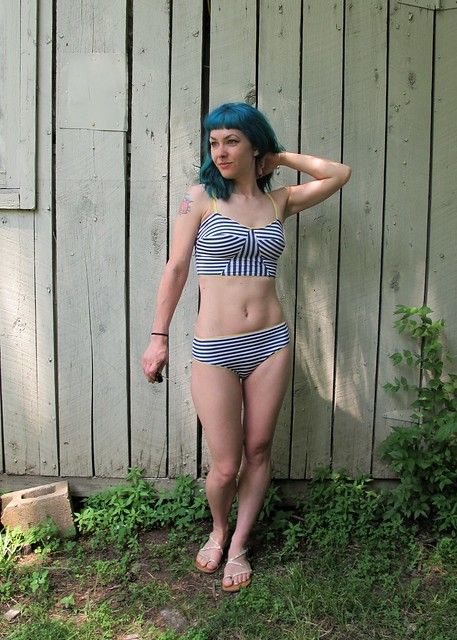
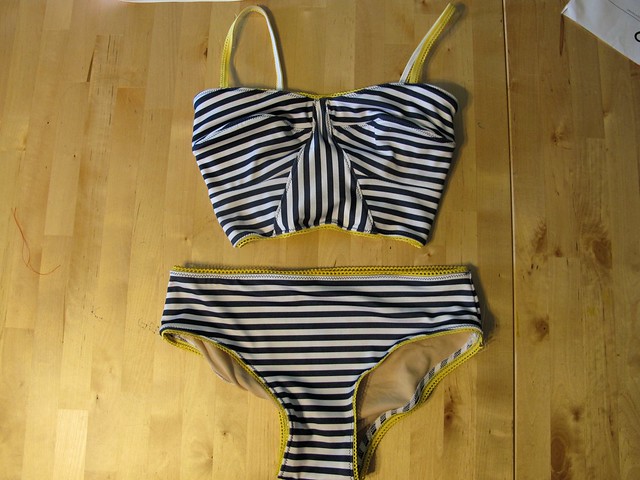
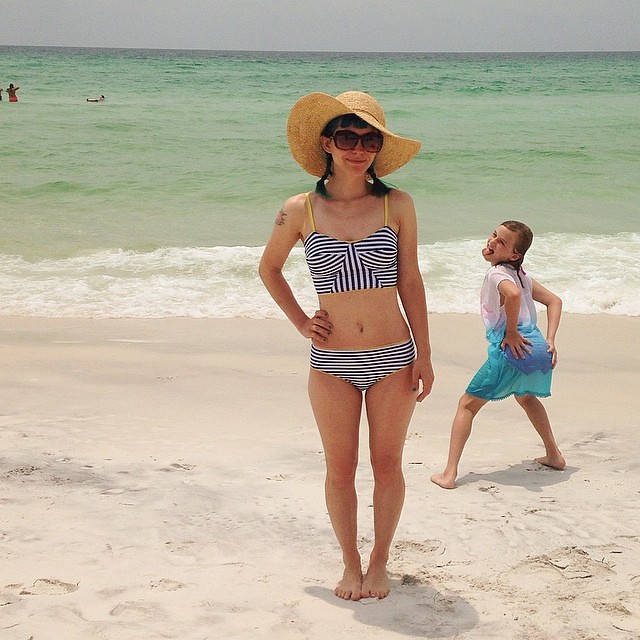
For version 2, I decided to up the ante and try it in a cool striped fabric – I’ve had this striped swimsuit fabric since 2013; I bought it at Spandex House (or World?) in NYC, along with a nude lining. I’ve always wanted a navy and white striped bikini, and I could not have found a better pattern to make this fabric up in. Although, I still have more that I could potentially make more bikinis with – a yard of swimsuit fabric goes a LONG way. Forreal, I had to recut the bodice on this swimsuit after an error in construction, and I still have sooo much left over. Yay for swimsuits!
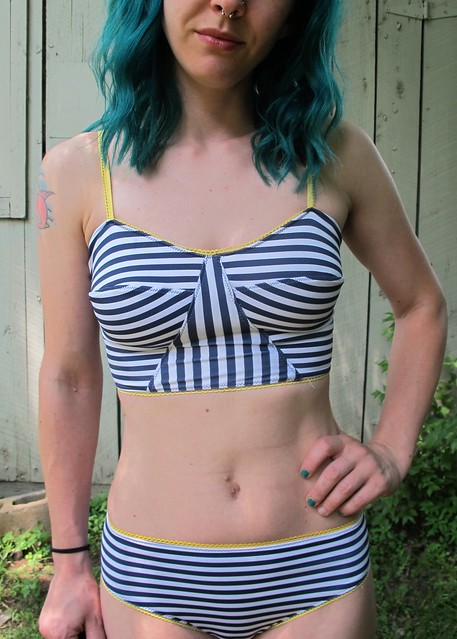
There are tons of ways you could play with the stripes on these pattern pieces – I drew out a few croquis and sketched some stripe variations, which led me to decide that horizontal stripes with a vertical center looked the best (to me, anyway). I also think it would be cool to cut the triangle out of a solid fabric – possibly even the bottoms be solid as well – but I didn’t have any solid navy, so I went with full stripes.
Also, the stripes give my boobs x-ray eyes, which is kinda cool in and of itself.
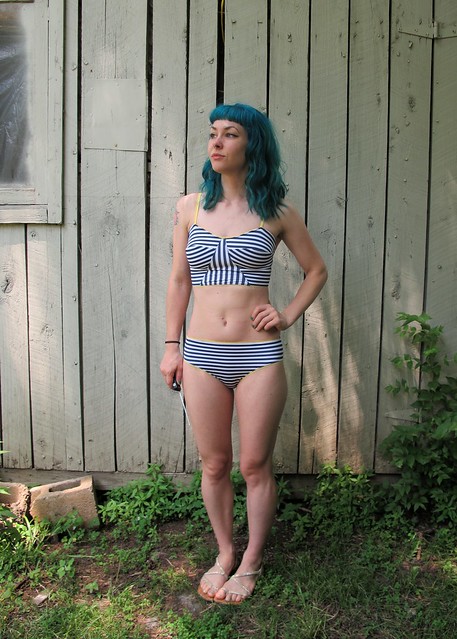
I’m very pleased with how the stripes match up on the sides! To get a good match, I cut the bottoms on one layer (they’re supposed to be on the fold, which means you will need to retrace your pattern pieces so they are a full piece) and cut all the pieces for the cups before cutting the back band. After I assembled the entire front of the swimsuit, I then used the stripes as a guide for cutting the back band, to ensure that everything matched up.
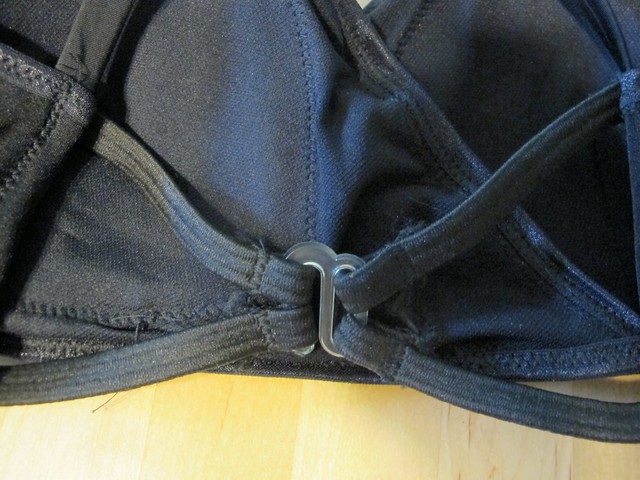
While my first Soma was sewn entirely by following the directions, I did intentionally veer a little off course with this one. The pattern has you use plain elastic to construct both the top and the bottom – it is folded over and topstitched down, so it is essentially hidden once you put the suit on. I had this cool decorative elastic that I’ve been hoarding since 2013 (bought it on the same trip, from Pacific Trimming), and I was DETERMINED to use it. Katie suggested that I sew the elastic to the right side with the decorative edge facing down (i.e., the straight edge is matched with the raw edge of the suit), and then flip everything to the inside so the decorative edge peeks out and topstitch down. That’s exactly what I did, and I think it worked out quite nicely if I do say so myself!
I did this for both the top and the bottoms.
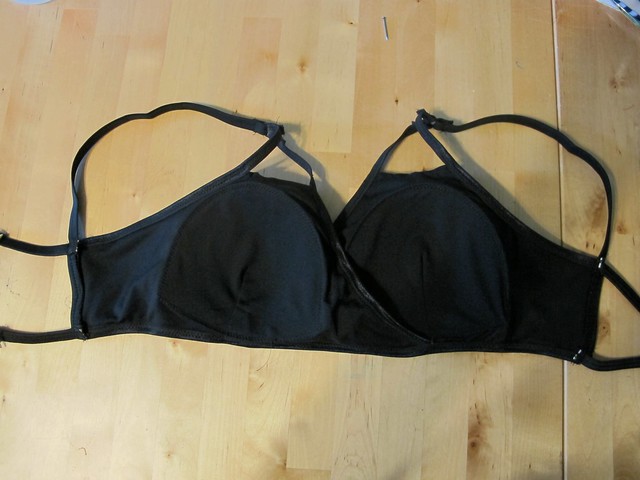
Another thing I wanted to add to the swimsuit was bra cups – as I’ve said before, I’m not a fan of the beach nip. While this suit is lined, one layer just doesn’t cut it for me, so I experimented with my options. My first suit did attempt bra cups, but it ended up a fail. I’m sure there’s a way to get them in there, but you’d have to change the order of construction – this suit is sewn so the lining and swim fabric are attached at the center bust seam, which means you can’t exactly cram a bra cup in there. After some thought and lurking those torn-up swimsuits, I threw out the failed bodice and started over. Ultimately, I decided to just cut multiple layers of lining for the bra cups and use that as a sort of padding – I think there are a total of 4 layers of lining on the bra cups (3 for padding, one for the outer layer), plus the actual swimsuit fabric. By doing this, I was able to follow the instructions as written, I just had a little more bulk to deal with 🙂 Trimming the bulk down and then topstitching made everything lie nice and smooth. And yes, in case you’re curious – the padding did pay off! Woohoo!

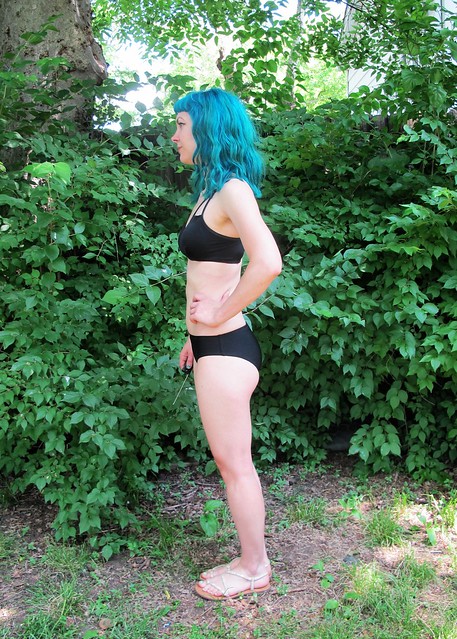
Again, for sizing, I went with the XXS. I’m actually surprised at how well this fits my ribcage – my underbust is 28″, so stuff tends to be waaaay too big right there. This swimsuit has a nice, snug fit, which helps keep it in place while you’re swimming. I did pull my elastic a bit more taut than instructed in the pattern – I don’t want any gaping on the beach, thankyouverymuch – but as far as adjusting the circumference of the longline, I didn’t have to do anything. Also, fyi, as per the last swimsuit – this was sewn almost entirely on my sewing machine. Wooho!!
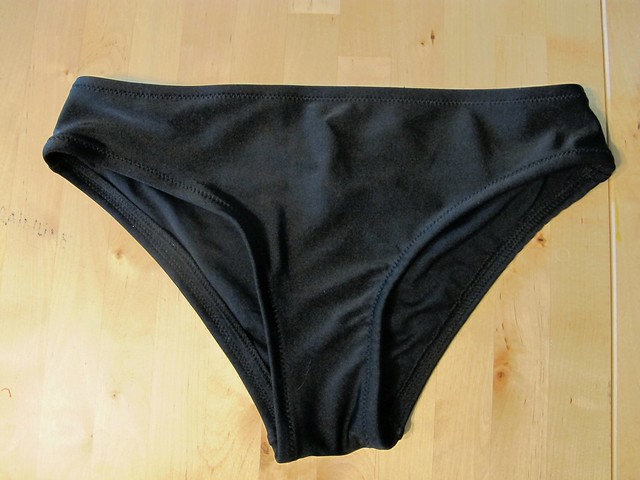
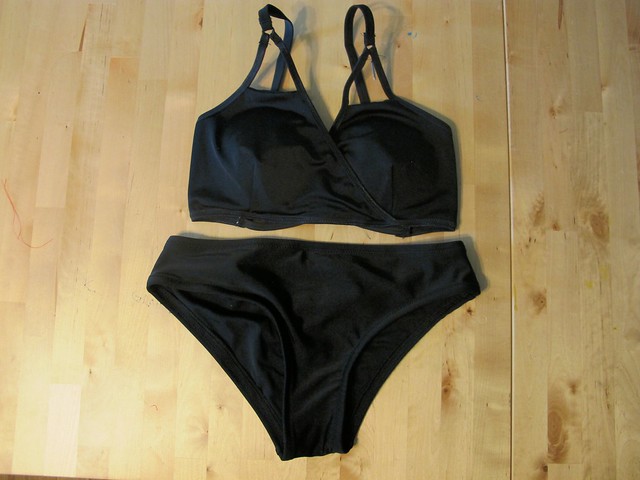
Here are some close-ups!
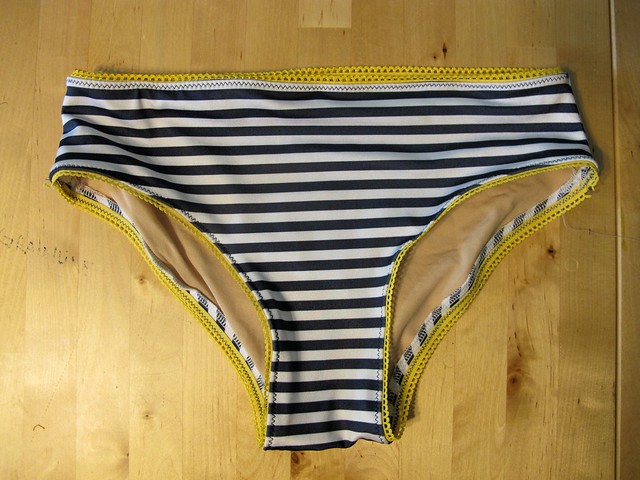
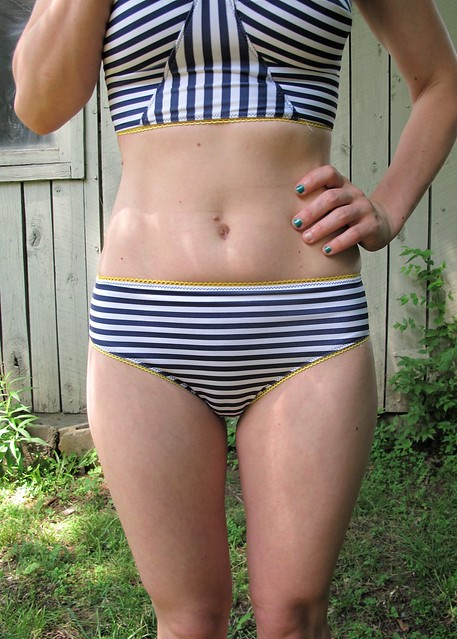
A couple things I will mention if you plan on making this with decorative elastic: for one, definitely trim those seam allowances before you attach it. The hidden elastic that the the instructions call for is fine for the 3/8″ seam allowance, but decorative elastic needs a much smaller seam allowance (I think this is 1/4″), which means you get overhang if you don’t trim. I figured this out after making the bottoms, which you can see the excess (I did catch it and remember to trim for the top, which you can see a couple pictures down). Not a big deal, but definitely worth mentioning.
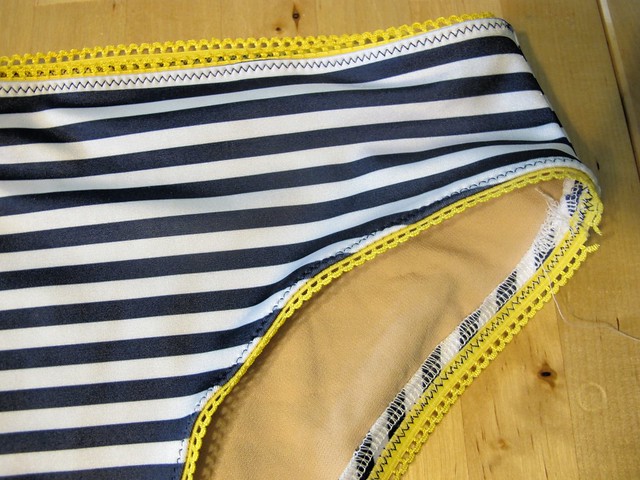
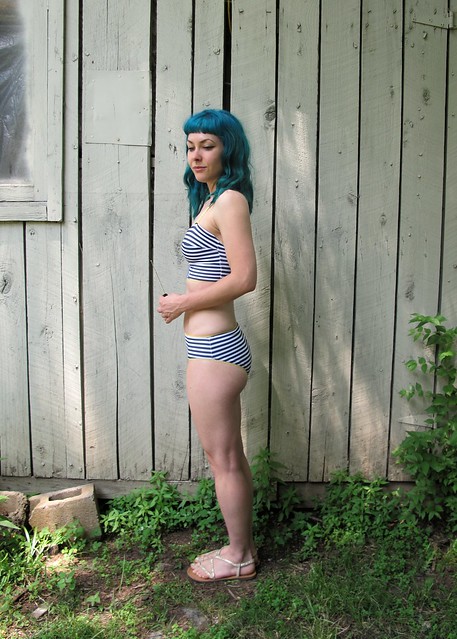
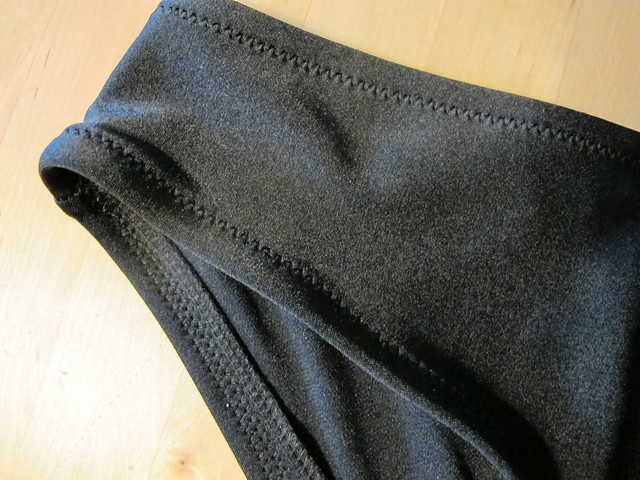
Also, see where the elastic is broken at the leg? It’s actually not broken – it connects in a full circle – but it sure looks like it. I should have cut the elastic to include a full repeat of the decorative part, and then overlapped by at least one scallop just to ensure that there are no broken parts. Oh well! Learn from my mistakes, guys.

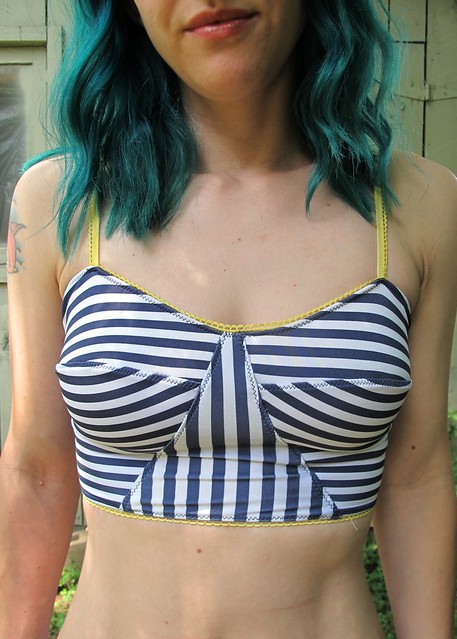
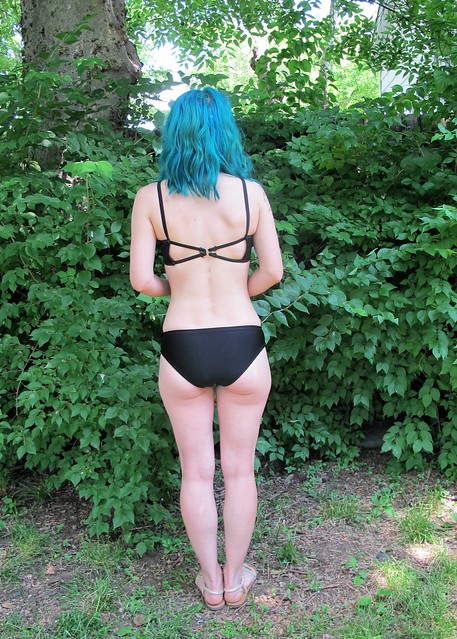
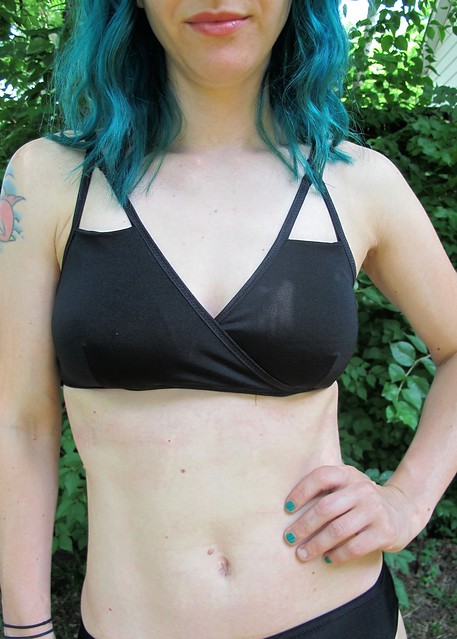
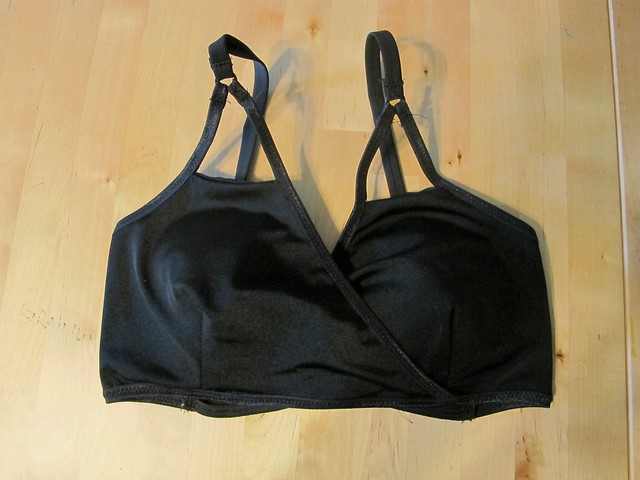
Like the first suit, this one also calls for bra strapping for the straps. Since I didn’t have any on hand (this was before I discovered the white at Joann, which still would not have worked for this particular project), I improvised by using plain elastic and topstitching my decorative elastic right on top. I used two rows of straight stitching since they don’t need to stretch that much.
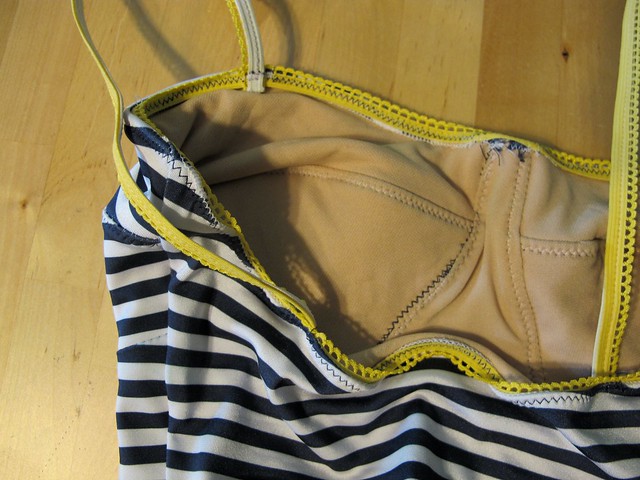
I did change one small order of construction when doing the bodice – the way the pattern is written has an exposed edge at the center triangle. I figured out how to burrito roll the fabric (similar to how one attaches a yoke to a button-down, with all seams hidden) so all my seams are enclosed. It was a little finicky but it certainly paid off! I haven’t seen the updated instructions on this pattern yet, so I’m not sure if it’s been changed to reflect that technique (it was part of my feedback when I tested the pattern, but the process can be a little tricky to explain so I’m not sure if Katie included it or not, in an effort to keep the construction very simple), but just know that it *can* be done if you don’t want exposed seams in your suit!
Also, oops, probably should have caught the raw edge at the top of the triangle when I was topstitching down OH WELL.
As far as support goes – again, I can’t really vouch for it personally, but I will say that this version of the suit has a lot more options if you need a little boost. You could experiment with adding swimwear cups (I feel like even just sewing the bodice cups separately and slipping a swimsuit cup between the fabric and lining would probably work… don’t try to attach it to the lining, though, that’s where I went wrong!) to the bra, boning to the side seams, and potentially even underwire. As it stands for just a fabric+lining+elastic top, though, it’s supportive enough.
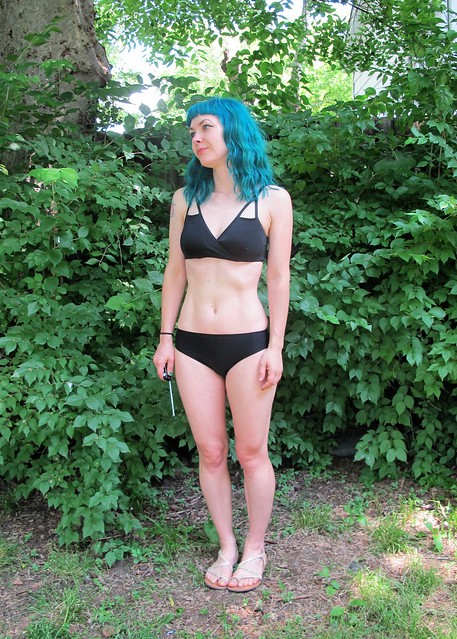
Again, these photos were taken before the swimsuit ever saw water, but I managed to wear it twice on my vacation, and it performs just as well as the black one. It may even be a little more secure, since you’re less likely to have a bathing suit malfunction due to the design.
I definitely plan on making this version again – I have plans for this bustier top with the high-waisted bottoms, in some cute lemon/flower swimsuit fabric. I almost made it up during the testing – but then realized I should probably take this striped one out for a spin so I can address any fit adjustments if needed. The suit does not need fit adjustments, btw, but on the next one I will pull the elastic a little tighter around the top edge of the top. It’s not quite as tight as it’s like it.
Also, I think this would make a really cut bralette. Ooh!
So, who’s convinced they should take the plunge into sewing swimwear? Seriously, guys – it’s really fun, it’s fast (and gratifying!), and once you realize just how little it costs to make a swimsuit, you’ll be side-eyeing the $80 ones at the mall for the rest of summer. Don’t think you have it in you to make a bathing suit? Ladies. If you can sew a tshirt, you can sew a swimsuit. Promise.


