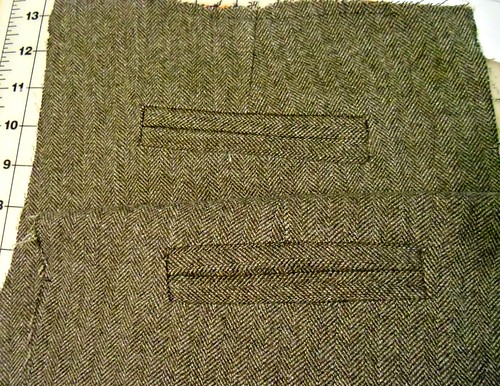
Good morning, Sewalongers! We only have a couple weeks left before the sewalong is complete – are you feeling excited? You should! Especially since this week is all about the welt pockets 😀
Meg will be covering the steps this week for creating your own beautiful welt pockets, so be sure to check out The McCall Blog for tutorials. Again, I’m just here to cheerlead and give some tips this week. I spent pretty much my entire Sunday wrestling with these pockets, but the good news is that they turned out quite lovely! And I have some advice to share, so listen up!
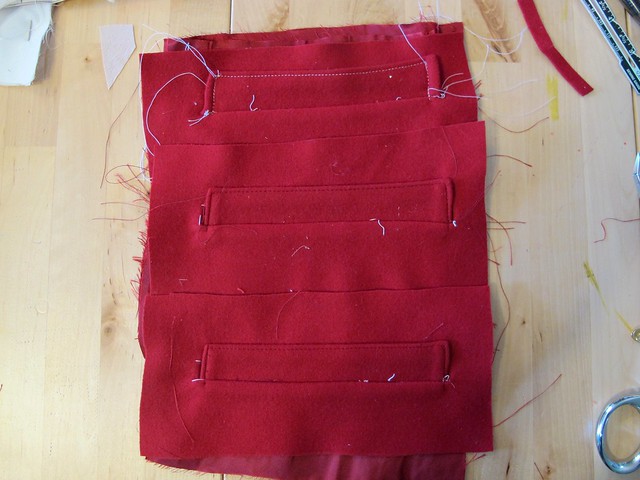
First and foremost, whether this is your first welt or your 50th welt, you absolutely need to practice making a welt pocket using your coat fabrics before you start hacking into the coat. It’s important to do this with your coating fabrics in particular, as they may act differently than other fabrics you’ve used in the past for welts. My wool coating fabric is pretty bulky, so I was able to sort out issues in my practice rounds, instead of on the coat itself.
I know, making practice welts kind of sucks! I’m SO glad I did it, though, because I don’t think my welts would have turned out nearly as nice if I hadn’t practiced a few times first. You don’t need much for the practice – I used a piece of coating that was about 8″x4″, a similarly sized piece of my contrast taffeta (for the pocket facing – don’t worry about cutting a pocket out of your fabric for the other side – unless you just reaaally think you need to practice sewing pockets), and one fabric welt. After my third practice welt, I felt confident enough to do the real thing on the coat.
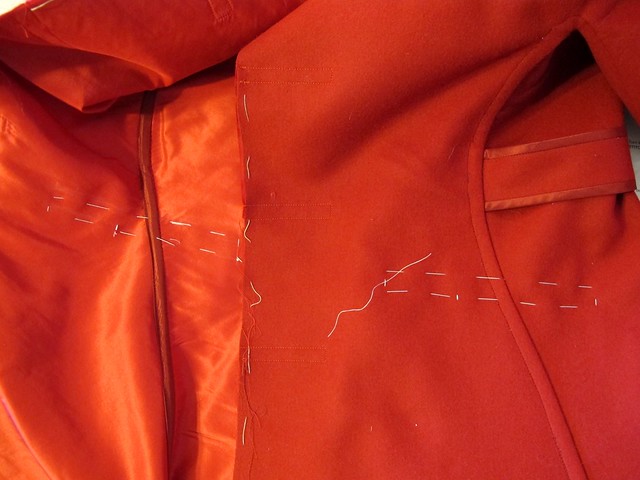
For marking your coat pieces – here are a couple of tips. First of all, I wouldn’t necessarily rely on tracing the markings off the pattern. You can trace them to get a general *idea* of where the pockets need to hit, but for doing the actual marking (or cleaning up your markings, or re-adding them if they mostly rubbed off during the coat construction), just use a ruler and a piece of chalk. The welt is a rectangle, after all 🙂 The welt is 6″ long by 1/2″ wide, and the circle marking is approximately 2″ from the corner on the bottom line (please re-check these measurements against your pattern before marking – I’m going based on my size, which may be different than yours!). I used a straight ruler and this Clover chaco liner (well, mine is white, but same difference) for my markings. I like this particular liner because it doesn’t pull the fabric when it marks, and the chalk dust comes out very easily. I also like how fine the line comes out. Just a preference!
Once you’ve marked your rectangles (I don’t bother marking the center line or the v’s – but go ahead and mark those if you wish), it’s a good idea to thread-trace the markings with long basting stitches. I use silk thread for this purpose – I like how easy it is to remove, and I love that it doesn’t show a marking when you press over it. You may also use cotton thread if you don’t want to spring for silk (a spool is about $4, so not terribly expensive but also not really cheap!) – or even regular polyester, but definitely check that it doesn’t leave marks when it’s pressed. I also mark my dots with simple tailor’s tacks – just loop the thread over the marking a couple of times. Thread-tracing these markings means that they’ll be visible from *both* sides of the coat, and that they won’t rub off as you handle them. Thread trace the rectangles on both the coat and the pocket facing (the contrast).
One more thing: once you’ve thread-traced the welts on your coat, it’s a good idea to try the coat on and make sure they are an even height. Mine were ever-so-slightly off, but I was able to catch it before sewing on uneven welts. That would have been lame!


When making your welts, if your fabric is thick – try trimming the seam allowances with your scissors at an angle. This will make one seam allowance slightly longer than the other, which will prevent a ridge from showing when it’s turned right side out. Position the welts so that the shorter trimmed side faces the outside of the coat.
Also, with the welts – don’t aggressively trim and clip the seam allowances to nothing! You need a little bit there so the corner will have some structure when it’s turned right side out. I trim mine to a little less than 3/8″.

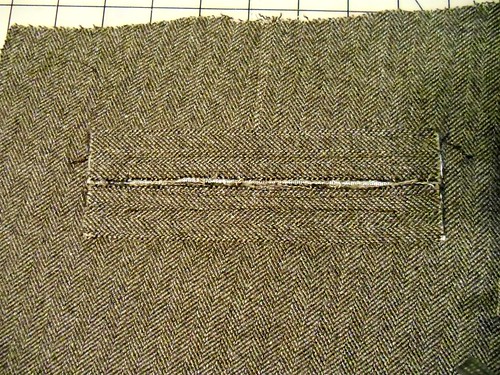
When turning the welts right side out, push the seam allowance to one side, like so.

Carefully turn the entire thing right side out, and gently use a point presser (or a knitting needle, or a butter knife, or whatever you have on hand) to push the corner out to a sharp angle. Then press, being careful not to drag the iron around – you don’t want to distort your welt.
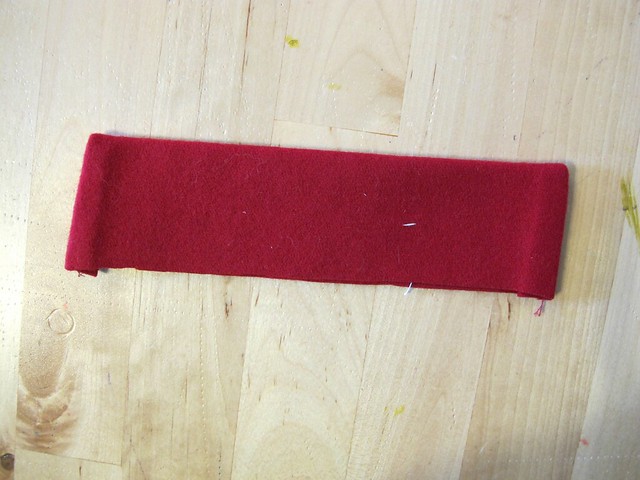
Yay, sharp corners! As a side note – this was one of the practice welts that did not have the edges trimmed at an angle. See the ridge showing through? Yuck.

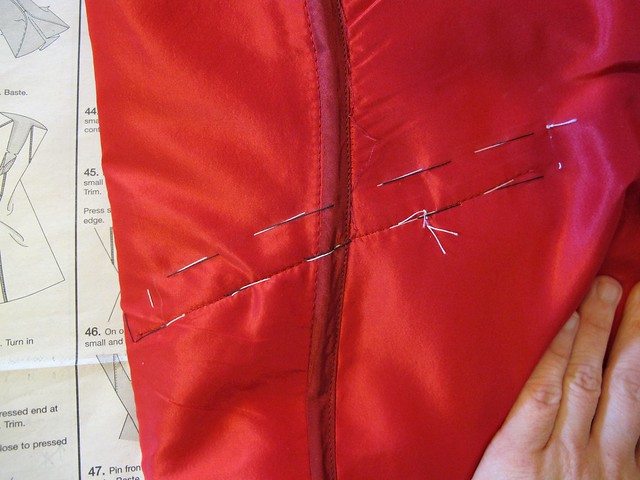
When it’s time to sew the pocket facing to the welt+coat, you’ll be glad you did those thread tracings. I checked both sides constantly to be sure that I was exactly on the lines for both coat & pocket facing. I also went the extra mile and hand-basted the facing on, using a different color of silk basting thread. This took foreeeeever, but it’s super precise and I think it’s a big reason why my pockets turned out so nice. Then you can just sew right on top of the basting lines and not have to worry about pins getting in the way (or, in my case – distorting the fabric because of the sheer amount of bulk in that area).
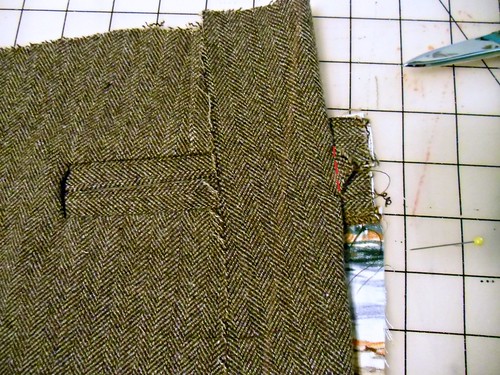
Once you’ve sewn everything down for reals, remove all the basting and thread tracing. Cut and clip as indicated in the pattern – and don’t be afraid to get VERY close to the stitching line when clipping those v’s for the welt. This will prevent the coat from having a crease or fold at the corners where the welt intersects. Then just press the hell out of everything. It can be a little tricky, just because there is so much coat going on – just use lots of steam and take your time. I found that I got the best press when I used the top edge (the handle part) of my clapper and laid whatever section I was pressing over it. The narrow surface meant that the iron was pressing only the parts I wanted to press, and not pressing wrinkles into the rest of the coat.

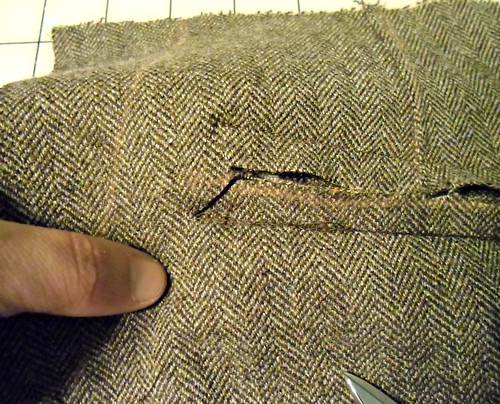
Once I had everything pressed and done, I basted the welts shut while I finished the pockets, so they wouldn’t gape and flap and potentially stretch out.

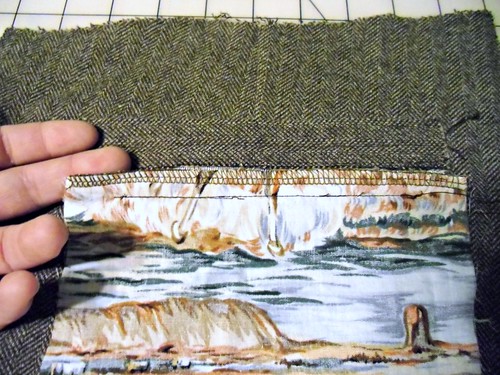
Sewing the pocket and binding is pretty easy. The only thing I changed was that I stitched in the ditch to attach the binding, rather than slip-stitching by hand. Just a personal preference! Bonus for those of us who are using underlining – when it’s time to invisibly sew the pocket to the coat, you can just grab the underlining and not worry about your stitches being invisible from the outside. Yay!

Here’s the finished pocket on the inside. Doesn’t it look luxe?

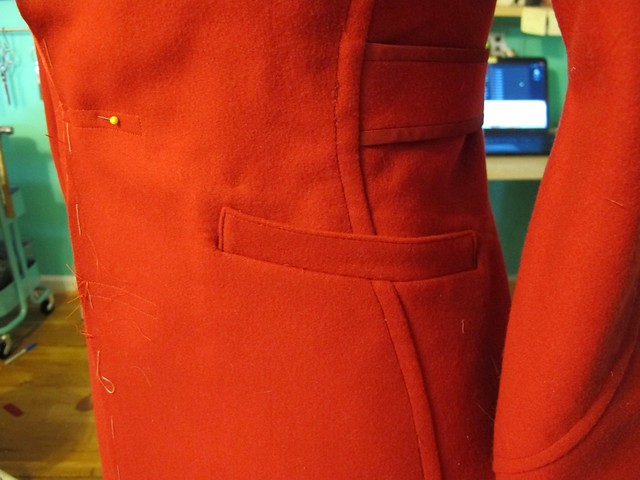
And, of course, my beautiful welts. I am so happy with how they turned out! Definitely worth the effort!
Don’t forget to check out The McCall Blog for Meg’s tutorial on sewing the welts! My biggest tip? TAKE YOUR TIME. Don’t try to rush this section and expect pristine welts. That in mind, you also should not be too scared to actually do this part! They’re just welts – practice a few times, follow the directions, utilize hand-basting, and you’ll be fine 🙂 If all else fails, you can always throw a patch pocket over the mess 😛 haha! (no, seriously, I tell myself this EVERY TIME I make welt pockets!)
How is everyone doing this week with the coat? Any questions?


