It’s time to get crackin’ on some muslins! Whoooohooo… who’s excited!? Anyone? Anyone?
I will admit – making a muslin isn’t exactly the most exciting way to spend your precious sewing time. However, it is pretty necessary to ensure that you get a good fit, especially with something like trousers or shorts where you can’t just sew a wider seam allowance to get rid of the problem. Lots of pattern alterations involve the flat pattern before the fabric is cut, and it is crucial that you figure this out before you cut into your real fabric & then despair that the crotch is too long. Long crotches are pretty tragic, imo. So let’s get muslinin’, y’all.
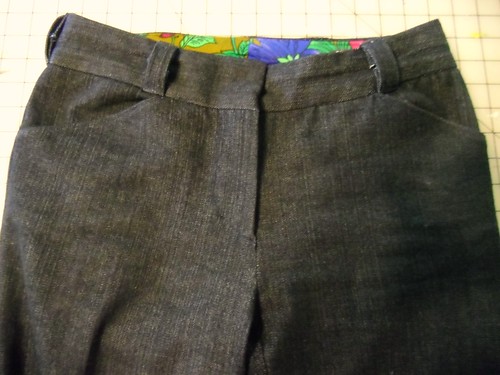
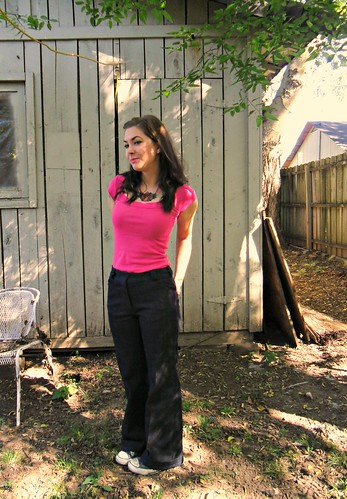
First, figure out what size you are going to be sewing up. Here is the back of the Thurlow envelope. These pants don’t have too much ease in them, but it IS there. If you like that, that’s totally fine – just cut the size recommended. If you want something a little more form-fitting, I recommend checking out the finished measurements & basing your size off of those. PROTIP: the finished waist measurement doesn’t actually hit your high waist, as in the smallest part of your torso. These actually hit right at the belly button, so that would be where you need to measure if you are going by the finished dimensions. My measurements put me between a 4 and a 6, but I cut a 0 (since right at my belly button is 29″) and added some room at the butt and I got a great fit. Trace your pattern if you are unsure what size to cut, you can always make another muslin!
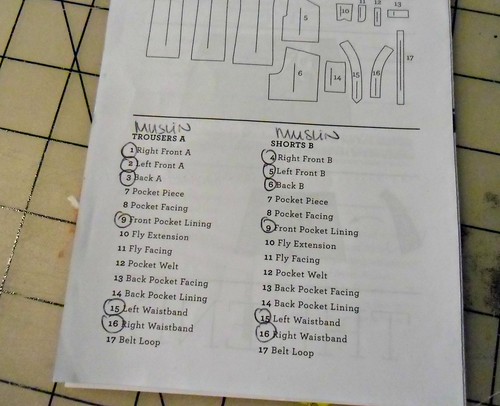
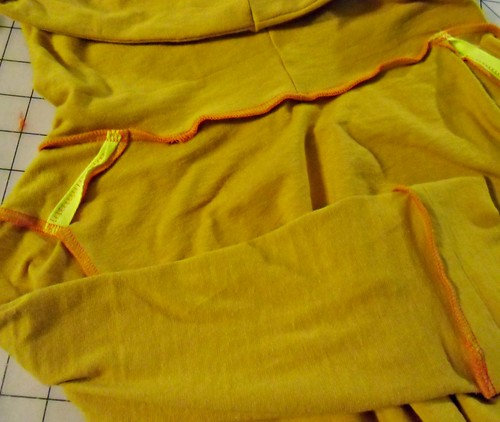
The Thurlow has a lot of pattern pieces, but let’s not get ahead of ourselves – we only need a few for a proper muslin! I have circled the ones you’ll need to cut out. The pocket lining pieces ARE necessary (since they fill the void where the pocket slash is on the front pieces), but don’t worry about the facings. If you are making trousers, you can go all out & muslin the full lengths, or you can be lazy like me & just make shorts 😉
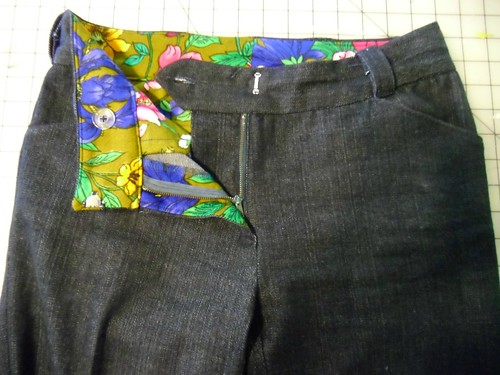
It is a good idea to mark on your muslin where the welt pockets will sit – you don’t have to sew the actual pockets, unless you are just REALLY feeling it – in case you determine you need to move them. Don’t worry about the zipper, you can just pin the front closed.
I was going to compile a list of pants-fitting resources, but it looks like Tasia beat me to it. So, just to reiterate (and mostly because I don’t feel like I’m doing anything if I just direct you to her blog), here are some of my personal faves:
Pants fitting basics, via the Coletterie
Pants fitting cheat-sheet, via the Coletterie
Common pants alterations, via Sunni of A Fashionable Stitch
Crotch depth via Sunni of A Fashionable Stitch
Crotch length via Sunni of A Fashionable Stitch
Knee & hem adjustments via Sunni of A Fashionable Stitch
Fullness & waistlines via Sunni of A Fashionable Stitch
Special alterations for pants via Texas A&Ms Extension program
The Anatomy of a camel toe via the Fashion Incubator
Colette Clover pants via meeee. Haha! The comments in this post are actually quite great, lots of helpful info & resources.
Books:
The Perfect Fit (actually, I think all of y’all should buy this book – regardless of whether or not you are making pants)
Pants for Real People
WHEW that’s a lot of links! Don’t tell me you don’t suddenly feel armed & prepared!
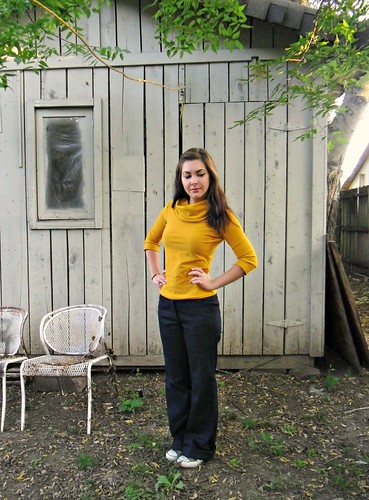
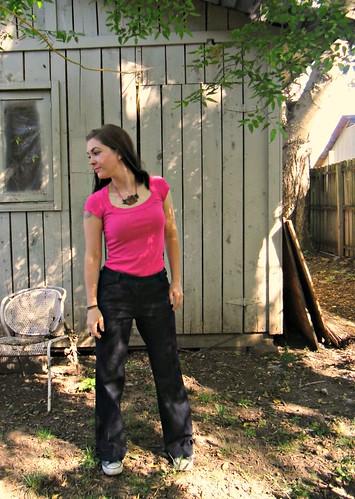
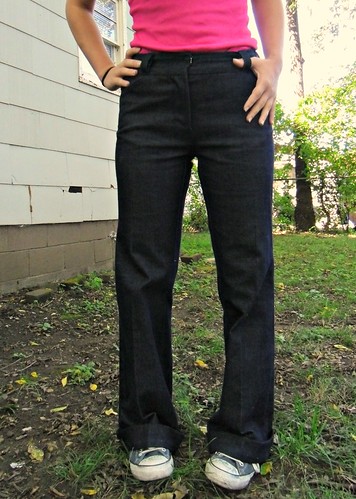
So here’s the fun part… I’m going to show you *my* Thurlow muslin! This is actually the muslin I made in the ‘way beginning, and no, I have no idea why I still had it stashed (I even moved across town during this time!). But, whatever, I guess it came in handy :B Also, fair warning: these are pretty unflattering.
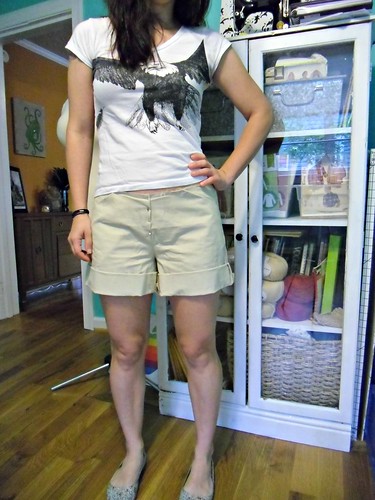
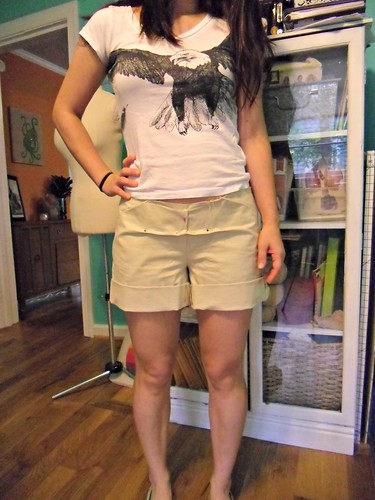
Here you can see I’ve got some weird excess fabric in the front of my shorts. This is the crotch depth, and it clearly needs to be shortened (I’m petite, so it makes sense that I have a short crotch, I guess haha).
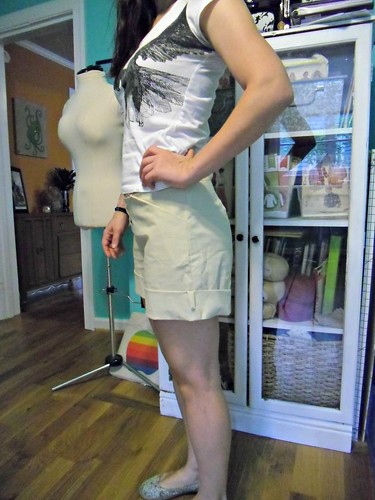
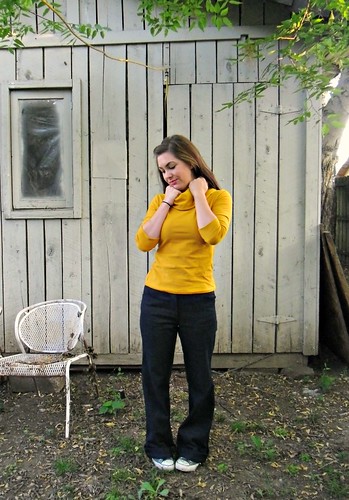
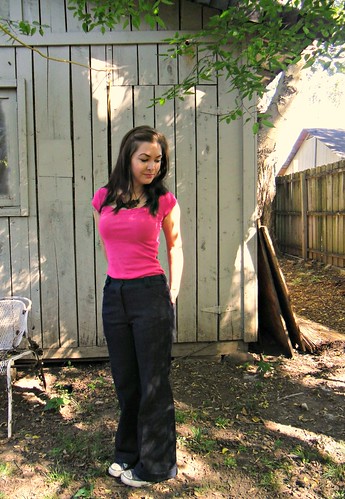
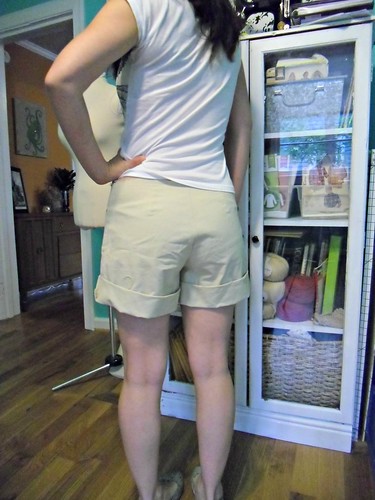
Side view is ok, apart from that itty bitty FUPA the shorts give me.
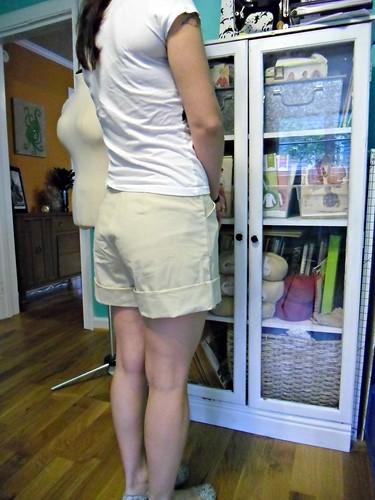
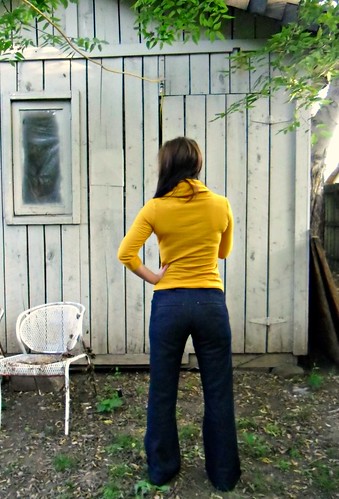
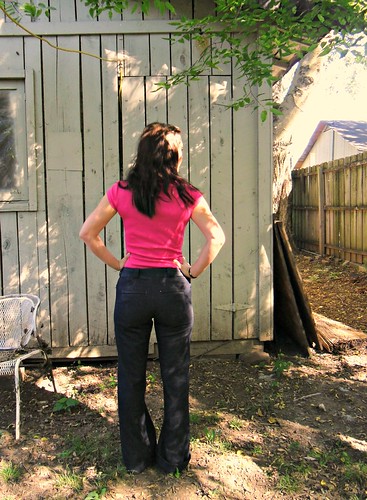
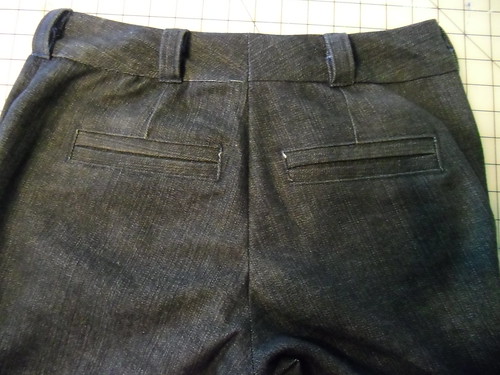
Oh god, what is going ON in the back!?
As my ass appears to be eating directly into my shorts, it would seem I need to add some room back there.
To fix the crotch depth, I simply pinned out the excess fabric & tapered it to the sides. Doesn’t it look much better?
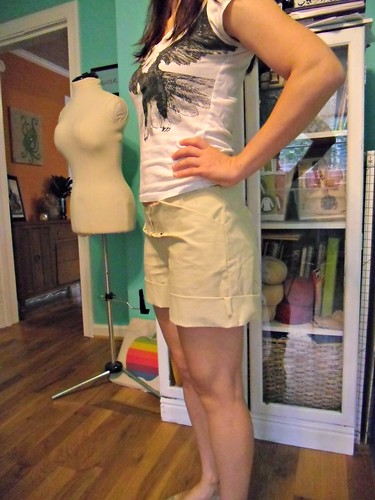
Here’s a side view
To fix my butt issue, I extended the back crotch length on my pattern piece to a size 4, tapering down the leg.
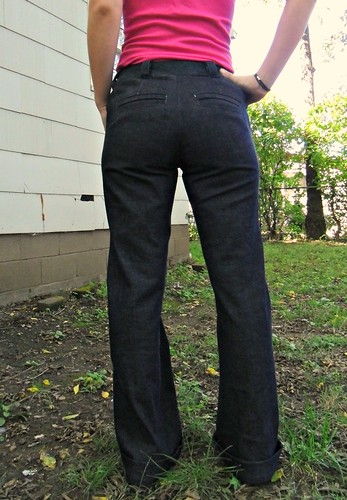
And here’s the finished result of that. No more perma-wedgie, yay!
Well, that turned into a super heavy post! Do let me know if you have any questions & I’ll do my best to answer. Feel free to post your muslins in the Flickr Group and let’s help each other!
Next week, we are gonna talk fabric. FUCK YES.