
Good morning & happy May, everyone! Today we are gonna talk about my tshirts! I briefly touched over this pattern in my last post (and also when I made this ~heart-on~ sweater), but I’ve done some more tweaking to my pattern so I thought I would share some updates.
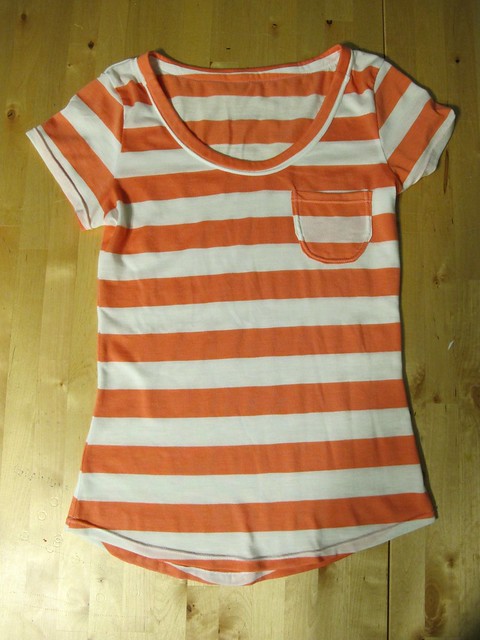
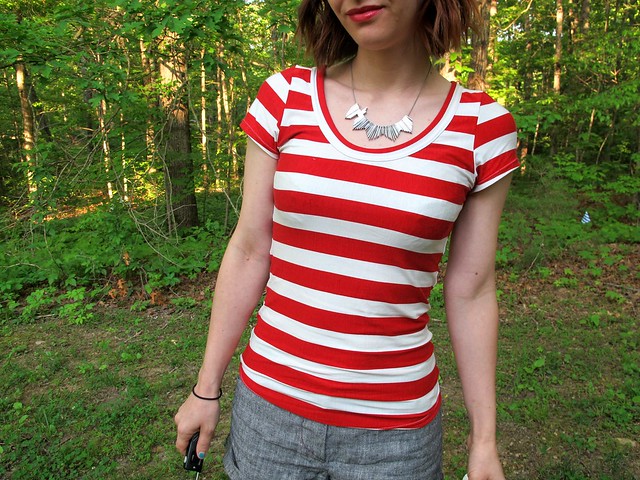
My first renditions were pretty awesome as far as the fit of the body was concerned, but were quite lacking in the neckline department. I love a deep scoop neck, but something about that neckline was practically square and it just drove me way crazier than it should have. I ended up retracing my pattern and substituting the Briar neckline and binding, which I think makes for a much more flattering scoop neck. I also lengthened the body just a bit more and copied the hem off the Ensis Tee because I really loved that subtle curve.
Just to be clear – I did not do ANY drafting with this pattern. I’m not a pattern drafter; I’m a copier and a tracer and I loves me a good Frankenpattern. I copied the body and cap sleeves from the Lady Skater. Obviously this pattern is just for my personal use, but it’s pretty easy to hack out your own if you’ve got patterns on hand with elements that you like and want to mash up into one pattern 🙂
Soooo anyway, here are my finished tees as of these latest adjustments. I used a few different types of fabrics, so they’re all slightly different looking and feeling (probably not so much in the pictures, but definitely so much in real life).
THE PINK LADY: This is the first one I made – I used some fabric in my stash that I only sort of cared about (cared enough to wear if it worked out, cared little enough to not cry if it didn’t) to make sure my adjustments all translated into something cohesive at the end. I bought this fabric at Textile Discount Outlet when I was in Chicago like… 2 years ago. Eep. It’s a soft poly knit that was pretty inexpensive but has held up surprisingly well and resisted pilling. I actually bought enough to make a maxi dress – I 100% blame this on the girl who was cutting it, because she told me she would make a maxi with it and then that’s all I could see for the rest of the day – and then I cut said maxi dress and SOMEHOW LOST THE BACK PIECE. I honestly have noooo idea where that piece went. I literally crawled around on the floor of my sewing room like a dog in search of it. It disappeared into the Bermuda Triangle or something, idk. I’ve even purged my sewing room and moved since them, and still can’t find that damn back piece. No idea, y’all. No idea.
Also – green hair & different background! How old is this picture?! Ha! Before you get all up in arms about how bad my hair looks – I know it looks bad. This was during the very end of my green, when I was intentionally fading it so it would be easier to color correct at the salon.
Some flat shots:
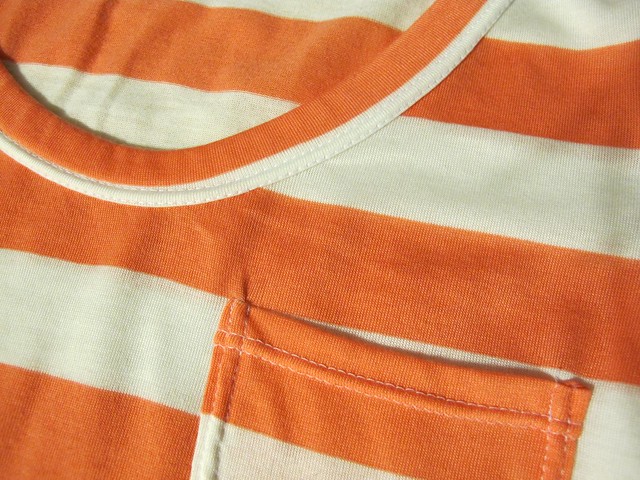
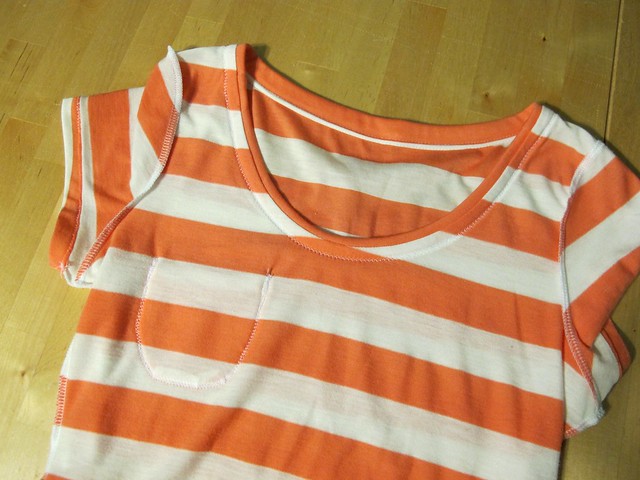
To make these, I just whip them through my serger and use this method to apply the neck binding. The hem and sleeves are finished with a twin needle. Super easy!
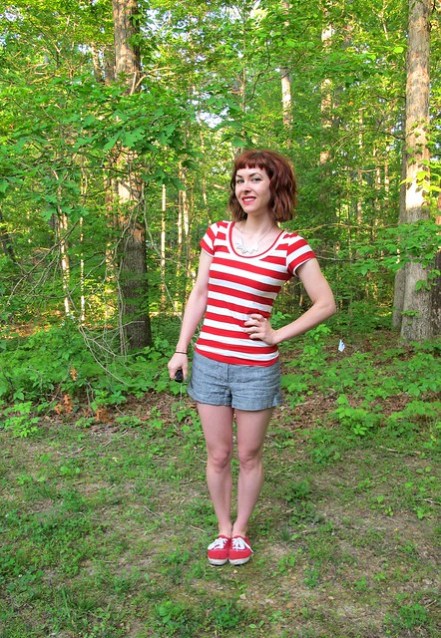
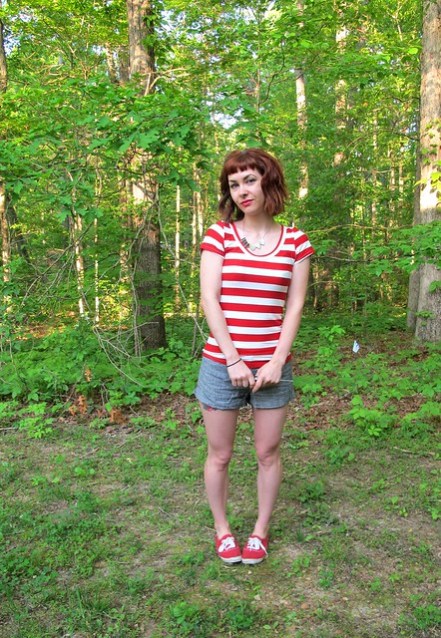
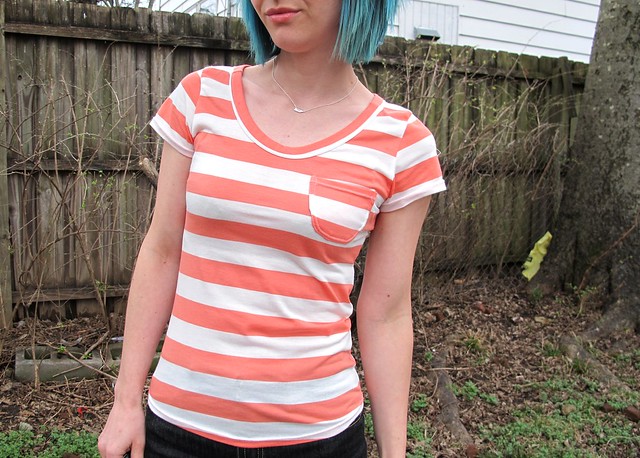
THE WALDO: To be honest, this particular tshirt is 100% the reason why I was hacking around with this pattern so much. The fabric is an amazing rayon/spandex that I bought/splurged on at Cloth House during my big shopping day with Tilly (don’t ask me which Cloth House; we went to both but I can’t remember which one ended up taking my money haha). It was pretty pricy – I think around £18 per meter – but I only needed a small amount to make a tshirt, so I justified it. Also, it came in an adorable little bag that made me feel like I was carrying around a present, so that was nice haha. It’s a thin knit, but it’s not sheer. The added spandex gives the fabric a bit of heft, so it kind of sucks in and holds up and doesn’t really drape. It also holds it’s shape REALLY well. I wish I had more of this fabric in every color of the rainbow, it’s incredible.
ANYWAY, I have a similarly-striped vintage Henley that has 3/4 sleeves (well, long sleeves… but it’s child-sized, so 3/4 sleeves on me, ha) that I love wearing, but it’s falling apart so I’ve been looking for a replacement ever since. This is not an exact replacement – lack of Henley buttons and short sleeves and all that – but it’s a bit more appropriate for the climate I live in, as I can wear short sleeves almost year round. Awesome.

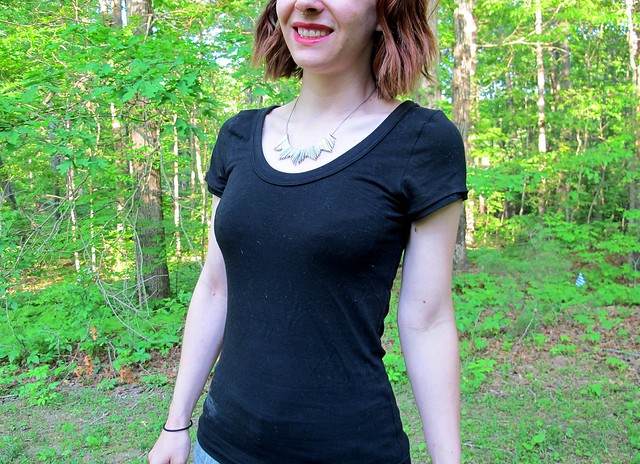
THE BLAQUE: I’ve been lacking a simple black tshirt (and white, for that matter) for a looong time, so obviously that was the next wardrobe filler to make. This fabric is from Metro Textile, and I bought it back in March. It’s another rayon/spandex, similar to the Cloth House fabric, but a little lesser quality (that’s not to say it’s bad quality – but nothing can compare to that striped dream above. Nothing.). It has the same sucking-in and holding-it’s-shape qualities as the striped rayon, but it has a little bit of a drape. The fact that it doesn’t bag out over the course of the day means that this one will get a lot of wear. Hate having clothing that grows 3 sizes by the end of the day.
Also, um, sorry bout the deo stain by the hem. Whoops. At least you know my pits smell fresh.

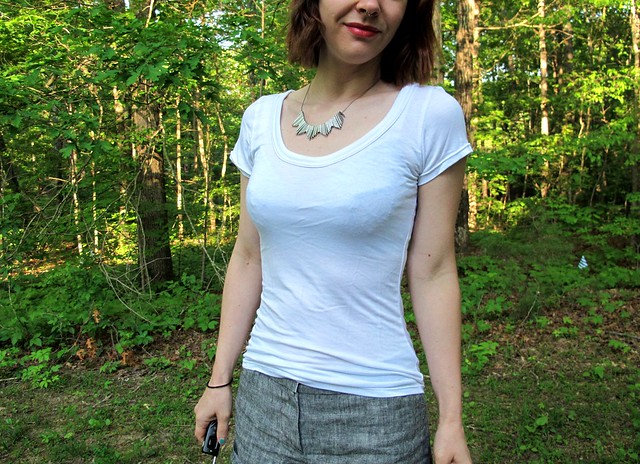
THE WHITE W(H)INE: My least favorite of the bunch, if only because of fabric choice. It’s funny how you can make the same freaking pattern and still have each finished garment look different depending on the fabric you used. This fabric was also from Metro Textiles, and it’s also a rayon, but it’s lacking that sweet, sweet spandex. As a result, the fabric is very lightweight, borderline sheer, and drapes like a dream. It also meant that the shirt was a bit too big, especially around the bicep. I tried it on before hemming and sucked in the side seams about 1/2″ on each side and took about 1″ off the sleeve circumference. It’s still a little loose – and the lack of elasticness in the fabric means this will grow over the course of the day – but I think it looks all right. Next time, though, I’m sticking with knits that have some spandex.
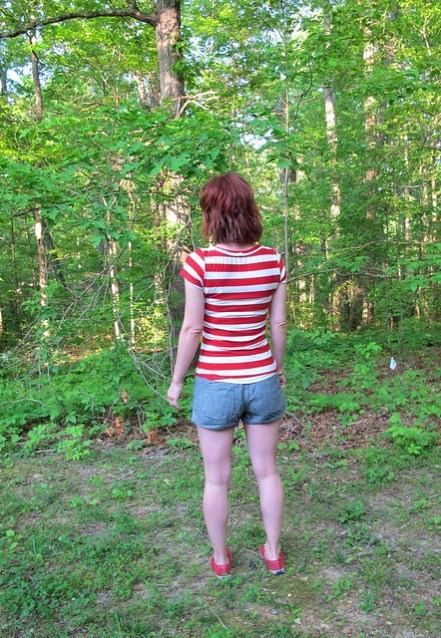
Couple of other things – my shorts are linen Thurlows from a couple of years ago. They’re a little big in the legs, but the looseness is ok for now because that is a pretty fresh tattoo you’re seeing on my thigh. No close-ups because it’s in the gross peeling stage right now, but here’s a shot taken immediately after it was finished.
So anyway, going back to the title of this post – Me-Made-May has just started, and my Instagram feed is delightfully full of endless selfies featuring handmades. To those of y’all who are unfamiliar with MMM, it’s a month-long challenge to get you wearing your handmades and figuring out wardrobe gaps (check out the link; Zo does a much better job of explaining it than I do). I have participated for a few years now – 2012, 2013 and 2014 – and I always enjoy it, except for the whole daily photo part 😛 This year, though, I have decided to opt-out.
For one, I make everything I wear now. I own very little RTW, and none of it is new – it’s just stuff that managed to survive several closet purges. Wearing handmade is something that I do daily, from my pajamas to my jeans to my tshirts to even my freaking underwear. It seems a bit silly and redundant to spend a month documenting it at this point. There’s nothing novel about it for me, it’s just my daily life. Also, I HATE taking daily photos. Gets old after about 3 days.
The bigger reason why I’m choosing to opt out is because my participation has given me this weird complex about repeating outfits. I don’t know why! Outfit repeats used to be a big part of my style (I like it and I latch onto it, ain’t no shame in that) – but something about spending a month documenting your wardrobe and trying to intentionally wear different outfits every day really started to make me feel like I *needed* to always have something fresh and new. That’s not really a sustainable way of dressing – and having a giant closet of things I only sorta like is surprisingly stressful. I went down a weird rabbit hole of not ever wearing my favorite pieces, because I wanted to “save” them for… something. Which is REALLY stupid! I wear (and make!) clothes because I like them and I feel good in them. If I want to wear the same dress three times in one week, I should just do it. If anyone notices that I’m wearing the same dress 3x in one week, then that’s their problem, not mine. Unless I smell, which in that case someone should definitely say something.
While I love and appreciate what Me-Made-May stands for and how it helps people get out of clothing ruts and determine wardrobe holes, it’s just not working for me. So I won’t be participating this year, and y’all can all breathe a collective sigh of relief that you don’t get blasted with 31 extra photos of my mug this month 🙂

On that note – how’s your Me-Made-May going? Are you participating? Have you opted out? Are you enjoying the daily updates of outfits as much as I am?


