
Continuing with my sewing-for-the-wrong-season theme (spring, please get here now!), my current project is a simple little gingham sundress. As I mentioned yesterday, I am using the Peony pattern sans sleeves – summer dresses don’t need sleeves! Here is my inspiration, if you wanna be inspired too!:) I squeezed this out of a sale remnant (1.5 yards @ 44″, if you’re curious!), which left no room for facings. That’s fine, I guess, because I don’t really feel like drafting facings for those arm holes. Onto the next best thing – bias tape!
Bias tape is a great alternative to facing – whether you are working with a fabric that is too thick to use as a facing, or too uncomfortable to wear next to the skin, or maybe you just want something lightweight & unfussy! It gives a nice clean finish with considerably little effort. I personally like to make my own bias tape – the Coletterie has a great tutorial on how to do this – as I find the packaged stuff to be too stiff and bulky. Making your own bias tape also gives you all kinds of options – contrasting colors, patterns, something to give the inside of your garment a little pop! Yellow bias tape would be so fun with this dress! I had to make do with what I had on hand, though, so mine is white.
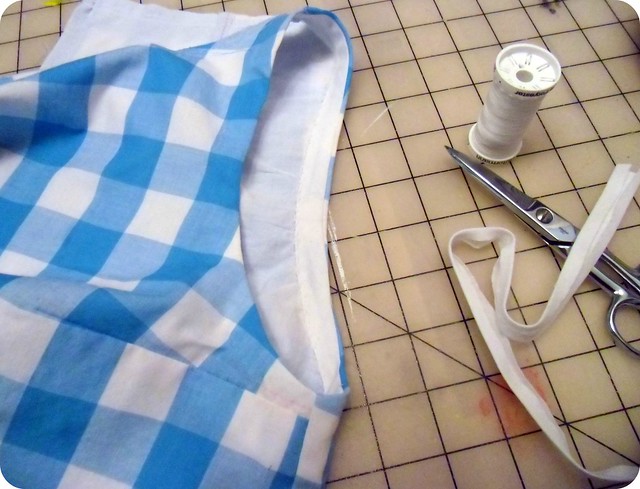
Here is my method for sewing in a bias tape facing – I understand there are different ways to do this (such as Colette’s Sorbetto top), so use what you will!
You are going to start by sewing up your garment as usual – should seams, side seams – as we are going to insert the bias tape in the round. If you are using bias tape to face the neckline, insert your zipper as well. I’m just focusing on the arm holes here.
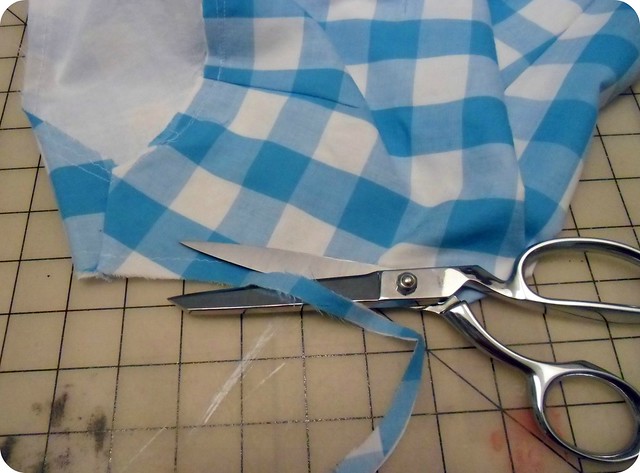
Trim down the seam allowance minus the width of the fold of your bias tape – in my case, my bias tape is 1/2″, so the folds are 1/4″. I trimmed off 1/2″, as the seam allowance for this is 5/8″.
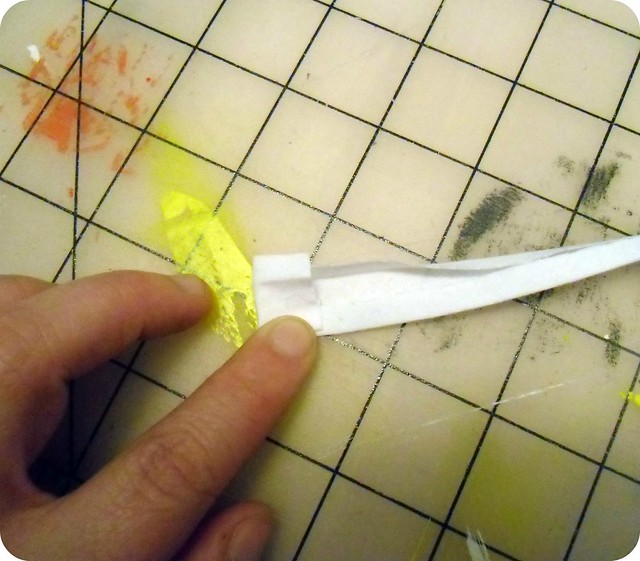
Open up the bias tape and fold under 1/2″ at the beginning. Press.

On the right side of the garment, pin the opened bias tape right sides together around the arm hole, matching the raw edges.

Sew the whole thing down, positioning your needle in the crease of the bias tape. Don’t sew over your pins!!!
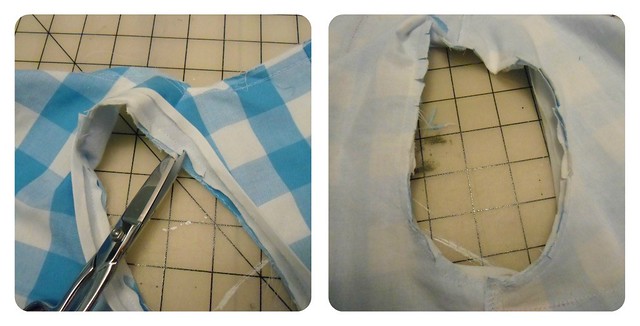
Clip the seam allowance every 1/2″ or so to ensure that the tape will lie smoothly. Be careful not to clip into your stitching. If your main fabric is bulky, you may want to grade down the seam as well.
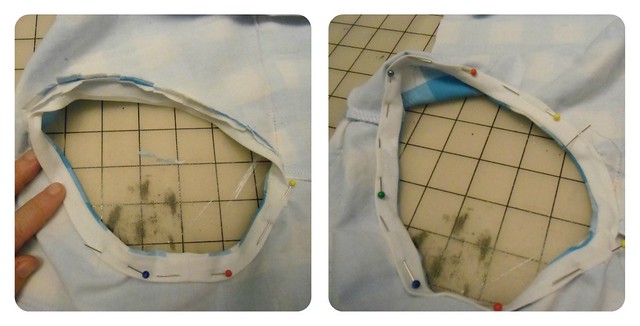
Now fold the bias tape over so it is on the wrong side of the garment and carefully pin into place.
You can sew the tape down on your machine, or by hand (like I did). Sorry the picture doesn’t show so well! I slip-stitched to the underlining only, to keep the stitches from showing on the right side.
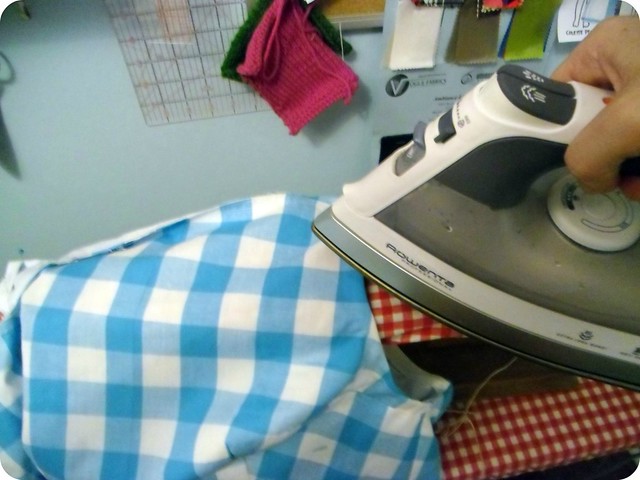
Give your arm holes a good press with the steam iron to ease out any wrinkles.
And you’re done!
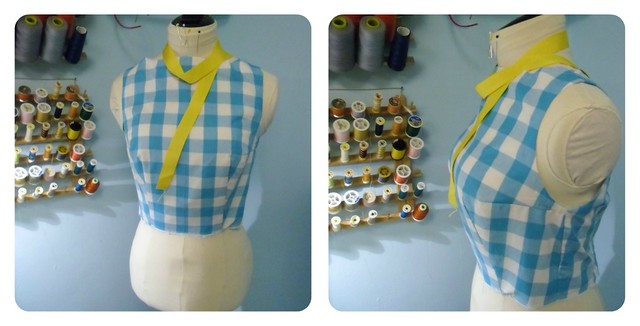
My next dilemma – how to trim up this dress! I do want to incorporate some yellow, so I pulled out all my yellow notions & threw them in a pile in the middle of my sewing table. I have buttons (1/2″ and giant 1.5″!), tiny rick-rack, wide lace, a scant piece of piping (enough for maybe a neckline or a waist), seam binding, and of course the petersham that is choking poor Dolly. The petersham is probably going to turn into a belt, since I only have a yard of it. What would you do? Jazz it up, or keep it simple?


Nice tute :)! If people don’t mind the last bit of stitching showing on the outside there’s yet another way to do the bias finishing here: http://grainlinestudio.com/2012/02/15/sewing-tutorial-getting-flat-bias-necklines/
Oh, re: trim I’d like to see bright yellow plain daisies (either all yellow, or yellow with white centres / vice-a-versa) in a chain around the armholes – with a little bit of the gingham maybe 1/2″ still showing at the armholes – that’d look cute 🙂
Kinda of like these on Etsy: http://www.etsy.com/listing/84599277/venice-lace-daisy-trim-78-wide-white-and, and these http://www.etsy.com/listing/71342214/daisy-trim-white-and-yellow-12-inch-2.
Oh, those are pretty! Unfortunately, I’m on a giant stash-bust (and a very minimal budget!) so I’m not letting myself buy any new notions or trims except what I can find at the flea market. So no daises for me 😦 Gotta use what’s on hand, boo!
Okay – show us the pic of the existing yellow trim-stash and we can all pitch in with ideas for ya hun 🙂
I’m not going to be home for a few hours to snap a photo, here are some similar images I pulled off Etsy:
small buttons
large buttons
yellow lace (it’s a little more yellow than the picture suggests, but still pretty pale)
tiny yellow ric rac
yellow seam binding
yellow piping
Nothin’ too exciting, I’m afraid!
How about making a fabric belt from the gingham (or even plain white cotton) and edge it with yellow bias/seam binding along top + bottom edges? Then you could wear the belt with other plain white tops for a splash of colour too?
Thanks for the great tutorial! I’ll have to try it out.
Also, I have to comment on your inspiration. When I saw the “day in the life” of Lisa Comfort over on Tilly’s blog, I was OBSESSED with the girl’s adorable pink gingham dress (in addition to her awesome life)! So glad you made up this version …so I can live vicariously through you. 🙂
Thanks for the tutorial. I love the clothes you make, and I love hearing more about the specific methods you’ve used.
In regards to fancying up the dress . . . what about using some of your yellow lace to create something like this: http://news.holidash.com/2010/04/23/mothers-day-corsage/ I think making the petals from your lace stash (rick-rack or button in the center) rather than using felt may give it a really charming, spring-ish effect.
Looking forward to seeing what you come up with . . .
Oh that is CUTE. I wonder how difficult that would be to make that out of lace?
I haven’t tried it yet . . . my only concern would be that the lace wouldn’t hold together well when you make the petals. My lace stash is pitiful at the moment, but if I dig some up, I might give it a go myself. I suspect using glue may be tricky. I may try just to baste them together when I get to it.
I think I might try it anyway – I bought 10 yards of this lace for $1 (really!) so I have plenty to spare 🙂 I think basting is probably a better idea than gluing. I don’t trust glue!
Fab tutorial Lauren – I’ll be using it for sure as I can’t stand facings, they drive me nuts! Re trimmings my vote is for tiny yellow rid-rac around the neckline and waist seams. Can’t wait to see this dress finished, it ticks all my boxes big time! x
I think if in doubt, keep it simple.. I like the idea of the yellow ribbon at the waist and nothing else. I can’t imagine a big mess of lace stuffed on there enhancing the crisp lines of the yellow gingham 🙂
I think that’s the appeal of the inspiration pic too.
Looking forward to seeing the results! 🙂
Oh also- to add, I think maybe if you wanted a bit more excitement, as well as a sash of yellow at the waist, perhaps a simple bow in the same ribbon, put on top of the waist sash. (maybe centred if you wanted to be charmingly obnoxious, or on the side)
(you could add a button in the centre of the bow) 🙂
I am going to try to make a bow belt with the petersham – I think I have *barely* enough. We’ll find out tonight, anyway! Ha!
Lovely tutorial, Lauren, thanks! I’m all about ric rac, myself, because I embrace that part of me…
I love the way the bias tape looks so neat and tidy – facings are sometimes so floppy LOL.
I think yellow piping at the waistline would look sweet, and subtle 🙂 But I like the idea of the yellow bow belt as well, it would look so pretty with this style of dress 🙂
I say one yellow accent is the way to go. Jazz it up with a subtle punch of color. I just learned this technique in December, and I love it. Your tutorial is great.
I have been doing this too just recently, it makes such a clean finish. Love the tutorial. The top is so pretty, love the fabric
Fab tutorial. I really enjoy your blog and am glad you are blitzing your stash; nothing more satisfying.
The armhole looks so nice! This is going to be a cute dress!
I would keep it simple or use a more muted shade of yellow so as not to overwhelm.
How about trimming the neckline with the piping to go with the belt. You wouldn’t need to pipe the waistline if you’re going to wear the belt with the dress. It’s looking good, btw.
This is soooo beautiful and one of my favourite colour combinations. I never know where to stop with trimmings so don’t listen to me, I would have the yellow round the bottom, round the neck and the belt-lol! It’s really lovely and inspiring.
This is a great tutorial! Thanks! I’m a technical designer and we use this all the time on our knits but we refer to it as inside binding and we most commonly use it @ the back neck seam to conceal the merrow when the garment is on the hanger
Thanks for sharing another great tutorial 🙂
I keep coming up with 3/8 in to trim instead of 1/2 in when I subtract 1/4 in from 5/8 in seam allowance. What am I doing wrong?
Nothing – my math is off 🙂 I can’t believe I didn’t catch that! You’re right, you should be trimming off 3/8″, since 3/8+1/4=5/8. Sorry about that 🙂
Thanks for helping me out! My binding came out great! Too bad the top I used it on doesn’t fit though. 😱 😋
Oh nooo!! Better make a muslin next time 😉