Gonna keep this one short and sweet today!

Also, in case you were wondering – yes, I took these immediately after the photos from my last post. Just pulled the sweatshirt on over what I was already wearing! Haha!
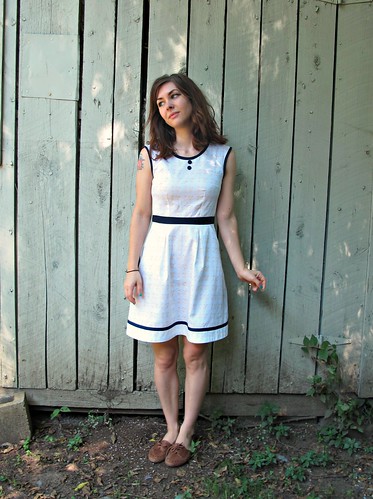
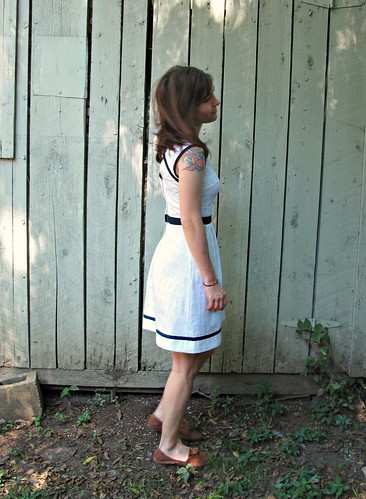
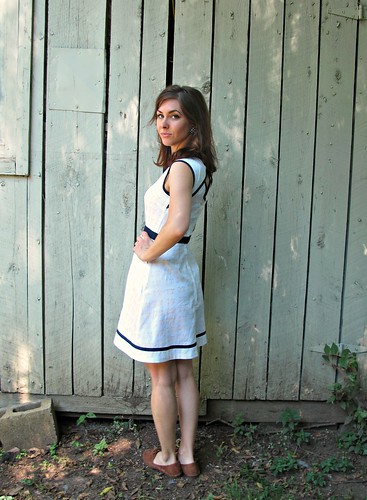
This is the Fraser Sweatshirt from Sewaholic Patterns. I have actually made this top before – I used a beautiful marled French Terry from Metro Textiles and it’s soooo soft and cozy – but this is my first post about it. I don’t normally dedicate a post strictly to something as plain at a knit top, as I personally find it a little boring – but I do think this one deserves its own very short post. So there you go. I finished this way back in August and have worn it loads since.
Anyway, Fraser! I think this pattern got a bit overlooked – I certainly overlooked it at first. It’s pretty similar to the Renfrew Top – albeit with a higher neckline, a little more ease (to allow for sewing out of a bulkier fabric) and some style variations. I didn’t care much for the style variations, personally – not a fan of that western contrast yoke, and really falling out of love with twee collars on everything. I liked the plain version, and like I said – I made it up and really enjoy wearing it – but I don’t know if the plain version alone really justifies buying the pattern if you already have the Renfrew (FWIW, Tasia gifted me these patterns, although she did made it very clear she was not expecting a review post in exchange). With that being said, I loved Amanda’s collared version the second I saw it, and filed it away for future consideration.
For fabric, I used a grey sweatshirt knit that has been in my stash for a few years. I’m not 100% on where it’s from, but my best guess is that I bought it at Paron’s in NYC. It’s a little lighter and stretchier than a true sweatshirt fleece – it almost feels like scuba with fleece on one side.


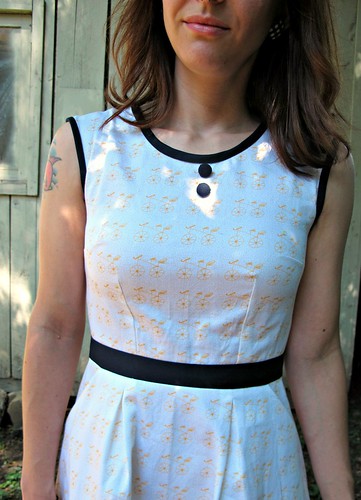
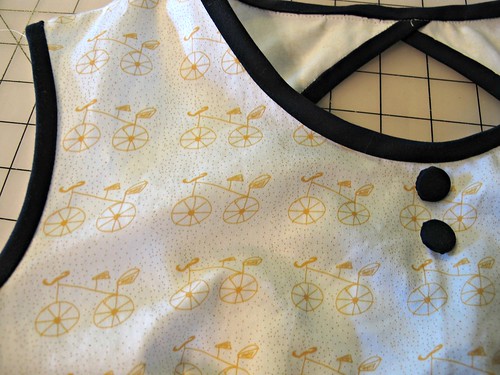
I wanted my collar to be more subtle than straight-up color-blocking, so I simply used the wrong side of my main fabric. In theory, it seemed like a really cool idea – the wrong side is fuzzy, so there’d be some unexpected texture there. In practice, it looks very much the same as the right side, unless you’re actually touching it. So my inset collar is even less of a contrast than I was anticipating, although I don’t think this is a bad thing. I actually do like the way it turned out!
Anyway, I topstitched around the collar with a straight stitch to really bring out the seam lines and help everything lay flat. I love the effect, especially how it looks with another collared shirt peeking out from underneath, inception-style 😛


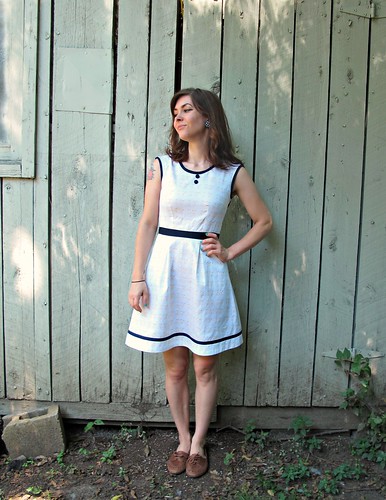
Pattern-wise, not much to report. I made a size 0, which is my usual Sewaholic size. I assembled the shirt with a serger, although I used my sewing machine to sew the collar in first so I could easily unpick if I messed something up (I just went over the seams again with my serger once I knew everything was good). Actually, the serged seams on the collar look REALLY cool and I almost let that be the right side… maybe for the next top. Who knows!
I did have to do a little tracing to get those long sleeves. The pattern comes with 3 sleeve options, but the long sleeves have that yoke on top of them. The yoke-less sleeves are 3/4 and short, both of which I feel are useless for a sweatshirt. I simply combined the top of the 3/4 sleeve with the bottom of the yoked sleeve, to make a plain long sleeve. Not difficult to do at all.
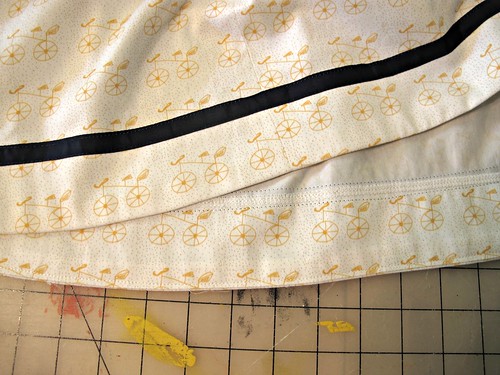
Interestingly, I found the hips to be too wide in the first version I made of this pattern – there were super A-line on me (not surprising, considering I’m not a pear shape and this pattern is drafted for someone who is) and I had to take in the sides quite a bit to make them more straight – but on this current version, they are fine. I am guessing my fabric choice had something to do with this, because I didn’t alter the actual pattern pieces. This knit is way softer and stretchier than the French terry I used for my first version, which makes the sides hang better.
Anyway, I don’t have anything else to say about this top sooooo I guess that’s it!