
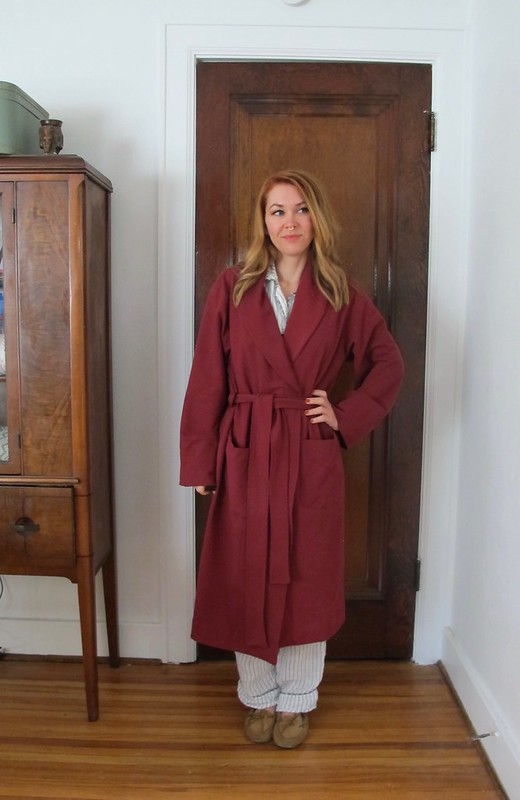
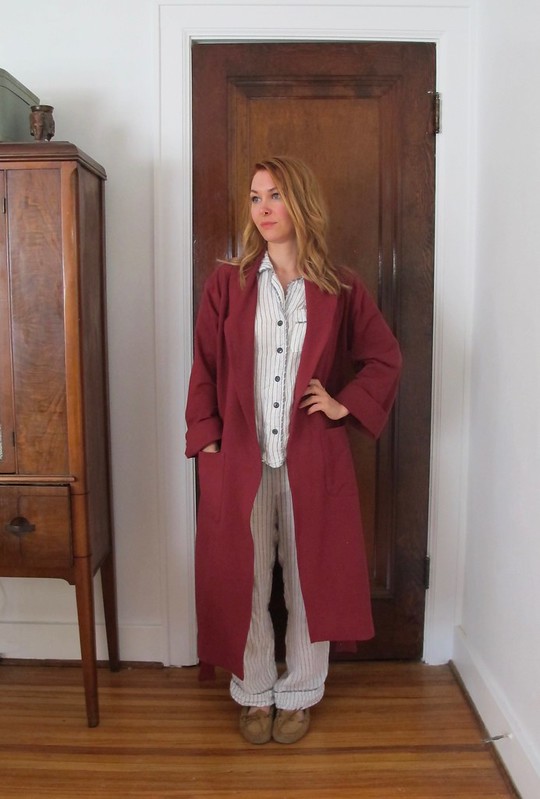
Well, y’all, it’s official – I’ve given up on sewing any more cold weather clothes for this season (although I still have a coat project that I haven’t shared – yet!! Keep an eye out for that one; I promise it’s worth the wait!!). It may still be spring here with some seriously flip-flopping temperatures, but I’m planning for the heat that I now is coming!
First up, some new pants! Yah, I have ENOUGH pants, we are all aware of that – seriously, my pants drawer is a bit much! – but most of what I have are jeans and skinny pants, better suited for cooler weather. When it’s warm outside, I need some space between my legs and my pants so that I can catch that breeze! I have a great pair of linen Florence pants from Elizabeth Suzann, which I love but could use some improvements to better match my needs (pockets + a flat non-elastic waist, plus a sliiiiightly lighter weight linen). I do love the shape of those Florence pants, though – the wide leg is perfect for a warm-but-not-quite-warm-enough-for-shorts day, the cropped length looks great with both flats and heels, and the high waist means I can wear them with cropped shirts.
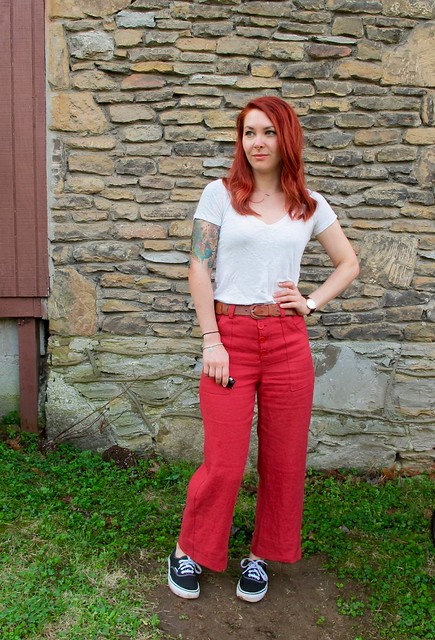
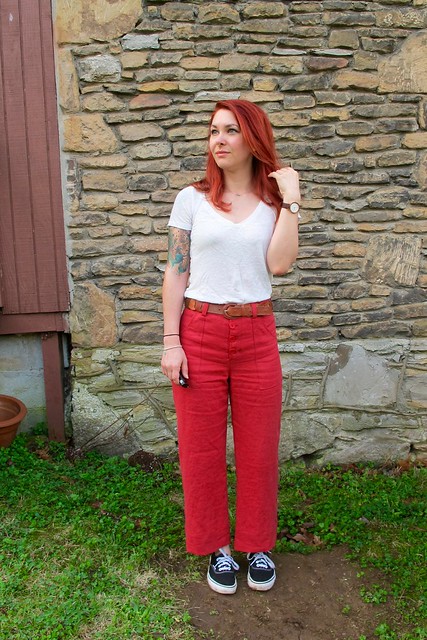
With these changes in mind, I find the Lander pants from True Bias fits all those needs. I still have the high waist, cropped length, and wide leg, but with a slimmer fit through the thigh, a flat waistband (no elastic!) and pockets. I’m not the sort of person who thinks pockets should be in EVERYTHING, but I do like them in my pants! And while I respect that a slim pant can’t always have a pocket without adding additional bulk, this pattern does a fine job of giving me a place to stash my stuff without ruining the sleek style lines.
Pattern in hand, the next task was to find a good linen that fit my needs and preferences. I wanted something with a lighter medium weight – not as heavy as the Florence pants (they can get a bit warm when humidity rises), but with enough heft to still look ok as a bottom weight and not be as prone to wrinkles as a light weight. Not to mention, color is important! My Florences are navy, so I wanted to try for a different color (as much as I love navy, I don’t need two pairs of navy linen pants!). I reached out to my friends at The Confident Stitch for some ideas and swatches, and y’all, did they deliver! I decided to go with the Vivaldi Linen in red, which was exactly the weight + color I was hoping for (Vivaldi linen also comes in other colors – royal blue and taupe – if red ain’t your thing! They also have a great Brussels Washer Linen from Robert Kaufman that I considered, but ultimate decided it was a hair too light for the pants look I was going for).
I washed + dried my linen 3 times to get as much shrinkage out before cutting (I have been told this also helps with preventing wrinkles, which I can’t say for sure if that’s true, but this linen hasn’t been very prone to wrinkling!), using hot water and high heat. While the color did not bleed, it did turn my dryer lint bright red which sometimes got on my clothes (I just brushed it off, it didn’t stain anything. But it did make for a delightful dryer discovery). This Vivaldi linen was absolutely lovely to work with – it pressed and sewed without any trouble, had minimal fraying (I used my serger to finish all seams to further cut down on fray potential) and I didn’t have any issues with it shifting around during cutting. Just a great experience overall!

Before sewing up my pants, I made a muslin of the shorts version to see if I had any fitting adjustments to make. Based on my measurements, I started with a size 2 but they were pretty tight. Letting out the side seams about 1/2″ (the pattern includes 1″ seam allowance at the side seams for fitting) gave me a much better fit. I also took out about 1/4″ in the length of the crotch, fading to nothing at the side seams.
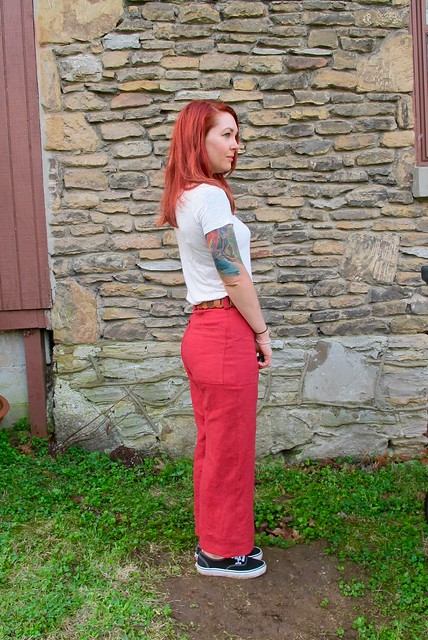
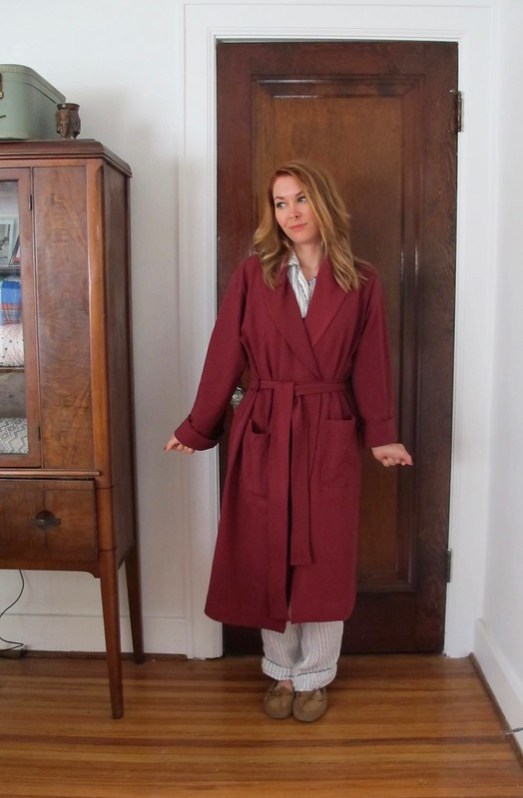
For the pair in red linen, I went up to a size 4. The overall width of the legs and length of the crotch is good, however, the center back needed to be taken in quite a bit to account for my hip to waist ratio (I think this pattern is cut for a more straight figure). This is an EASY adjustment to make; you just try on the pants before you add the waistband and take in the center back as needed for a closer fit. I took out an extra 3/4″, but honestly could have stood to remove more (I didn’t want to risk making them too tight at the waist – which I am guilty of doing, like, often, so I’m wearing them with a belt to cinch them in a little more). I almost removed another 1/4″ from the side seams, because my linen has more give than the muslin.
I cut the pockets for the size 4, but I think they are too big for my frame, especially after taking in that center back. There are two back pocket sizes for this pattern – a small pocket (sizes 0 & 2) and a slightly larger size (4 and up). In retrospect, I should have cut the smaller sizes, which I will do for the next pair. I just think they are slightly too big and a little overwhelming on me.
Finally, the length is the exact length called for in the pattern for the cropped version. I am a hair under 5’3″ so I wasn’t sure if they would be too long on me. I actually think they could stand to be shortened maybe 1″, but several people told me they are the perfect length (to me, they look almost like they accidentally shrank in the wash!). I am not going to mess with this pair, but next pair I may shorten them just a bit.

Construction-wise, this pattern is great. I’ve made DOZENS of pants at this point, so I’m not exactly a n00b to this, though. I had no problem following along for the steps, including the button fly. One thing I would change for the next pair is to interface the fly shield because it can definitely use that support, especially when sewn up with a linen.
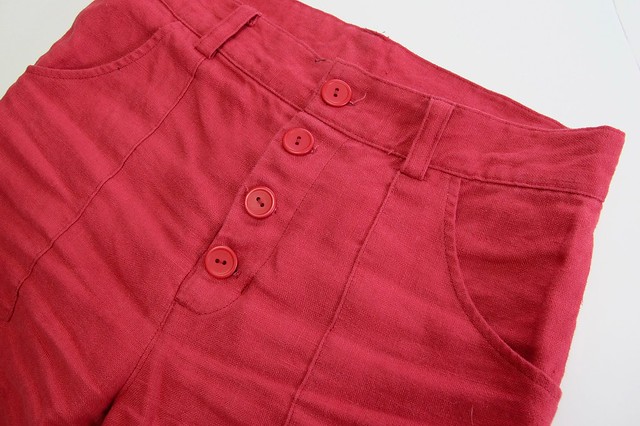
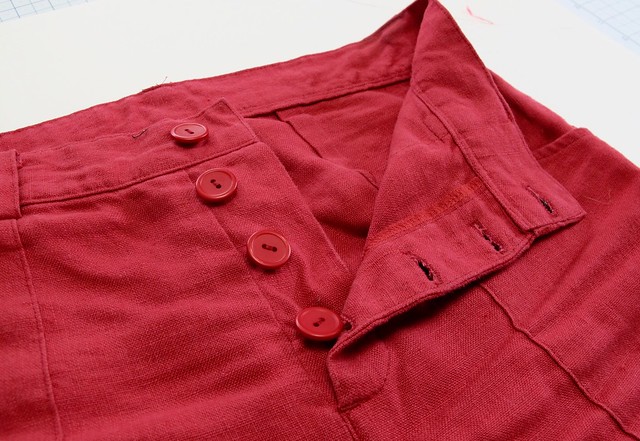
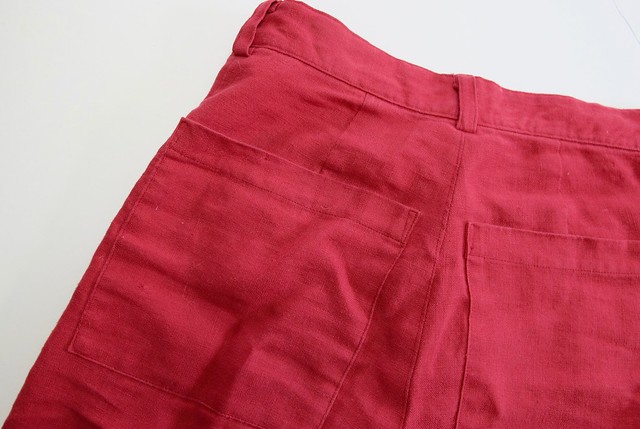
What else? I used bemberg rayon (a scrap in my stash) to line the front pockets, and the buttons are from my local fabric store, Textile Fabrics. Took me foreeeeever to find a perfect matching red but I’m so glad I did! As a side note, these flat photos were taken after wearing the pants around for a full day, so you can see exactly how much the linen wrinkles (i.e., not much at all!).
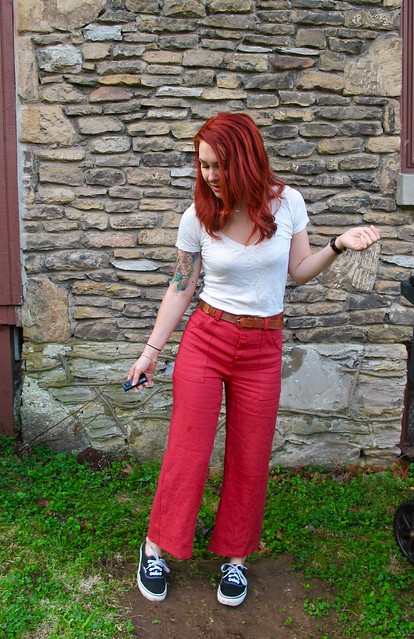
So I think that’s all for this post + project! I’ve already worn these pants several times (as the weather allows) and have really loved that they provide a little warmth and coverage while still being light and breathable when the sun starts getting crazy. The high waist works great with a lot of my crop tops, which I’m excited to bust out!
Big thanks to The Confident Stitch for sponsoring this post and making my red linen pants dreams come true! As a side note, the links used in this post are affiliate links and will net me a percentage of any purchases you make through that site if you click the link (which in turn gets dumped directly back into my FABRIC FUND amirite woohoo). Thank you for supporting my blog, y’all!


