
As I mentioned in my last post, I also made a clutch to go with my dress, using leftover scraps of fabric!
As silly as it sounds, this is something that I have been needing – particularly for this dress, but also in general. See, I own a very nice leather purse – but it’s brown, and it’s a decent-sized handbag (it is actually quite small as far as most handbags go, but it’s bigger than one would need for an evening out). I have been wanting a black bag in a smaller size, something big enough to just hold the essentials (wallet, keys, lipstick, gum, phone). While I normally find clutches pretty silly (you mean I have to HOLD my purse wtf), I think they are fine for evening wear. Gives me something to do with my hands that isn’t smoking a cigarette 😛
Anyway, I decided to make a small bag after I cut my dress and realized I had quite a bit of yardage left over – both with the outer and the lining. I also chose to use this opportunity to try out the fabric cutting function on my Cricut Maker!
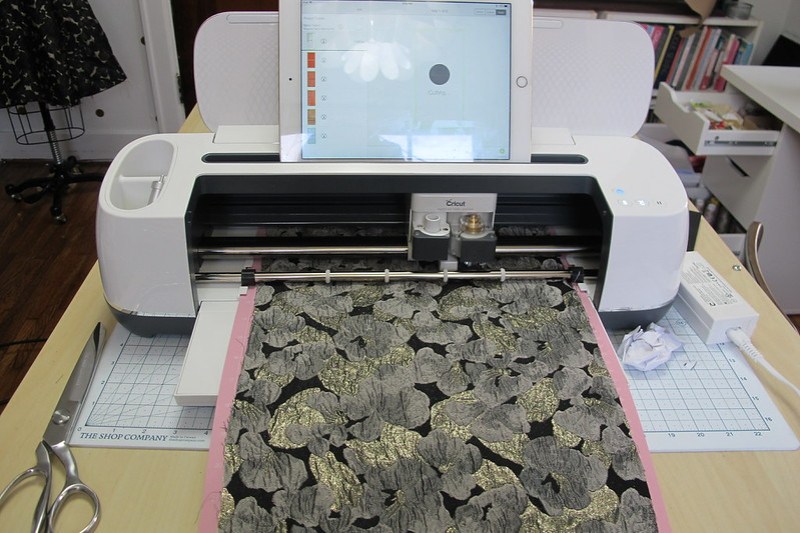
Using the Maker to cut my purse was pretty straightforward. I looked through the available projects on the app and decided to make Simplicity 8028, which is a simple clutch with a zippered top. After purchasing, I changed out to a rotary blade on the Cricut and started loading up my fabric mats.
In addition to cutting, the Cricut Maker also marks your pattern pieces using a water soluble marking pen (both the actual pattern markings and it also numbers the pieces so you know which one is which). The notches are cut in outward triangles (the old school way). One thing I didn’t notice until after the fact is that the screen before you start the project labels all your mats with pieces + fabric (i.e., “Mat #2 will cut pieces 2 and 3 out of lining fabric” or whatever). This is not anywhere in the app once you start the project, so I would recommend writing them down so you know which piece gets cut from which fabric. I was losing my MIND trying to figure out which fabric to load on which mat and ended up cutting a few pieces from the wrong fabric (fortunately, I had enough to re-cut). Learn from my mistakes!
FYI, I was unable to use the pattern marker with my fabric, since it is so dark (it’s one of those light blue marking pens). This was not a huge problem – the pieces are basic shapes, and the app actually shows you them on a gridded mat so you can easily figure out where, say, the strap marking is based on the size of the pattern piece + the measurements on the mat behind it.
After everything was cut, I downloaded the PDF instructions and sewed up my bag! That part was pretty easy. If you’ve sewn up any sort of zippered pouch, this bag goes together in a similar way. It took me about 45 minutes to sew, start to finish!
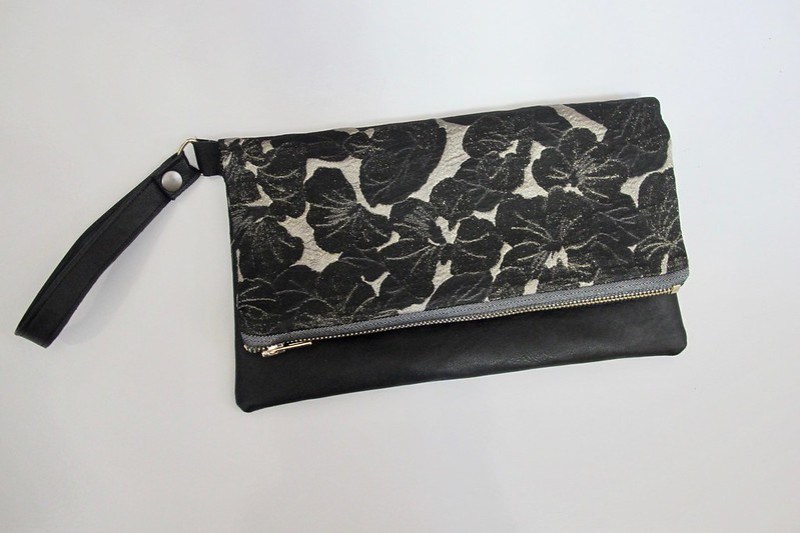
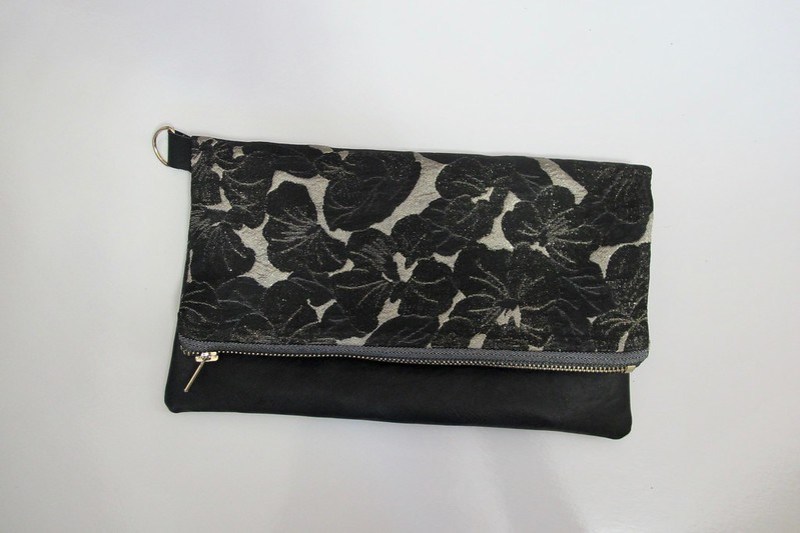
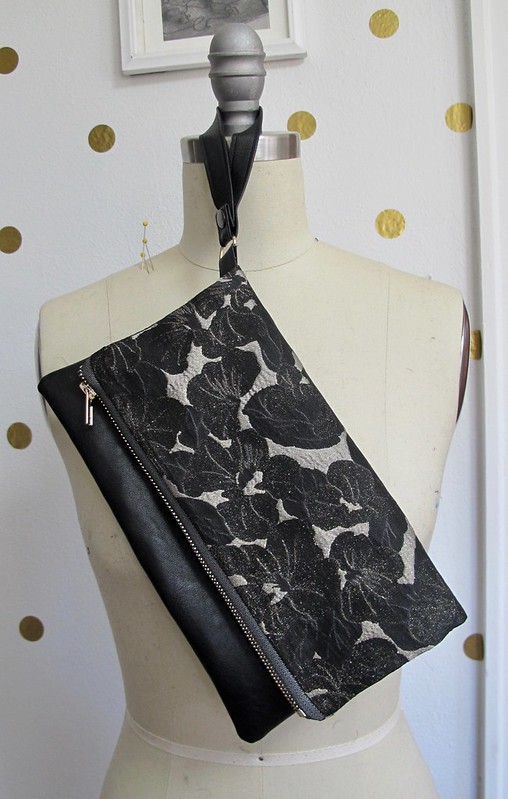
I debated on using the other side of the fabric for this clutch, but in the end – I decided the predominantly black side would work better with the rest of my dresses, should I need a black clutch for any of them. The leather piece + wrist strap is leftover from my Pulmuu skirt kit, and the bag is lined with black silk charmeuse.
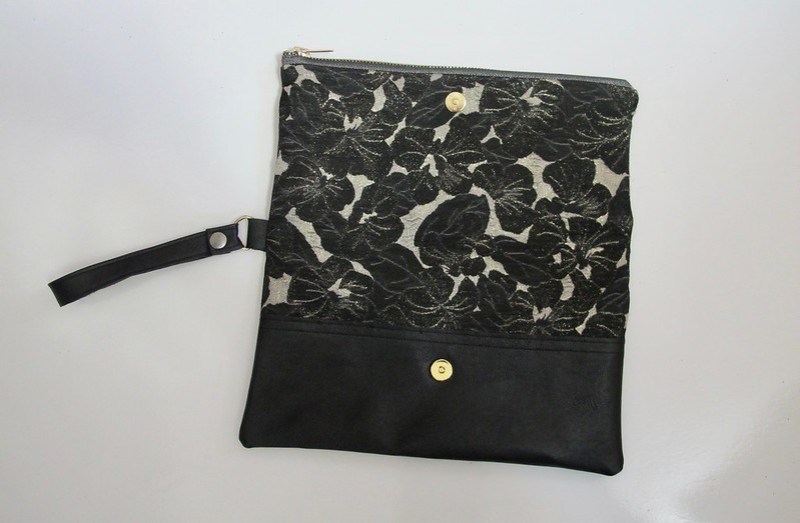
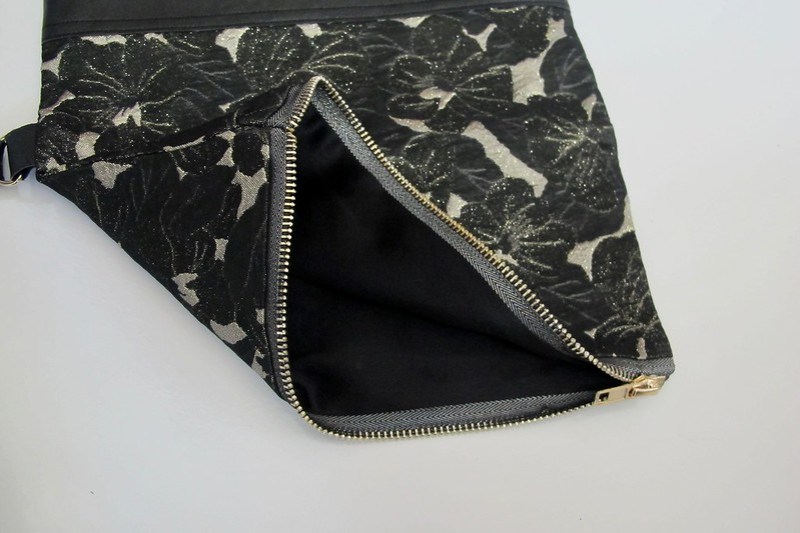
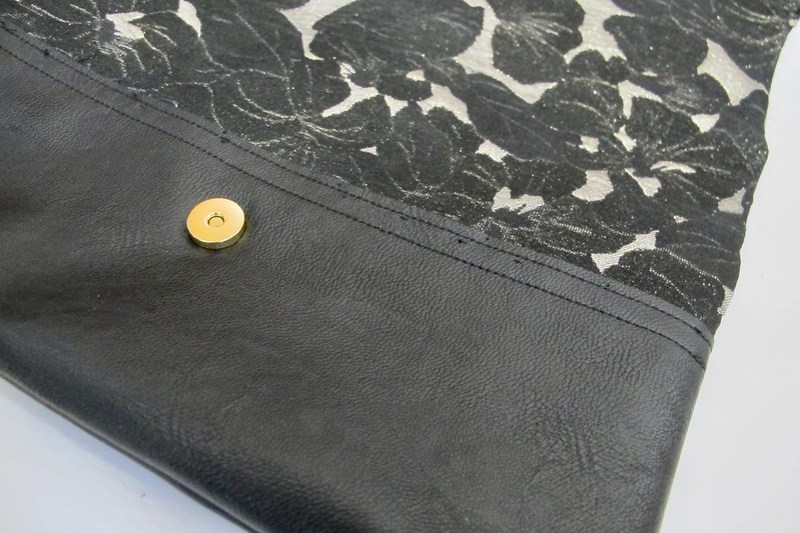
The clutch is basically a long rectangle pouch with a zipper at one end, that folds in half and closes with a magnetic snap. The snap, zipper, and gold D ring were all sourced from my local fabric store.
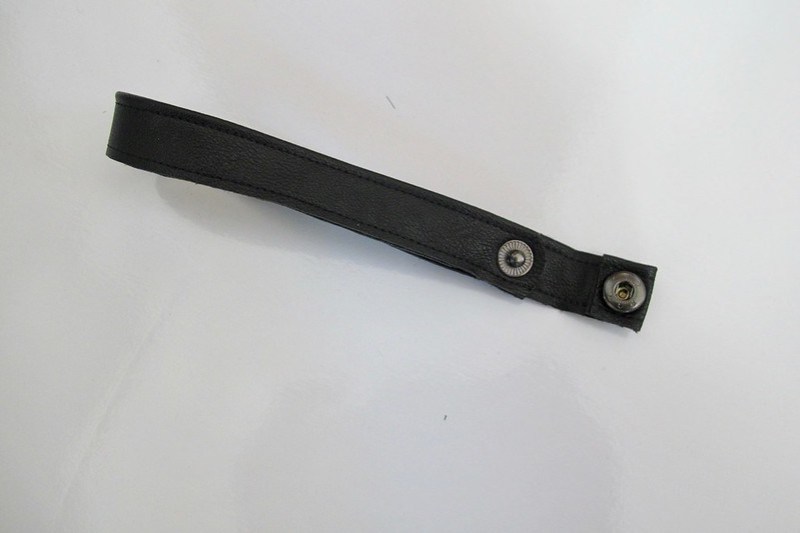
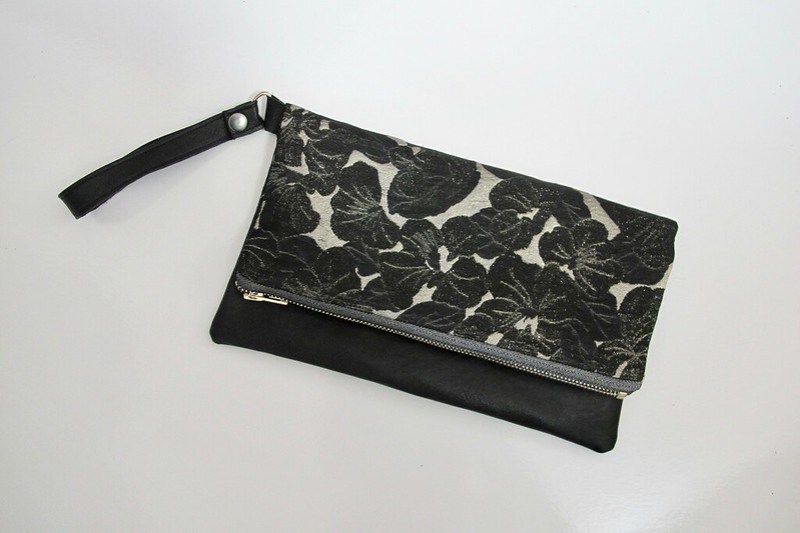
The pattern calls for a swivel hook to be sewn into the wrist strap, so you can remove it if you want a plain clutch. While I loved that idea, I couldn’t find a swivel hook in the correct size (my fabric store only had really big ones in stock, plus, the were silver and I wanted gold). So instead I used my industrial snap setter to put a snap in the wrist strap; now it just snaps on or off. Easy!
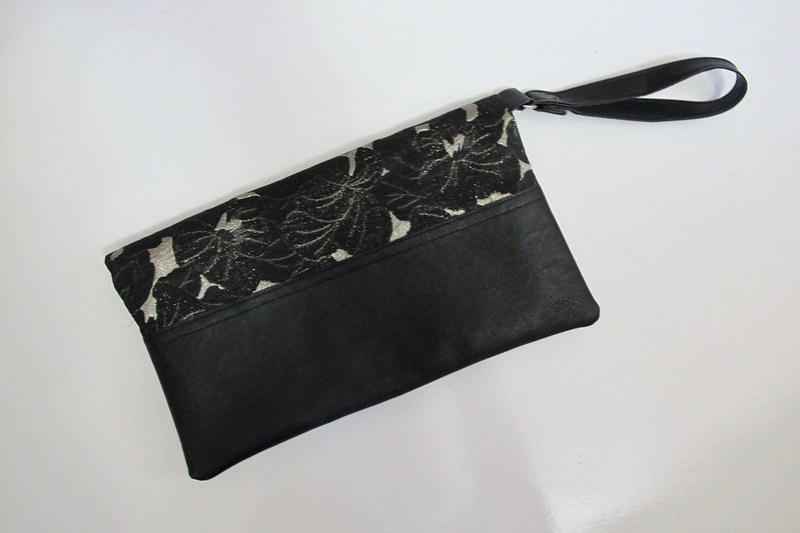
Overall, I think it turned out quite nice! It’s the perfect size for the handful of things I need to carry when I go out, and easy to hold (it also fits in the giant pocket of my faux jaguar coat, so that’s pretty rad haha). Not to mention, it feels good to use the last scraps of something – especially when it’s an expensive fabric!
Ok friends, that’s all for this project! I will be back in a couple of days with my year in review post 🙂
** Note: Cricut generously sent me the Cricut Maker machine + a bunch of supplies at no cost to me, in exchange for writing about my experience. All opinions are my own! Also, FYI, this blog post contains affiliate links. That is all!


