Archive | February, 2023

Completed: Stovepipe Ginger Jeans

20 Feb

Thank you all so much for the warm welcome back to my blog! Feels so good to be back! And now – at long last, the jeans post I have been promising!

I’m not sure how riveting (lol) this post will be, considering I’ve shared many versions of Ginger jeans over the jeans. But this is my newest pair, in a really wonderful denim, which I wanted to highlight since it is very different than what I’ve used in the past for this pattern.

This is the very newest version of the Ginger Jeans pattern from Closet Core Patterns. I have been making this pattern since it was released in 2014 (!!!), and it’s definitely a wardrobe staple for me. I generally prefer the skinny leg version, made with a very stretchy (25%+) bottomweight, but we are doing it different this year! I’m trying new things and branching out! What a rush!!

A little backstory first – while the Ginger jeans have been around since 2014, they have only been available up to a size 20 until last year. The pattern was re-released in 2021 to include up to a size 32 (63″ hip). This is the pattern that I use for my Sew Your Own Jeans weekend workshop and I was very excited to make a new set of samples with a new denim and that whole extended size range! I spent so much time laundering large swatches of denim and agonizing over which one to use for my future classes, and then even more time sewing 22 pairs of jeans (not quite full jeans – but with zippers and finished waistbands and a faux pocket stay). It was a lot of work and I absolutely stained the shit out of everything in my house.

I chose this denim, which is Wyatt from Robert Kaufman, because it washed and sewed so beautifully. The denim is 11.4oz and has about 20% stretch, and the cotton/poly/spandex content is remarkably similar to Cone Mills denim – at a much lower price point, and much more easily accessible as most fabric stores already carry Robert Kaufman fabrics. The lower stretch means it is really easy to figure out fabric for your next pair, as it is sort of a middle ground in terms of bottomweight stretch. If you find something more or less stretchy, it’s pretty easy to size up or down (or add/remove space from the seam allowances) depending on how much the percentage changes. And because of the polyester and spandex content, this denim has a really excellent recovery. I get about 7 or 8 wears out of my jeans before they start feeling a little loose. It’s amazing! Honestly, this is my favorite denim I’ve ever used. I was SO excited to have this for my classes! Yay Wyatt!

Unfortunately, Robert Kaufman ended up discontinuing Wyatt. Which was really lovely to find out 2 months after finishing the samples. To answer your questions – no, I’m not making new samples with a new denim, and our replacement class denim will be figured on a case-by-case basis (since Robert Kaufman also discontinued my back-up denim. I tell ya, it’s been a wild year). So I’m sorry if I just sold you on the best denim ever, just to tell you now that you can’t have it! I’m sorry! Email Robert Kaufman and ask them why the hell they discontinued it!

Anyway, enough with the denim drama lets talk about these pants! Since I was using a lower stretch denim than I normally make my Gingers with, I went up a size for this pair and made them in a size 4. My general rule of thumb for this pattern is to go up or down a size for every 5% stretch you gain or lose, starting with 15% and going up to 25% (I would not stray too much beyond those percentages). This has been the case not just for me, but across the board in my classes, fitting hundreds of students into a multitude of different sizes, denims, and ease preferences.

Using myself as an example: My measurements put me at a size 6 hip, which is the size I would sew with 15% stretch. For 20%, I can go down to a size 4. With 25%, I can make a size 2. When changing sizes – you can either cut a whole ass new pattern, or you can add the difference at the side seams (whatever the size grade measurement is – you will want to refer to your pattern. It can vary between 1/4″-1/2″ depending on your size range). Of course, you always want to try the pants on BEFORE the waistband has been attached – it’s really easy to add or remove room from the side seams.

To find your stretch percentage, you have to measure a physical piece of fabric. The amount of lycra in the fabric has absolutely no bearing on the stretch percentage – I’ve seen fabric with 5% lycra that stretches 10%, and 2% lycra that stretches 20%. You have to actually stretch and measure the fabric, and do math to figure out the percentage. There are tons of tutorials online on how to do this – here’s a good one from Cloth Habit. The Wyatt denim stretches 4″ of fabric to 4.5″ (or 5″ to 6″, or 10cm to 11.5cm). My specific math percentage may not be exact (please do not come at me in the comments with “wELL aKtShUaLLy….” I really don’t care lol), but it’s a good starting point to get the ball rolling. If you want to discuss this more in depth, please sign up for a workshop! 😇

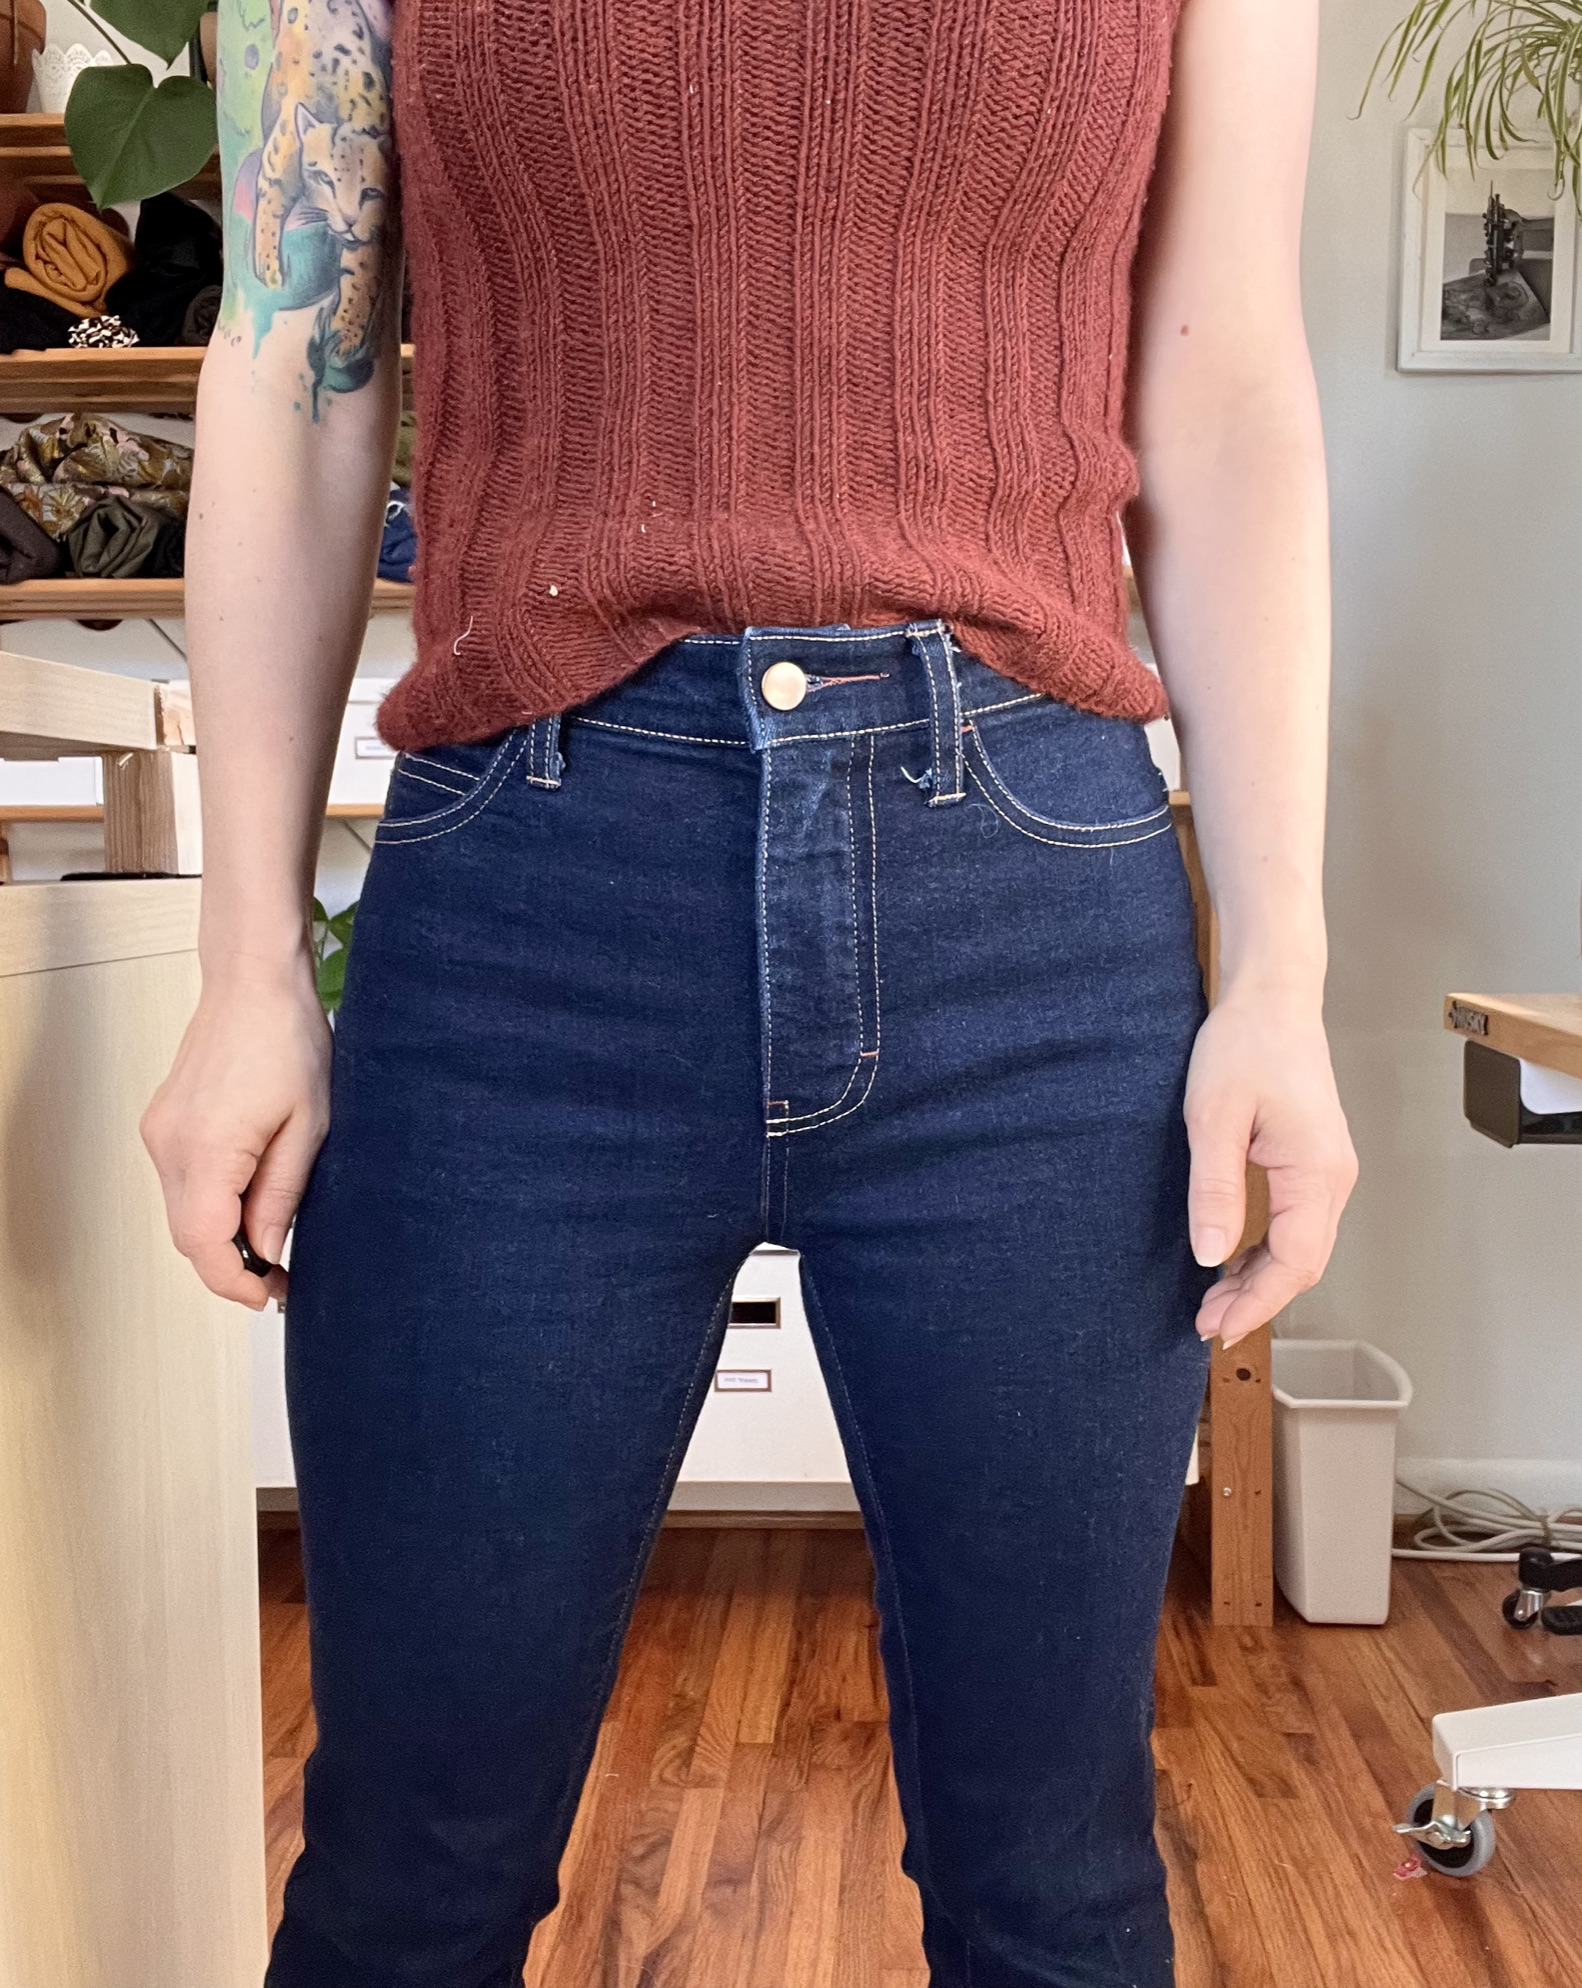
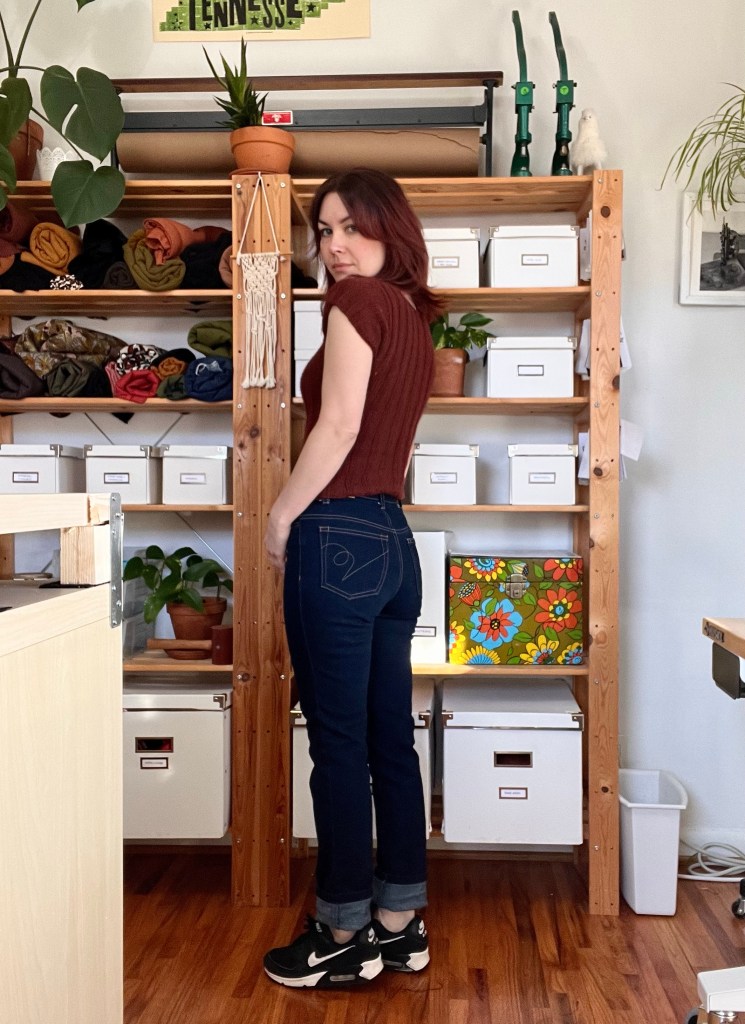
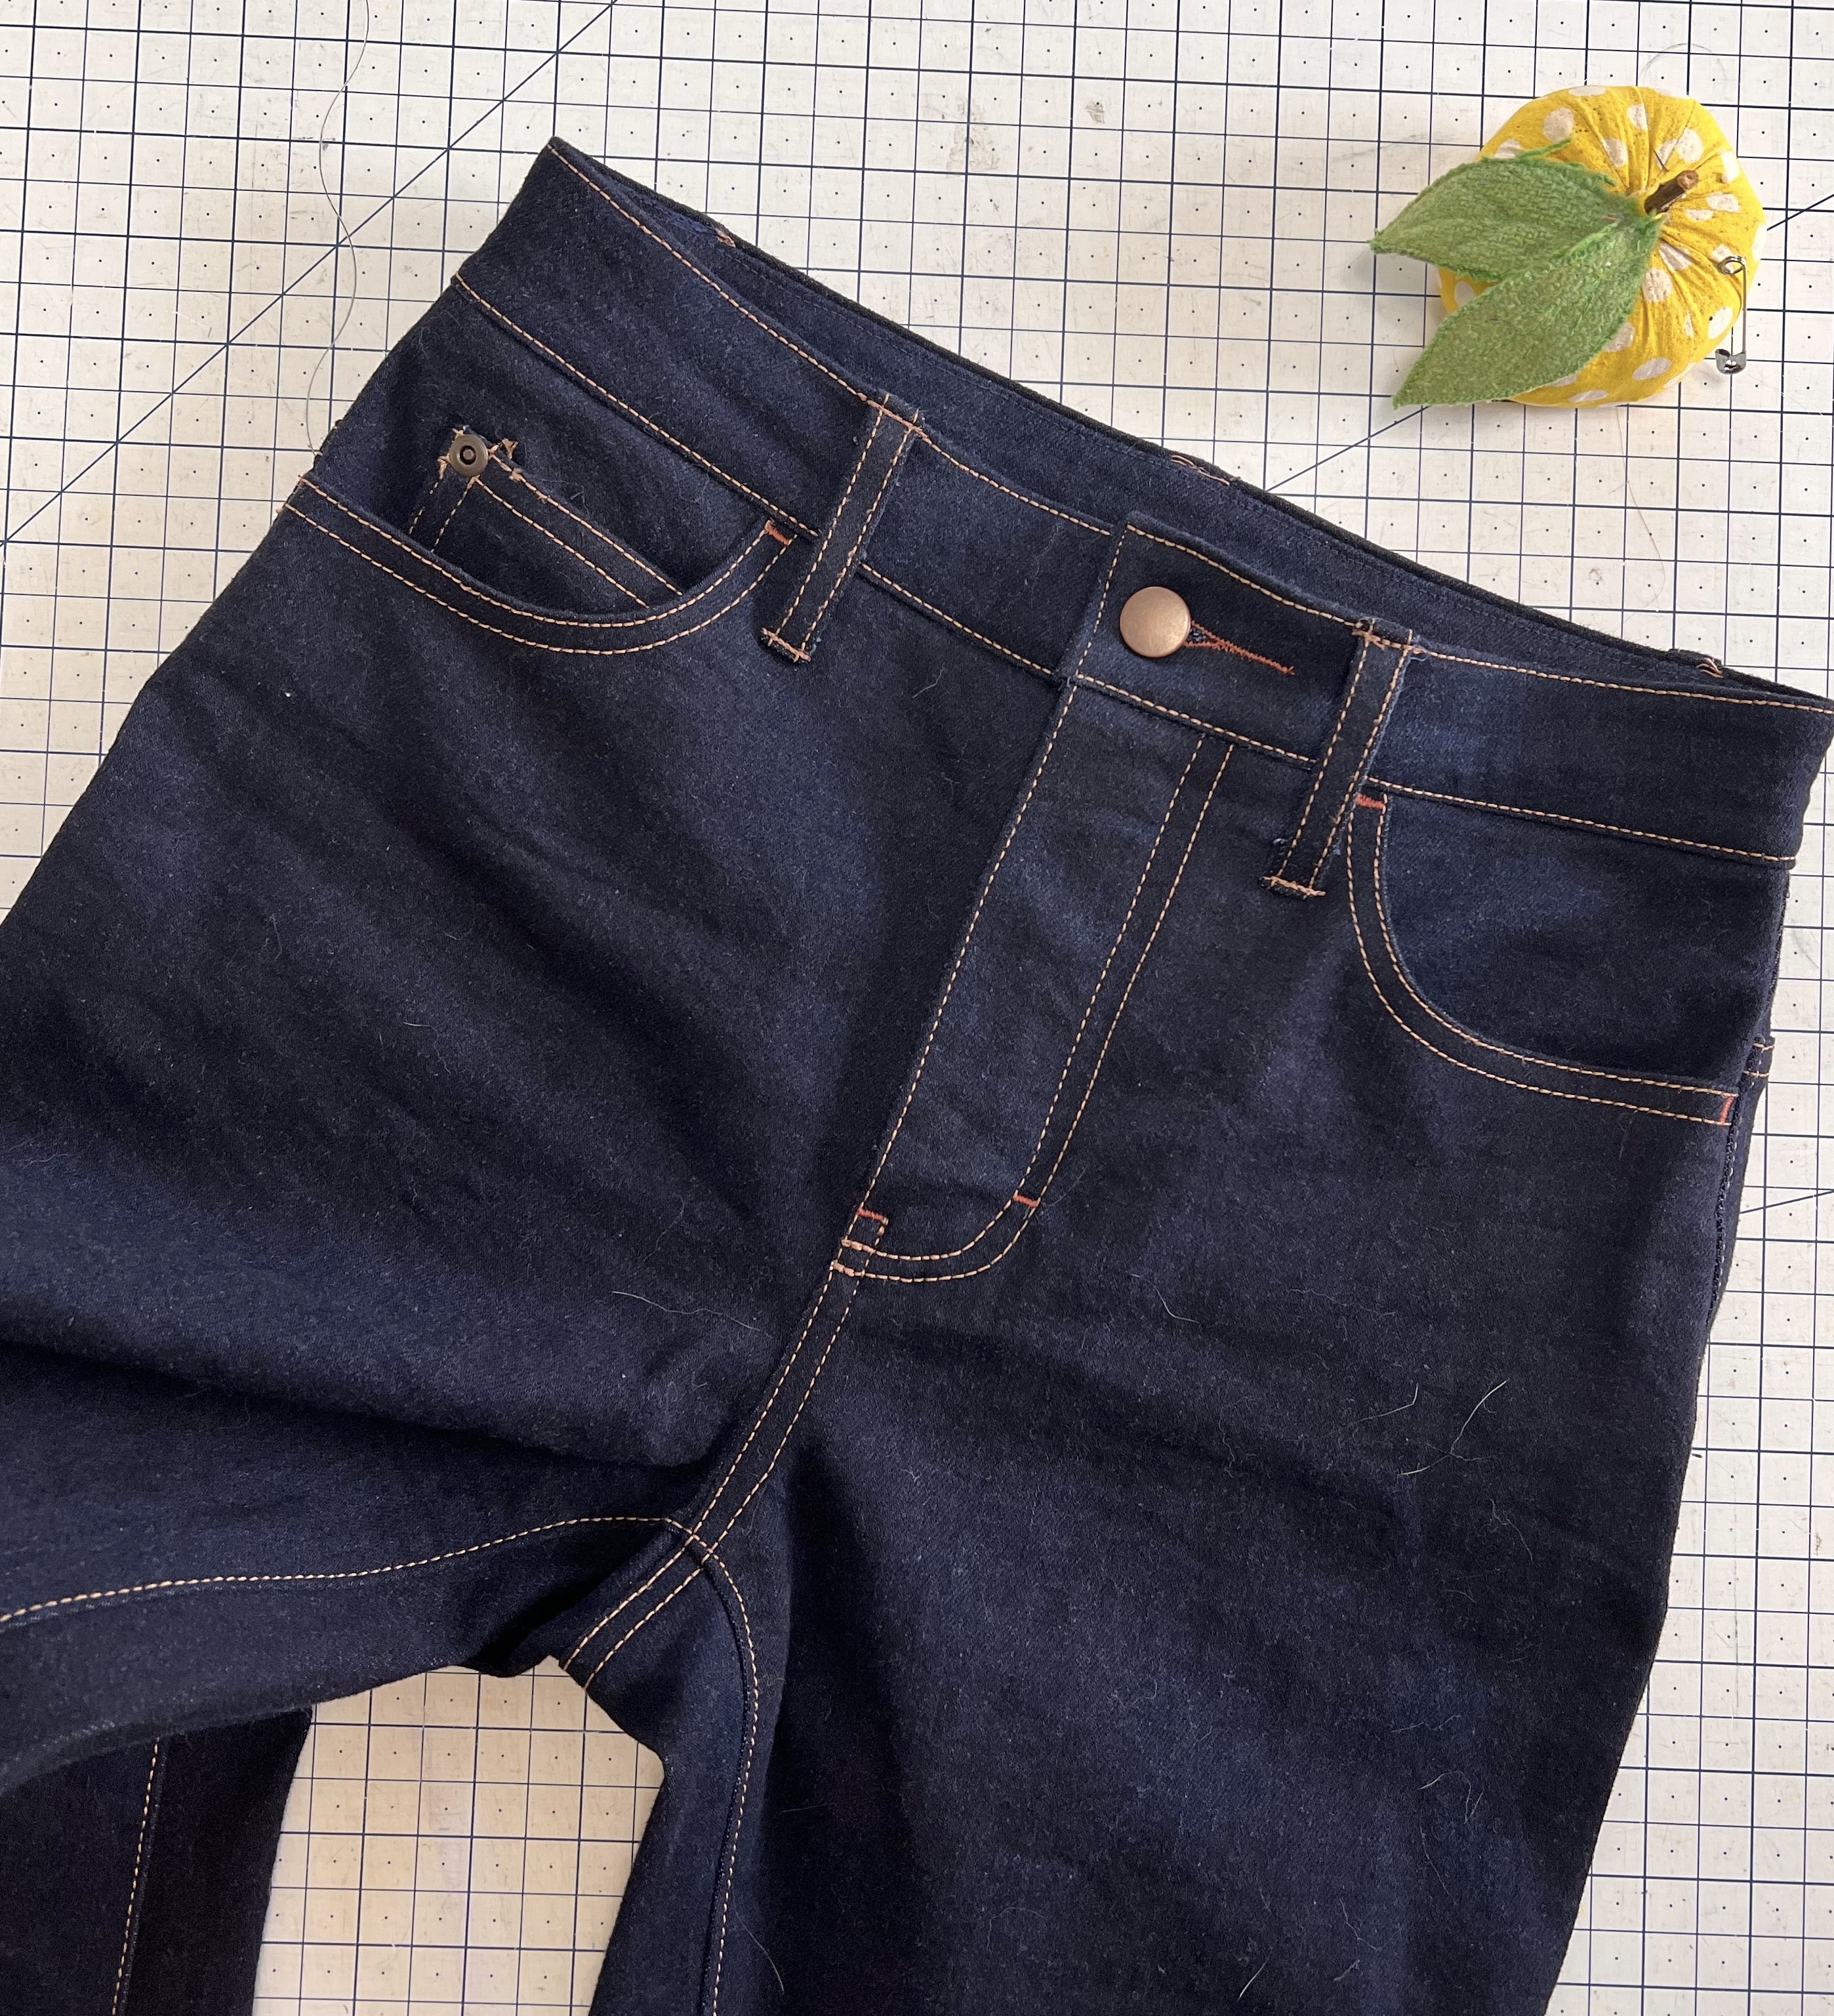
I made the stovepipe legs for this pair. The new version of this pattern includes both rises with both legs, so that you don’t have to pattern hack, which is really nice! I used the high-rise, and added an extra 3/4″ to the rise so the waistband would cover my navel. I normally need to add a full calf adjustment to my Ginger jeans, as the calf is suuuper slim, but as the stovepipe just kind of skims down the leg in a straight line this wasn’t necessary.

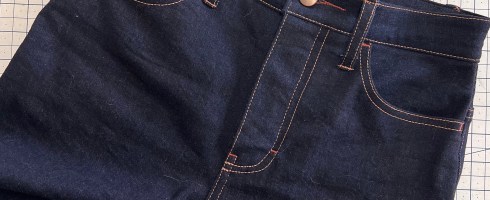
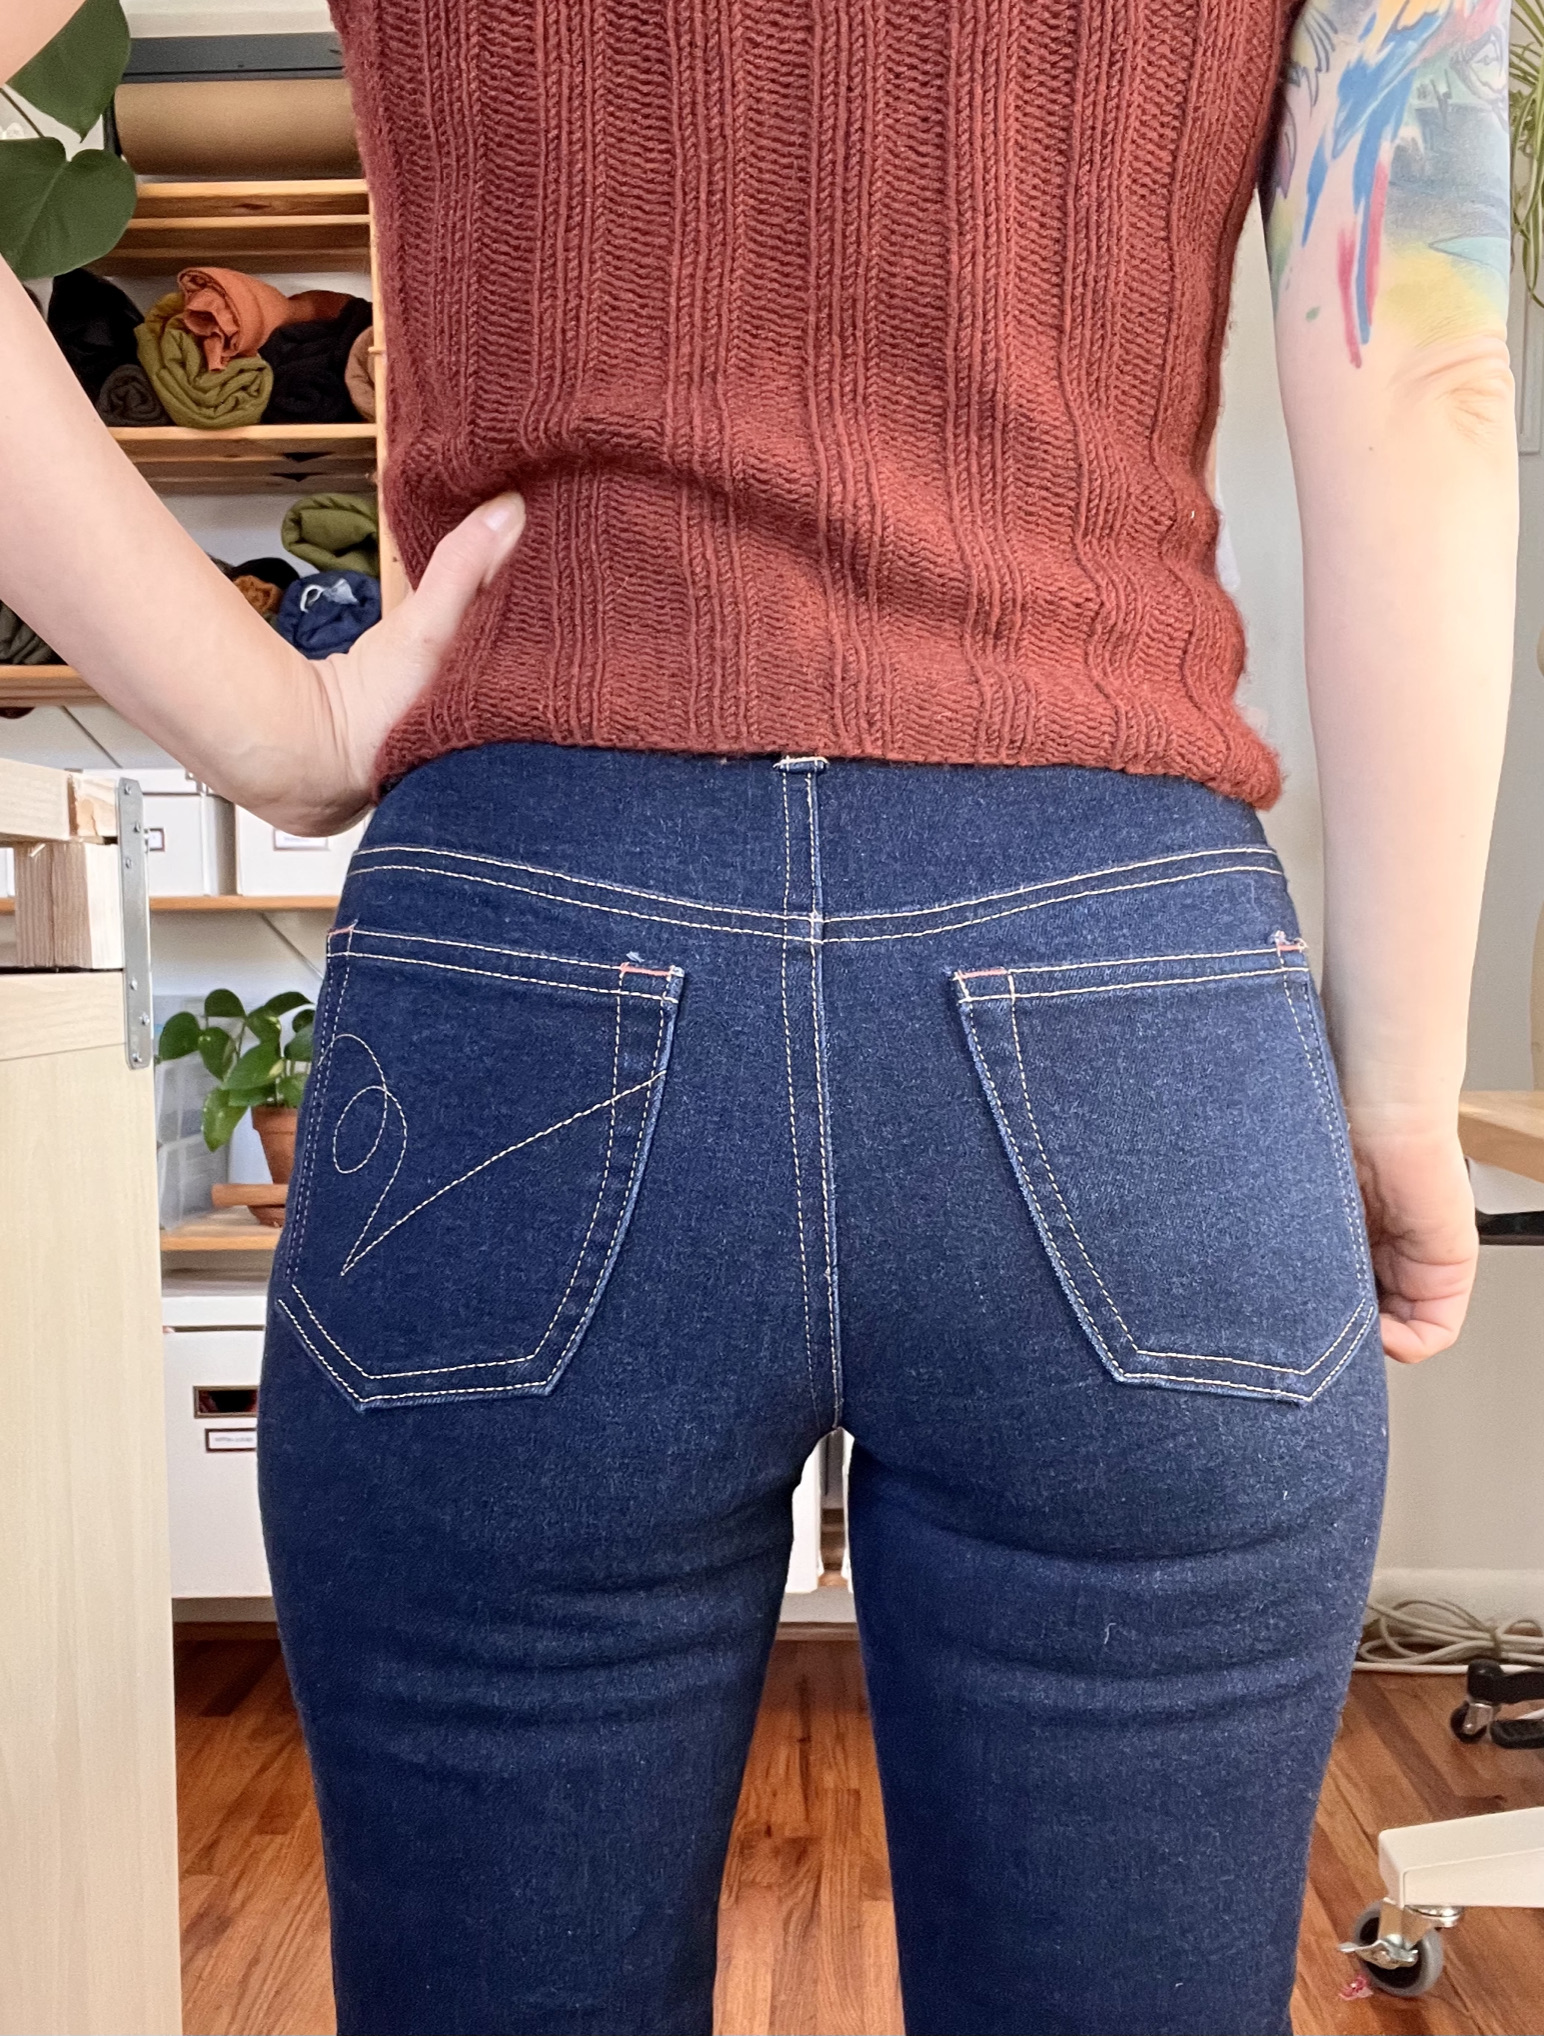
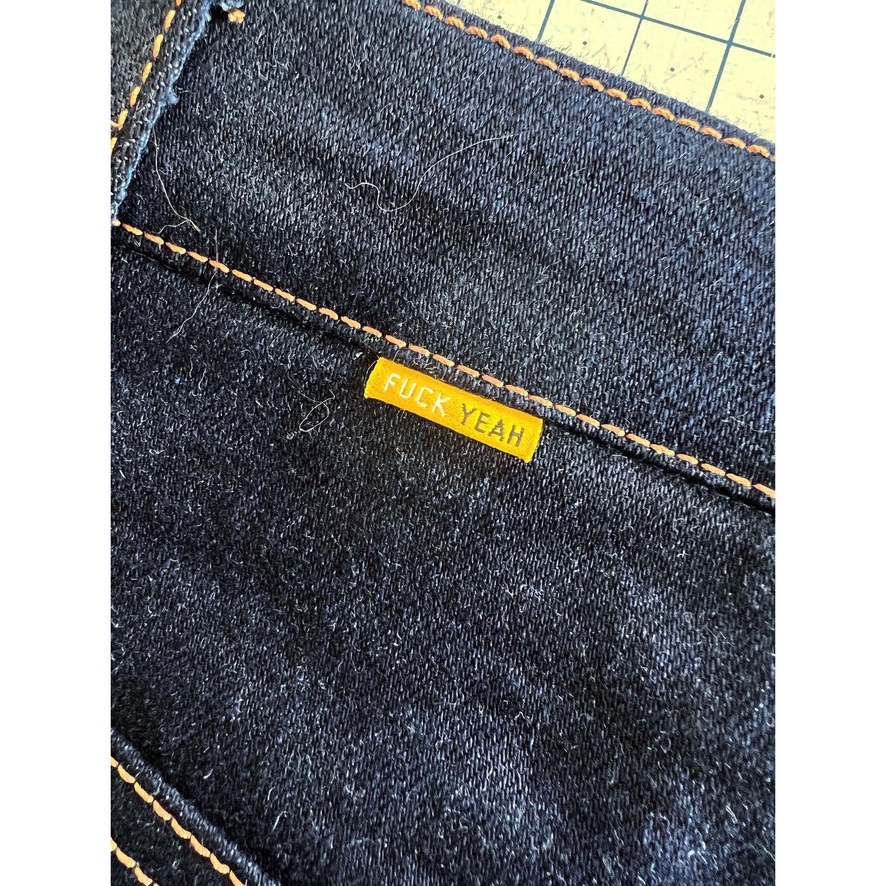
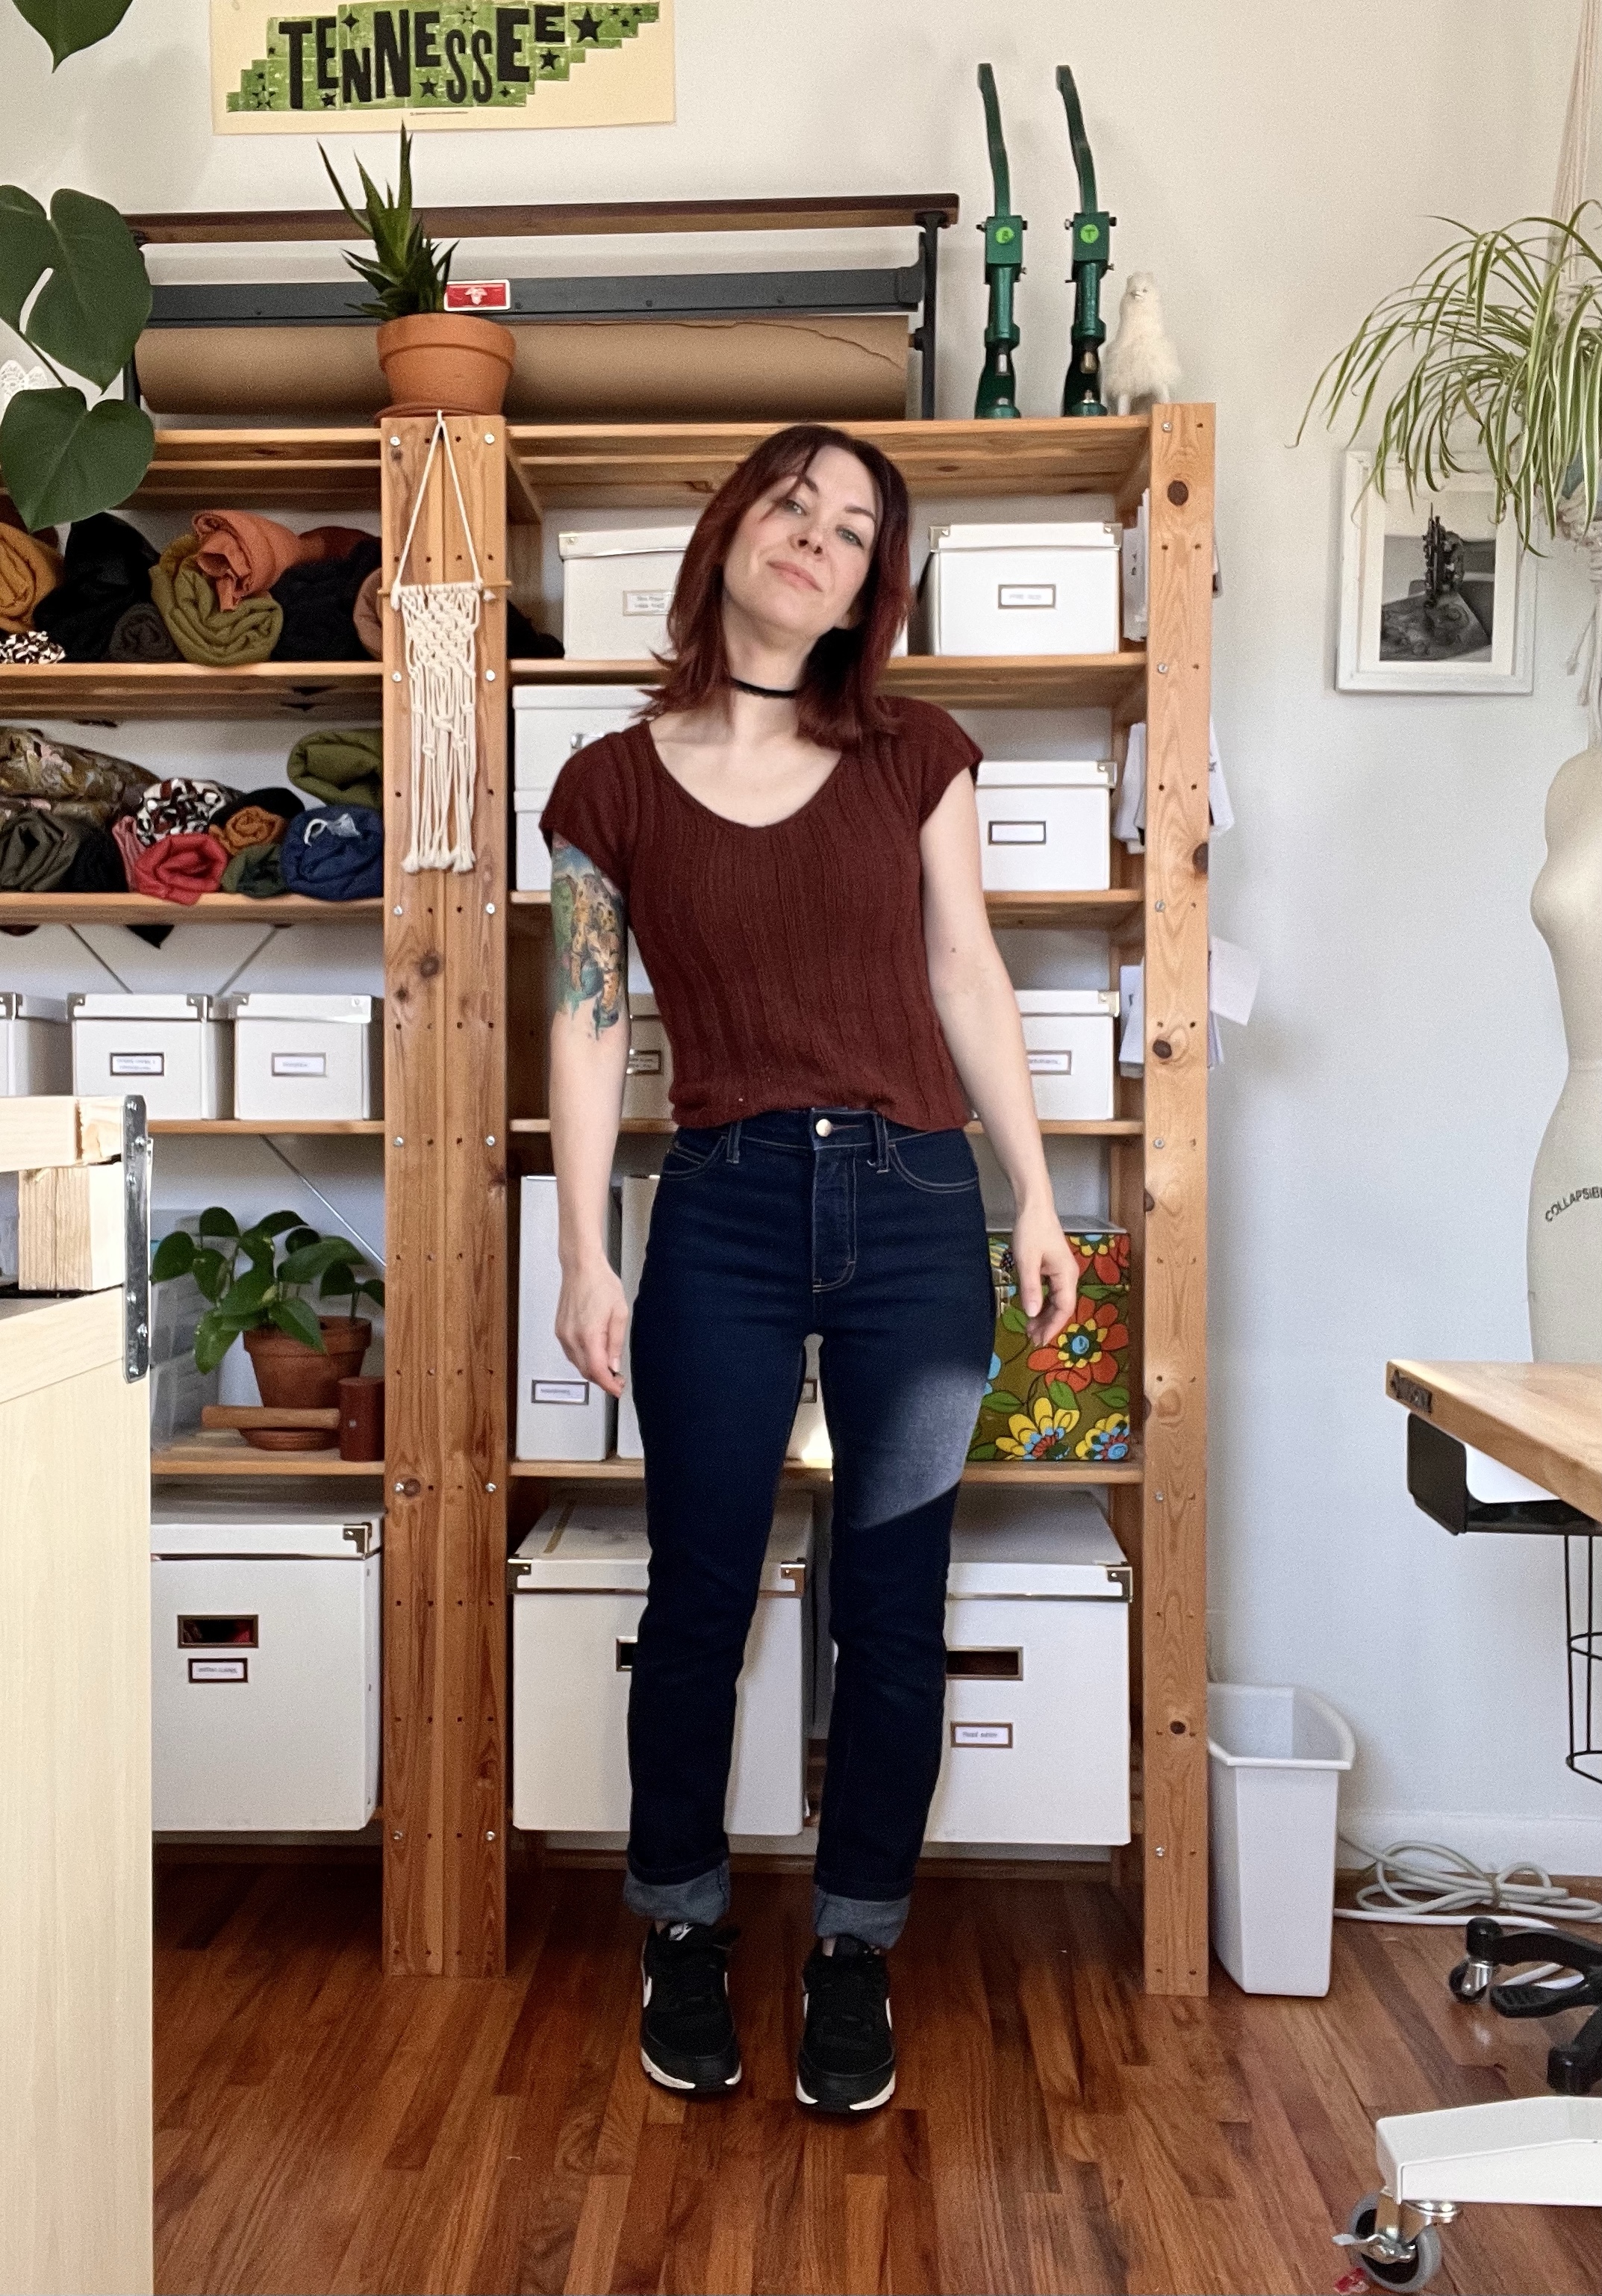
Other than that, sewing stuff is the same same same. I used 2 sewing machines for construction and topstitching, and a serger to finish the raw edges (I prefer this to flat-felled seams as it is much easier to alter if needed in the future. And I alter *everything*!). I skipped out on the rivets and went with contrast bar tacks, and added a little squiggle to my back pocket, and this fun tag from Kylie and the Machine. I think they turned out really nice! I’m still trying to get used to the slightly wider legs – I’ve worn skinnies for so long, I don’t even remember what shoes look good with a straight leg! LOL! I also need to re-hem these – I left them a little long to account for extra shrinkage, but after multiple washes, they haven’t gone up much. Speaking of washing – this denim also doesn’t bleed much. I am telling you, it’s awesome stuff! I’m so mad it isn’t being manufactured anymore!

As a side note – I also knit my sweater! The pattern is the Ripple Crop Top, I made a size Small and added a few extra inches of length. I don’t remember the yarn – maybe Woolfolk Tov? Who knows? Anyway, the extra inches I added involved some MAJOR yarn chicken – to the point where I had a mere handful of yards remaining once I cast off. What a rush that was!

For those who are interested in their own guided denim journey, check out my 2023 Sew Your Own Jeans weekend workshop dates! My next two are in March at Urban Sewciety (Westfield NJ) and in April at Domesticity (Baltimore MD)! Each one still has 1 seat remaining – maybe it’s waiting for youuuu! ❤️

Completed: The Coziest Loungewear Set

8 Feb

Hi everyone and welcome back to my blog! 🎉

I haven’t posted much in the last couple of years – I moved over to Instagram as it felt more manageable, and that was a good thing. But lately Instagram has shifted into something different, and I don’t like it. I don’t care for the video format and I hate the algorithm (as opposed to showing me the accounts I actually follow!) and the whole app is just really unappealing now.

I do enjoy sharing my projects, though, and having that information accessible for future reference. So I thought I’d bring them back here to my blog! Rather than worry about algorithms and producing videos and getting followers and all the stressful shit that sucks the fun out social media, I’m gonna do what I’ve always done – my own thing! In my own space! I’m going to try to keep these short and sweet and manageable for myself (as time is my most precious resource and blog posts take a lot of time!) (update: I gave myself 20 minutes to write this post, it’s officially been an hour. Oh well!). But anyway. Welcome back!

And to be clear – I’m not jumping the Instagram ship (yet). I’ll still post on there, but I’d like my in-depth stuff to live here, on my own platform. Where there are no videos and I can type using a real keyboard HAHA.

Today I want to share with you my newest, favoritest, coziest loungewear set: The Sherpa Dream 🐑

The sherpa fabric came first, so I’ll talk about it first! This pink fuzzy delight is from Domesticity (by way of Birch Fabrics, although I think it has been discontinued now) and I’ve been eyeballing it since the first time I taught there in June 2021. It’s enormously soft and fuzzy, and 100% organic cotton (which is important for me as I tend to get really sweaty in polyester). The color is just the perfect shade of warm coral pink. At $36 a yard, it was a splurge, which is why it took me so long to finally go all in. But I did and I bought 3 yards! It filled up half a suitcase! No regrets!

I wanted to make separates – I’ve been very inspired by these fuzzy knit loungewear pieces (lol @ Skims but like… don’t hate). I used both patterns from the Closet Core Montreal Collection – the Plateau Joggers and the Mile End Sweatshirt.

I will admit that when I first saw these patterns, my immediate reaction was “Seriously? Another pair of joggers?” It feels like every single pattern company has released their own version of joggers and sweatshirts. And while I understand that this is the current fashion – I am really just tired of looking at them! A jogger is a jogger is a jogger! But my favorite thing about Closet Core is their unique details on all their patterns – and once I took a closer look at these, I was on board. I love how the joggers lack a side seam at the pocket, which makes for much less bulk. The sweatshirt has some interesting detailing – including a yoke and elbow darts – which unfortunately is lost in this crazy fabric but that’s ok! The set has nice proportions, too – the top is slightly oversized and cropped, and the pants are slim but still comfortable.

I made a size 2 in sweatshirt, and a size 4 in the joggers. Both of these are a size smaller than what my measurements suggest, but based on other reviews I read + knowing how slim I like to wear my clothes, I’m glad I sized down. The only adjustment I made was to increase the rise of the pants by 1″, which I ended up taking out because they were too high! (whoops!)

Here is the sweatshirt originally, with the v-neck and hood!

So the other thing I did when I made this set – I actually started with view C of the top; it was originally the crossover bodice with a hood. It is SUPER cute on everyone I’ve seen wear it! But, alas, this was a classic mistake of the wrong fabric + pattern pairing. The sherpa is overly warm, which is weirdly incongruent with the deep V. The deep V was also too wide for my shoulders, so it regularly gaped open and made it hard to wear the sweatshirt without a tshirt underneath. I stitched the first couple inches of the V closed, which helped, but then I had the issue of the hood being suuuuuper heavy and causing the entire top to pull toward my back as I wore it (which might not have been an issue if the shoulders weren’t so wide to begin with?). Further, the hood was so giant and thick, I couldn’t wear it with a coat or jacket – it was too bulky underneath, and the wide neckline meant that it didn’t sit right when it was pulled out, either. It was just a little too fussy and unwearable for me, so after about a month or so I changed it into a standard crew neck.

Doing this was surprisingly easy – I always think the easiest alterations are the ones to garments you’ve already made, since you know them pretty intimately inside and out! I removed the hood completely, opened the top of the kangaroo pocket, and unpicked the turned over hems of the V-neck. From there, I was able to create a vertical seam above the pocket – which is basically invisible due to the nap of the fabric. Since this started as a V-neck, I eventually ended up with a small gap at the top where the edges no longer meet. To fill this in, I added a small piece of the sherpa, wrong side facing out, like the detail on a sweatshirt. Then I finished the neckline with a fuzzy band of self fabric. All in all, the alteration took an hour or so, and resulted in a top that is INFINITELY more wearable than the original version!

And here it is after I altered it – so much more wearable!

Working with this sherpa was pretty easy, although it did require some extra steps. Since the nap runs in every single direction, I didn’t worry about it while cutting my pattern pieces. The fabric sheds like craaaaaazy, so I used my serger to finish all the edges (I kept a longer + wider stitch to help push it though, as it’s quite bulky) and kept my handheld vacuum nearby to periodically clean up (which sort of worked but also my studio is still full of pink fuzz so… there’s that). After sewing seams, I used a comb to pull the hairs out of the seams and fluff them up, same as one would do when sewing faux fur. I did try some topstitching on the top to better show the seamlines, but they are still pretty subtle, so I skipped them on the pants. My fabric is stretchy so I was able to use self fabric for my bands (with no elastic, other than in the waistband). Since the fabric is very bulky, I opted to use a matching cotton interlock knit on the pocket pieces (you can’t see the inside at all and it keeps that area nice and flat). I used the same cotton interlock to make the fabric waist tie. Oh, and while I did try to finish the eyelets that the tie feeds through – nothing would stay in place due to the nap of the fabric. So there are literally just… holes in the waistband. They seem to be stable enough lol.

It took me a couple months to complete this set – and then a couple more to get photos. I took these in my bedroom, which I love waking up in every morning! Sorry the photos are blurry – no idea why, but I’m not re-taking them LOL. Oh, and while we are talking about handmade and altered things – I made the rust linen pillowcases (fabric is from Blackbird Fabrics – it felt sinful to use such a nice garment weight fabric for PILLOWCASES but the color was just too perfect for my ~palette!), the tropical throw pillow (leftover fabric from this project!), the pinch pleat curtains (originally from Ikea; I sewed channels at the top to create the pinch pleats) and re-wired the smaller lotus lamp on the bedside table.

That’s all for now! Have a great day!