

This post is part of the Stretch Yourself Series hosted by Miriam of Mad Mim and Miranda of One Little Minute. This two week series is ALL ABOUT the love of knits, so go check it out!
I’ll be showing y’all some embellishment twist on a classic, along with Jessica of A Little Gray
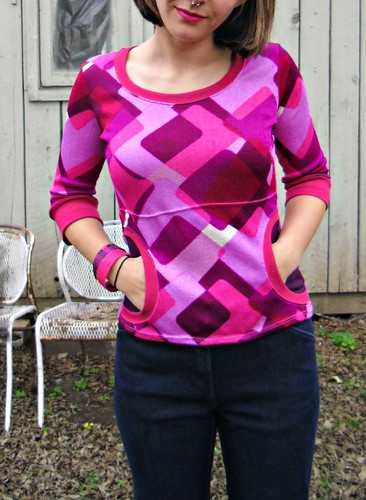
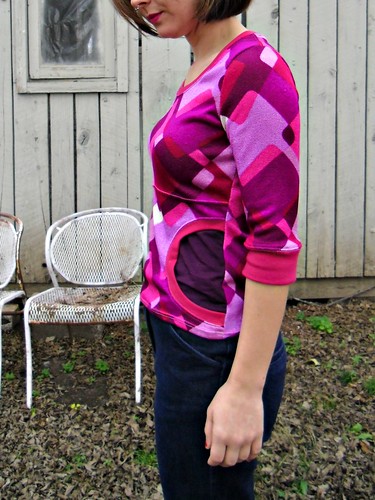
Here she is – the Paulie Pocket Top!

I KNOW. The name of this top is totally ridiculous & tacky – but what part about my life isn’t? 🙂

You will need 3 different kinds of fabric to make this – something for the majority of the shirt (in whatever yardage you need to make your top), something to line the back of the pocket with (half a yard or so should be enough), and scraps for the pocket binding. For the binding, you don’t want to use anything that is too thin/floppy, or it’s not going to sit right – try something with a bit more body, like ribbing or a cotton knit.
Don’t forget your pattern! You can download it here. The edges of the paper are part of the band pieces; the lines just didn’t transfer over during the scan.
Be sure the test square prints out to 4″x4″ (or 10cmx10cm, if you fancy). The stretch guide is there for the binding fabric – you just want to make sure the 4″ piece stretches up to the length provided (or else your binding will not fit in the cut-outs). If it stretches more or less, that is fine, but you will need to adjust your pattern pieces accordingly.

Cut all your pattern pieces from the main fabric as normal. For this tutorial, I am using the Renfrew pattern. Sew the shoulder seams as instructed (you don’t *have* to sew the shoulder seams first, but I like to because it helps with pocket placement – you can pull the shirt over your head and double-check in the mirror).
Now push the back of the shirt out of your way. We won’t be touching it for the rest of this tutorial.
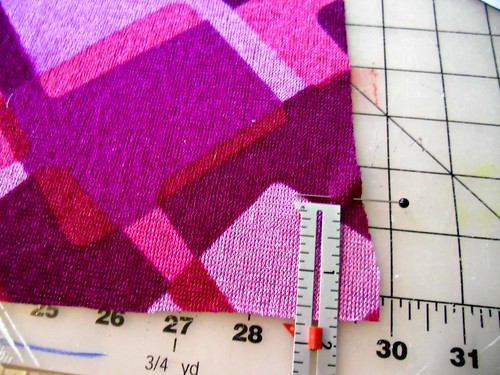
On the shirt front, measure on both sides the distance from where you want the bottom of your pockets to hit, keeping seam allowance in mind. I usually go with 1 3/4″. Mark this with a pin.
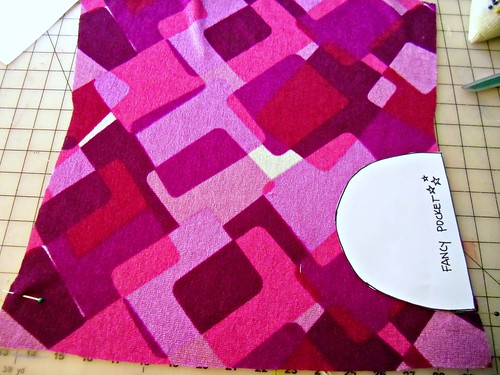
Align the bottom of the pocket template with the pin and cut from the front of the shirt only.
(pst! I know my template has different wording – while putting together this tutorial, I hadn’t decided on a ~name~ for my pattern embellishment yet ;))
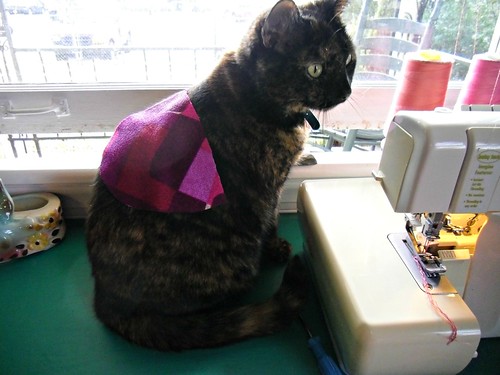
Give the pocket piece to your cat to play with, idk.
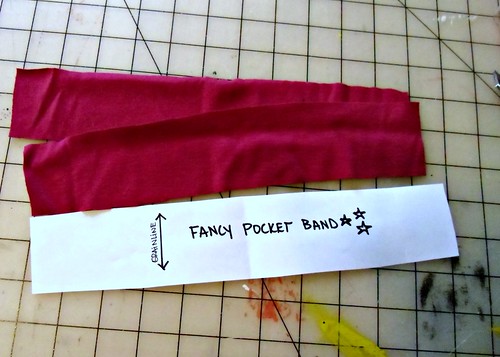
Cut 2 pieces of pocket ribbing, using the pocket band pattern piece.
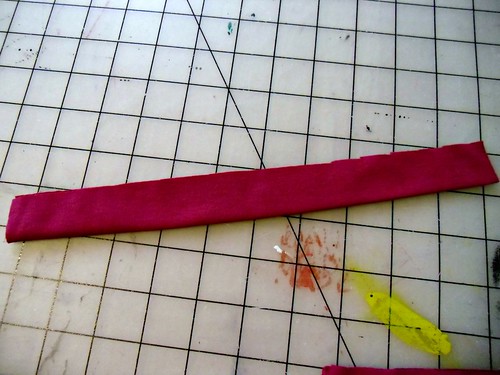
Fold in half lengthwise, wrong sides together, and press.
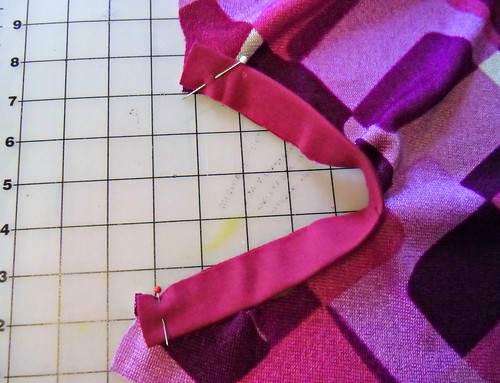
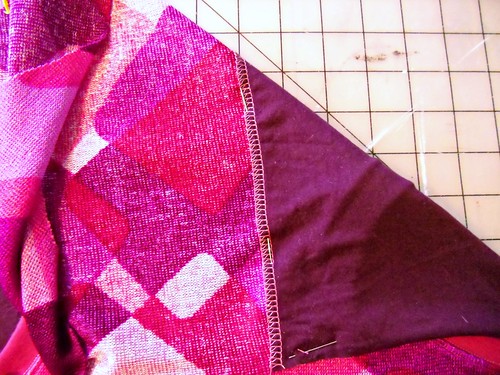
Pin the pocket band to the pocket opening on the outside of the shirt, matching raw edges, notches, and ends. The pocket band will be smaller than the pocket opening – this is good, we are going to stretch that band to fit and give our pockets a nice curve. Do not overpin this – 3 pins is plenty.

Start by anchoring one end of the pocket band to the pocket edge, and stop with the needle in the down position.
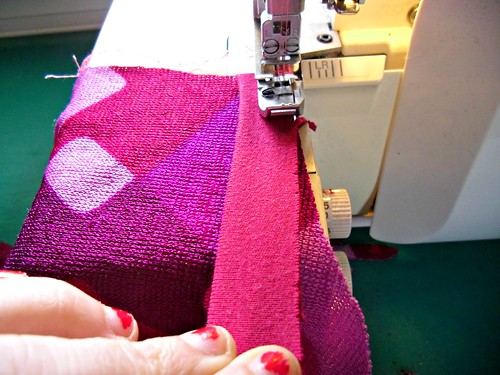
Sew the band to the edge, stretching the band to fit as you go (don’t stretch the raw edge of the pocket- just the band! It’s much easier if you position it so the band is on top). Sew slowly and take your time. We ain’t in a hurry here.
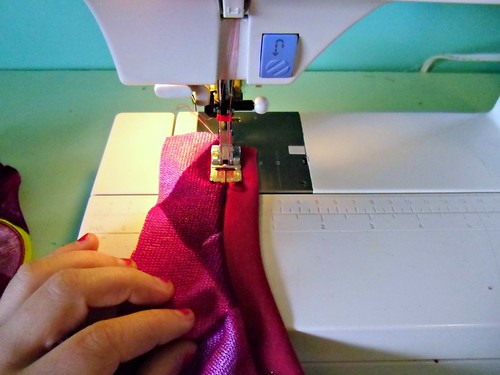
Once the band is sewn down, you can topstitch it on your sewing machine – using a twin needle or a regular ol’ zigzag stitch.

You should end up with something like this. Ain’t that fancy! Let’s put a back to those pockets so our sides aren’t hanging out in the glory of the sun – unless you’re into that kinda stuff, eh, no judgement here.

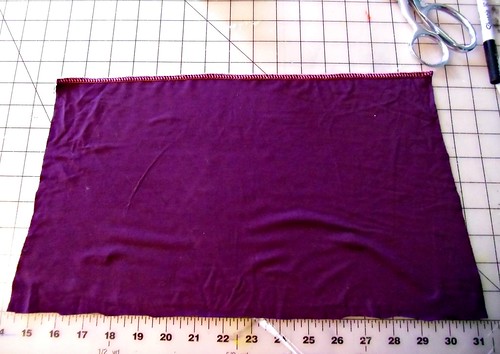
Measure from the bottom of the shirt front to about an inch above the pocket band. Mine is 9.5″, which is approximately how tall I need my pocket lining piece to be.

Measure that same measurement from the bottom of your shirt front pattern piece and cut that from your pocket back fabric.
Finish the top edge of your pocket back fabric – this is optional as we all know jersey doesn’t exactly unravel, but it’ll make the next step a little easier 🙂

Lay the shirt front over the pocket lining piece you just cut, matching all raw edges. Pin along the pocket openings and shirt bottom to keep everything in place.

Now, using your fingers to feel the edge of the top of the pocket lining underneath, carefully pin across the front of the shirt so both pieces are pinned together.
Flip back periodically to make sure you catch both layers.

Topstitch (again – you can use a twin needle or a zigzag) along the line you just pinned. Baste the side and bottom edges together.
And that’s it! You can go ahead and sew your shirt together as instructed by your pattern – treat the pocket-ed front as one piece.
Yay for embellished shirts!
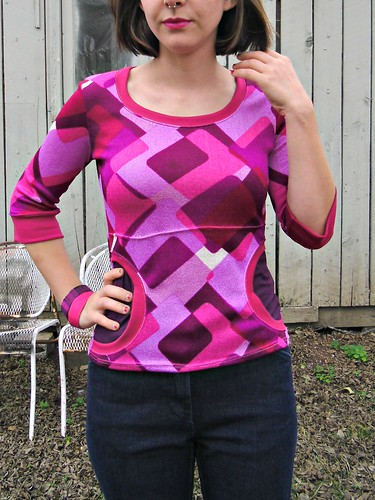
Special shout-out to this awkward picture:

No idea why I look so emo here haha

There! That’s better 😀


